Introduction
By integrating your Knovio and InPlayer accounts, you will be able to quickly and easily monetize all your Knovio videos, as well as track the payment analytics straight from your Knovio account.
At the moment, the InPlayer paywall can be used for individual Knovio videos. Knovio Showcase support is coming soon as well, but for the time being you will need to contact Knovio’s Support team if you wish to use this feature.
InPlayer setup
To integrate your InPlayer and Knovio accounts you will be taking advantage of our OAuth & SSO feature.
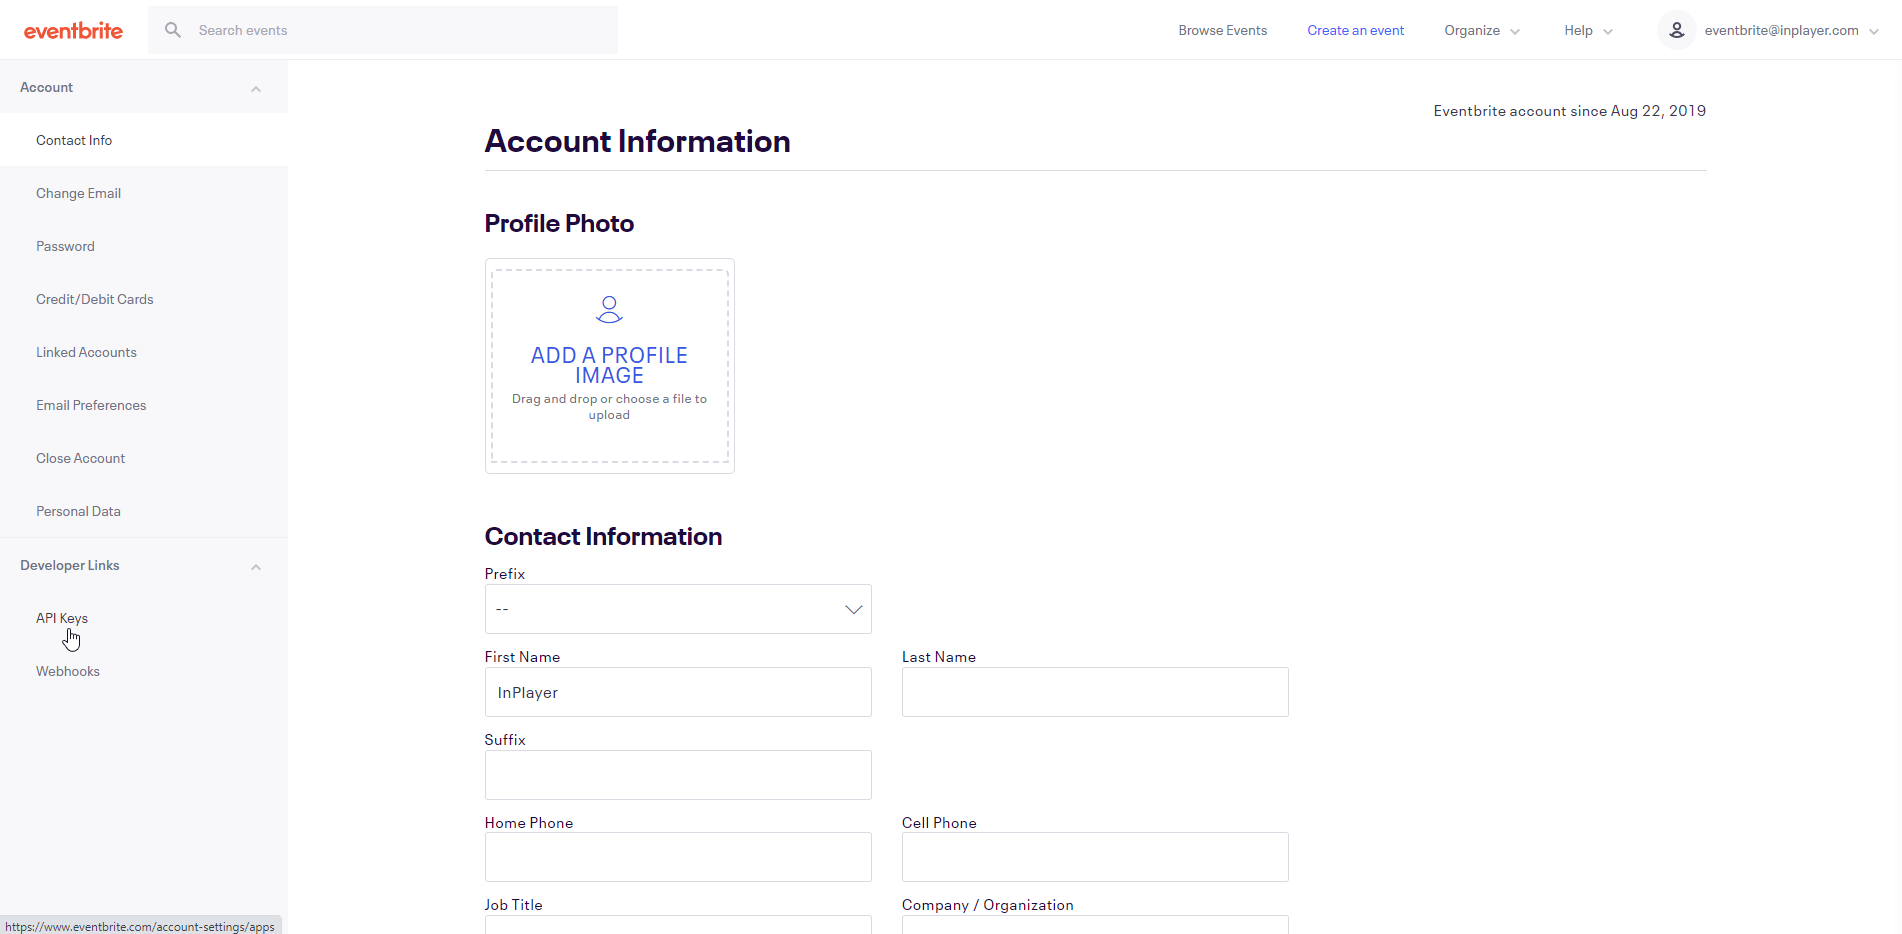
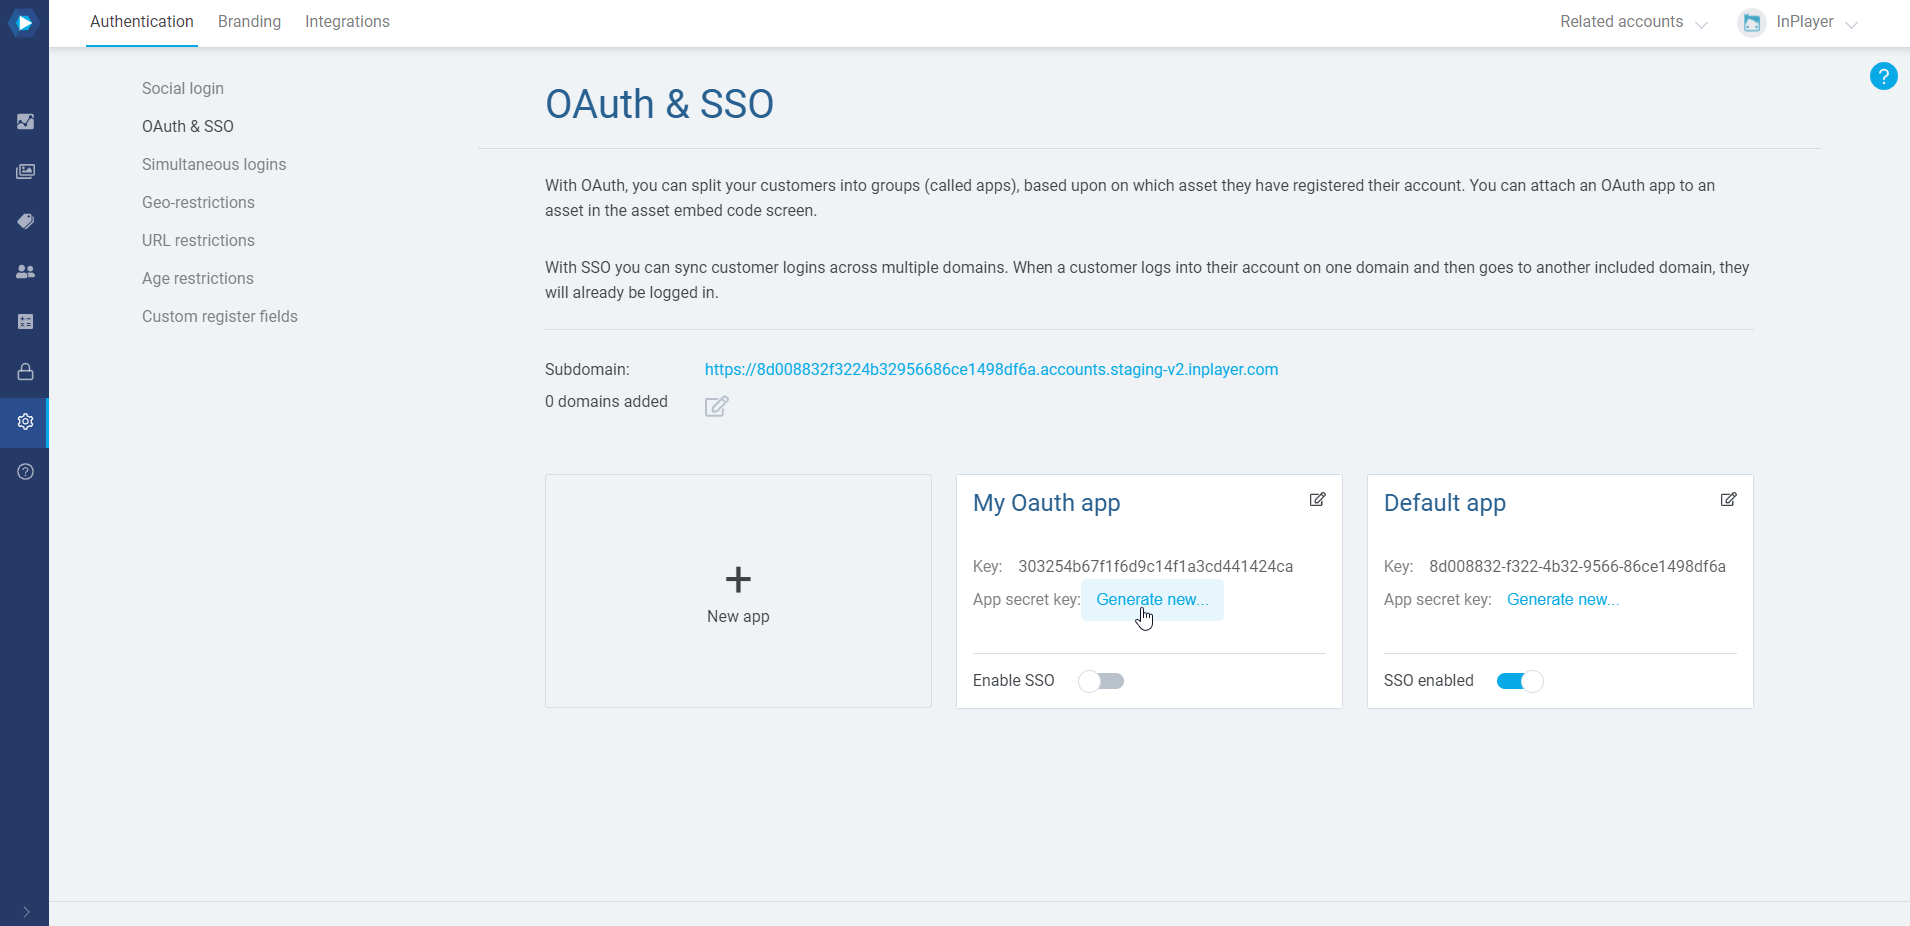
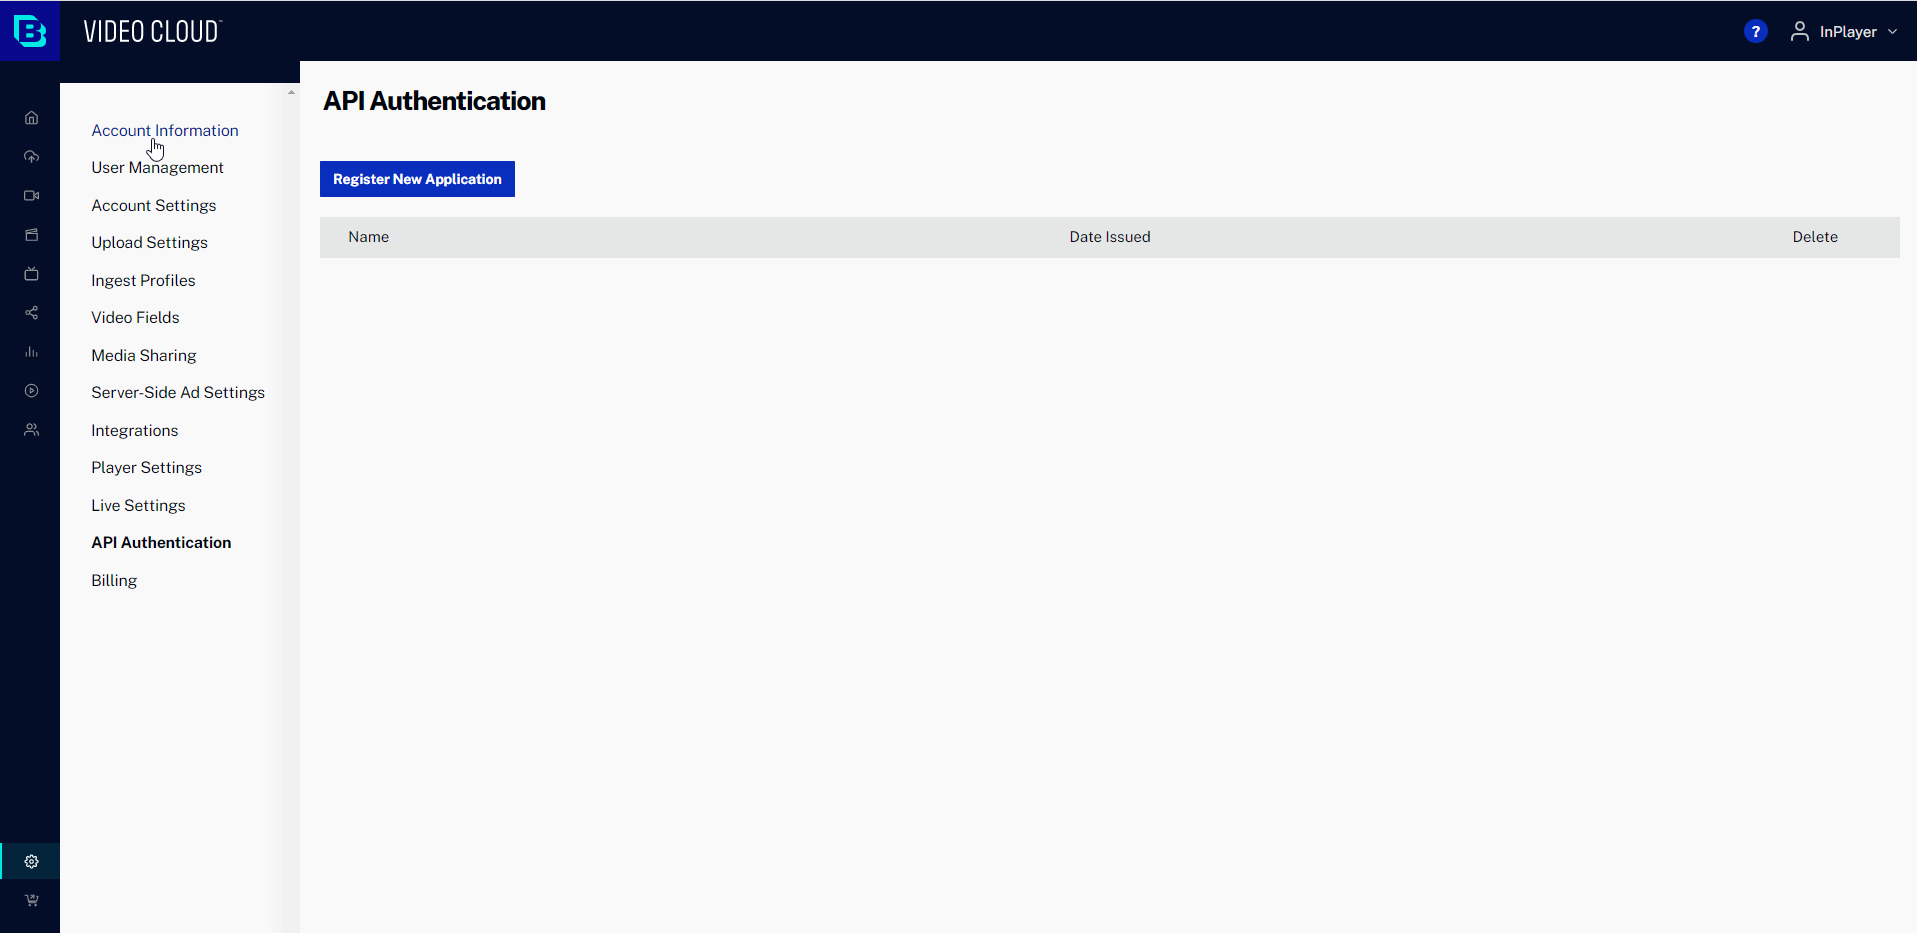
Log into your InPlayer dashboard, open your account settings menu and under Settings, go to OAuth & SSO.
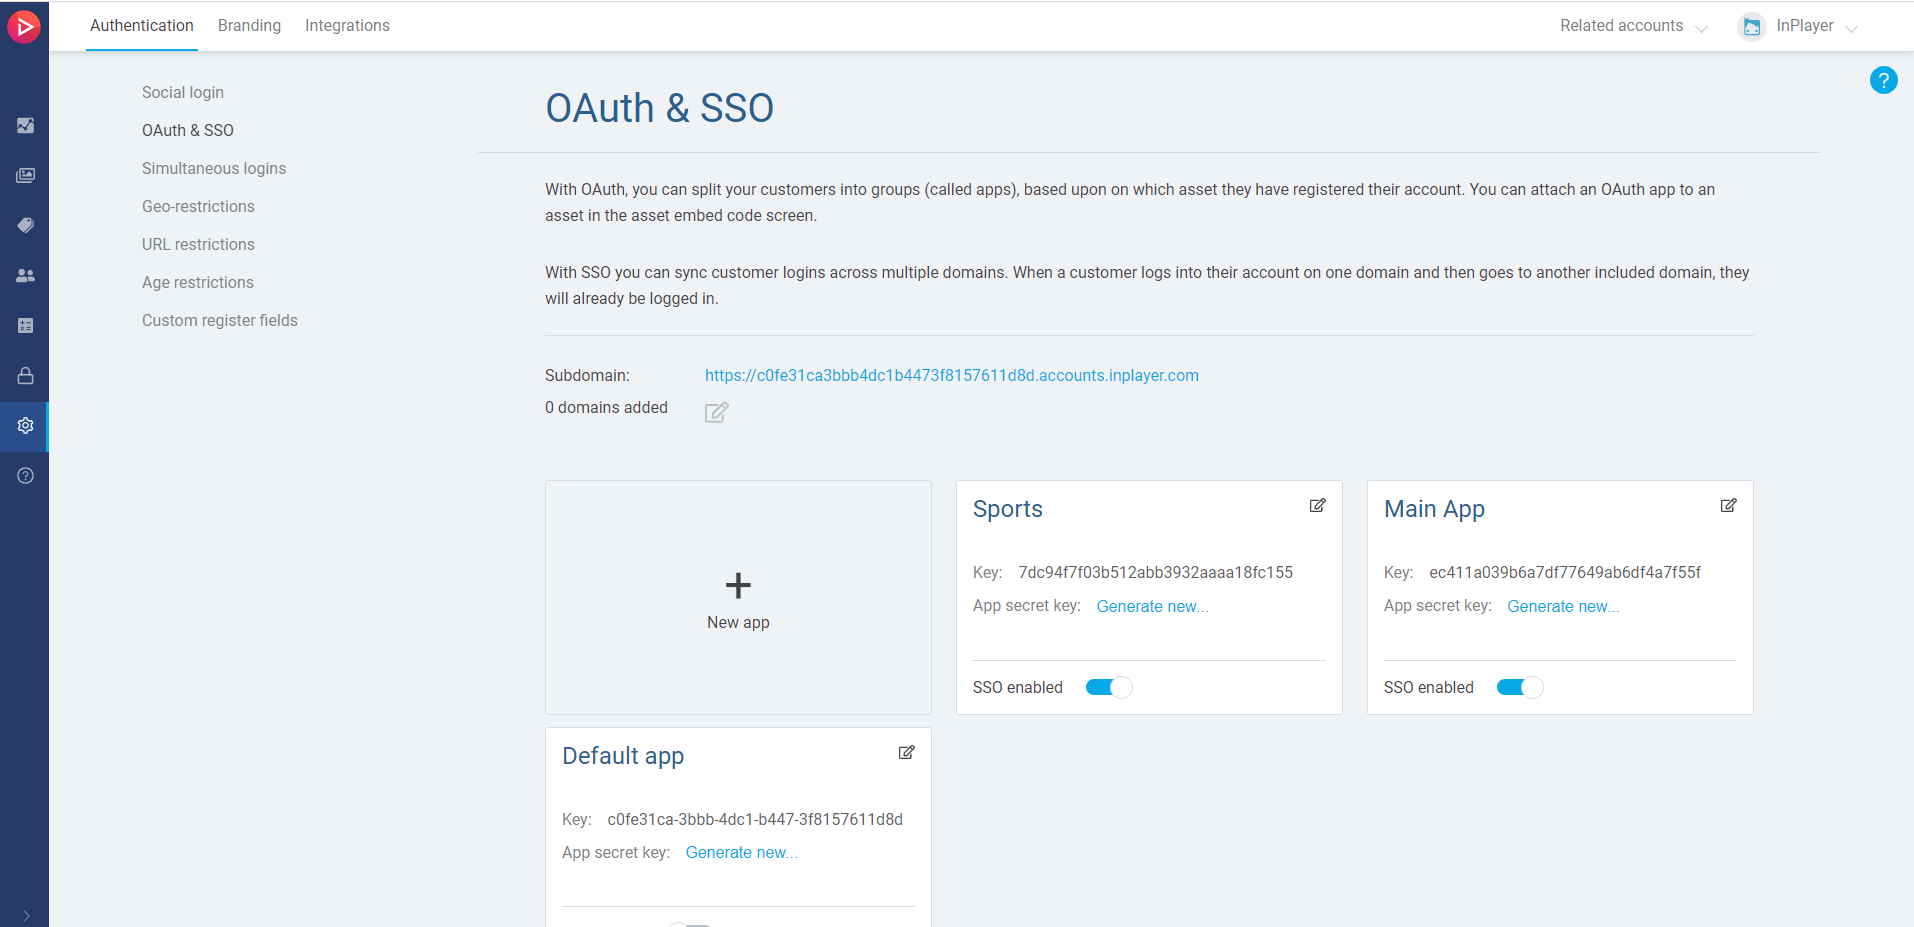
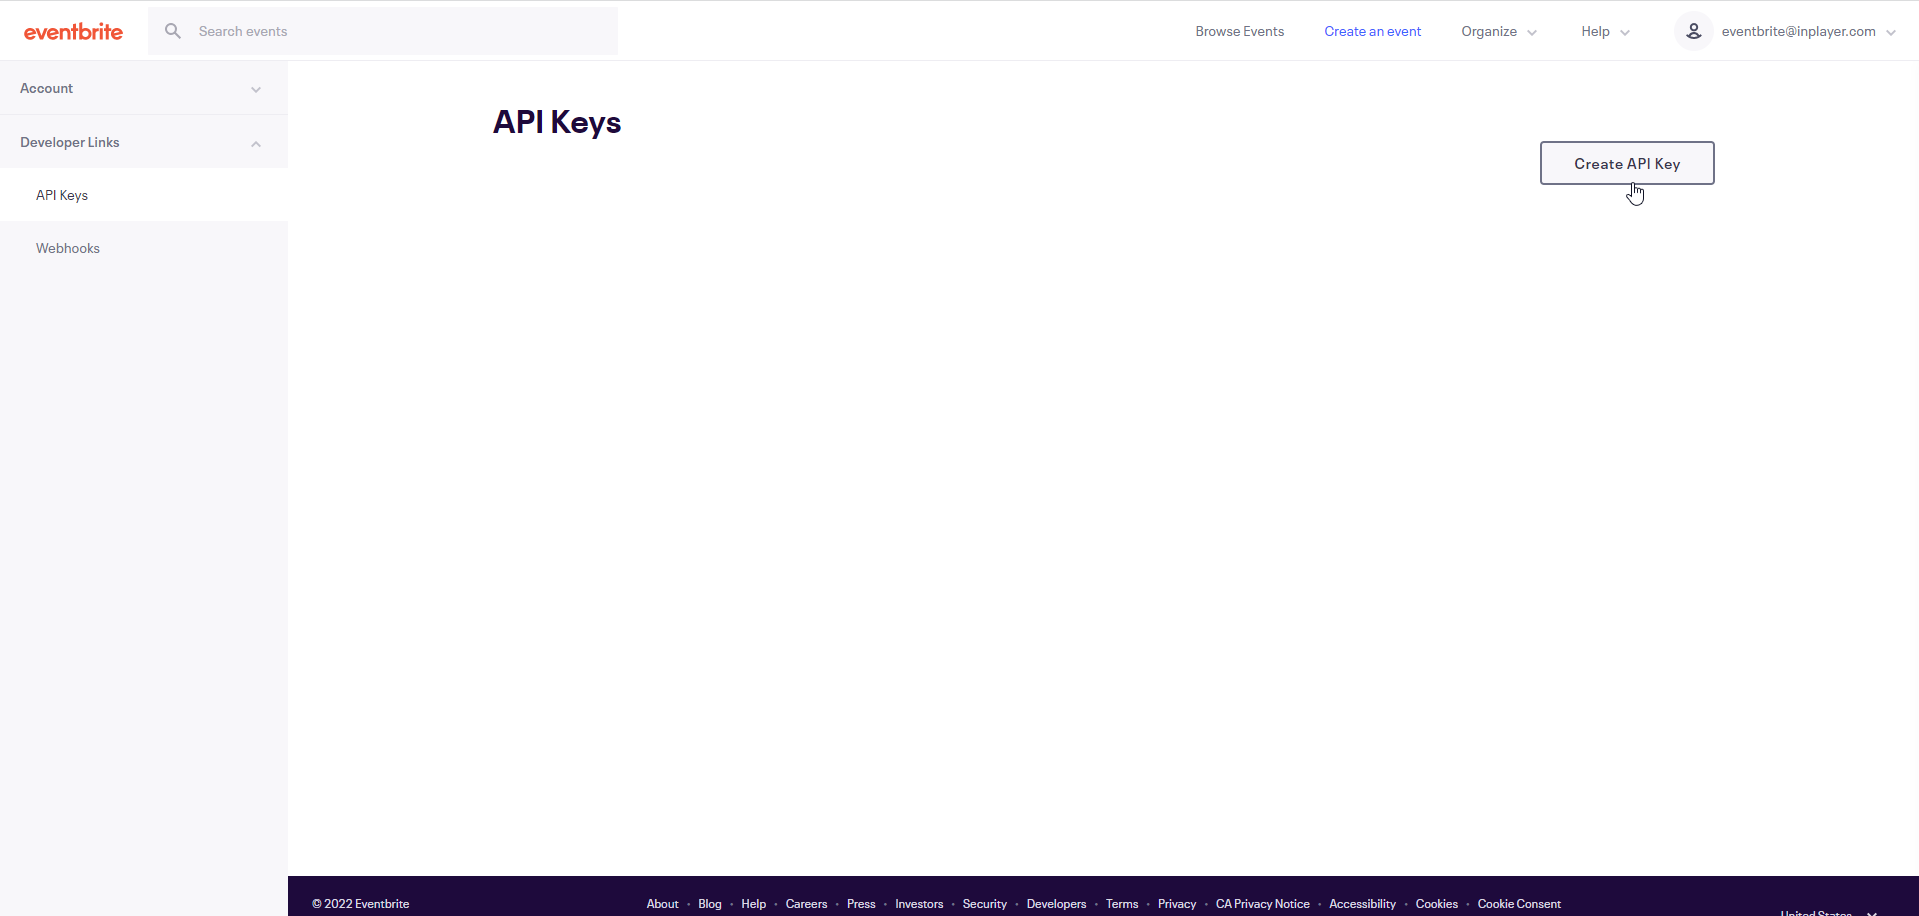
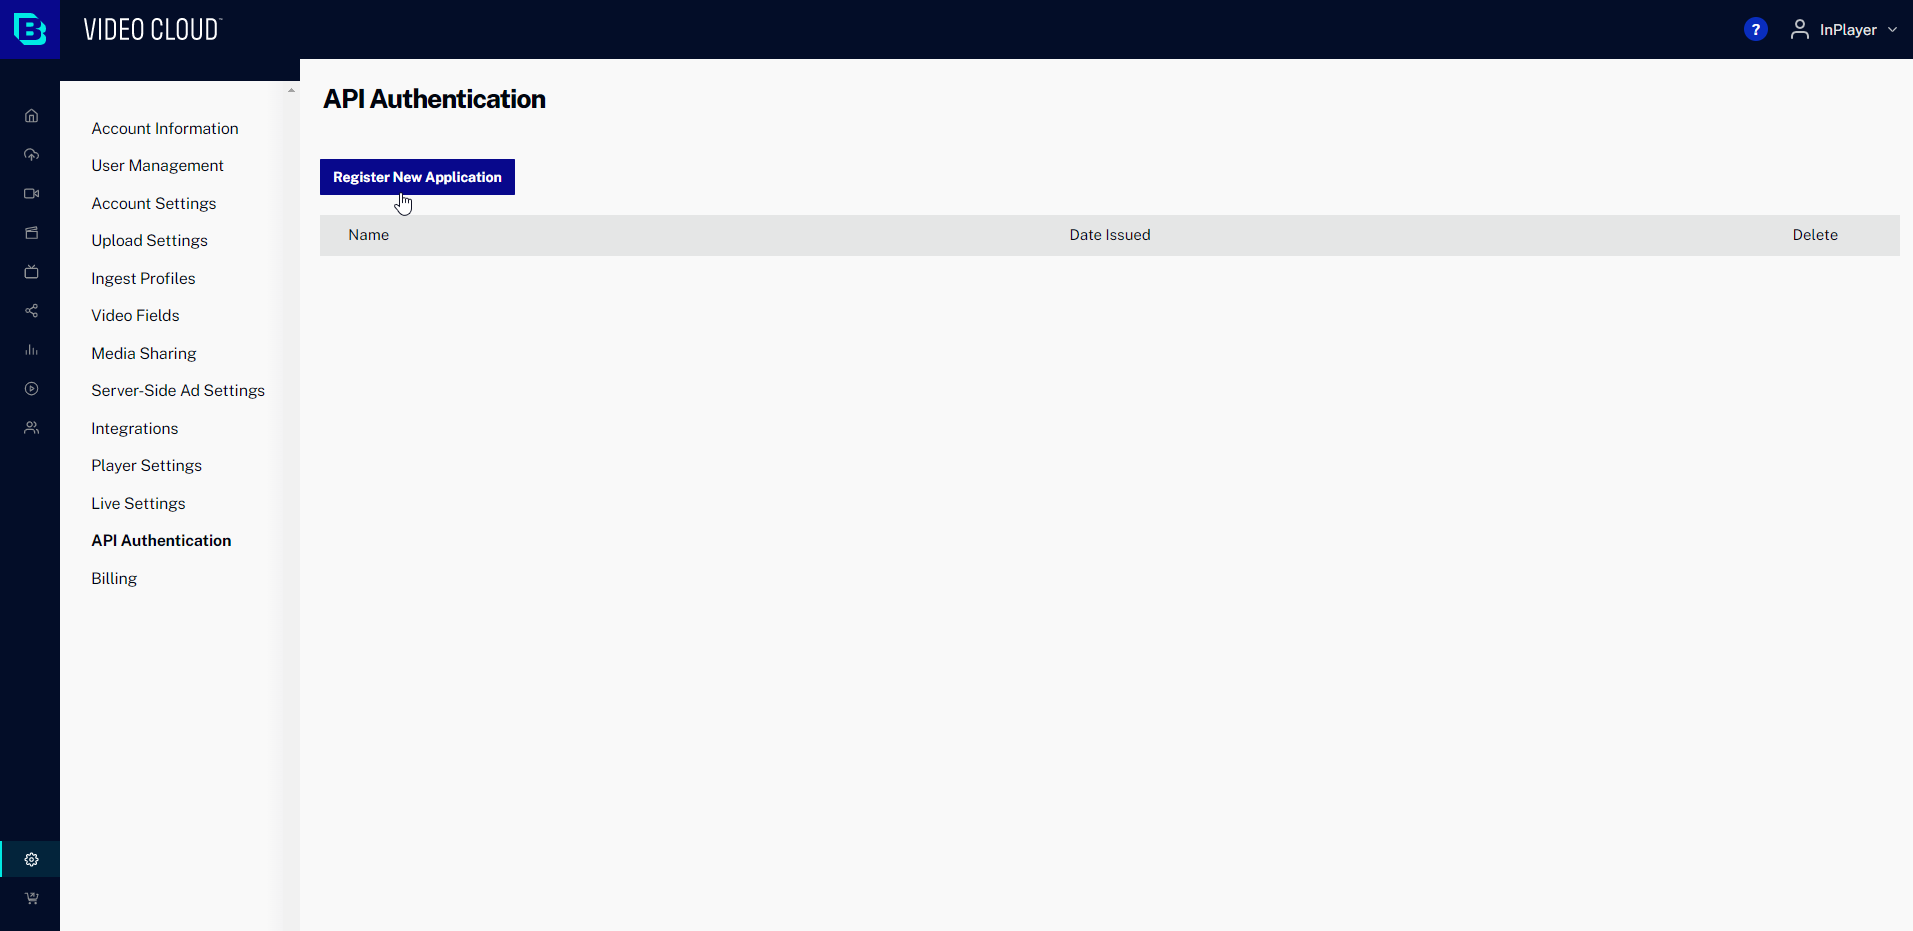
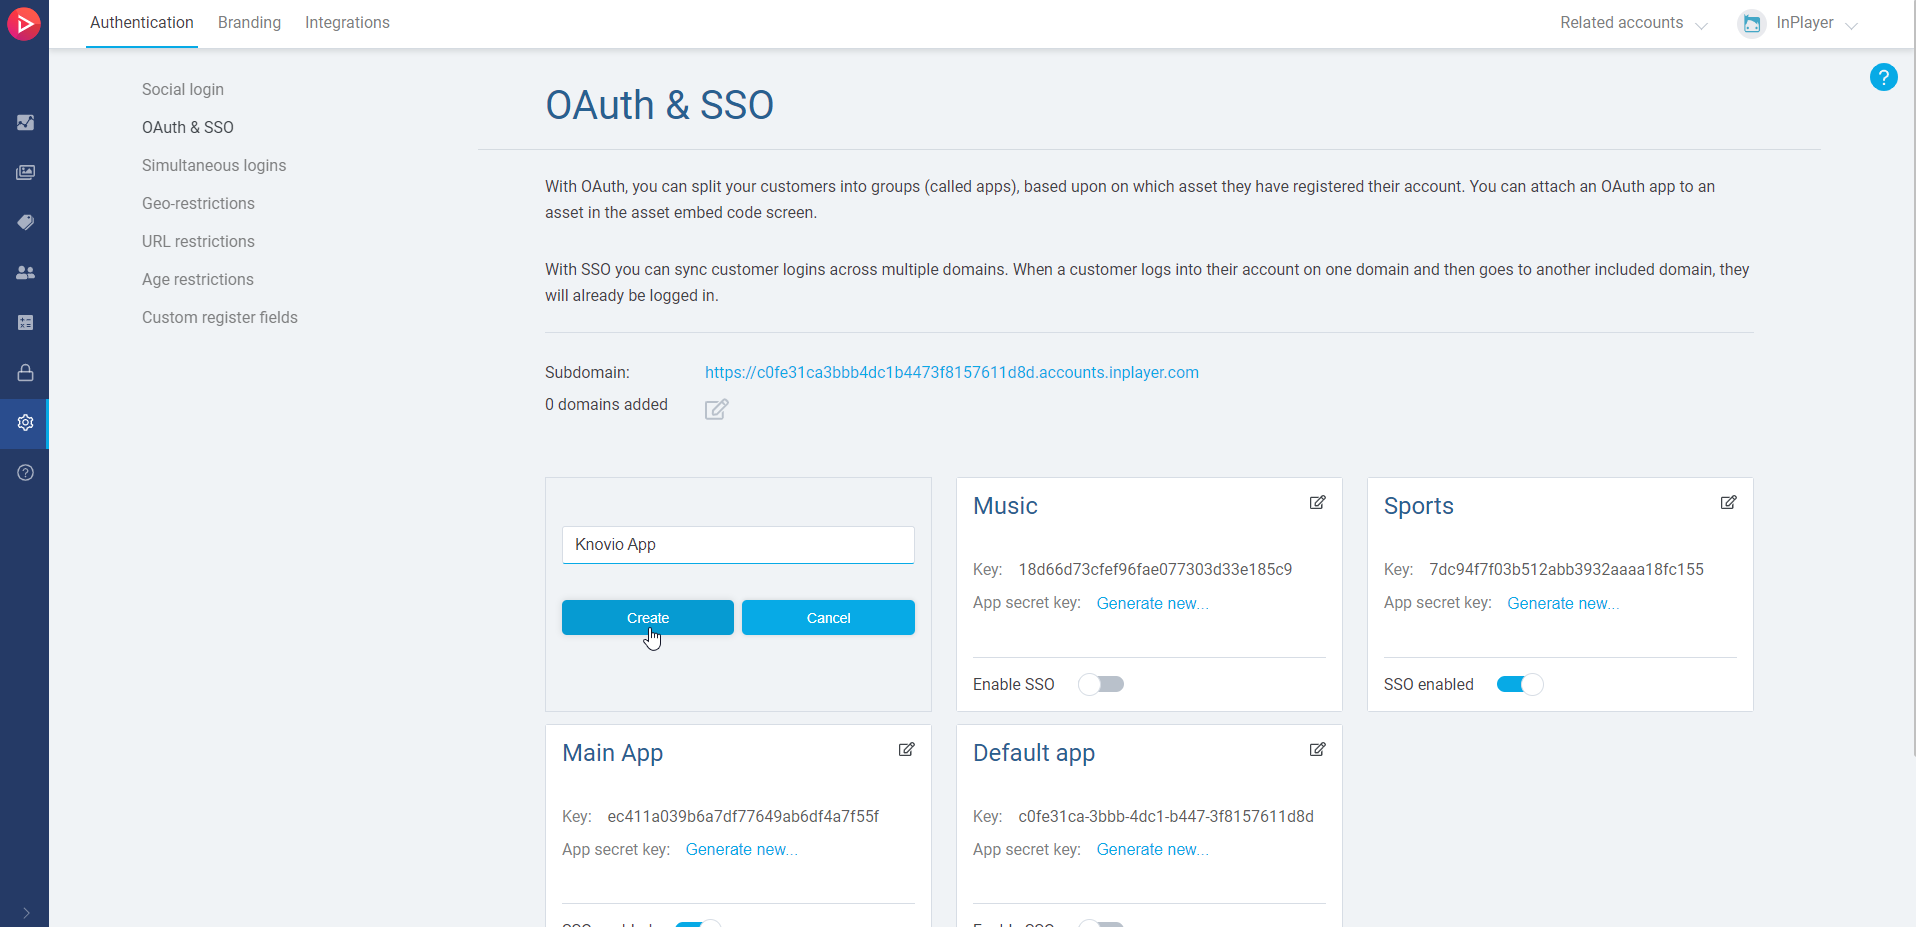
Create a new OAuth app by clicking on the New app box.
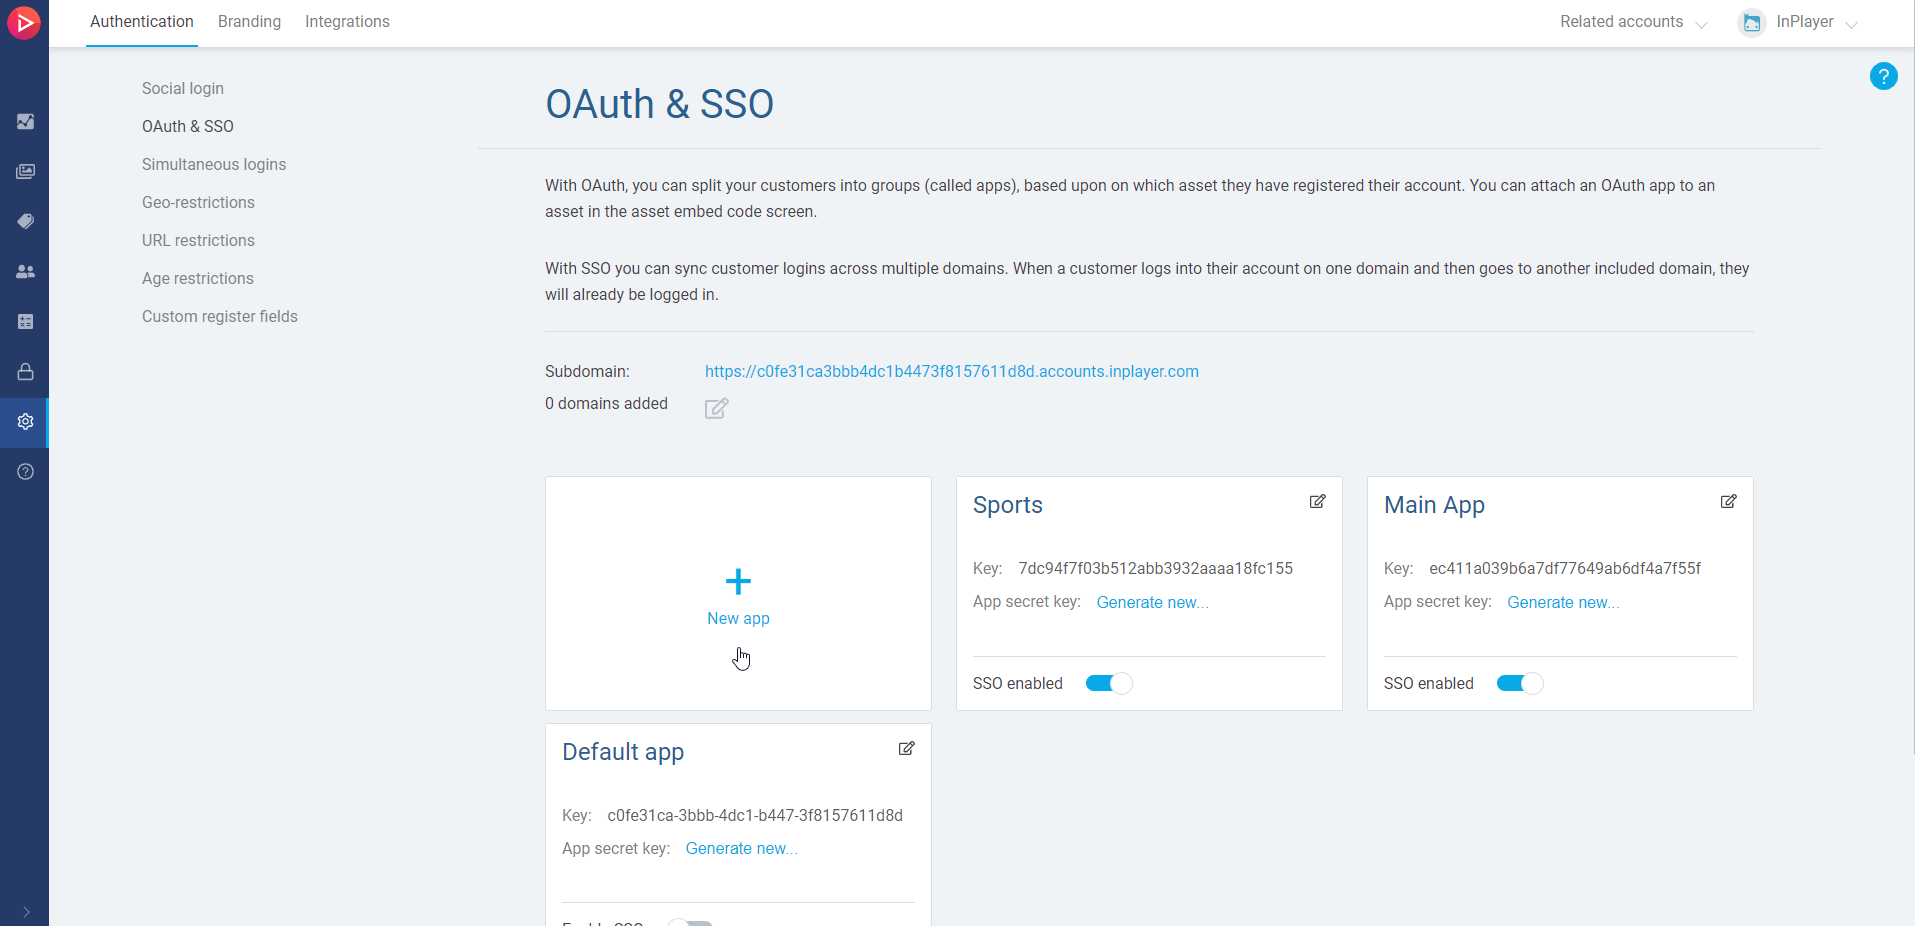
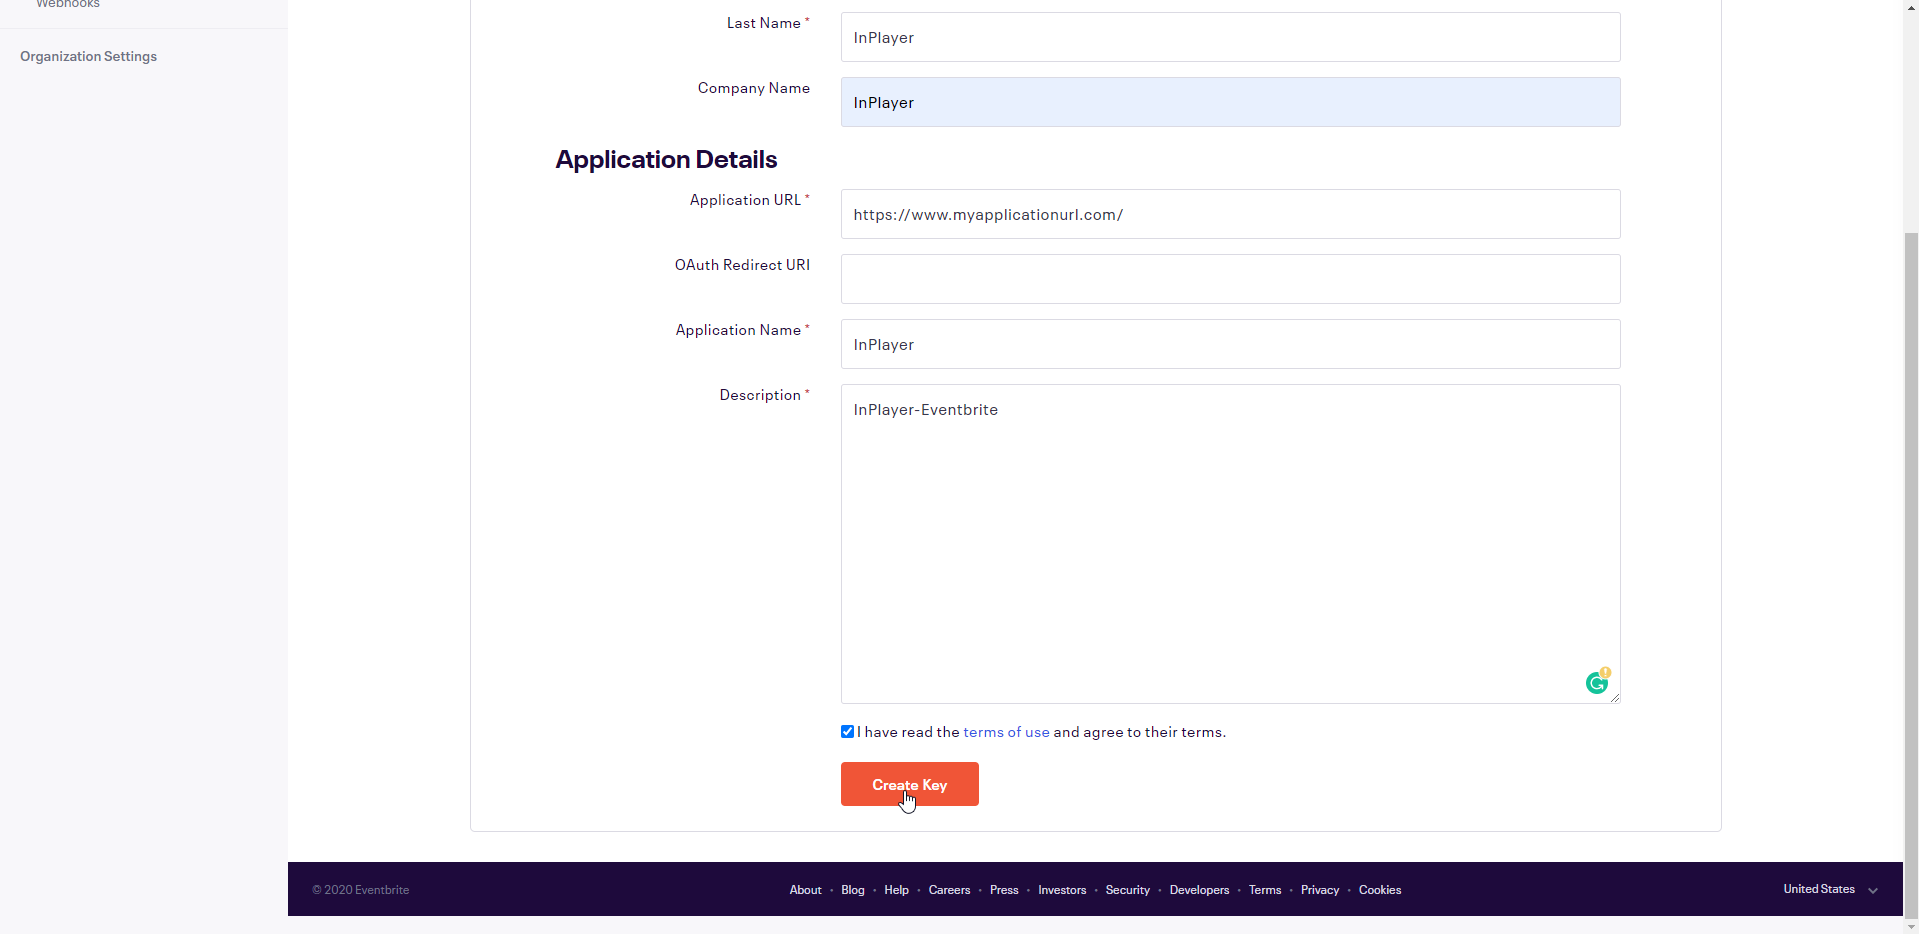
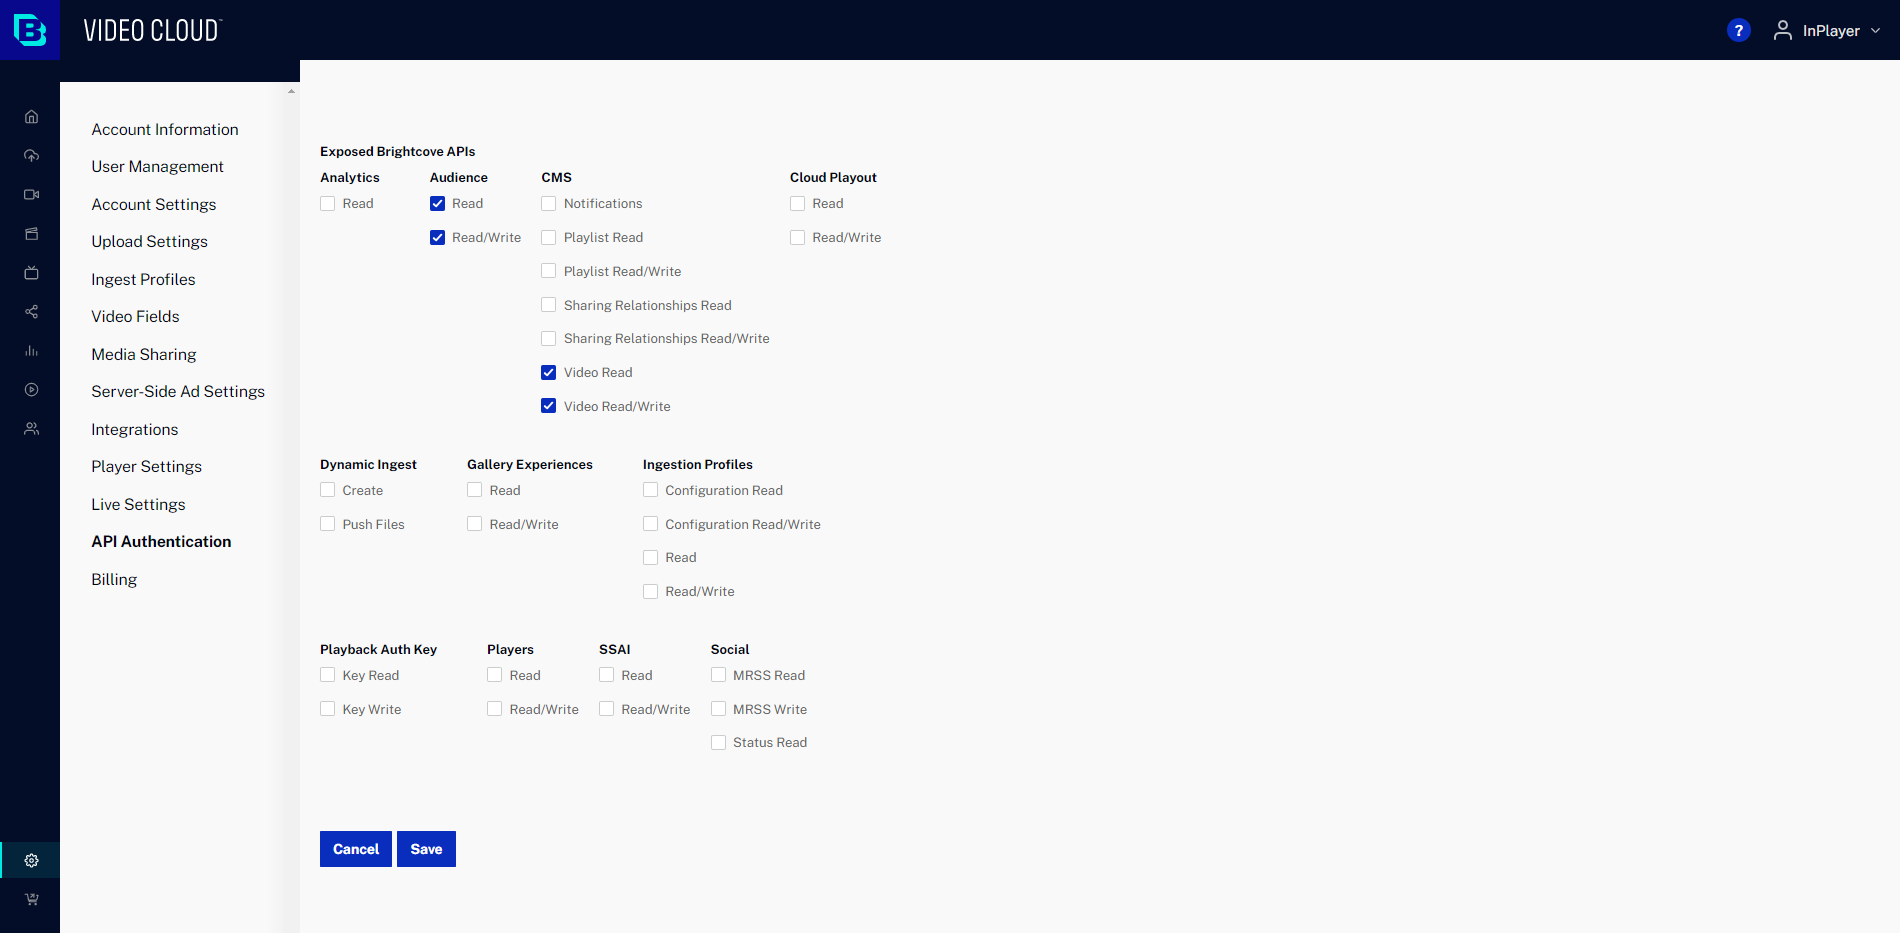
Give your new app a name and click Create.
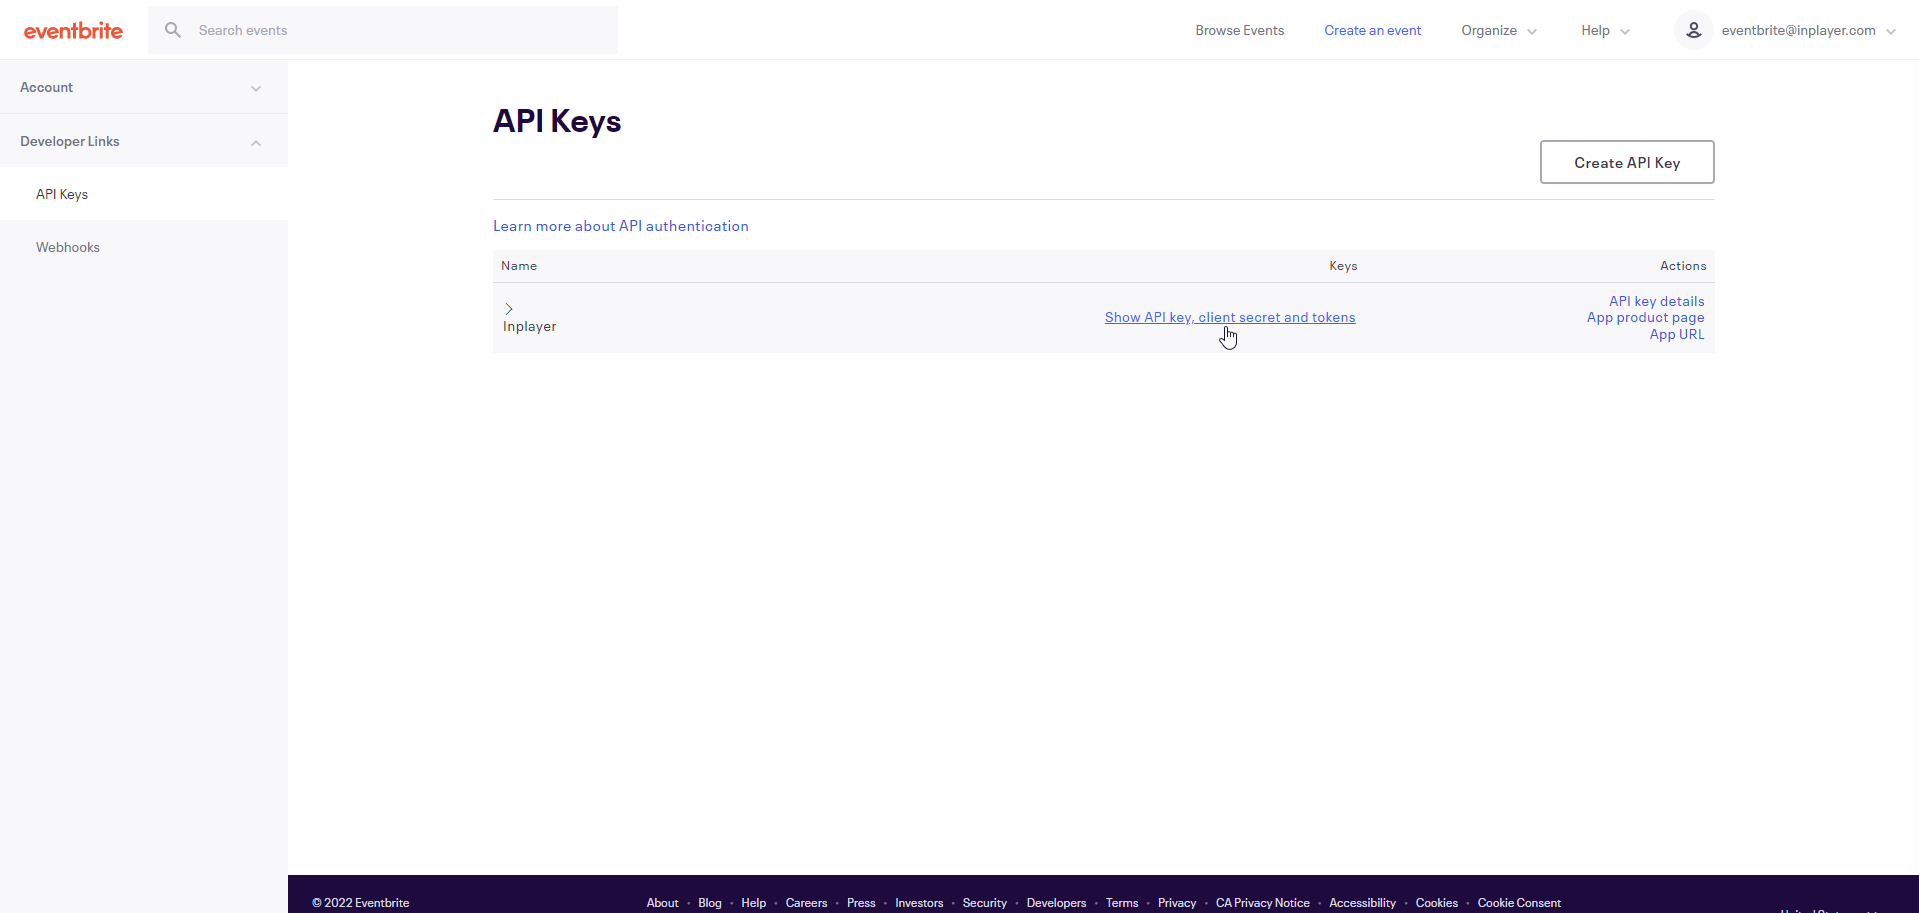
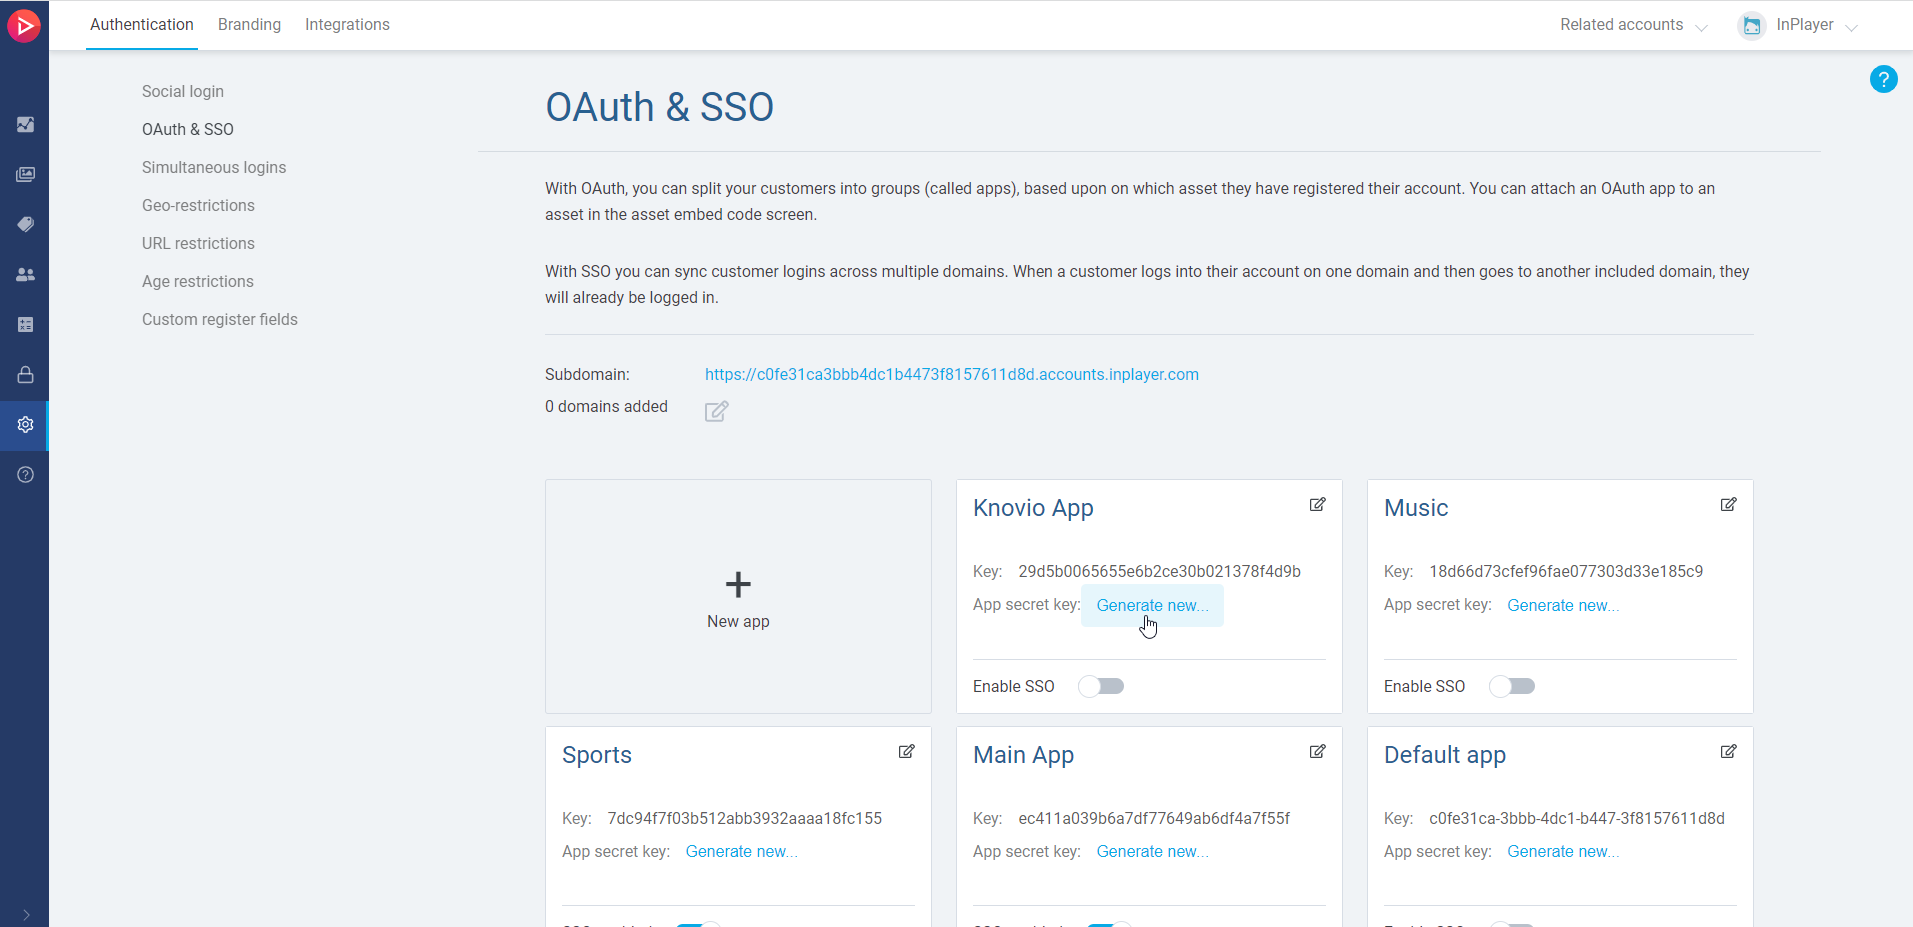
Once you create your new OAuth app, you will need it’s Key and Secret.
The Key will be shown in the app box, but you will have to generate a new Secret.
To do this, click on Generate new….
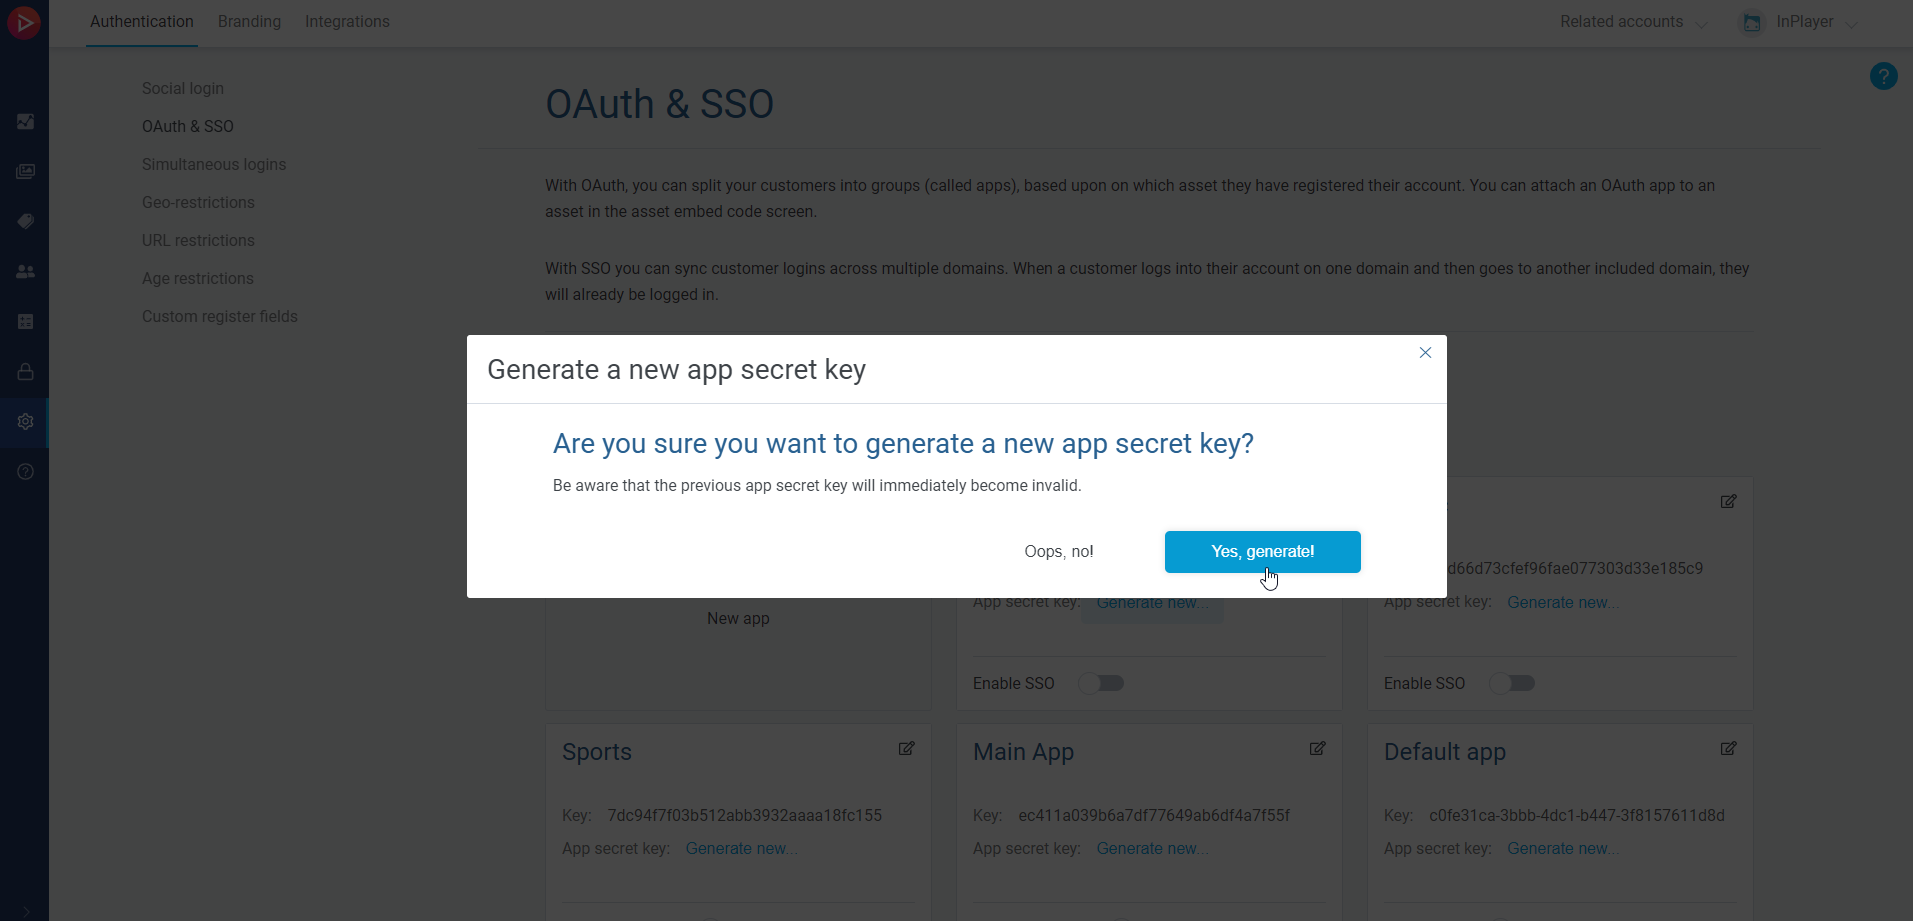
Confirm by clicking on Yes, generate!.
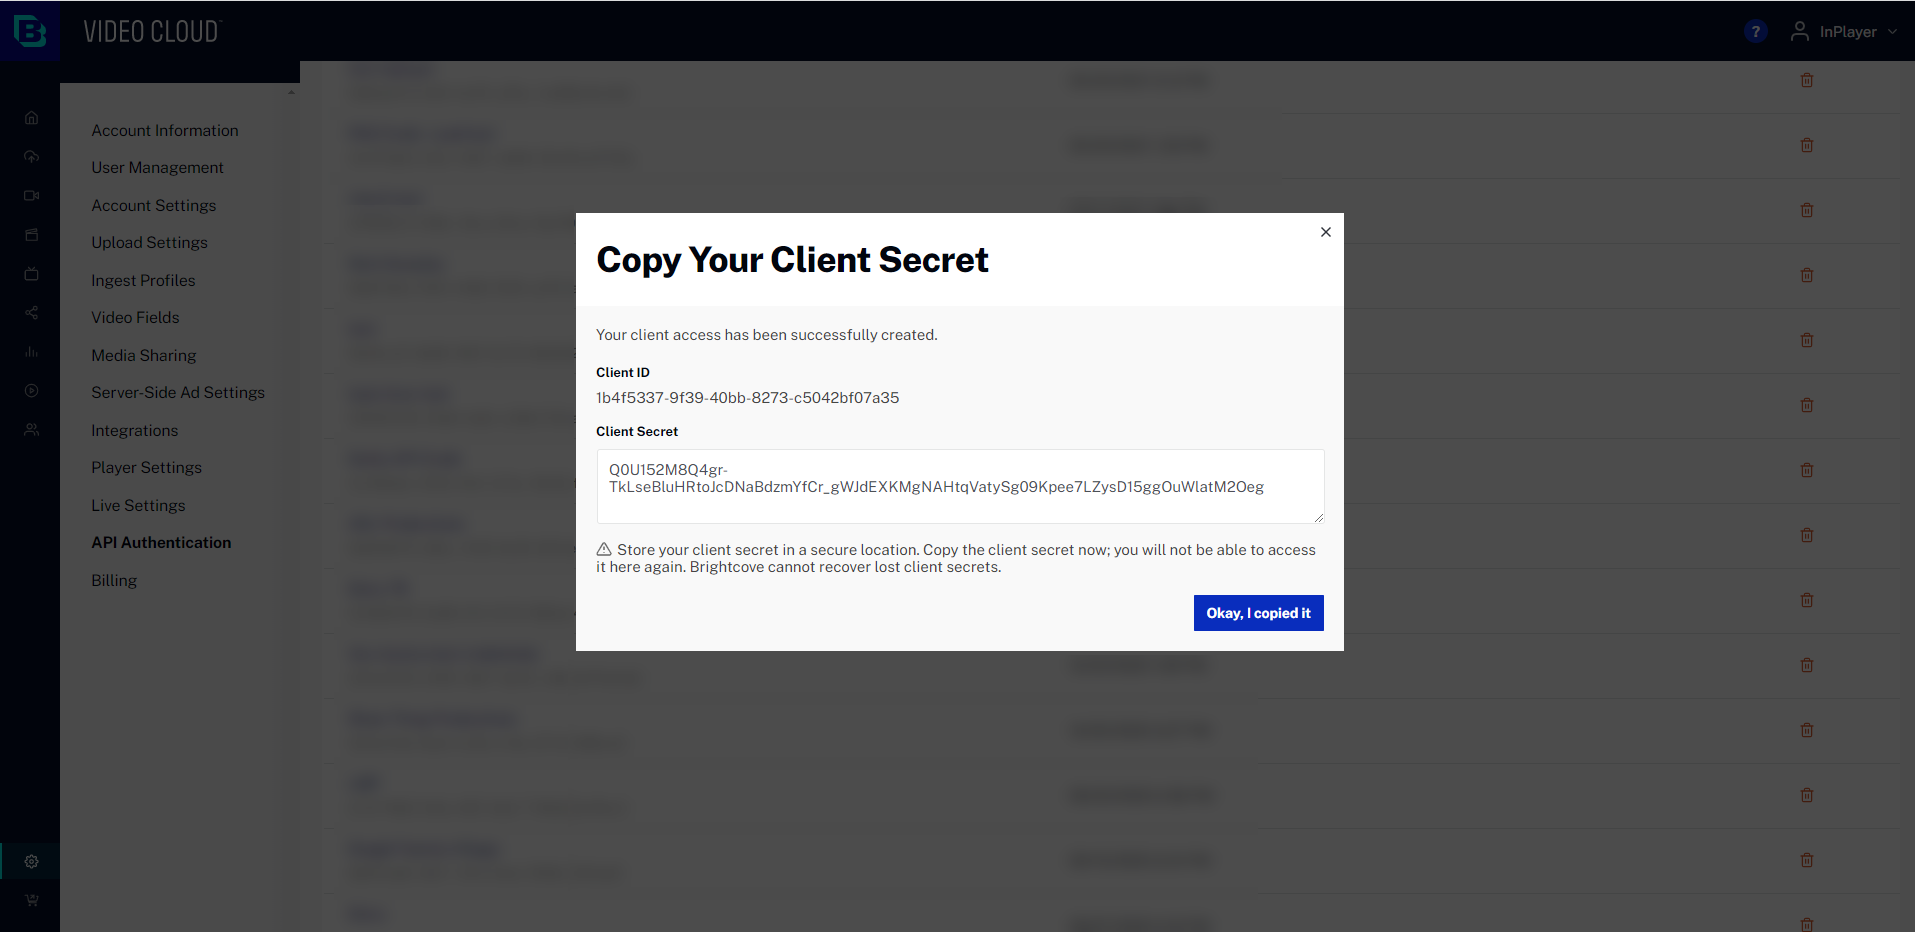
Your secret will be displayed in a new window.
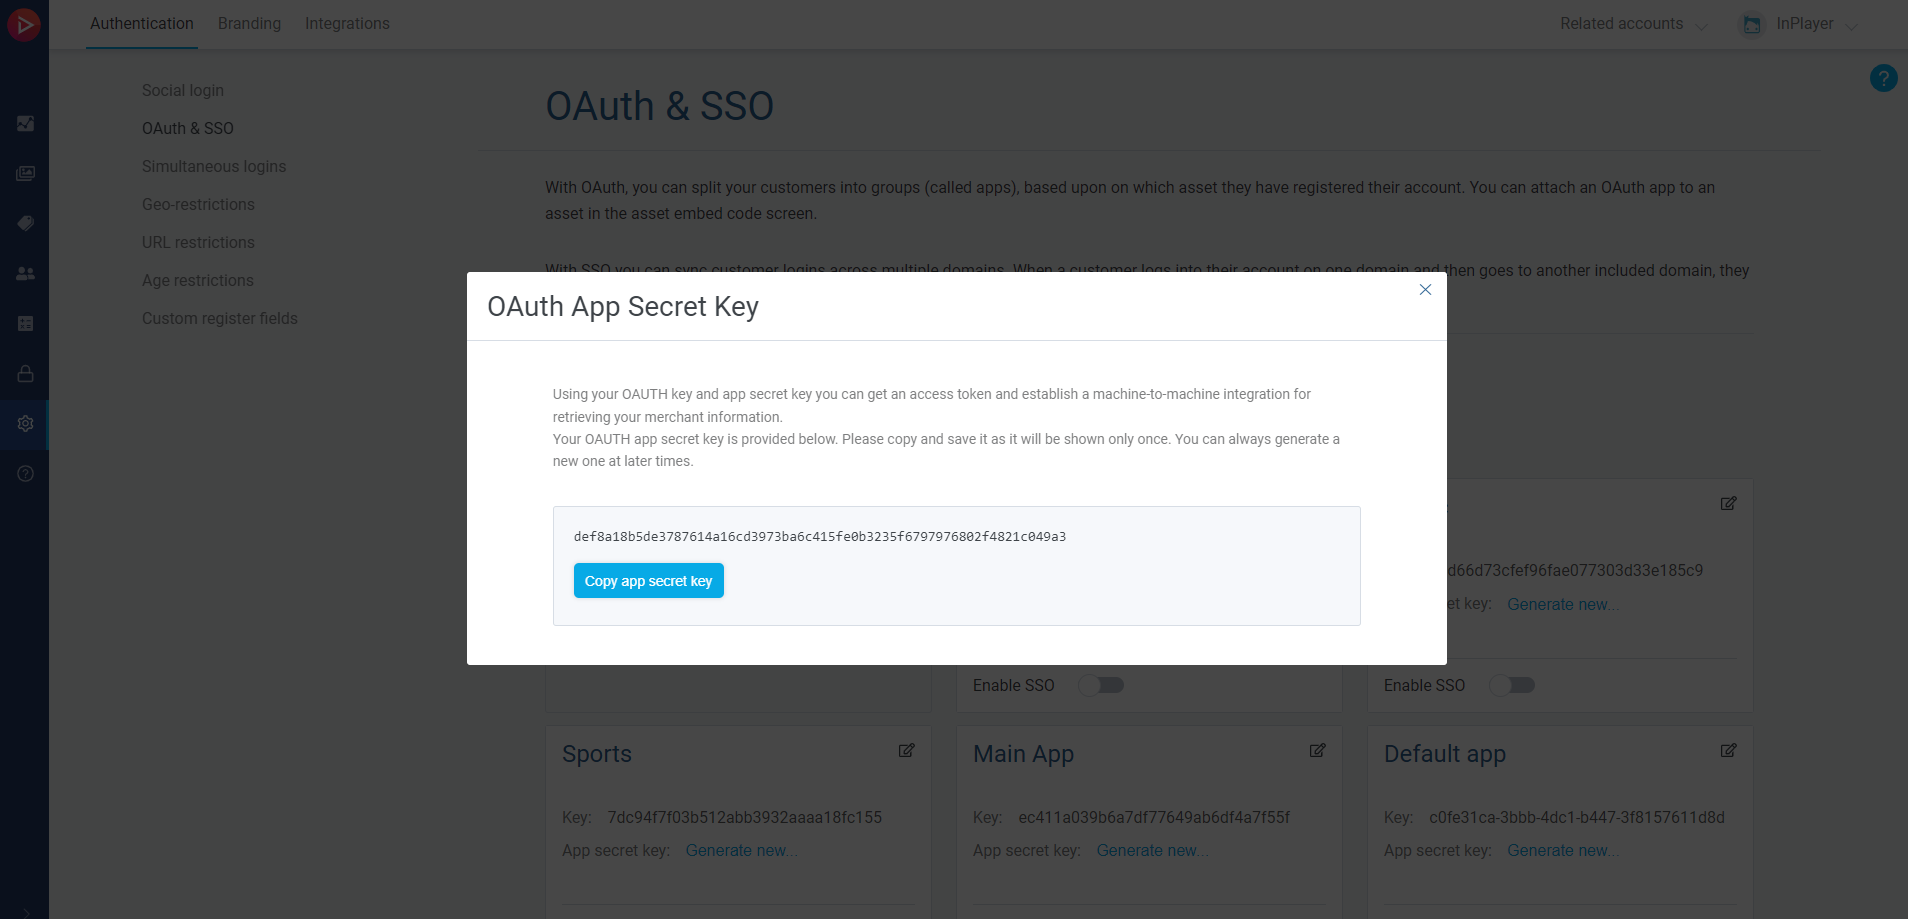
Copy the secret key by clicking on Copy app secret key and keep it somewhere safe. Note that once you close this window, you will not be able to see the secret ever again and if you happen to lose it or if its compromised, you will have to generate a new one.
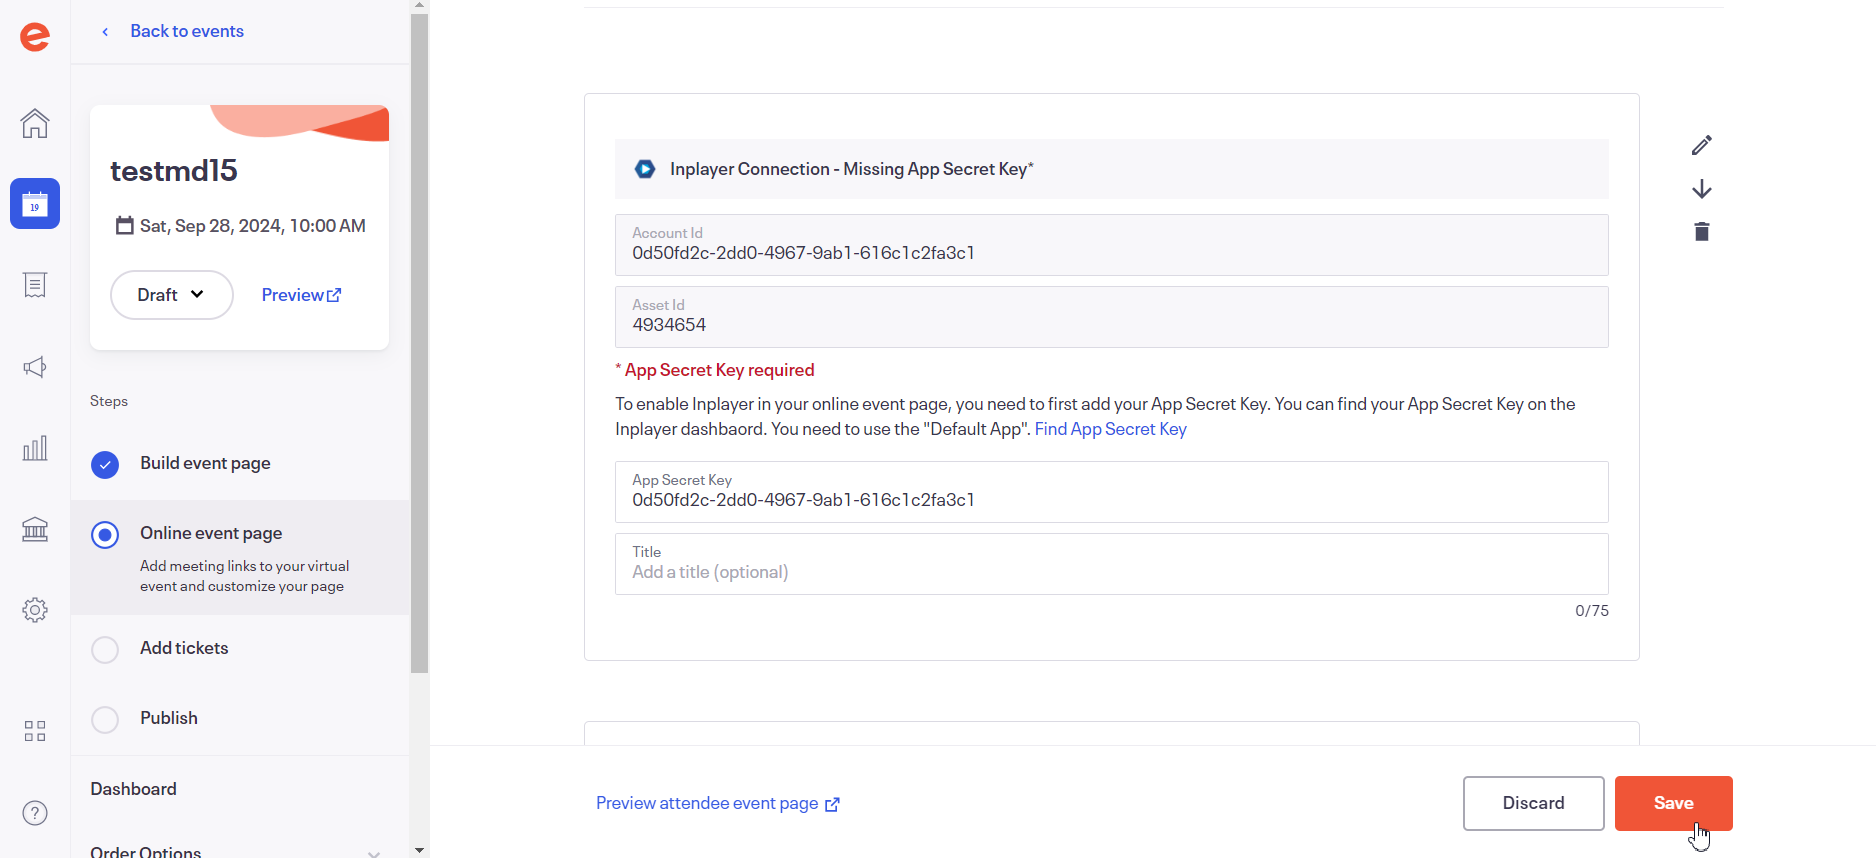
Once you have your Secret and your Key, send them over to Knovio’s support on support@knowledgevision.com, asking them to enable the paywall solution on your Knovio account.
Once they do, you can start monetizing your content.
Knovio setup
Once you get the confirmation from Knovio’s support team that the paywall feature has been enabled, you can start using it on your videos.
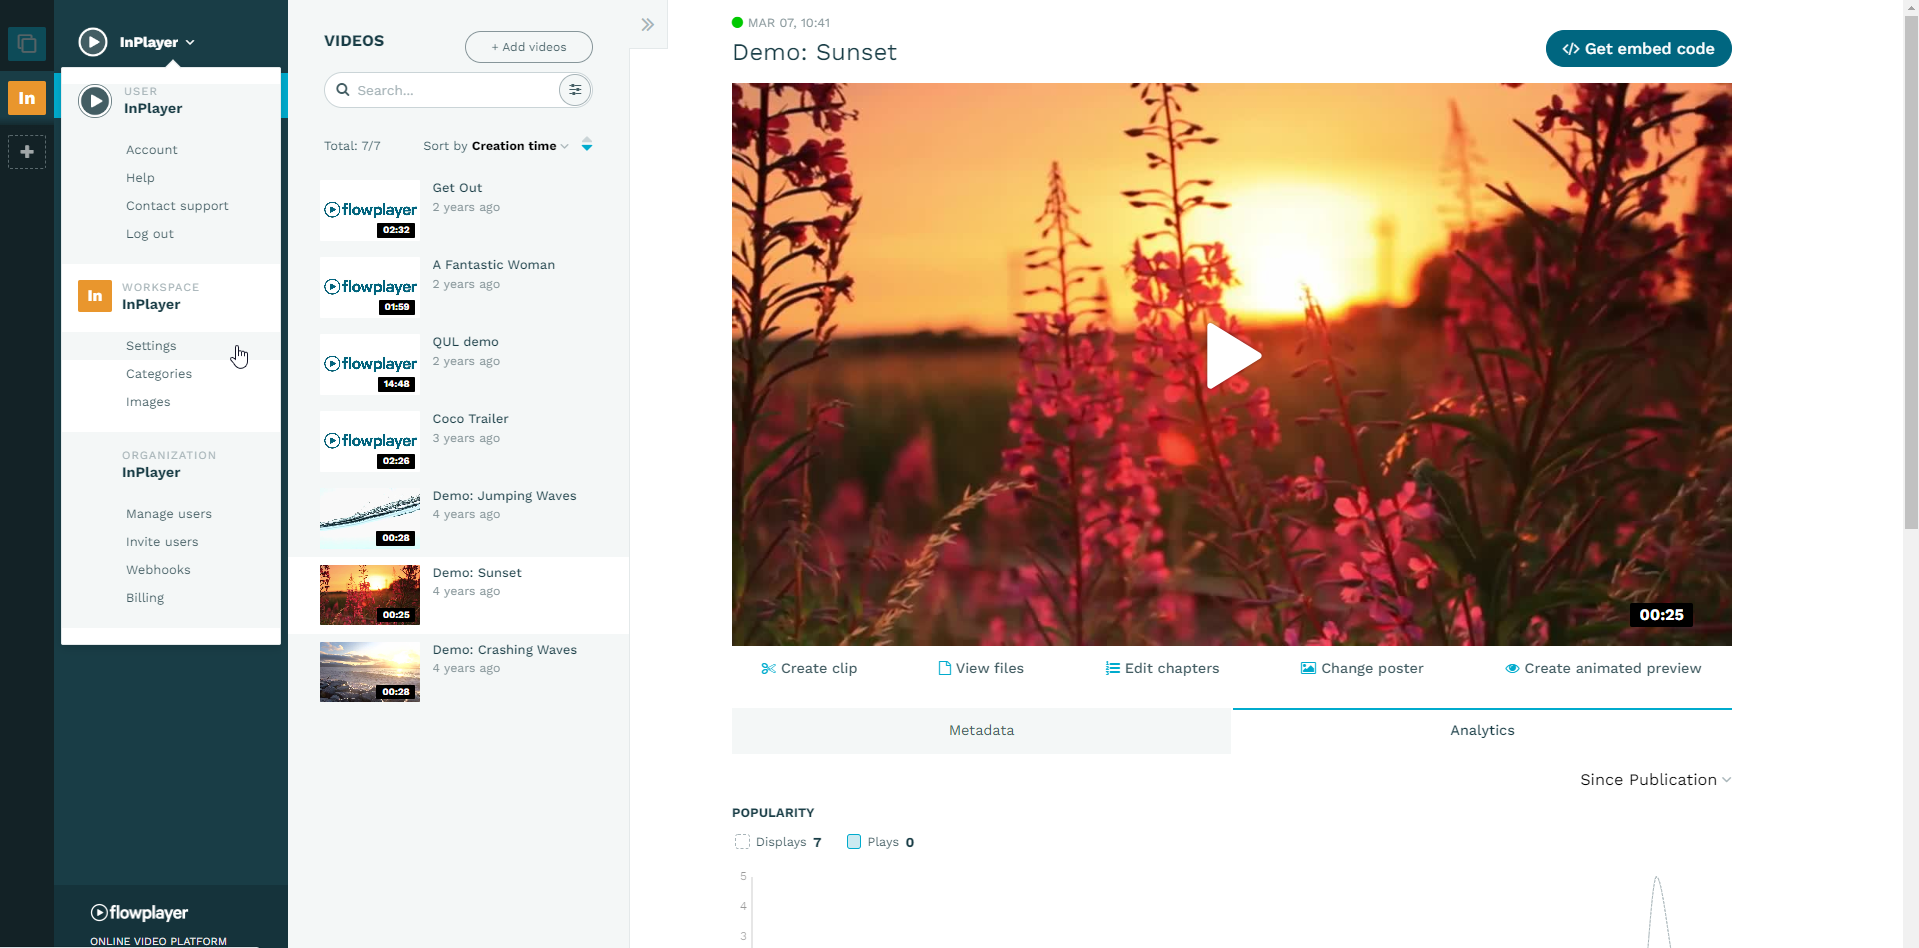
To do this, log into your Knovio account and go to your list of videos in the Manage tab.
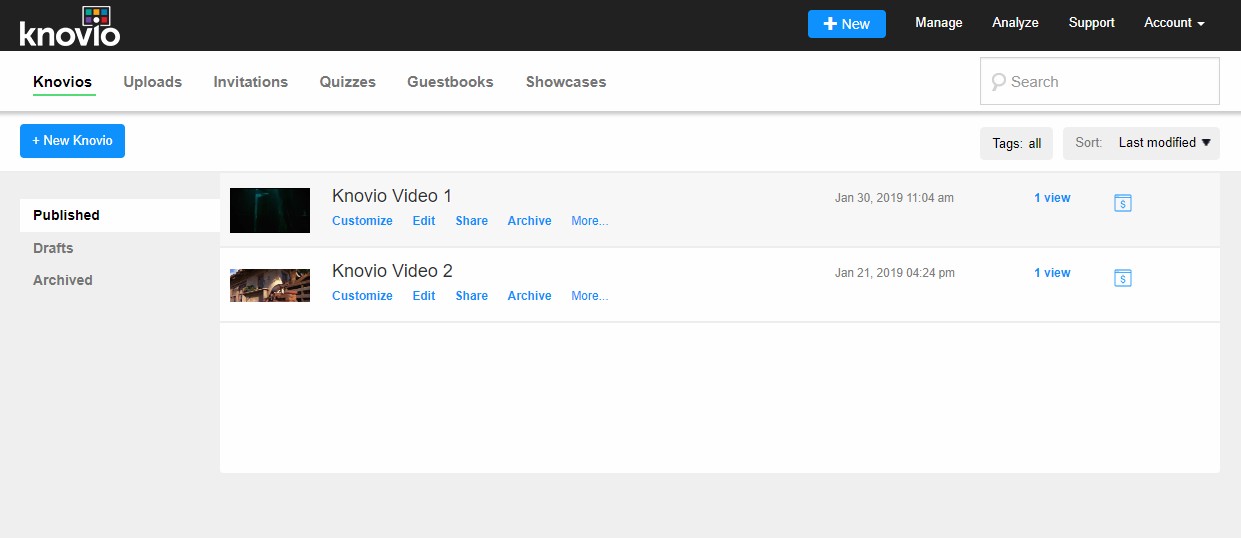
On the video you wish to monetize, click Share, and scroll down to the Sharing Settings section.
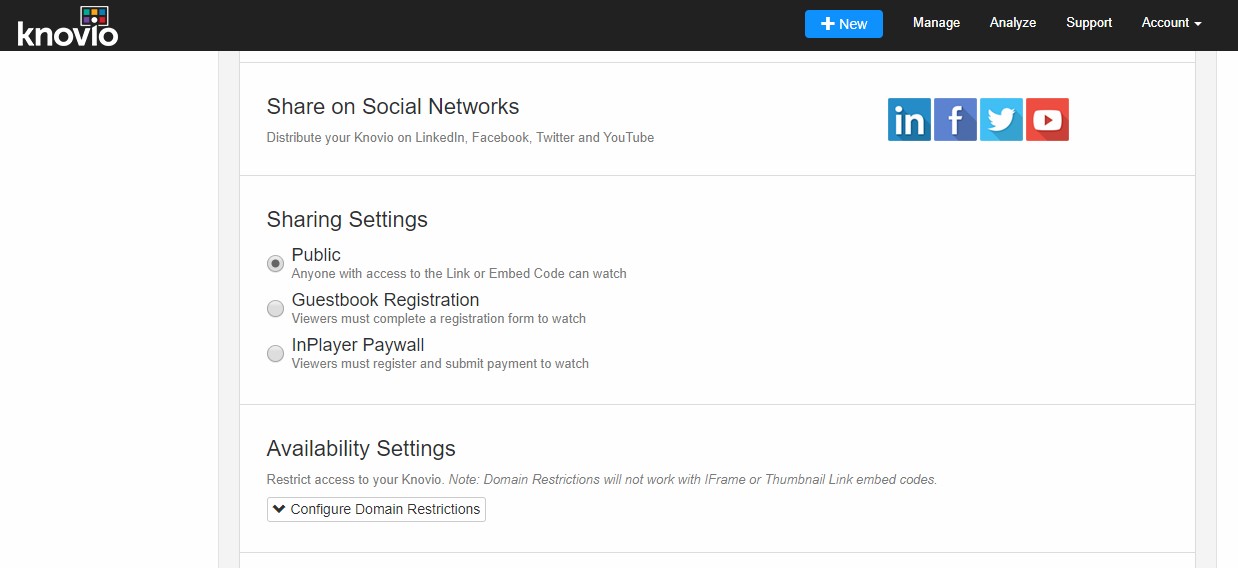
In the Sharing Settings, choose InPlayer Paywall.
In the new window, enter the Title and Description that will appear on the paywall screen in front of the video, and select the InPlayer Branding Theme (if you have one set up).
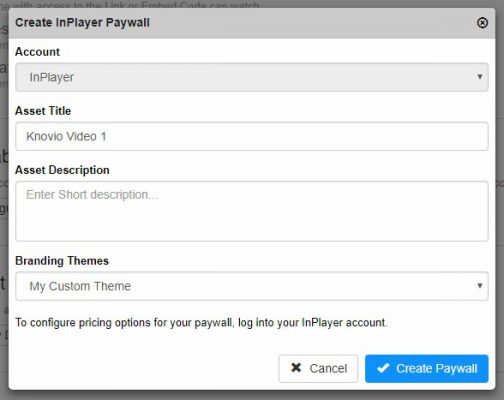
Then click on Create Paywall.
Next, you will need to set up the pricing for your video. To do this, click on the Edit Paywall button.
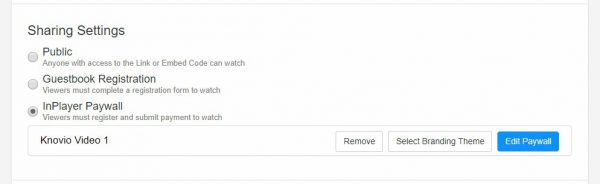
You will be redirected to your InPlayer dashboard and land directly into the properties of your video asset.
Here, you can set up your asset’s properties.
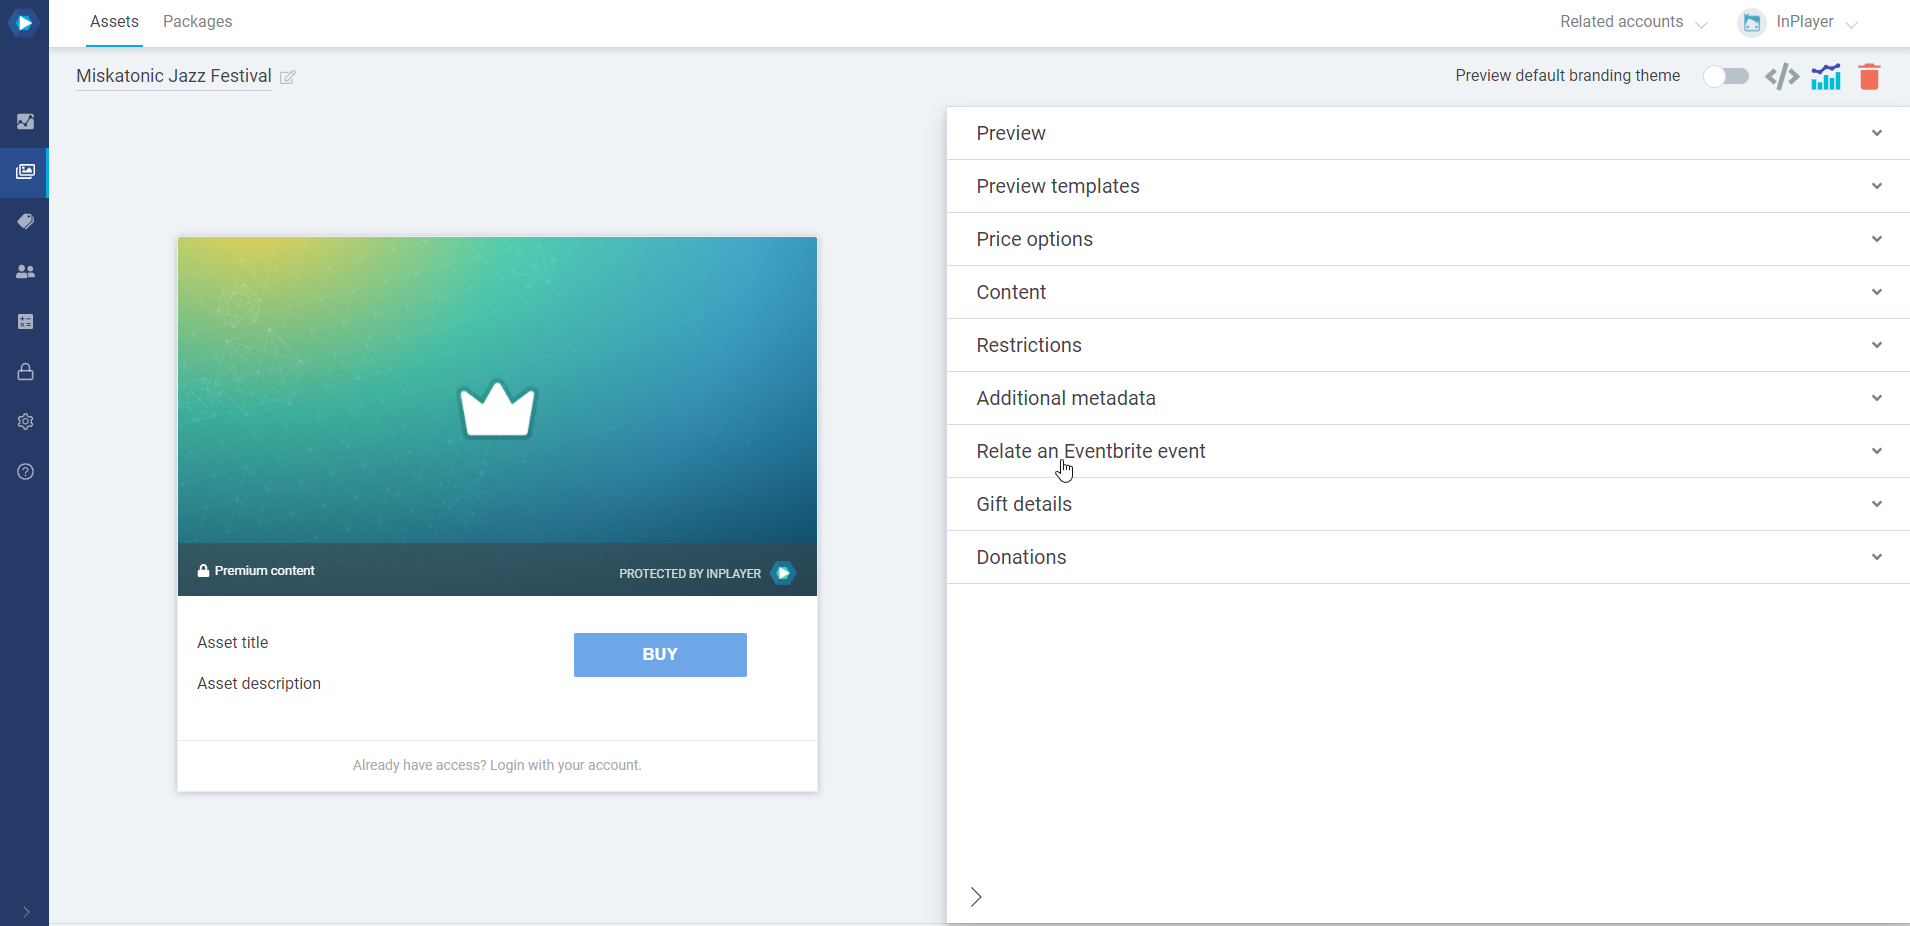
Setting up the InPlayer asset
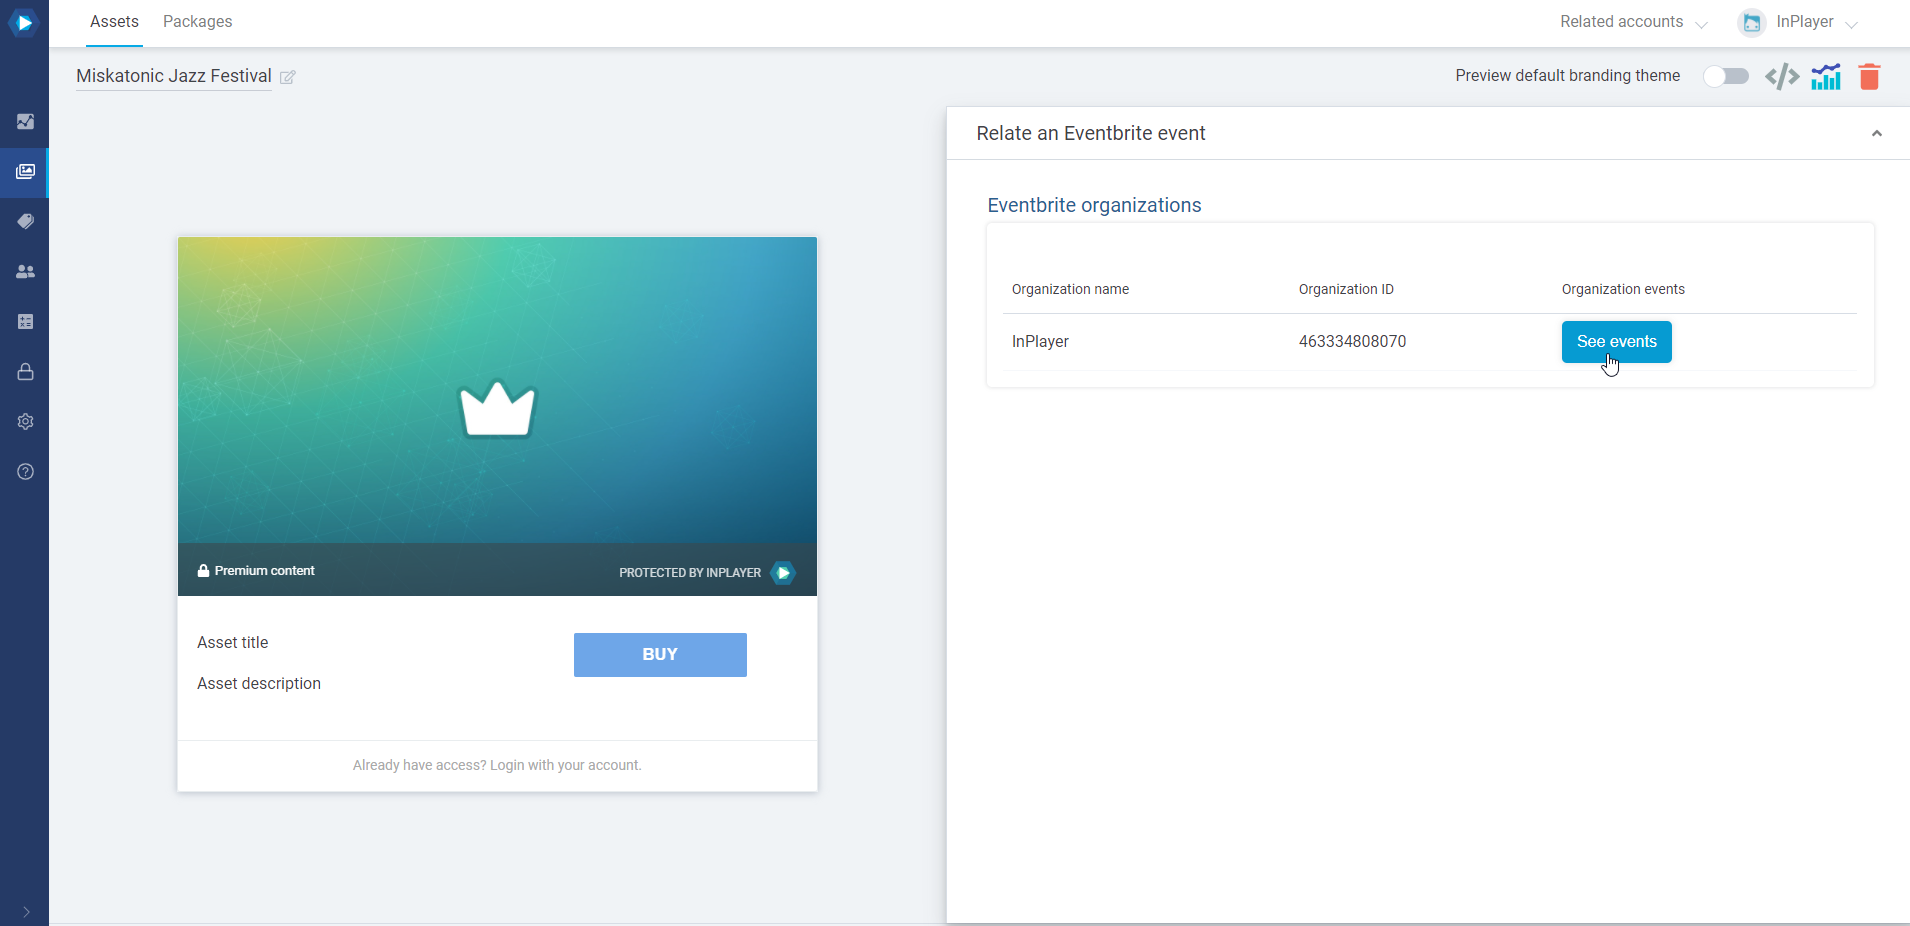
The right side of the screen is where you can set everything up, and the left side provides a preview where you can see how the various sections of the assets will look on your webpage.
Preview
In the Preview section, set up the preview title, description, and thumbnail as well as the text for the BUY button. These will be the details that will appear on the actual asset preview when you embed it on your webpage.
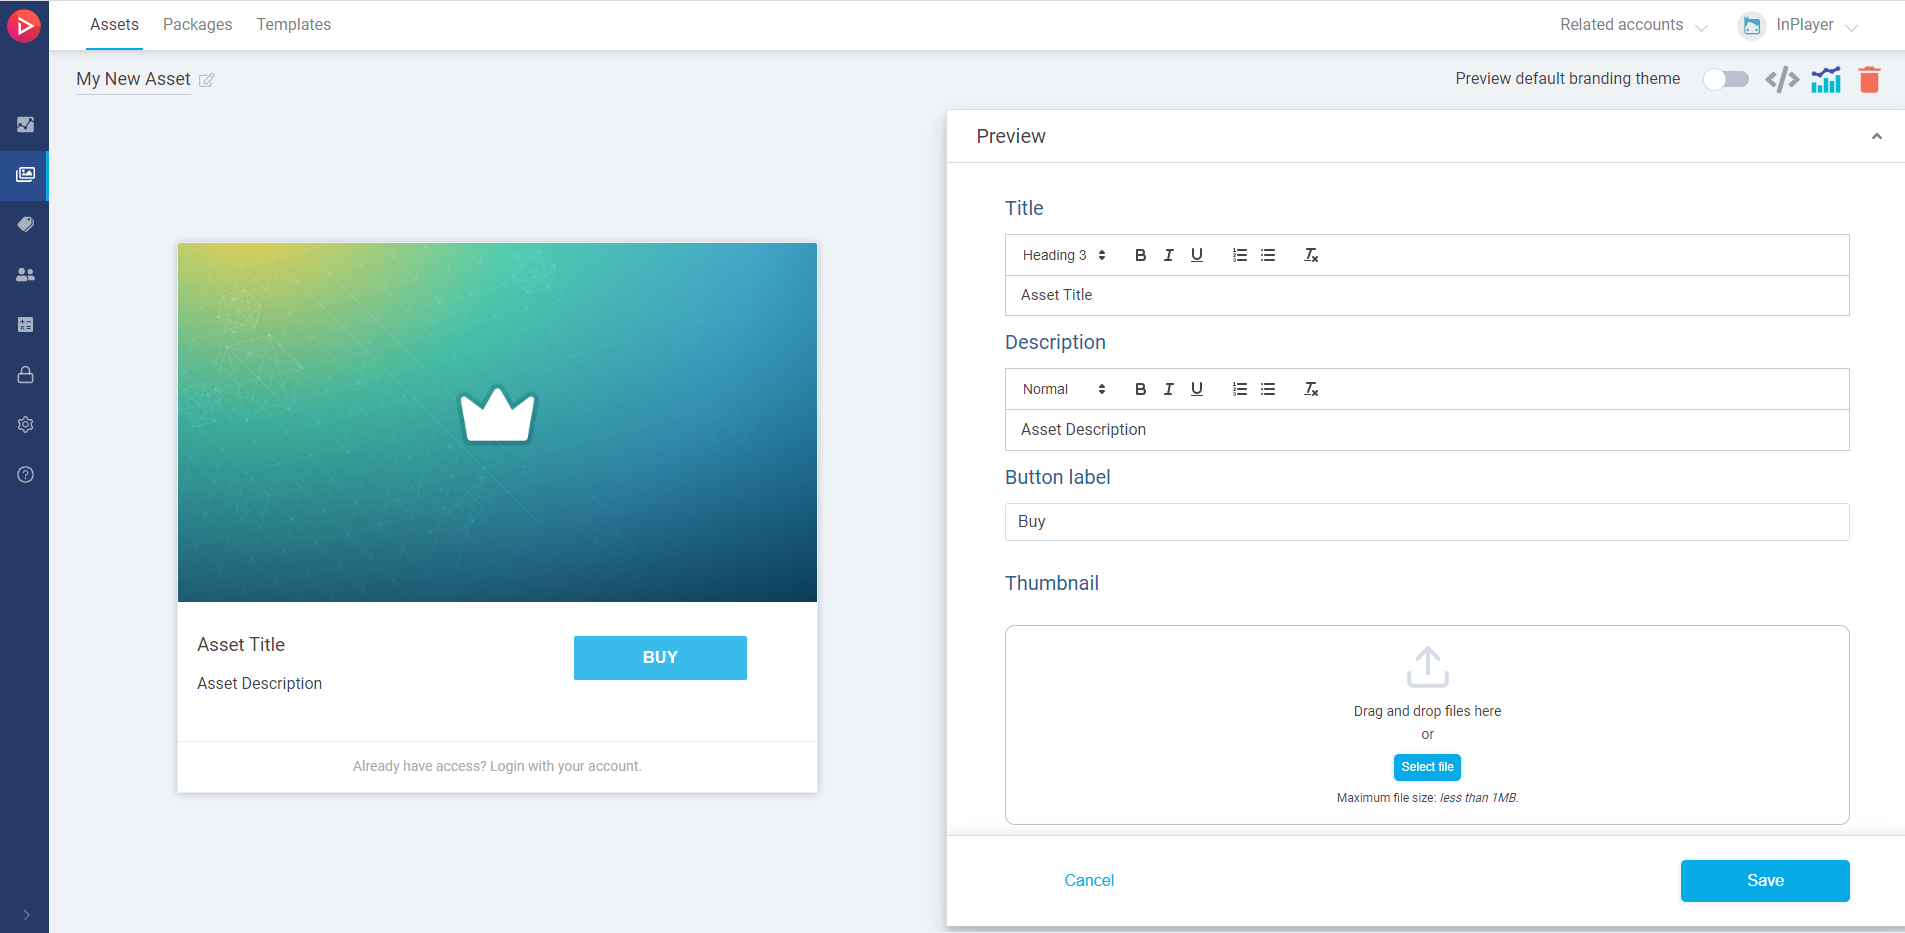
Note that the Title will also appear on the final payment form on the paywall, as well as the notification email your viewers will receive.
After setting everything up, make sure to click the Save button in the bottom right corner.
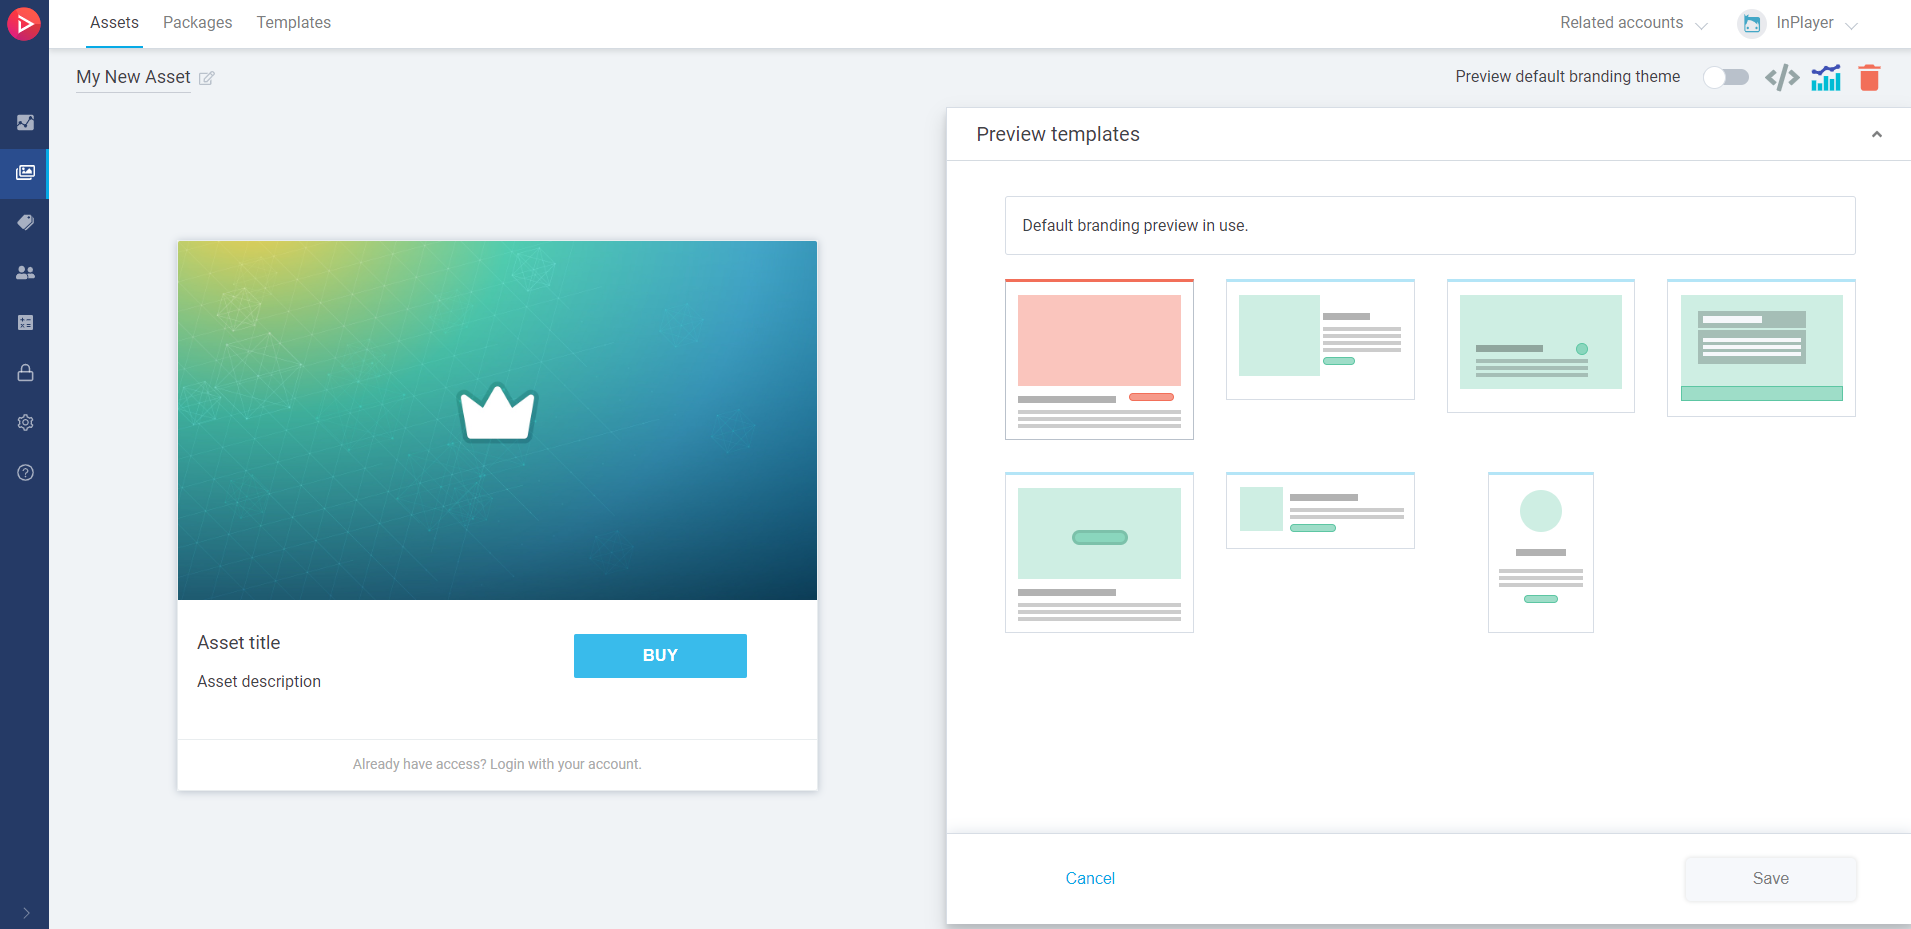
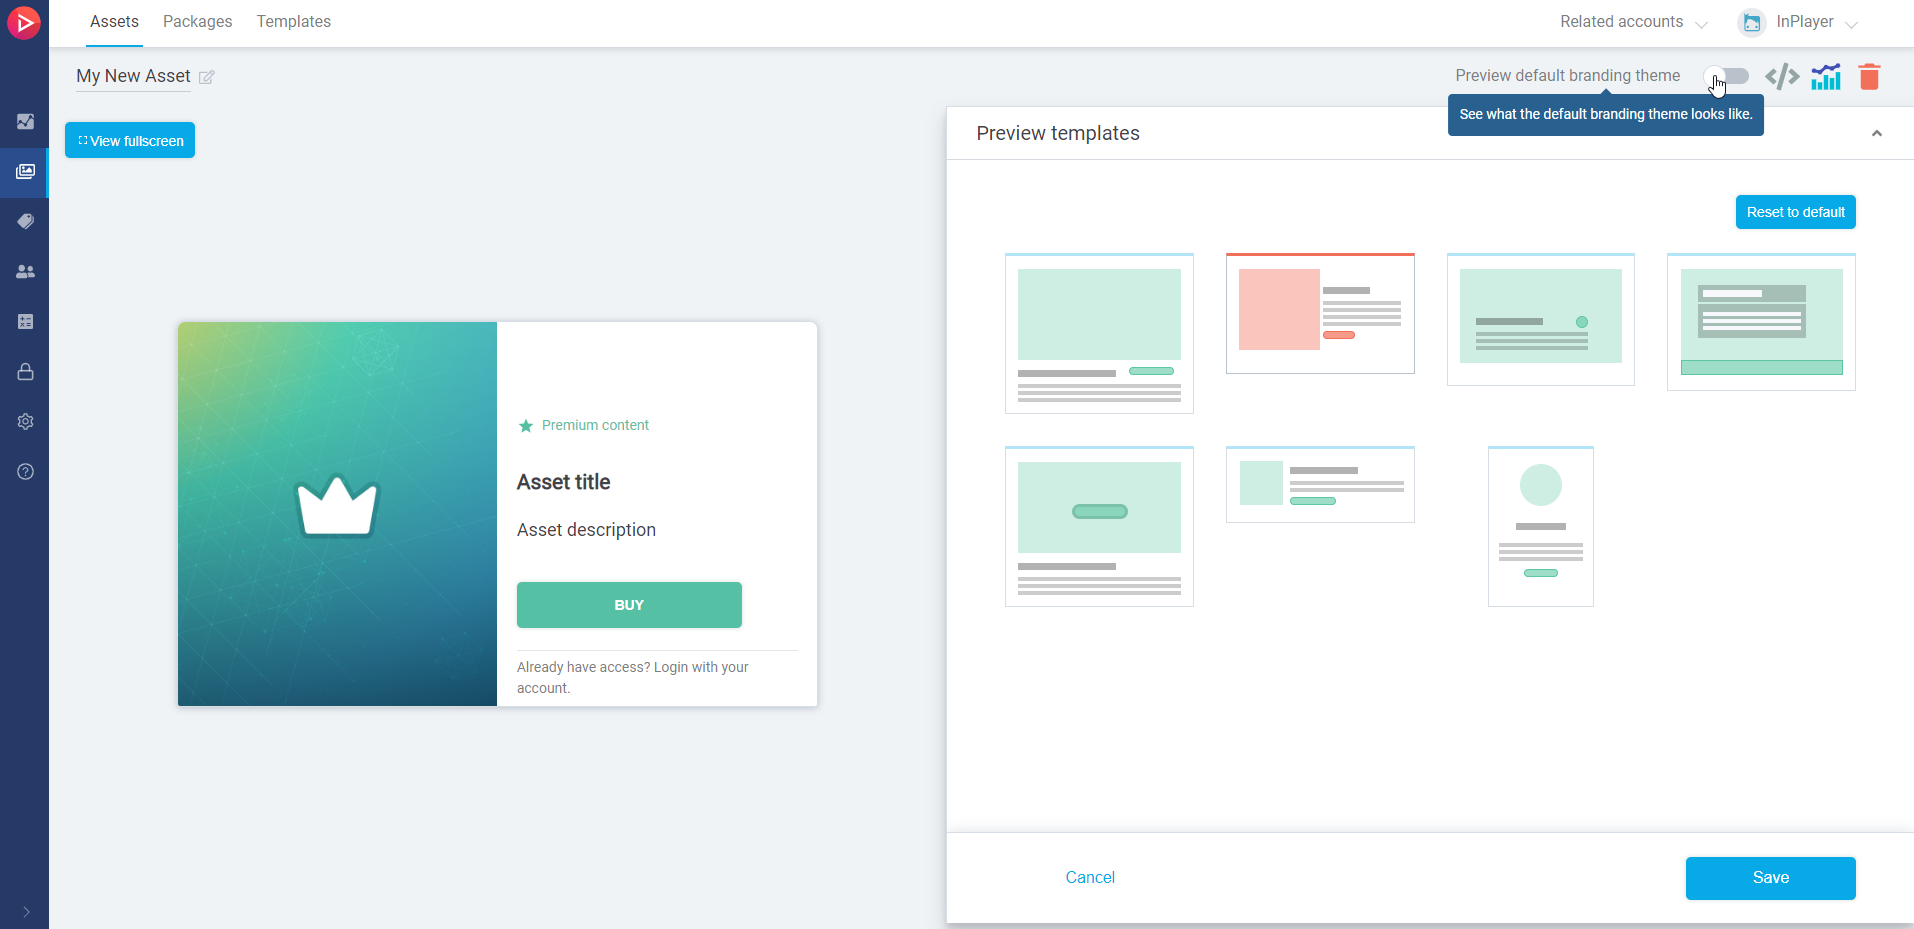
Preview templates
In the Preview templates section, you can choose how the asset will appear when you embed it on your webpage.
You can go with the default preview, or select one from the list.
If you’ve set up a default branding theme in your dashboard Settings, where you’ve selected a default preview template, and you want to use that template for this asset as well, make sure to click the Reset to default option.
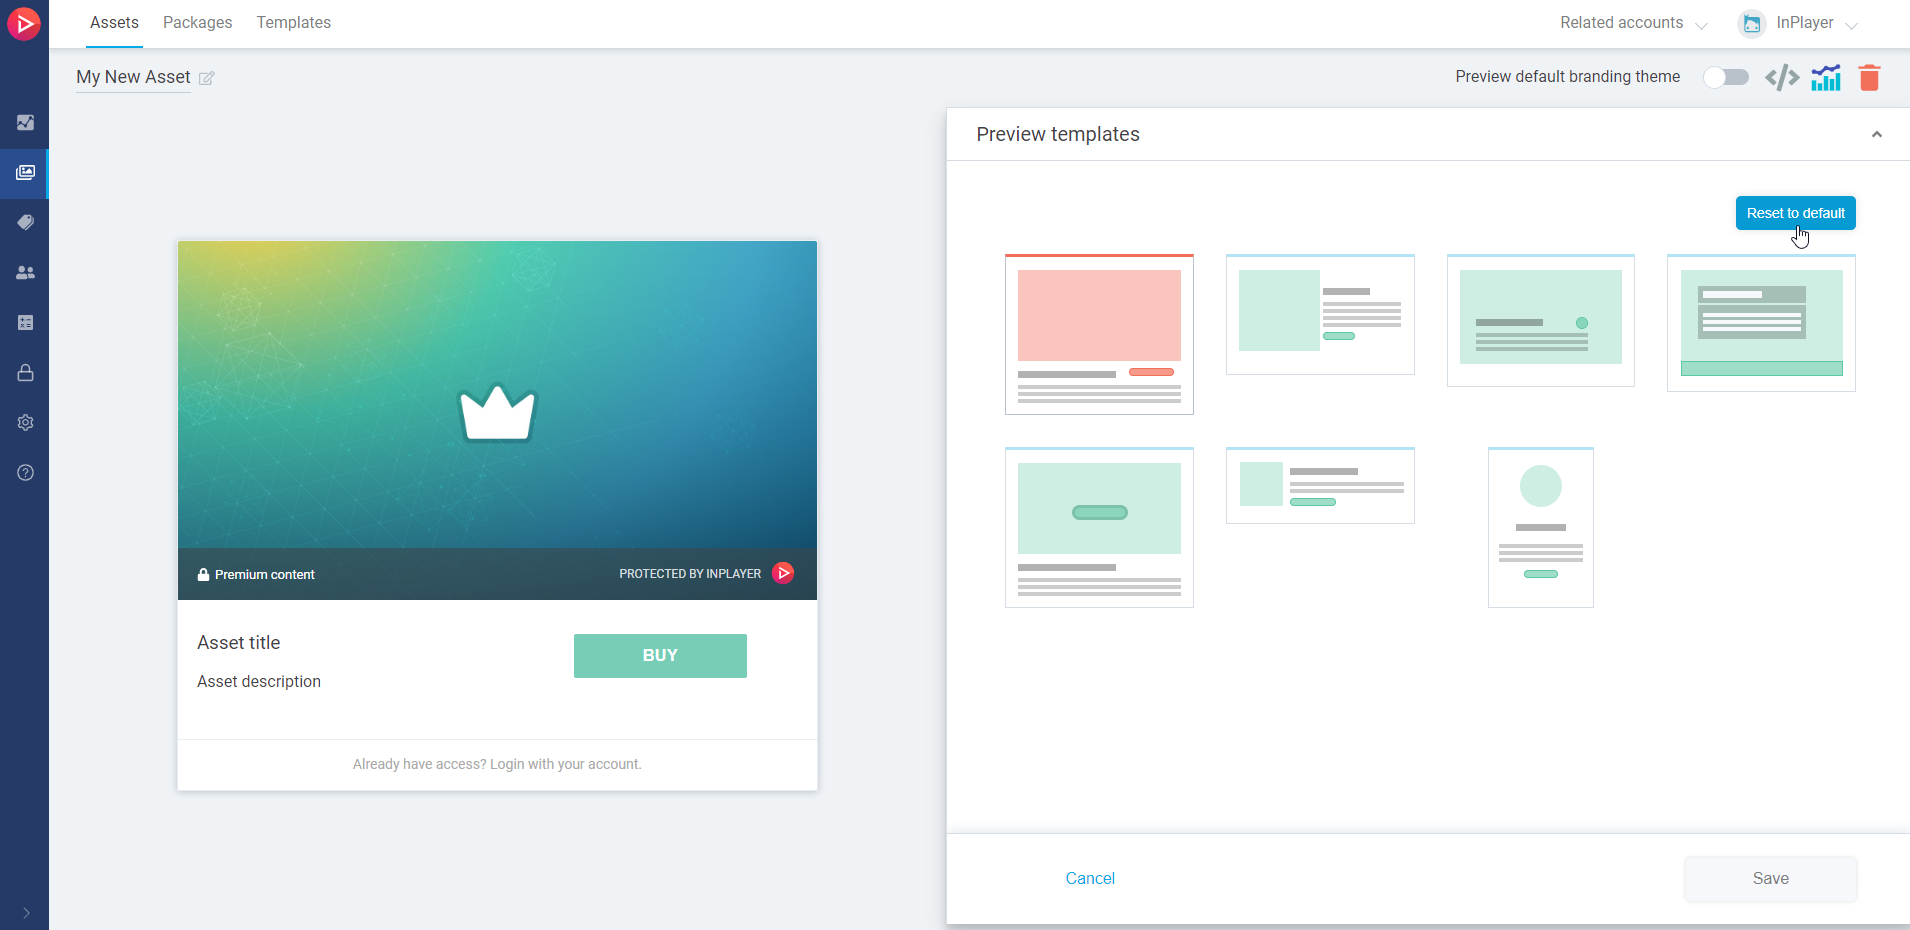
If, however, you wish to use a separate preview template for this asset, despite the fact that you have set up a default one in your branding theme, make sure to choose a preview template and then click on Save.
When choosing your preview template, you can click on the View fullscreen button at the top left to see how that template would look on various screen sizes.
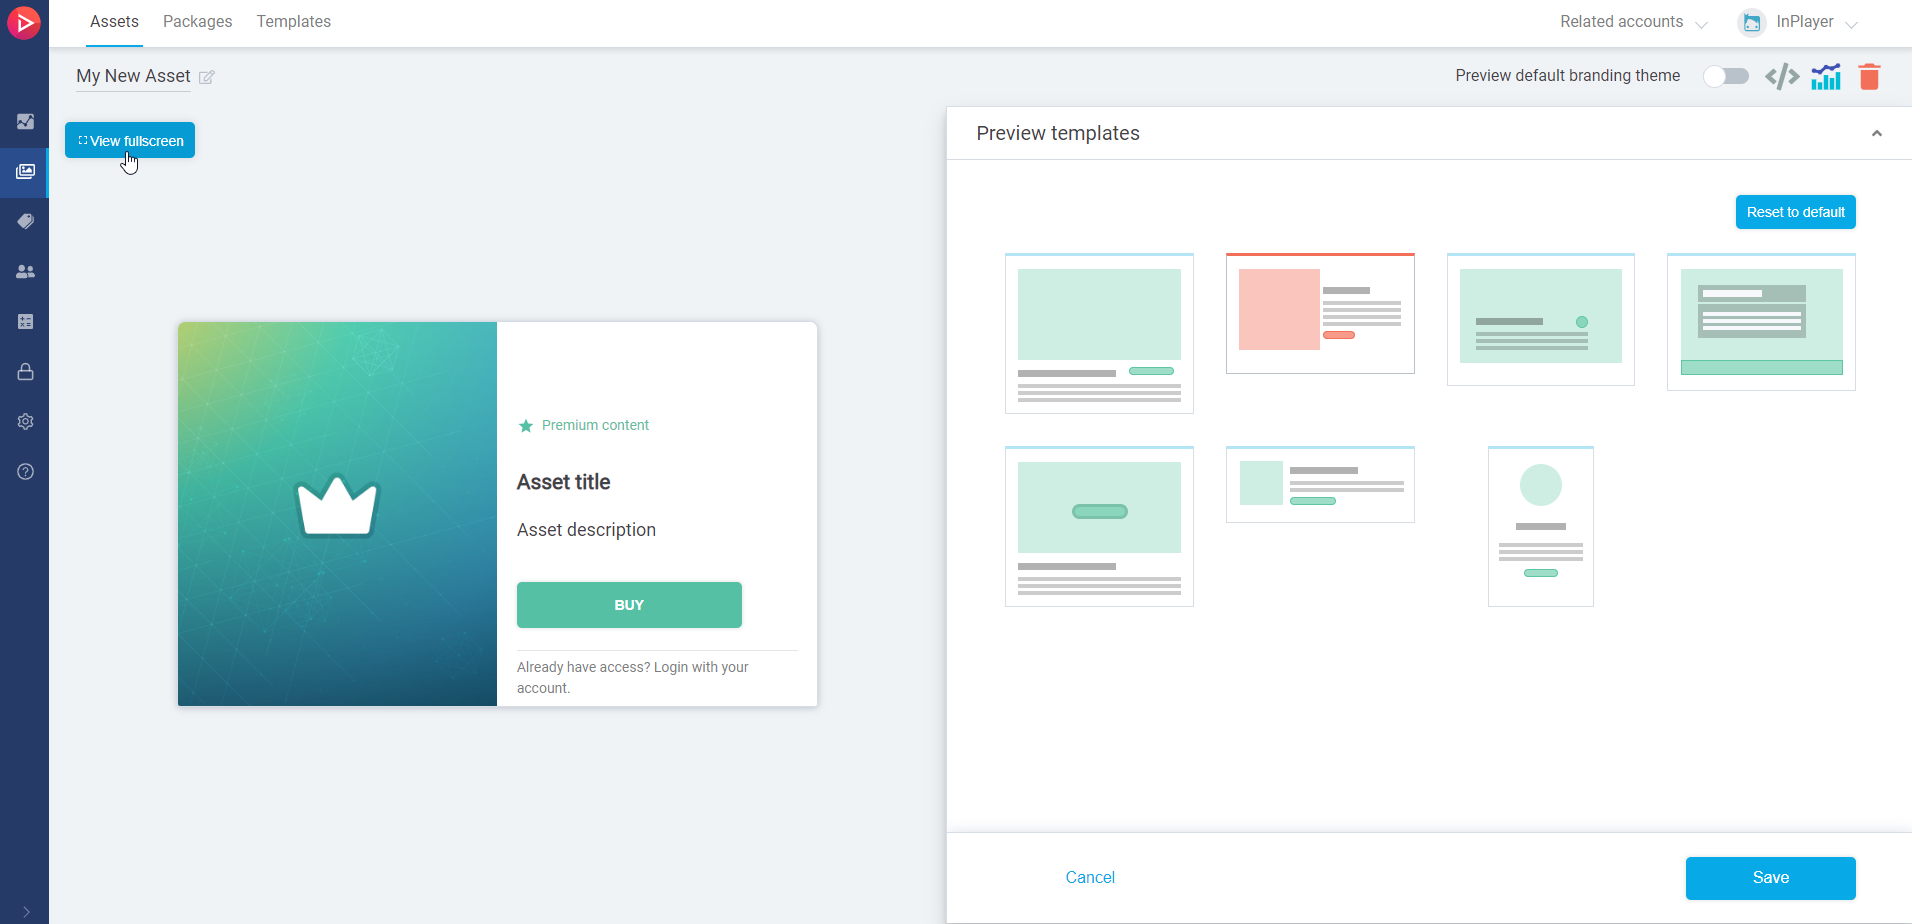
After setting everything up, make sure to click the Save button in the bottom right corner.
Preview default branding theme
If you have set up a default branding theme in the Settings (more on this here), you can see how the asset will look like once the theme will be applied to it.
To do this, just click the Preview default branding theme toggle.
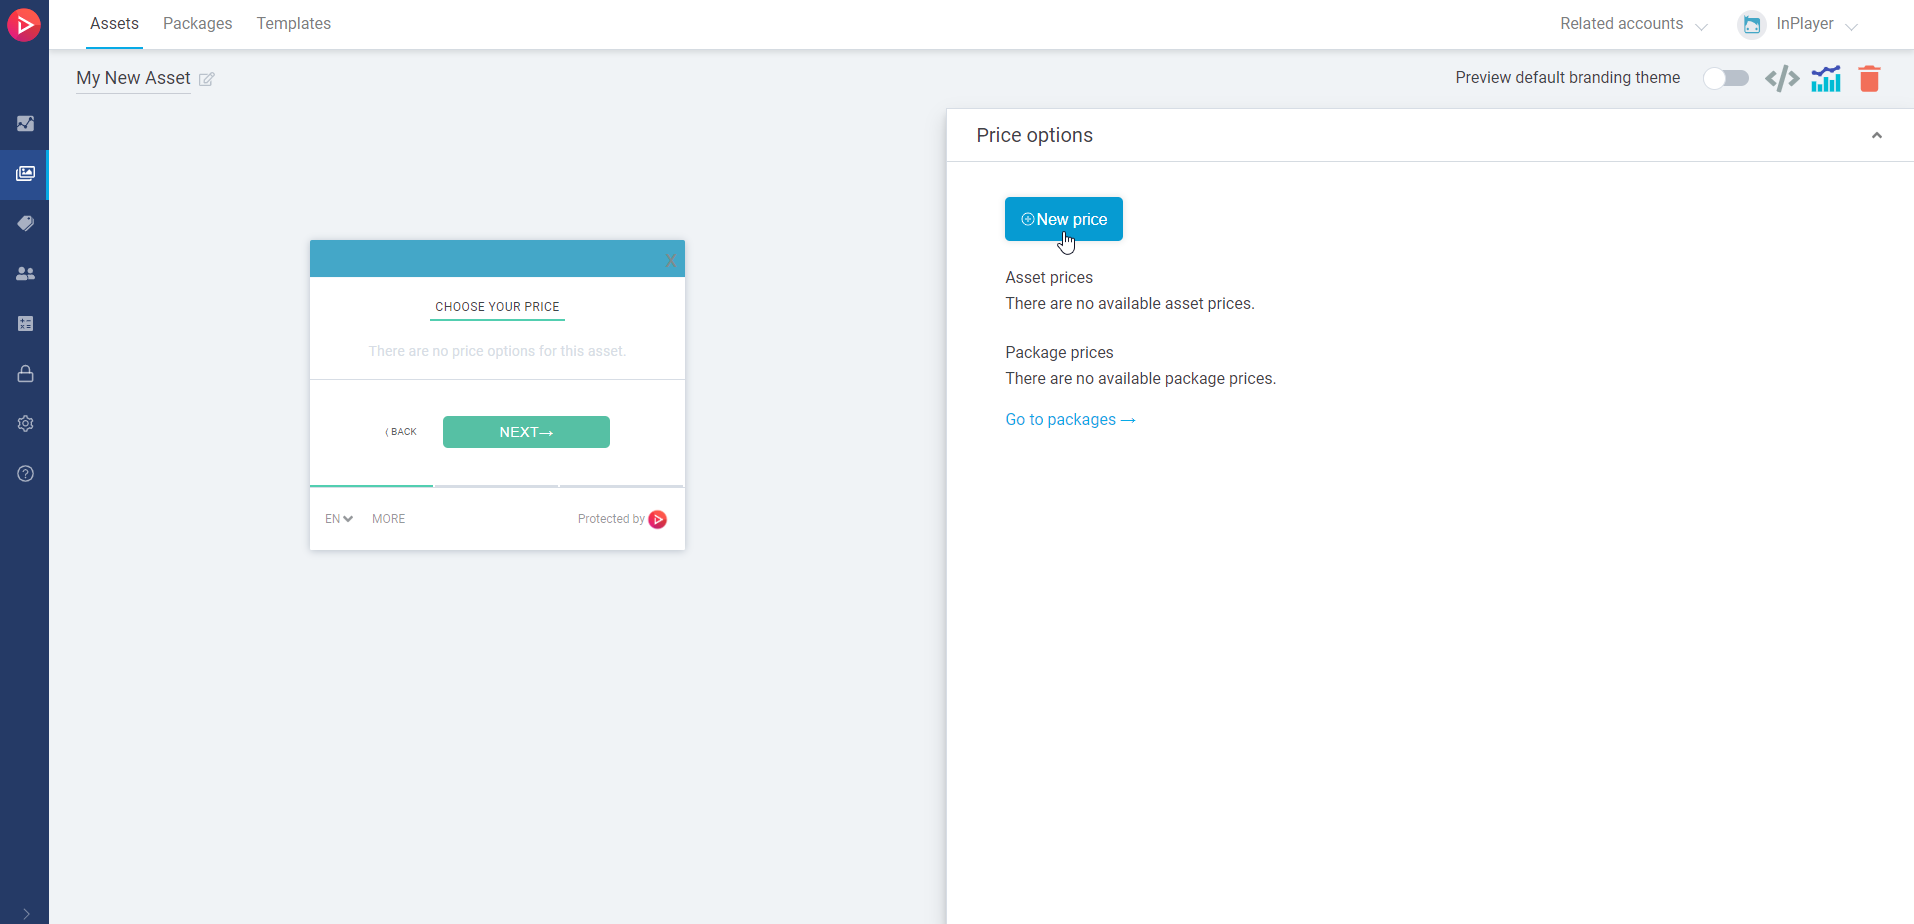
Price options
You can set up three different pricing types:
- ppv – the viewer makes a one-time payment and gets access for a limited time,
- subscription – the viewer accepts a recurrent charge at regular intervals that can be canceled at any time,
- season – the viewer makes a payment and gets access for a limited period, but at the same time accepts a recurrent charge for being able to watch during the next period. The date for the upcoming charge is determined by the merchant.
Note that the season price type needs to be activated on your account by our team, so make sure to contact us at clients@inplayer.com for this.
Setting up a PPV price
In the Price options section, click New price.

In the General info tab of the price option, set up the following:
- In the Price description field, enter the price description that will appear on the paywall. Make it concise so your viewers know exactly what they are buying.
- In the Payment type field, select ppv.
This is a one-time payment which grants access that expires after the end of the specified period counter either from the moment of purchase, or if using the Schedule start feature, from the date set in the Schedule start field (more on this below).
The access period can be selected from the drop-down menu.
You can pick one of the premade periods, or use the custom period option.
When using the custom period option, you can specify the exact date and time at which the viewers’ access will expire. This is very useful for doing presales since the viewers’ access will expire on the date you’ve set up, regardless of when they’ve purchased their pass. An alternative way to set up presales is by using the Schedule start option from the Additional info tab. More on that below. - In the Amount field, enter the price.
The minimum price when using USD, EUR, or GBP is 1. When using all other currencies, the minimum is the equivalent converted amount of 1 USD.
The currency can be selected from the drop-down menu. If you wish to use a currency that is not on the list, you can contact us at clients@inplayer.com and we’ll make sure to add the currency for you asap. We support all currencies listed here.
In the Additional info tab, you can set up the following:
- Schedule start
This is the date and time at which the viewers’ access period will start after they’ve purchased the asset. Until that time, they will see a message informing them to come back on the scheduled date.
This is a useful option for setting up presales. You can select the access period from the Payment type section in the General info tab, and then set up when will that access period begin. It works for both the pre-defined access periods (24 hours, 48 hours, etc), and for the custom period.
If you leave the Schedule start field blank, the viewers’ access will begin right after purchasing.
Note that if you change the scheduled start setting after some viewers have made their purchase, their access start will not change. - Geo-restriction
With this option, you can restrict the price option to specific countries.
You can choose to either allow (whitelist) or deny (blacklist) a single country, or use a country set you have created previously.
You can learn more about setting up country sets here.
After setting everything up, make sure to click the Save button in the bottom right corner.
Note that once you set the payment type for an asset, you cannot change it. You can change the other payment fields (access period duration, price, etc) but not the payment type. If you wish to set a new payment type, you will need to set up a new price option.
Setting up a Subscription price
In the Price options section, click New price.

In the General info tab of the price option, set up the following:
- In the Price description field, enter the price description that will appear on the paywall. Make it concise so your viewers know exactly what they are buying.
- In the Payment type field, select subscription.
This is a recurring payment that is renewed automatically. Access is granted at each renewal.
The renewal period can be selected from the drop-down menu. - In the Amount field, enter the price.
The minimum price when using USD, EUR, or GBP is 1. When using all other currencies, the minimum is the equivalent converted amount of 1 USD.
The currency can be selected from the drop-down menu. If you wish to use a currency that is not on the list, you can contact us at clients@inplayer.com and we’ll make sure to add the currency for you asap. We support all currencies listed here.
In the Additional info tab, you can set up the following:
- Free trial
With this, you can set up a free trial period. - Additional fee
With this option, you can set up a one-time fee that will be charged when the viewer purchases the subscription, as an addition to the regular subscription fee. The fee will only be charged once, together with the first subscription charge. - Geo-restriction
With this option, you can restrict the price option to specific countries.
You can choose to either include (whitelist) or exclude (blacklist) a single country, or use a country set you have created previously.
You can learn more about setting up country sets here.
After setting everything up, make sure to click the Save button in the bottom right corner.
Note that once you set the payment type for an asset, you cannot change it. You can change the other payment fields (access period duration, price, etc) but not the payment type. If you wish to set a new payment type, you will need to set up a new price option.
Setting up a Season price
In the Price options section, click New price.
In the General info tab of the price option, set up the following:
- In the Price description field, enter the price description that will appear on the paywall. Make it concise so your viewers know exactly what they are buying.
- In the Payment type field, select season. With this payment type, the viewer purchases a season pass that lasts for a specific period, then expires, and is then renewed for a second period at a certain point in the future, upon which a new charge is taken from the viewer. The payment will continue to renew in the same manner for as long as you keep scheduling upcoming seasons. A new season needs to be re-scheduled after the end of each one. You will get an automated email at the end of each season reminding you of this.
The season payment type is best suited for seasonal content, like sports, where using standard back-to-back subscription payments might not be suitable, since content is only available during specific parts of the year, and in between there are periods with nothing or nothing new to watch.
A basic season cycle is represented here:

- In the Season start field, enter the start date and time of the season. This determines when the access for viewers who purchase a pass will start. It is also possible for access to be granted to the viewers from the moment of their purchase. This is accomplished with the Off-season access option. We’ll talk about that further below. Also, a season price option will not be available for purchase until the Season start has been set.
- In the Season end field, enter the end date and time of the season. This is the access cut-off date for the current season. Access will be re-granted upon the renewal of the payment for the next season. It is also possible for the access to continue beyond the end of the season, i.e. until the moment of renewal of the payment for the next season. This is, again, done with the Off-season access option, which we’ll see below. Also, a season price option will not be available for purchase until the Season end has been set.
- In the Next rebill date field, enter the date and time for the renewal of the payment, i.e. the date and time when the payment for next season will be taken. Note that once you set up the first rebill date, the rebill date for the next season will be automatically set to one year after the first date. You can always go back and change it if you wish.
- In the Next rebill price field, enter the amount that will be charged upon renewal for the next season, i.e. on the Next rebill date. Note that this is not the price for the current season.
The minimum price when using USD, EUR, or GBP is 1. When using all other currencies, the minimum is the equivalent converted amount of 1 USD.
The currency can be selected from the drop-down menu. If you wish to use a currency that is not in the list, you can contact us at clients@inplayer.com and we’ll make sure to add the currency for you asap. We support all currencies listed here. - In the Current price field, enter the account that will be charged for the current season. Whenever a viewer goes to your page, they will see this price. You can change this price at any time. For example, you can have it be equal to the New rebill price at the beginning of the season, and then reduce it as the season progresses.
The minimum price when using USD, EUR, or GBP is 1. When using all other currencies, the minimum is the equivalent converted amount of 1 USD.
The currency can be selected from the drop-down menu. If you wish to use a currency that is not in the list, you can contact us at clients@inplayer.com and we’ll make sure to add the currency for you asap. We support all currencies that are listed here. - With the Off-season access option, you can decide whether the viewers will only have access during a season (between the season start and end date), or also during the off-season period, so they can watch replays, for example.
Note that once you set the Season start, Season end, Next rebill date, and Next rebill price you cannot change them until the current season ends. You can only change the Current price amount.
In the Additional info tab, you can set up the following:
- Free trial
With this, you can set up a free trial period. If the Off-season access option is enabled, the free trial will begin right after the viewer completes their purchase. If the Off-season access option is disabled, the free trial will begin on the Season start date. - Additional fee
With this option, you can set up a one-time fee that will be charged when the viewer purchases the subscription, as an addition to the regular subscription fee. The fee will only be charged once, together with the first subscription charge. - Geo-restriction
With this option, you can restrict the price option to specific countries.
You can choose to either allow (whitelist) or deny (blacklist) a single country, or use a country set you have created previously.
You can learn more about setting up country sets here.
After setting everything up, make sure to click the Save button in the bottom right corner.
Note that once you set the payment type for an asset, you cannot change it. You can change the other payment fields (access period duration, price, etc) but not the payment type. If you wish to set a new payment type, you will need to set up a new price option. You also cannot delete a season price option before the current season ends.
Content
The Content section will already be filled in with the iframe of your video. No need to do anything here.
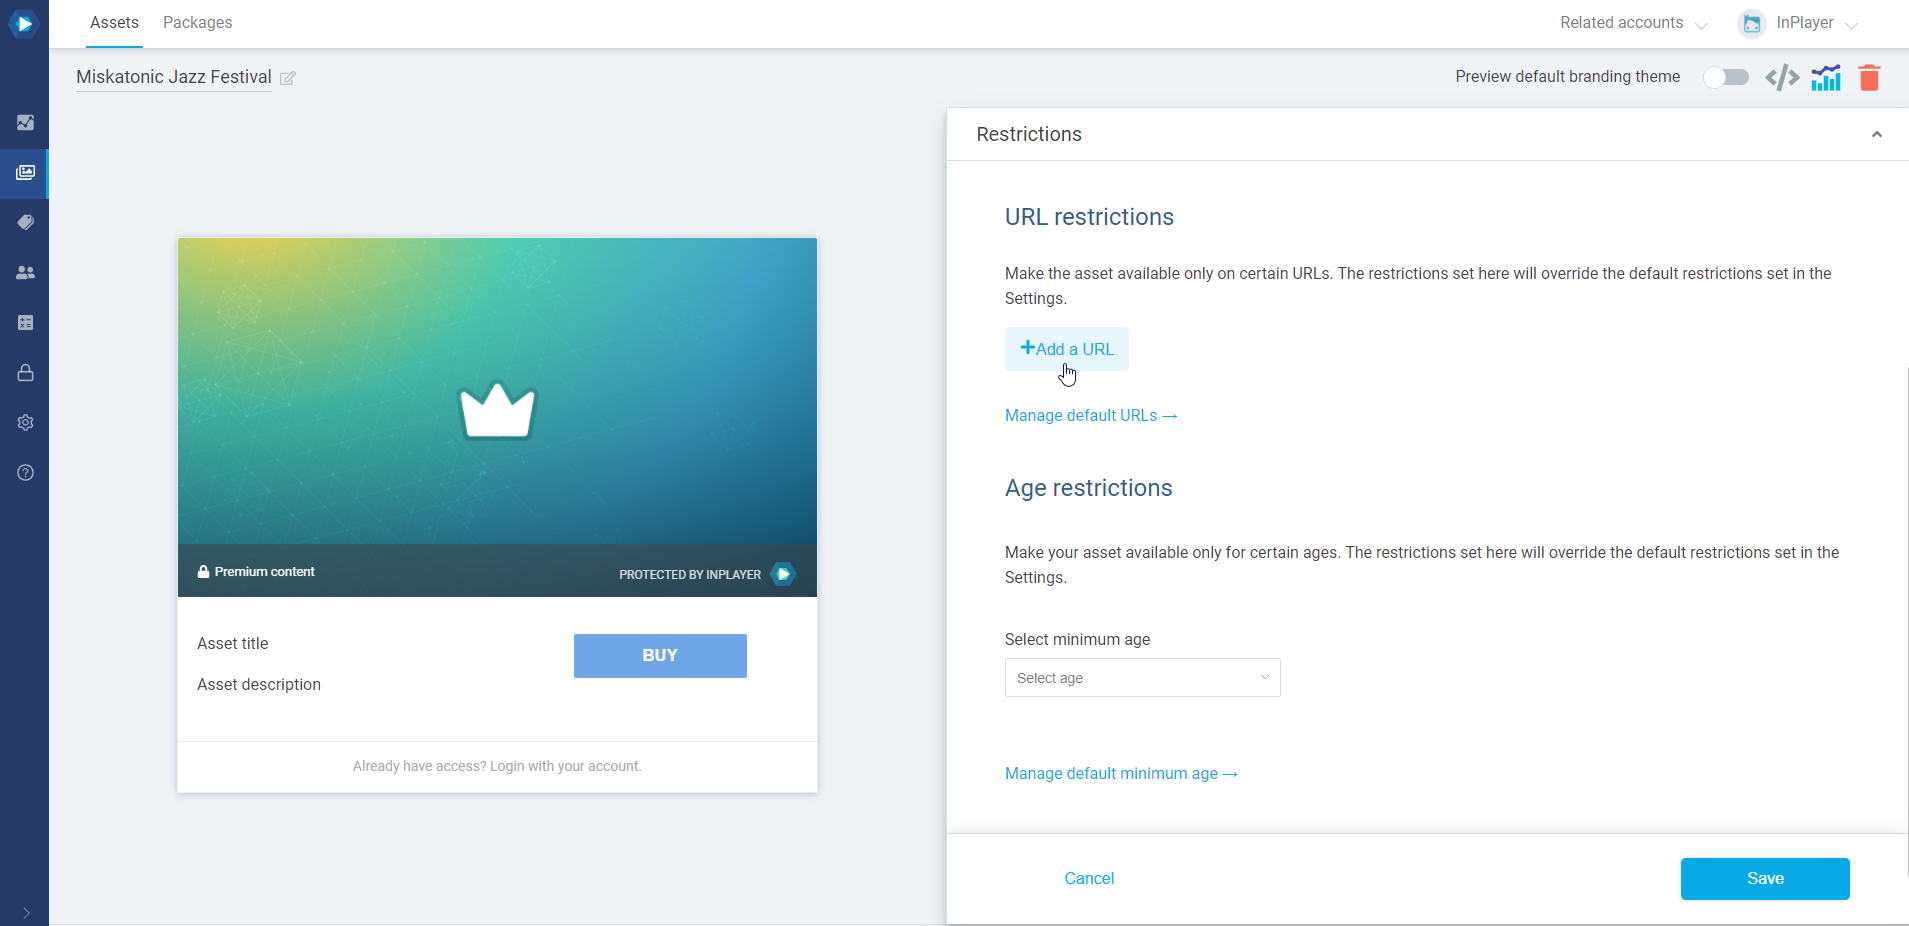
Restrictions
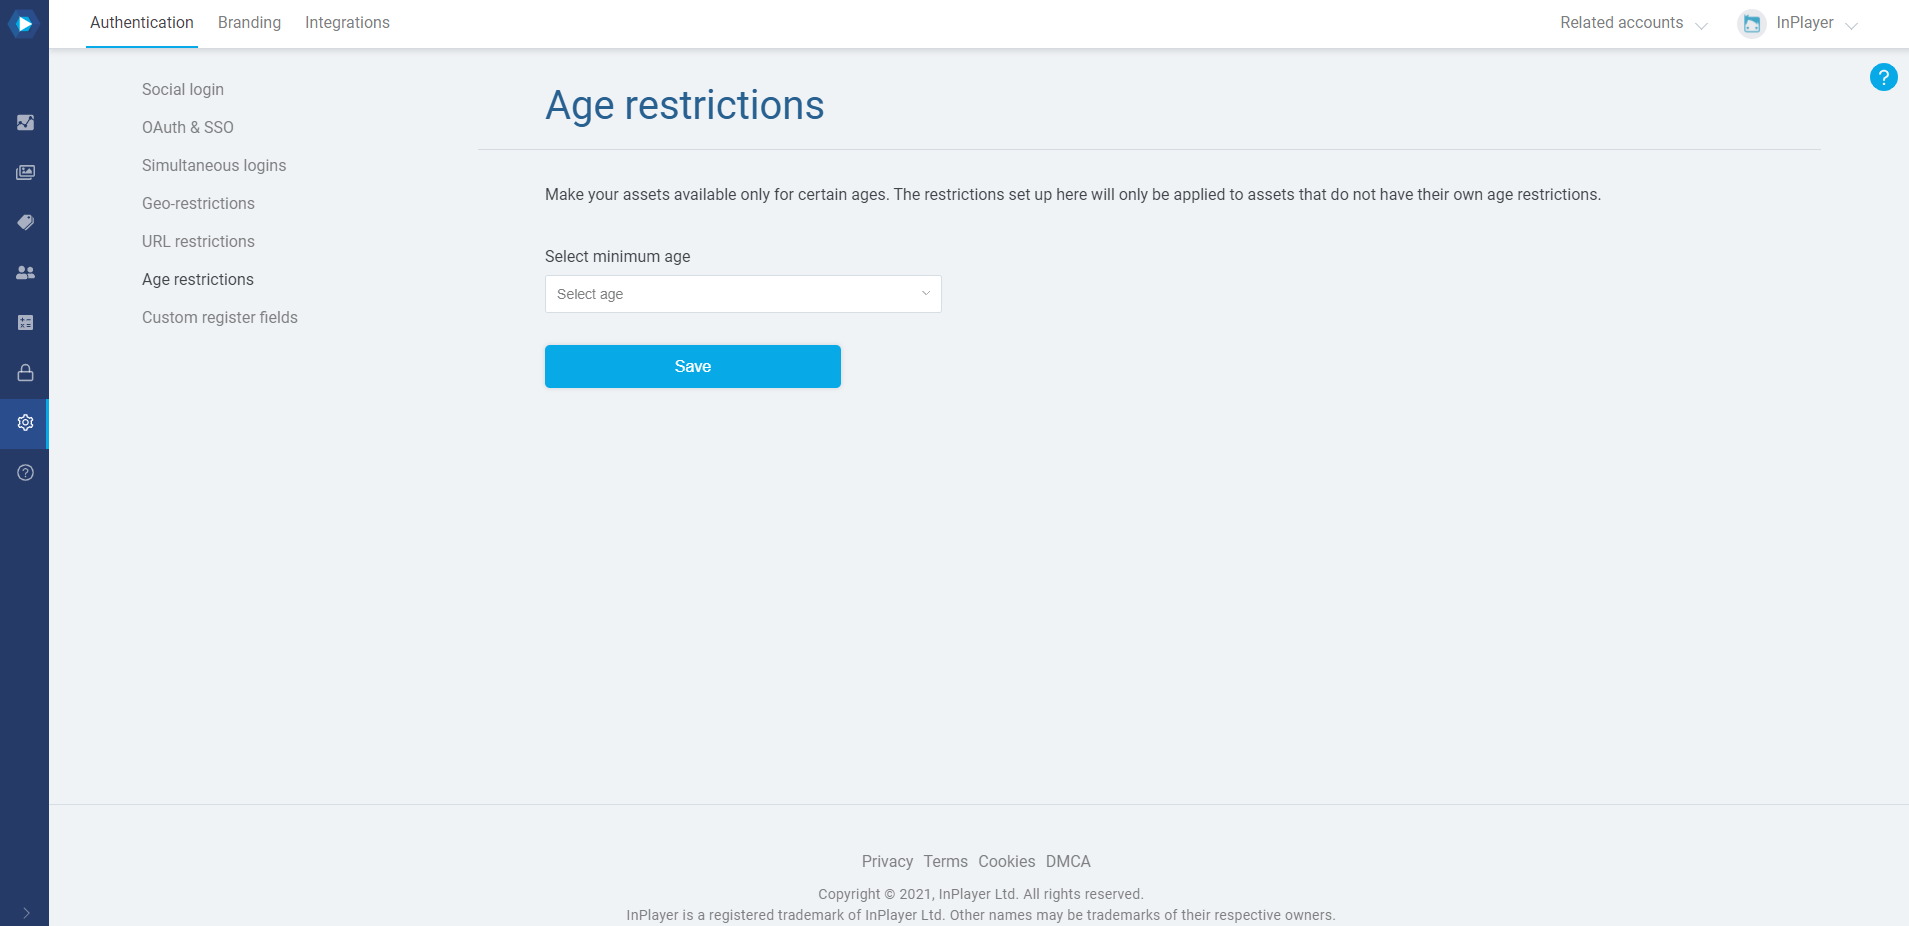
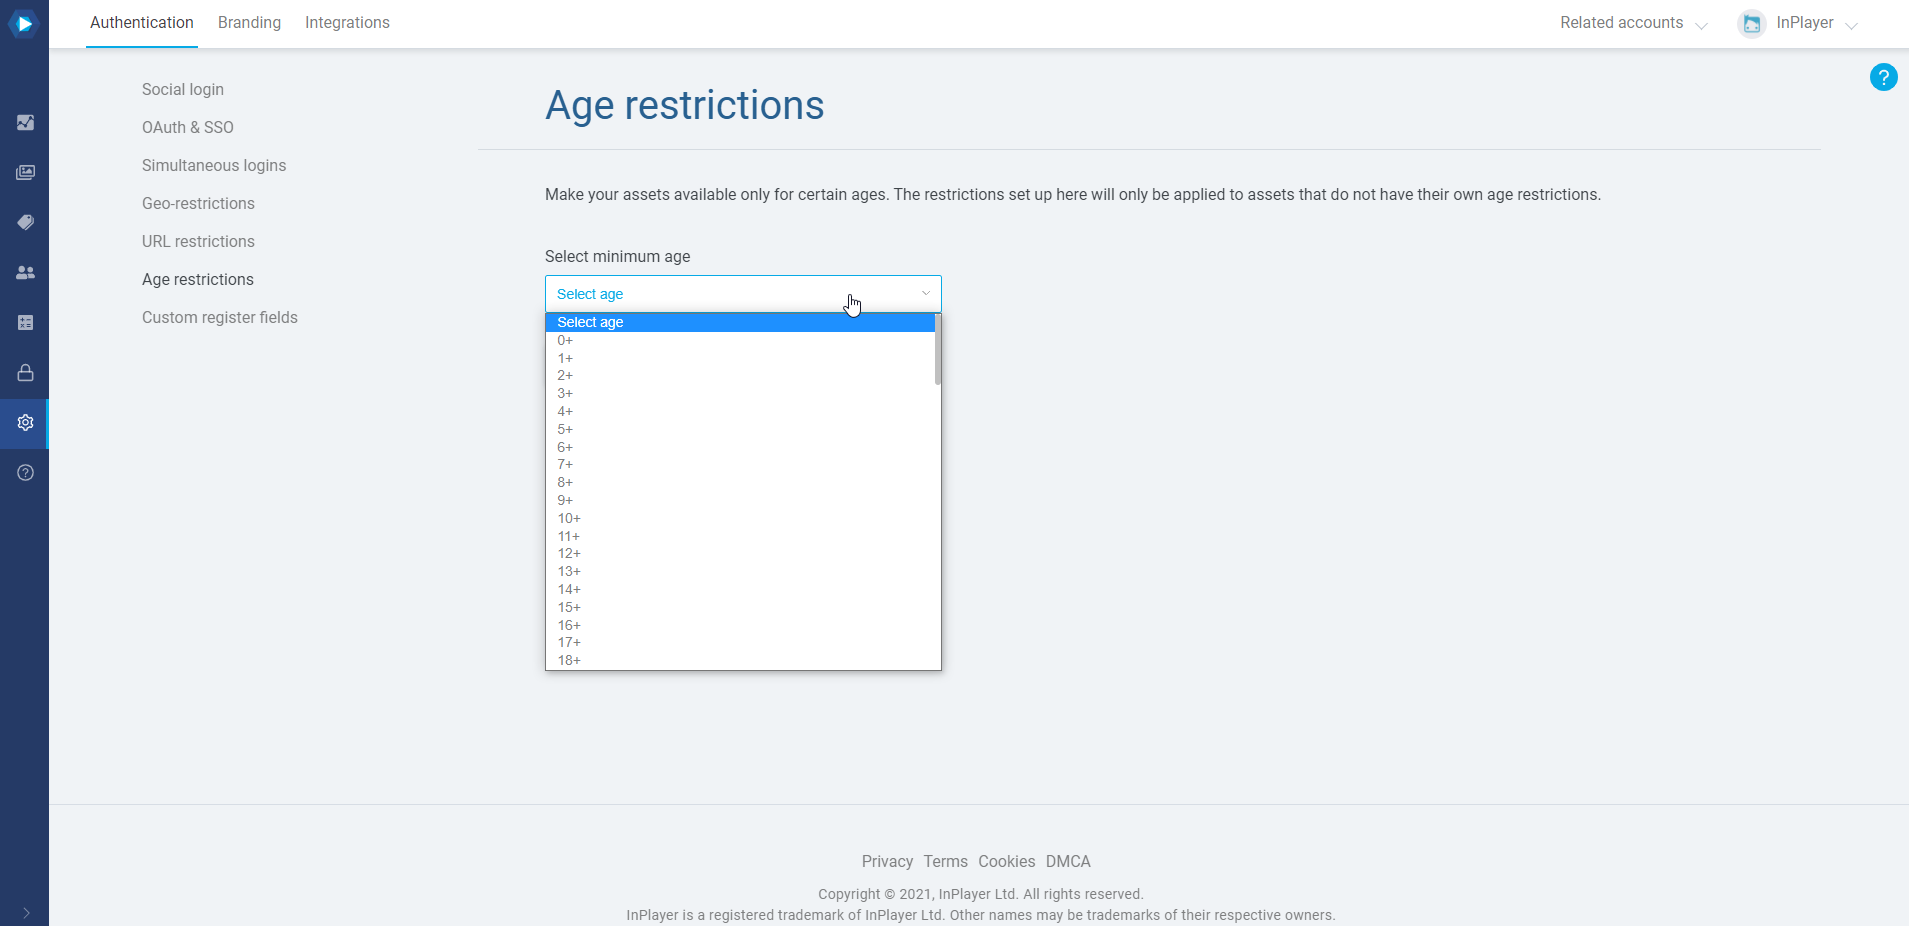
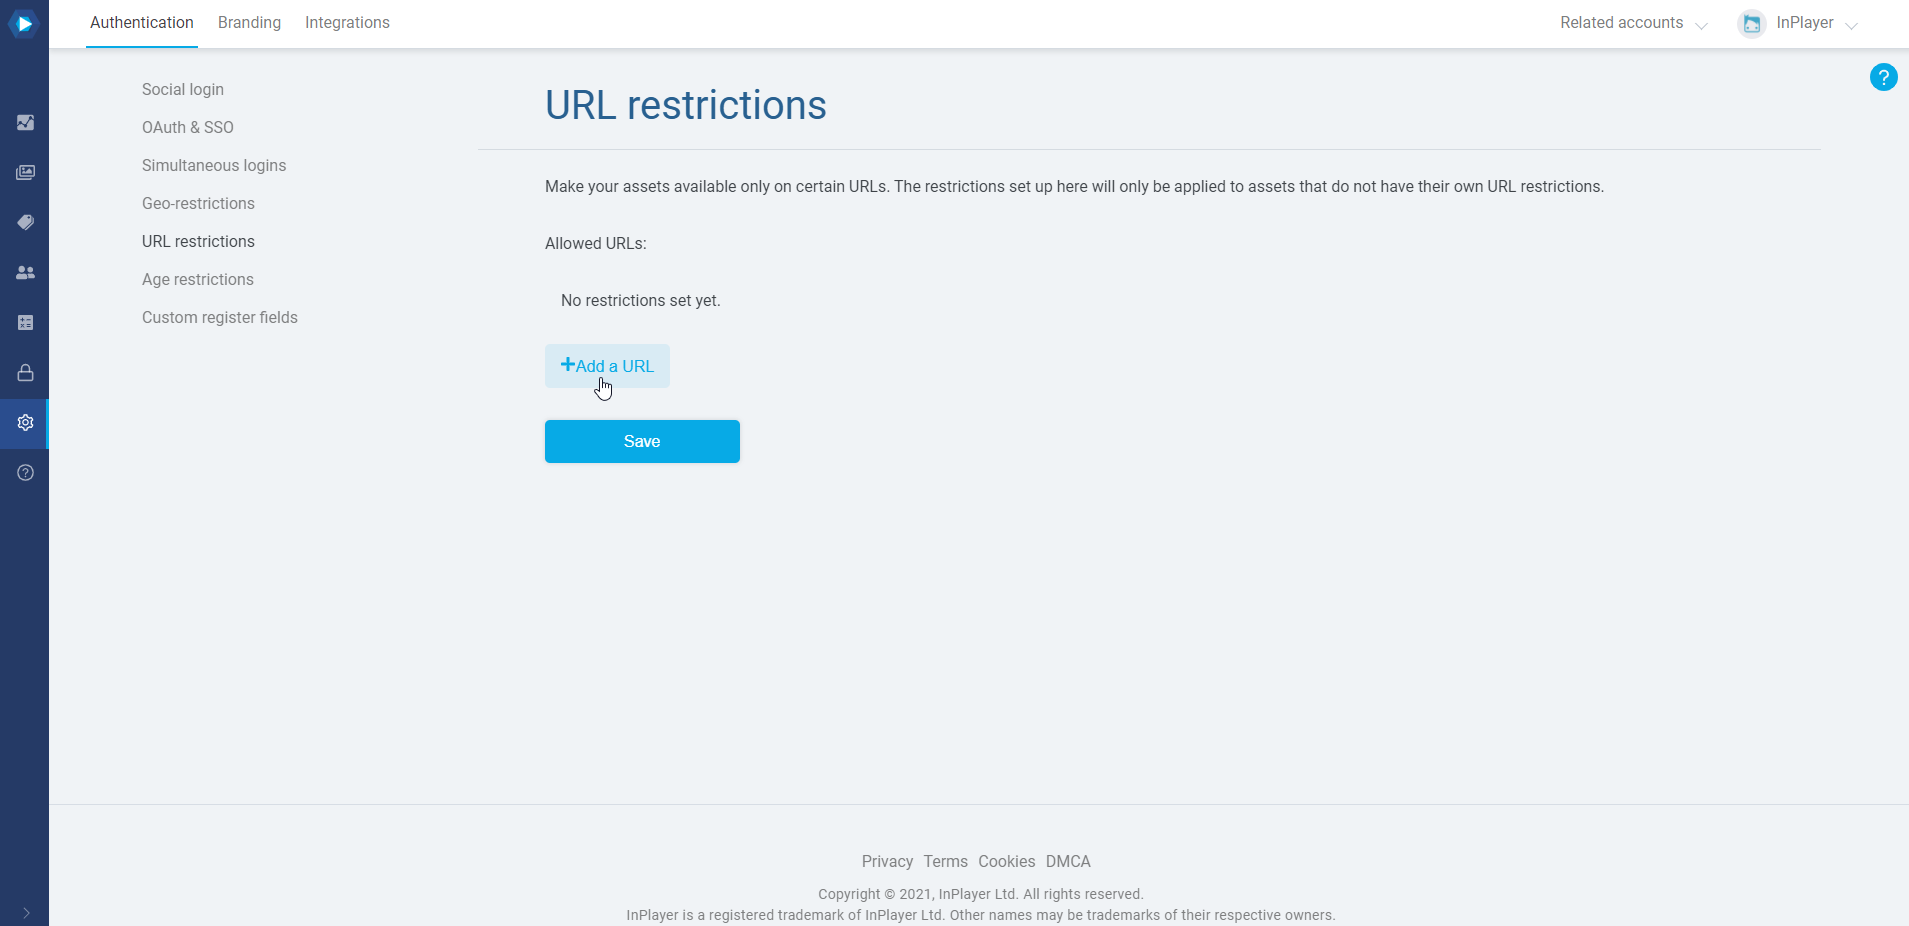
In the Restrictions section, you can set up any geographic, URL, and/or age restrictions for the asset you wish to use.
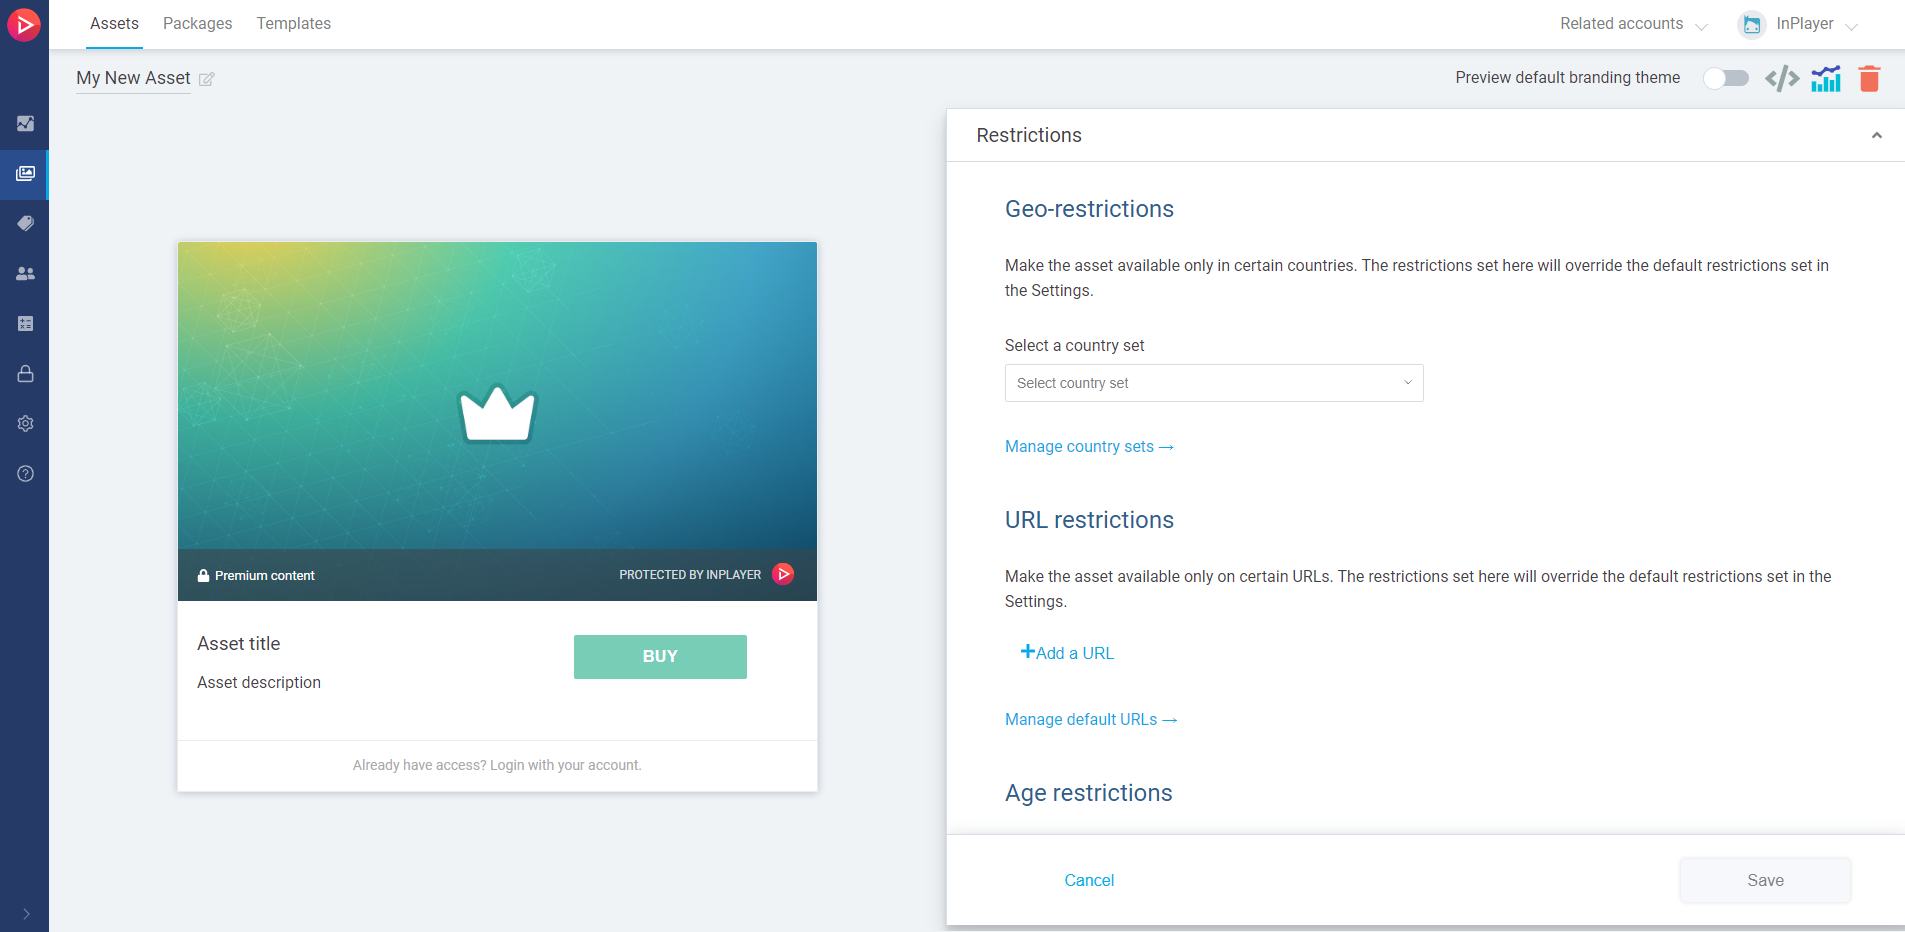
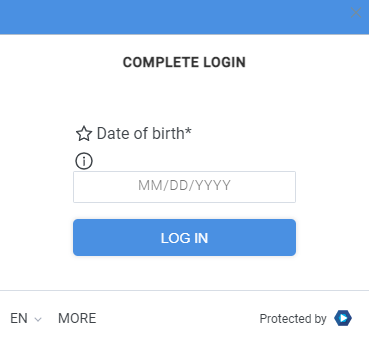
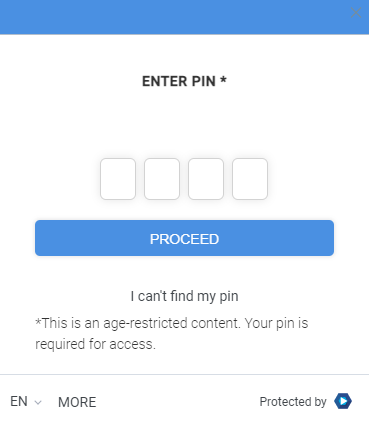
Geo-restrictions make the asset available only in certain countries, URL restrictions make it embeddable on only certain URLs, and Age restrictions make it accessible by only viewers who fall under a certain age group.
You can learn more about setting up the restrictions here, here and here.
Remember that any restrictions you set up in the individual assets will overwrite the ones that have been set up in the dashboard Settings.
After setting everything up, make sure to click the Save button in the bottom right corner.
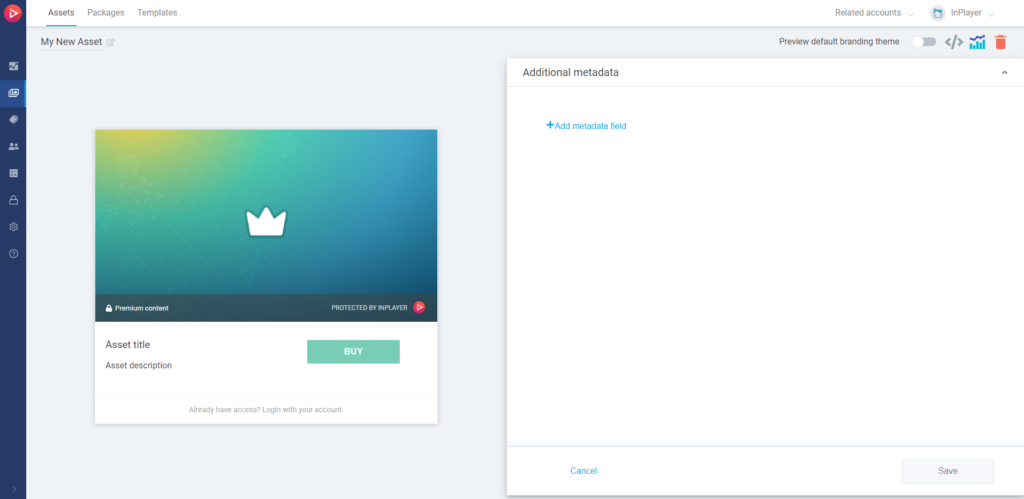
Additional metadata
Here, you can add additional metadata to your asset, which can be used for various purposes. An example would be to add metadata that will group the assets in different categories that you can later use in a filter you have developed for your webpage.
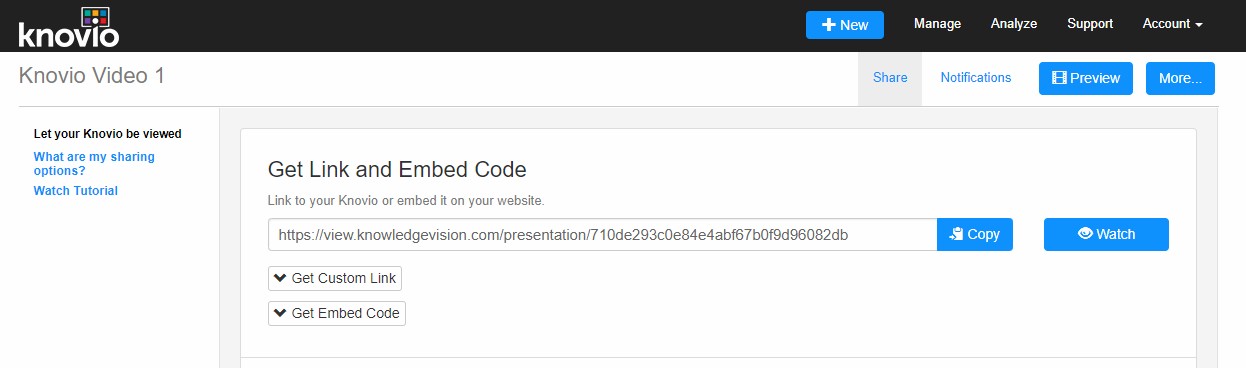
Go back to your Knovio account, go to the Manage tab and then to the video’s Share settings, and get the embed code or the link for the video.
You can then embed your video on your page or share the link to it and start monetizing it!
If you have any questions, don’t hesitate to contact us at clients@inplayer.com.