Extras
Webhooks, migrations, website protection, and more.
Paywall customization
A good amount of basic customization can be done straight from the InPlayer Dashboard.
But using some extra HTML and CSS, you can make the paywall look exactly the way you want.
In this article, you will find some ready-made codes you can use to customize the paywall in a few basic but popular ways.
Just modify the codes according to the few notes contained within them, and copy them in the <head> and/or <body> of your webpage accordingly.
All the codes below use the V3 version of the paywall.
Asset layout
In the InPlayer Dashboard, you choose how your assets appear on your webpage. This is done in the Preview templates section of the asset.
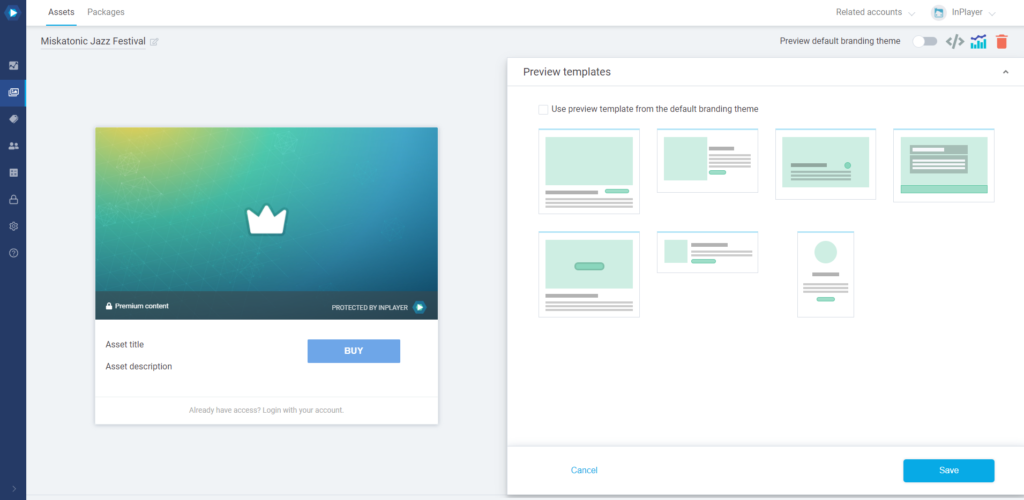
However, if you don’t like the default preview templates, you are free to fully customize the way your asset looks.
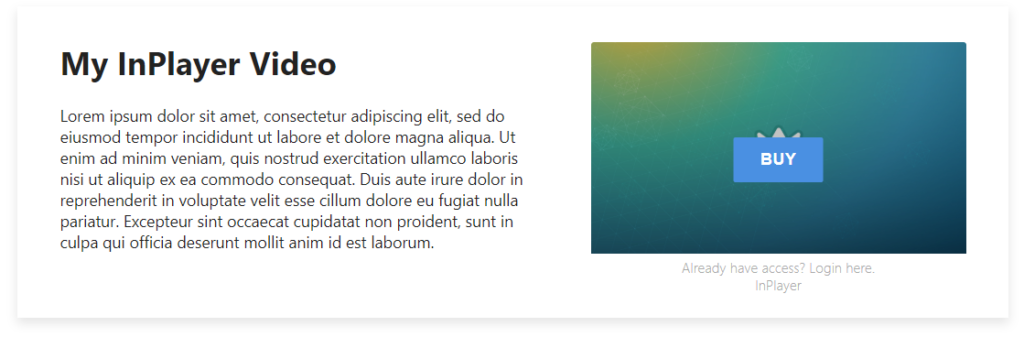
Here are some examples of alternative asset styles. You can further modify the preview code to your liking, or come up with something completely unique!
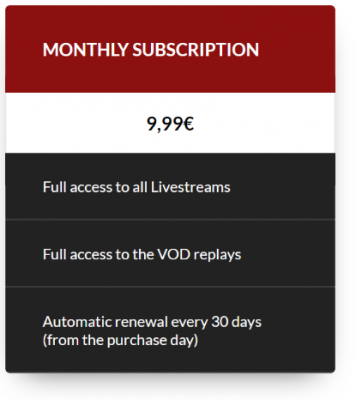
Layout 1
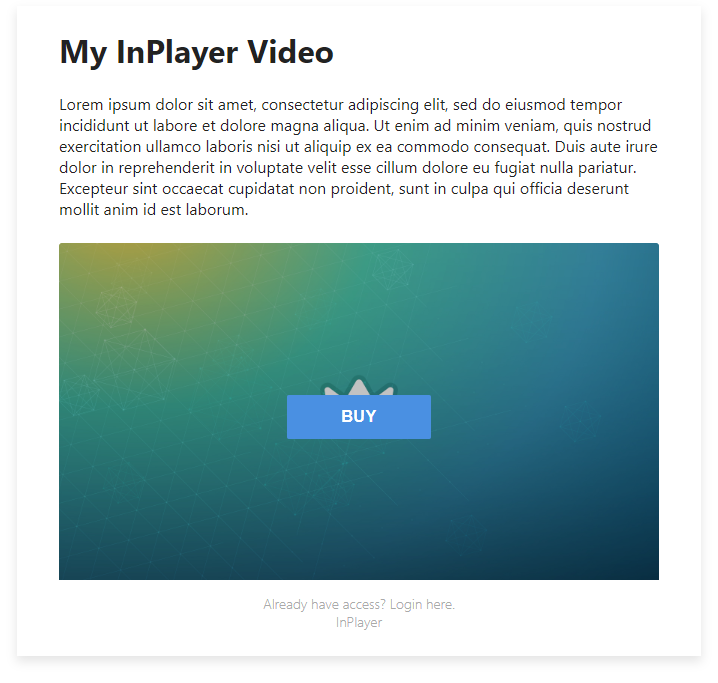
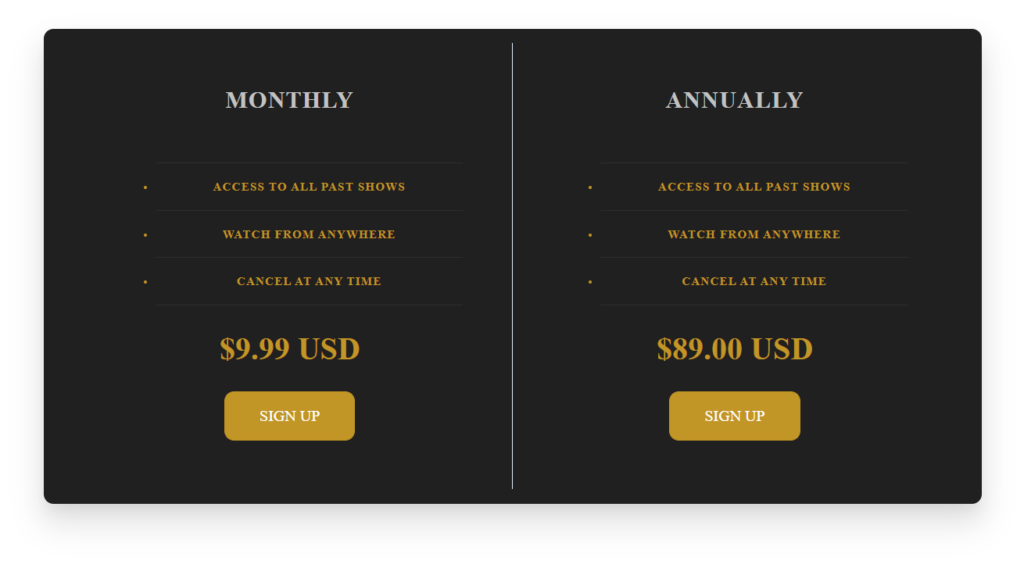
Layout 2
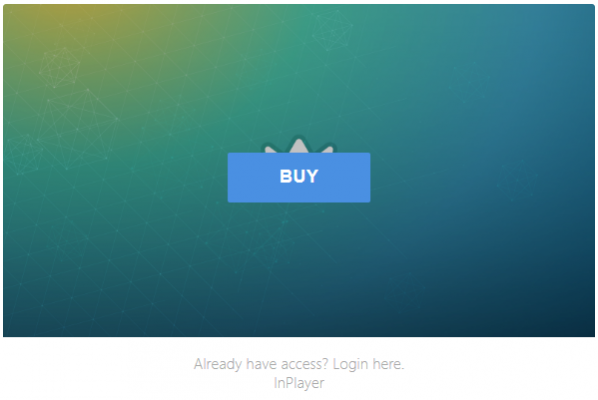
Layout 3
Custom asset appearance
In case you don’t want to use the asset preview at all, you can attach the paywall to a custom image on your page that will act as the asset.

Purchase buttons
By default, once a viewer clicks on an asset and purchases their pass, the content behind the asset will be displayed in the place where the asset used to be.
However, sometimes you might want to have a button that will only serve as a way for viewers to purchase their passes and will not display any content after the purchase. This can be very useful if you have a dedicated pricing page on your site, where your viewers will only purchase their pass, but afterward has to go to another page to actually watch the content.
Style 1
Similar to using the Custom asset appearance code, you could use an image or an HTML object as the purchase button.
Get code for using an HTML object.
Style 2
Donate button
By default, the donation prompt appears after a viewer has made a payment, or in the case of Freemium assets, every time they click on the asset.
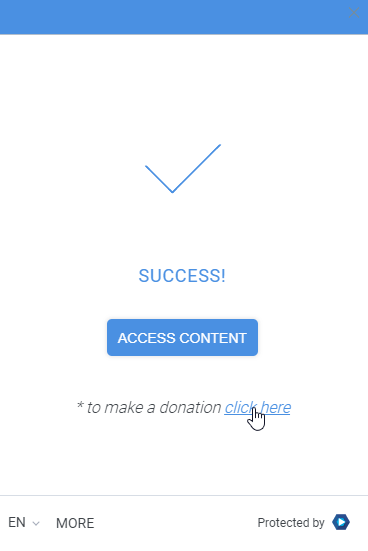
In case you wish to have a dedicated donation button on your page, you can do so by using the below code.

The code puts a donation button as an addition to the asset, but you can also have a donation button only, without the asset appearing on the page.
To do so, you just need to go to the Advanced embedding screen on your asset, tick the Don’t show asset preview option, and get the embed code.
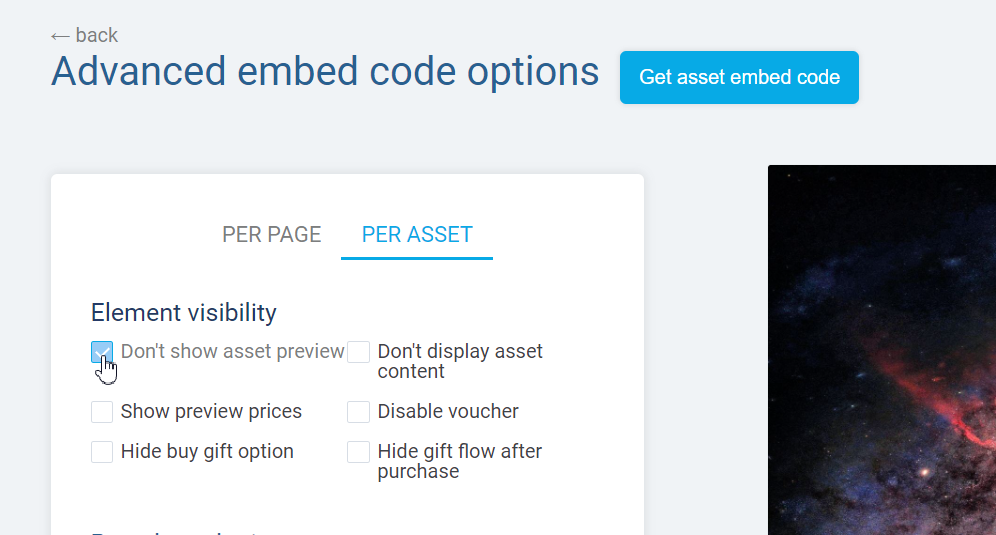
You can also tick the Don’t display asset content if you do not wish to display any content behind the asset.
Get code. Note that you can adjust the CSS style of the button so it blends with your site’s style.
Gift button
By default, viewers can purchase a gift pass for someone else by ticking the Buy as gift option in the price selection screen.
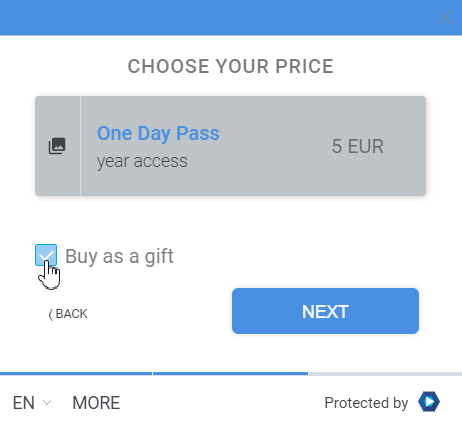
In case you wish to have a dedicated gift button on your page, you can do so by using the below code.

The code puts a gift button as an addition to the asset, but you can also have a gift button only, without the asset appearing on the page.
To do so, you just need to go to the Advanced embedding screen on your asset, tick the Don’t show asset preview option, and get the embed code.
You can also tick the Don’t display asset content if you do not wish to display any content behind the asset.
Get code. Note that you can adjust the CSS style of the button so it blends with your site’s style.
Standalone viewer account management button
By default, when a viewer logs into their account, if they want to manage their details, they would click on the icon at the bottom right corner of the page.
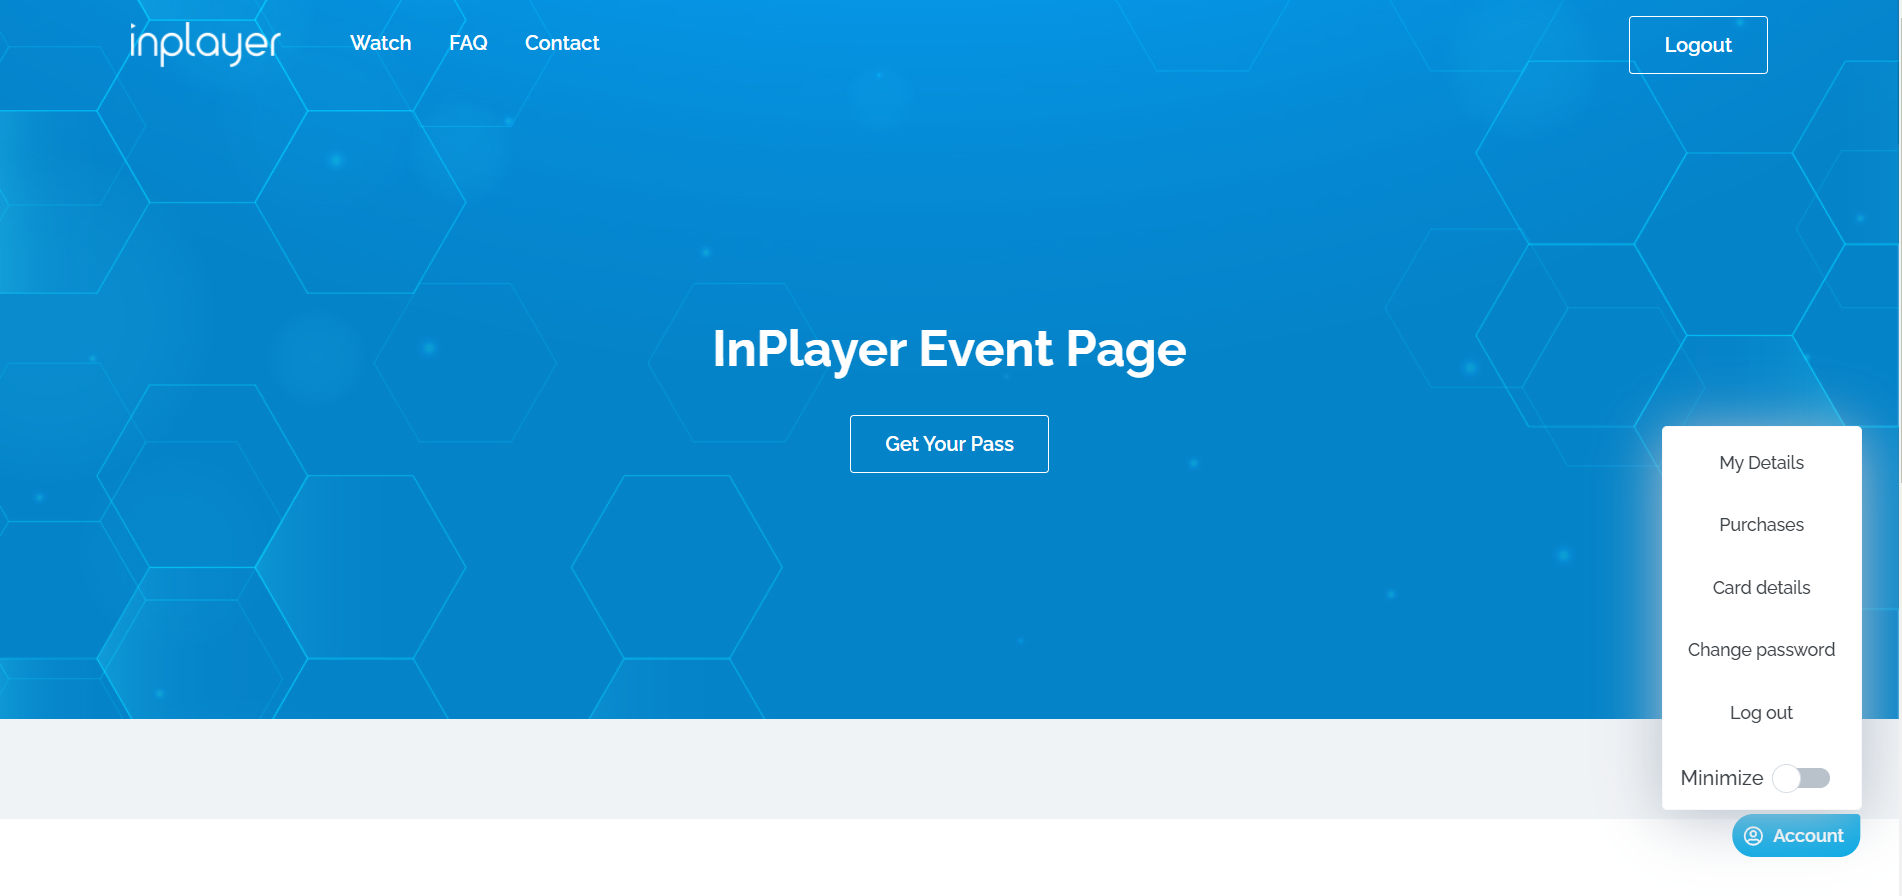
If you have an existing navigation bar on your page, you can streamline the navigation by adding a dedicated Login/Logout/My Account button there.
Get code. Note that you will have to adjust the CSS style of the buttons so it blends with your site’s style.
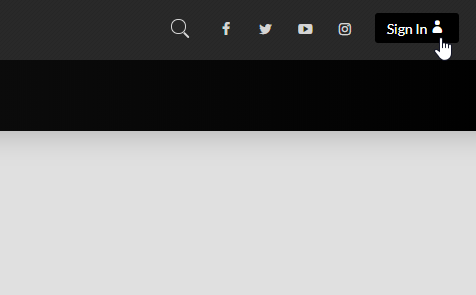
Standalone Login and Register buttons
By default, when a viewer clicks on an asset, the LOGIN and SIGN UP forms can be toggled from the paywall screen.
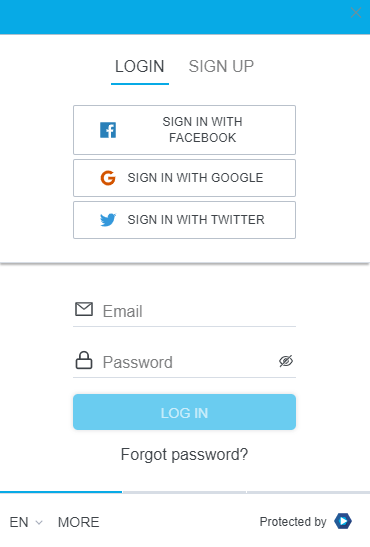
However, you can have the Login and Register forms as actual buttons on your webpage.
Get code. Note that you will have to adjust the CSS style of the buttons so it blends with your site’s style.
That concludes this article.
Remember that for more advanced customization with infinite possibilities, you can always check out our developer docs.
If you have any questions, don’t hesitate to contact us at clients@inplayer.com.