Our platform facilitates a quick and secure viewer data migration, including migration of the viewer payment details and subscriptions. This enables you to transfer your viewers over to InPlayer without interrupting their access or making them re-purchase their passes.
Specific migration flows are determined by the payment processor subscribers used to make a payment, and the ETA for the completion of a migration varies from processor to processor. (Stripe, PayPal, Apple IAP, Google IAP, Roku IAP, Amazon IAP, etc).
We highly recommend discussing the migration strategy beforehand with your dedicated account manager, who will be in charge of the migration process. This is so that you can understand what is possible with respect to the various platforms on the market.
The migration process also includes support from our engineering team, and alignment with our development cycles.
This article provides a general breakdown of the usual migration process. To discuss any details, make sure to contact your InPlayer account manager, or send us an email at clients@inplayer.com.
Viewer account migration
This migration consists of importing and creating viewer accounts from the previous provider in the InPlayer platform.
The processing time will depend on the proximity of the first upcoming development cycle.
When migrating user accounts, the following viewer information is required.
- Your InPlayer account ID. You can find this in the Account details section of your InPlayer dashboard.
- Viewer data.
- (only when providing viewer account passwords) The type of encryption. The supported encryption types are included below.
The viewer data should be delivered in a CSV file. The CSV file should contain the following columns, arranged in the following order:
- email
- full_name
Note that if your report has two separate columns for the first and last name, you should merge them and fill in the full name in the full_name column. - password (leave empty for no password)
The following encryptions are supported- bcrypt
- unsalted md5
- unsalted shal
InPlayer uses bcrypt encryption, so this is a preferred encryption format.
- Any other viewer metadata you want to transfer over from the previous platform provider (ex. User ID). The names for these columns could be anything but shouldn’t contain any empty spaces between words (use _ instead). Example: primary_home_address.
The purpose of having this piece of information is so you have one extra method of easily matching the InPlayer viewers with their subscription data in the old platform, should you ever need to do so.
If you are unable to provide the viewer passwords for whatever reason, or if the password encryption of your old platform is anything other than bcrypt, unsalted md5, or unsalted sha1, we can still migrate the accounts, but they would need to set up new passwords when logging in for the first time, by using the “Forgot password” button. Note that we do not support salted password encryptions.
Content entitlement (Access) migration
This migration consists of granting access to viewer accounts that have already been created either as part of the viewer account migration or in some other way.
The processing time will depend on the proximity of the first upcoming development cycle.
For this migration, the following viewer information is required. The viewer data should be delivered in a CSV format.
- List of viewer accounts (InPlayer viewer account ID or email) that need to be granted access,
- The assets or packages to which access should be granted,
- Access expiration date for each viewer. If you are unable to provide the individual access information for whatever reason, we can simply grant all viewers the same access that will be set to expire on a certain date.
The CSV file should contain the following columns:
- user_id – Viewer Account ID
- item_id – Asset/Package ID
- starts_at – Access Start Date
- Data format – YYYY-MM-DD HH:MM:SS
- expires_at – Access End Date
- Data format – YYYY-MM-DD HH:MM:SS
Subscription migration
This migration is the most complete one since it provides a seamless transition of your viewers’ subscriptions from your old platform to InPlayer.
This enables you to keep charging your viewers without interruption and without asking them to provide their payment details again.
Before we start, we need to know:
- Which card provider did you use thus far?
- What kind of PayPal integration did you have thus far?
- Are you able to determine which payment details belong to which viewer?
There are two scenarios for this migration, depending on the payment processor that was used on your old platform. They are Web migrations and In-App migrations and are described below.
With this migration the following points should be kept in mind:
- Only viewer payment details can be migrated between payment processors and not the actual subscription records with their historical data. Once the payment details are migrated, InPlayer creates new subscription records for the viewers with a free-trial period until the next rebill date.
- You shouldn’t cancel any subscriptions on the old payment processors until the migration is complete on InPlayer’s end.
- When the migrated subscriptions are being created in the InPlayer platform, the free trial and subscription creation emails viewers would normally get will be disabled so viewers will not get notified about the creation of their new account and subscription. This is to make the transition as seamless as possible. But this could be changed upon your request.
Below is a breakdown of the migration process depending on the payment processor that was used on your old platform.
Web migrations
Stripe (Card, iDeal, Direct Debit)
Stripe is the credit card payment processor used by InPlayer. If you have your own Stripe account, subscriptions will remain there and the InPlayer platform will be connected with your Stripe account via the Connect feature.
If you use another credit card payment processor (ex. Adyen), it is strongly recommended that you first create your own Stripe account and schedule a migration between the two payment processors, as outlined here, and then proceed with the InPlayer migration.
Important considerations
Regardless of the payment processor used, before you work on the CSV migration file, it is important to confirm that your Stripe customers (i.e. InPlayer viewers) have default payment details (default payment source/card details) set on Stripe).
If not, please make sure to have them set up.
Note that in the below points the term “customer” signifies InPlayer “viewer”. “Customer” is used only for clarity’s sake since that is the terminology used in Stripe.
- If the previous platform provider does offer that option, have it set for all customers.
- Ask your developers to update the customer and update the default payment method, using these instructions:
The CSV file should contain the following columns:
- account_id – Viewer Account ID
- account_email – Viewer Account Email address
- account_uuid – Viewer Account UUID
- stripe_customer_id – ID from Stripe (cus_xxxx)
- trial_days – Number of remaining days between the migration date and the next billing date
- access_fee_id – Price ID from the InPlayer system
- payment_method – The method used for starting the subscription
- referrer – Website where paywall will be embedded/hosted
- Information needed for handling SCA (Strong Customer Authentication)
- return_url – Website where paywall will be embedded/hosted
- Information needed for handling SCA (Strong Customer Authentication)
The processing time will depend on the proximity of the first upcoming development cycle.
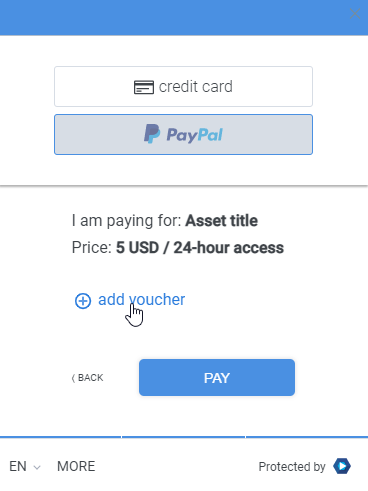
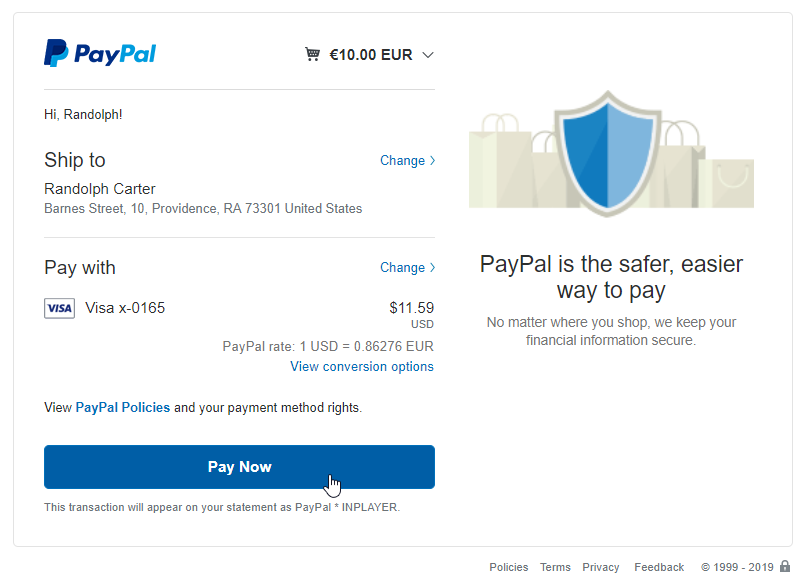
PayPal
If you have your own PayPal account, subscriptions will remain there and the InPlayer platform will be connected with them.
Important considerations
- Make sure that the message encoding is set to UTF-8, so special characters, such as ä, æ, å will not be encoded as odd symbols ($±@). Guidelines on how you can update those settings are presented here.
- Make sure that the existing subscriptions are subscription payments, as the recurring payments are not supported by the InPlayer system.
- This information can be found in one of the messages from the Instant Payment Notification (IPN) history.
- When you open the Instant Payment Notification (IPN) details from a single transaction you will locate the IPN Message. Search for the txn_type value. If the txn_type is subscr_payment, we can proceed with the migration. But if the txn_type is recurring_payment, the migration cannot be done.
The CSV file should contain the following columns:
- account_id – Viewer Account ID
- access_fee_id – Price ID from the InPlayer system
- transaction_id – last transaction ID from PayPal.
- billing_agreement_id – the subscription ID from PayPal
- next_rebill_date – Next billing date
- Date format – YYYY/MM/DD HH:MM:SS
- buyer_email – PayPal email the viewer subscribed with
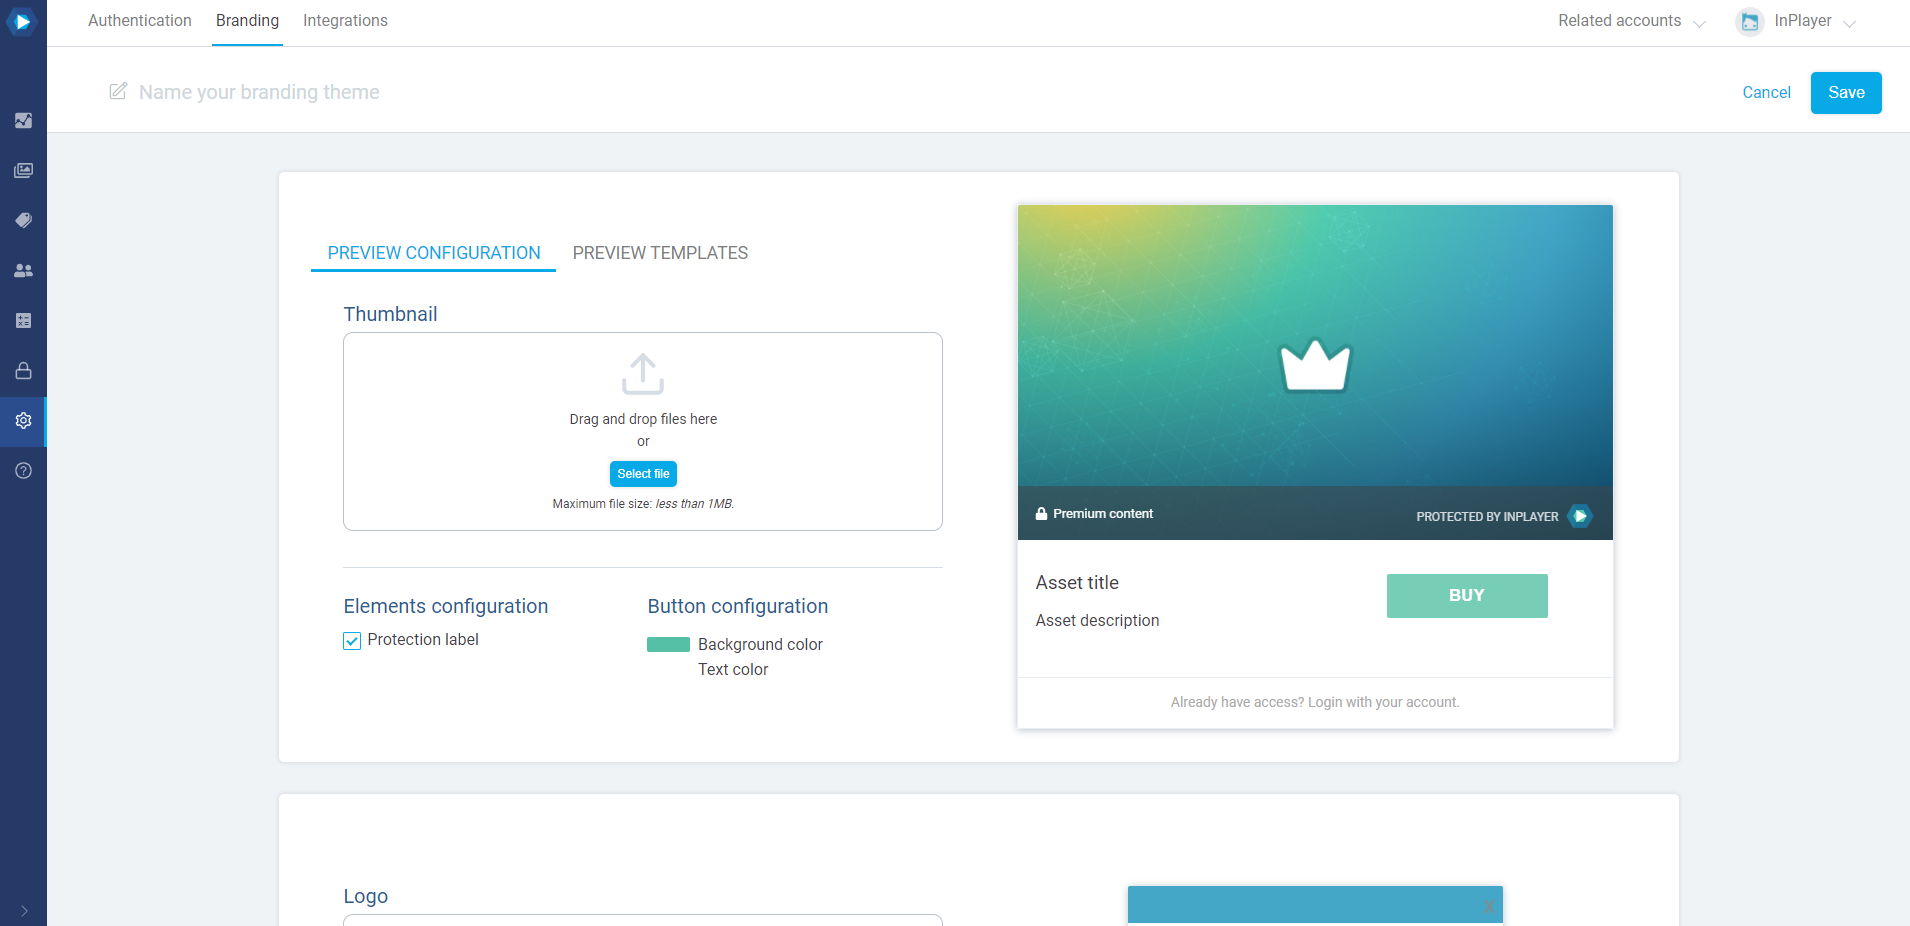
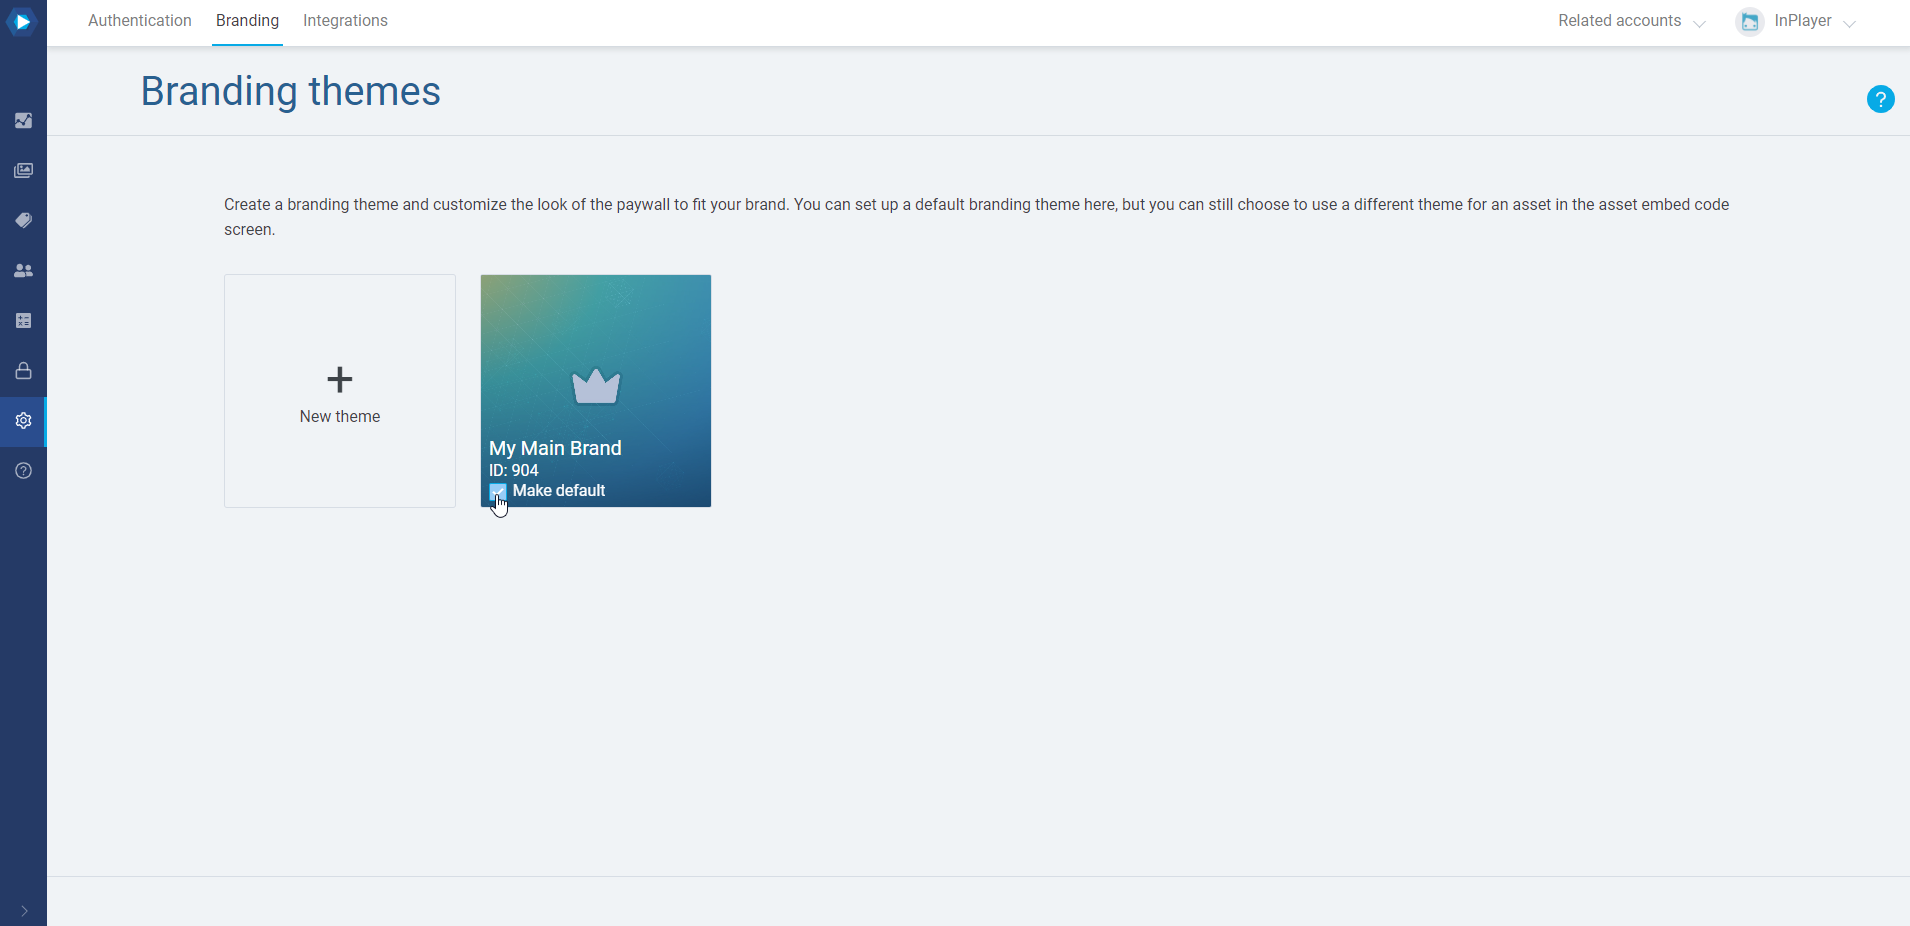
- branding_id – InPlayer branding theme ID
In-App migrations
Migration of subscriptions started via mobile apps is a process of validating the transactions made through the In-App payment processors. Before planning the In-App migration, it is necessary to first complete the integration with the respective In-App platform in the InPlayer platform.
Android (Google Pay)
The CSV file should contain the following columns:
- account_id – Viewer Account ID
- product_name – the product ID from the Google play store
- receipt – subscription receipt from the Google play store
- next_rebill_date – The next billing date
- Package_name – The name of the application in the Google Play Console (for example, ‘com.some.thing’)
iOS (Apple Pay)
- account_id – Viewer Account ID
- access_fee_id – Price ID from the InPlayer system
- product_name – the product ID from the Apple store
- receipt – subscription receipt from the Apple store
- payment_provider – Apple InApp Acc (fixed value)
Roku
- account_id – Viewer Account ID
- receipt – subscription receipt from the Roku store
- item_id – Asset/Package ID
- access_fee_id – Price ID from the InPlayer system
Amazon
- account_id – Viewer Account ID
- receipt – subscription receipt from the Amazon store
- amazon_user_id – User ID from Amazon
- item_id – Asset/Package ID
- access_fee_id – Price ID from the InPlayer System
Data flow (delivery)
When you have the migration files ready, they should be shared with your InPlayer account manager in a secure way. The easiest way to transfer the data is to use either:
- Google/One Drive.
- Should you decide to go that route, set the field as encrypted and invite your account manager to the drive folder.
- Use of a data exchange system (i.e. www.box.com), or
- a secure transfer method (SFTP)
Once the CSV files are received, your migration will be scheduled depending on dev resources availability and the proximity of the first upcoming development cycle.
Post-migration
After the migration is complete, remove any subscription records from the previous platform to prevent it from continuing to charge viewers. This will ensure viewers are not charged twice as they will now be charged via InPlayer.
To discuss further details of the migration process, make sure to contact your InPlayer account manager, or send us an email at clients@inplayer.com.