Similar to the geo-restrictions, with URL restrictions you can limit the availability of your content based on a webpage.
This means that your assets will only be embeddable on webpages specified by you.
You can set up a default URL restriction that affects your entire content, or an asset-specific URL restriction, which affects a single asset. Note that the asset-specific restrictions will always override the default restrictions.
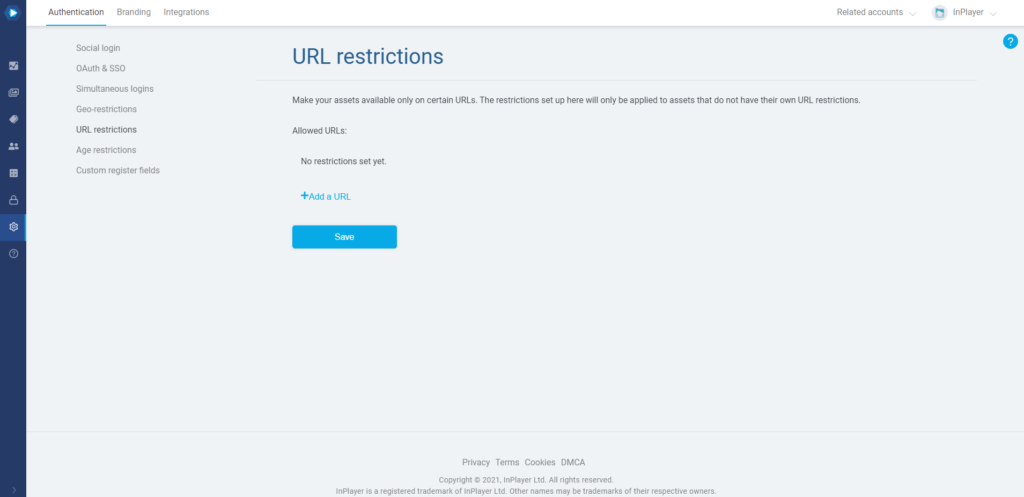
You will find the URL restrictions feature in the Authentication tab of the Dashboard settings.

Setting up a default URL restriction
The domain you set up in the URL restrictions tab of the Settings is going to be the default restriction, and will affect your entire content, i.e. all of your assets.
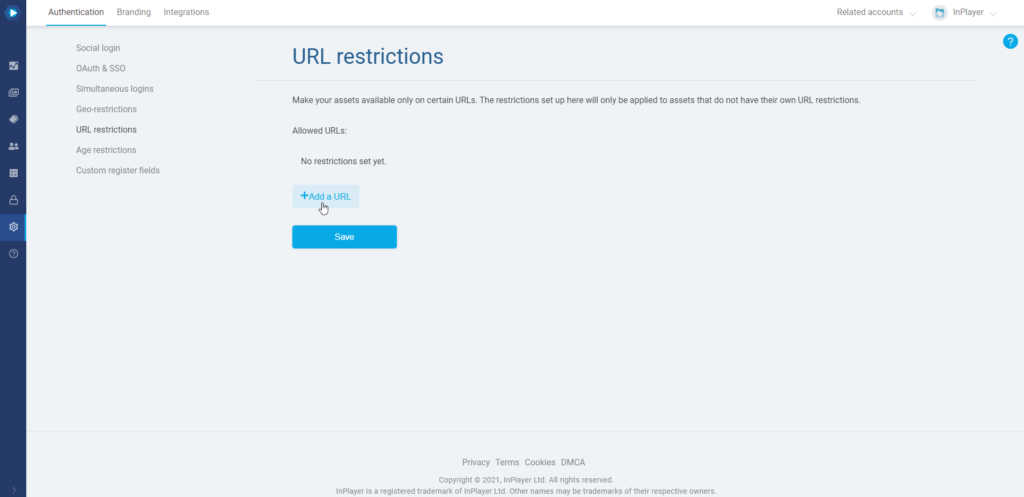
To do this, click on Add a URL.

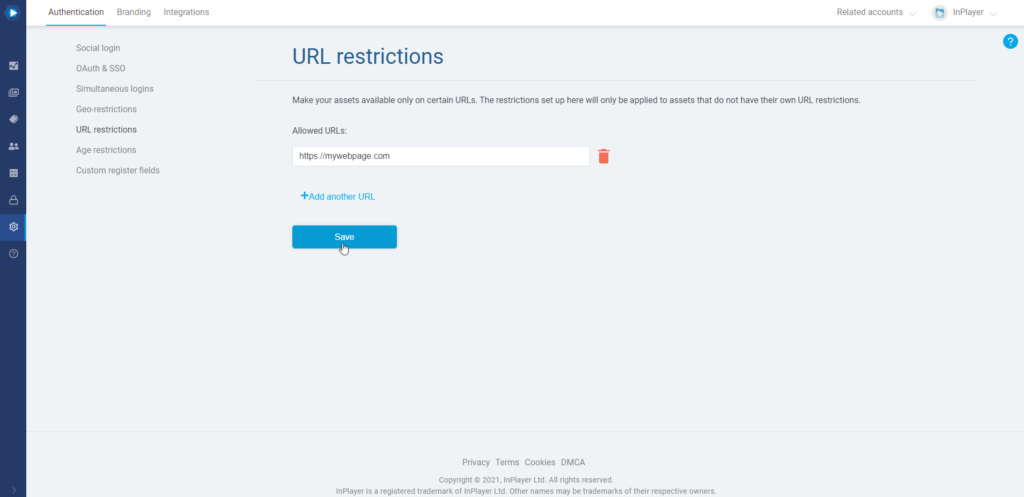
Enter your URL and click Save.

Make sure to add the exact page URL where your asset is going to be embedded, and that you do not add a / at the end of the URL, nor any other special characters.
If you ever wish to remove a webpage, just click the ![]() button next to it.
button next to it.
Setting up an asset-specific URL restriction
An asset-specific URL restriction will affect only a single asset.
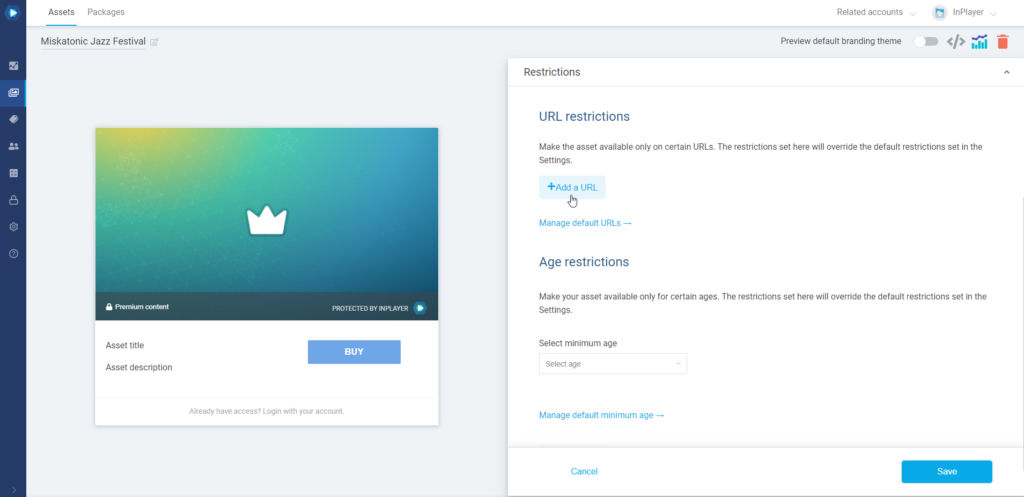
You can set it up in the asset’s settings.
To do this, open the asset, go the Restrictions section, and under URL restrictions, click Add a URL and enter the domain.

Make sure to add the exact page URL where your asset is going to be embedded, and that you do not add a / at the end of the URL, nor any other special characters.
This concludes our guide.
If you have any questions, don’t hesitate to contact us at clients@inplayer.com.