Brightcove Gallery

Our monetization platform features a fully developed integration with Brightcove Gallery.

Before you start

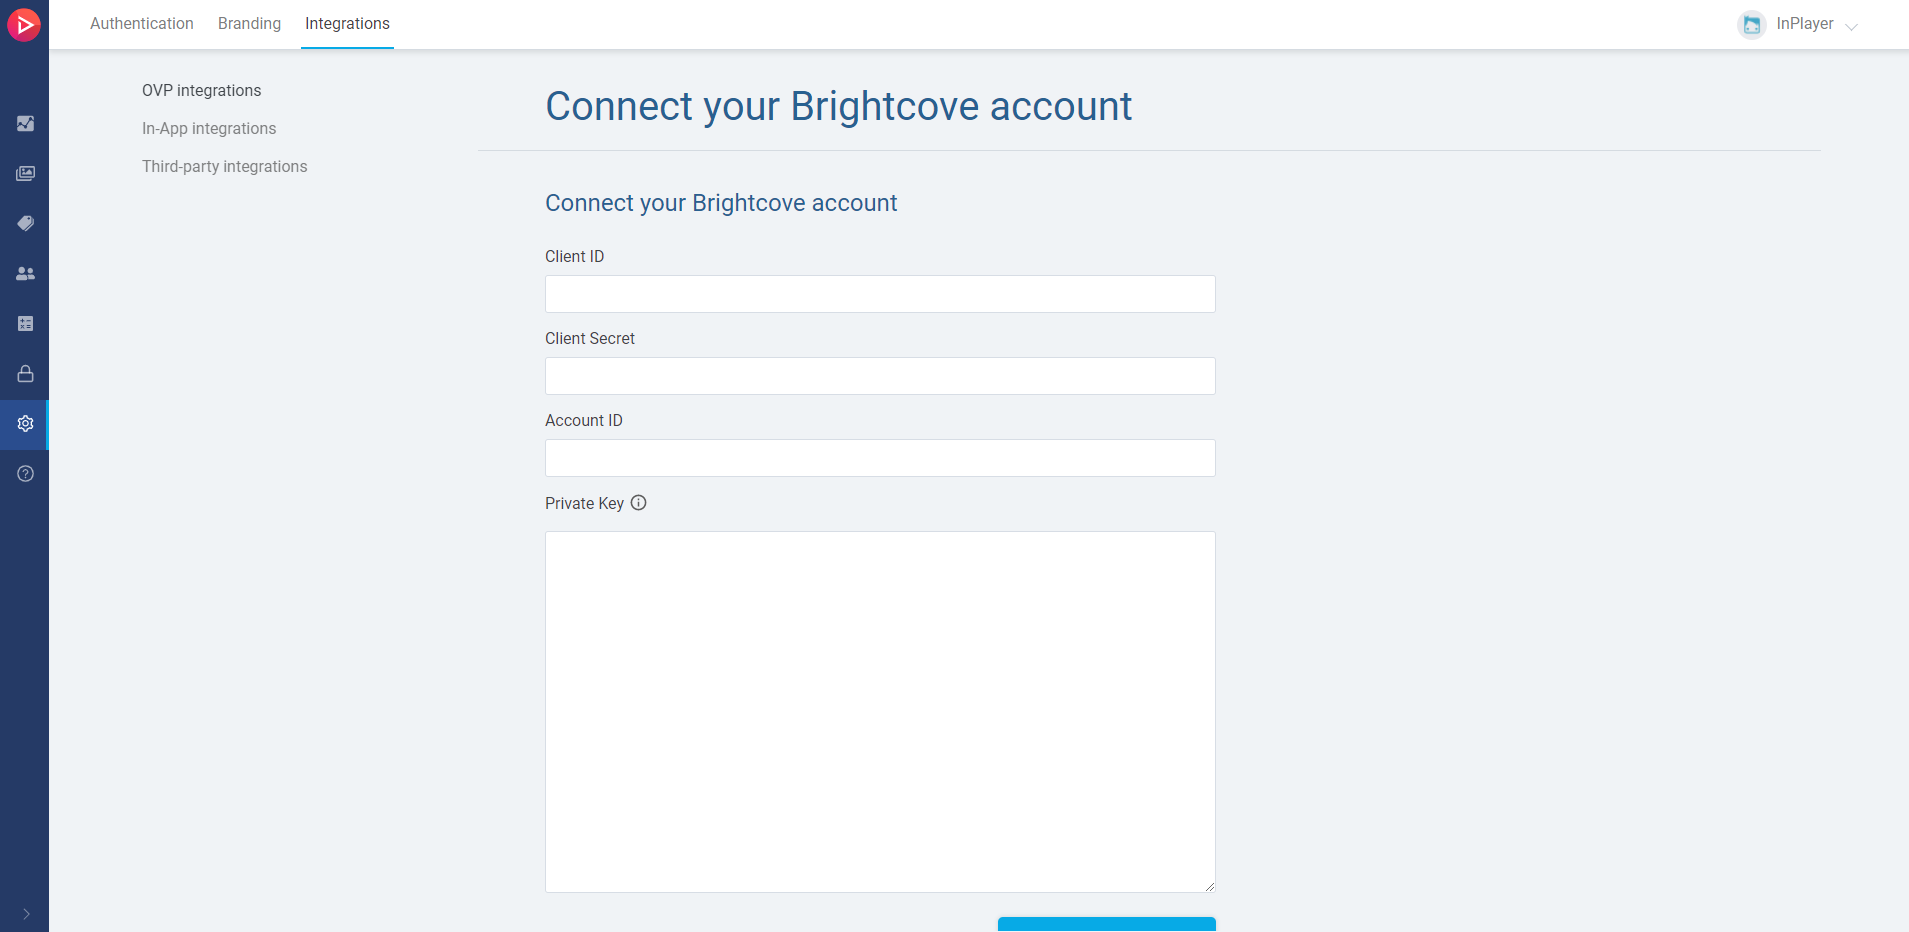
To use the Brightcove Gallery integration successfully, please make sure that you have already connected your InPlayer and Brightcove accounts.
If you haven’t done this and are not sure how to go about doing it, make sure to read our guide.

Once both accounts are connected, you will need to create an InPlayer video asset for each of the videos you wish to include in your Brightcove Gallery Experience.
To learn how to do that, read our guides depending on the type of asset you want to have.

Important: Due to Brightcove Gallery limitations, if you apply Geo-restrictions on an InPlayer asset, the paywall for that video will not show up for users in restricted countries. They will be able to watch the video for free. The paywall will only show up for users from allowed countries. Therefore, always make sure you set up geo-restrictions for these videos directly in Brightcove as well, to make sure they are not freely available for users from restricted countries. Alternatively, you can set up a geo-restriction to only the asset price, and not the whole asset. This will make sure the paywall always shows up for everyone, but the price itself will only show up for viewers from allowed countries, while users from other counties will see a message that there are no price options available for them.


Brightcove Player setup

To start, you should first set up a Brightcove player with the InPlayer plugin.

To do this, follow the steps below.

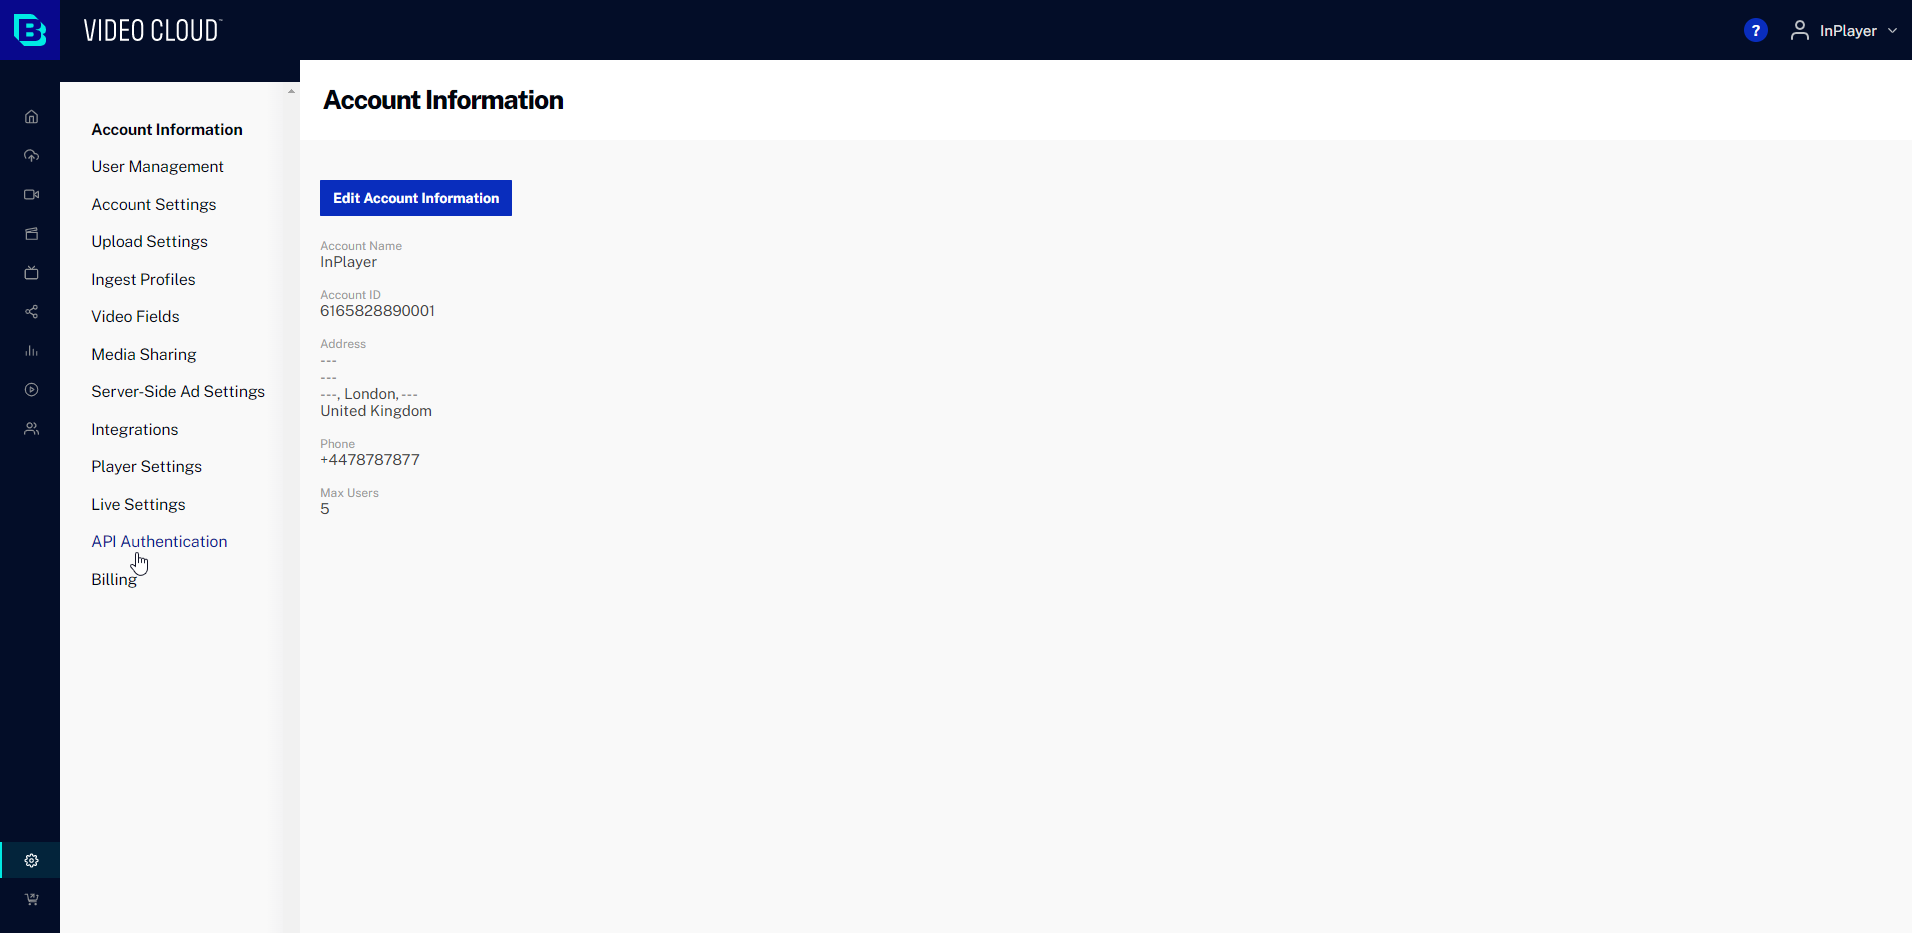
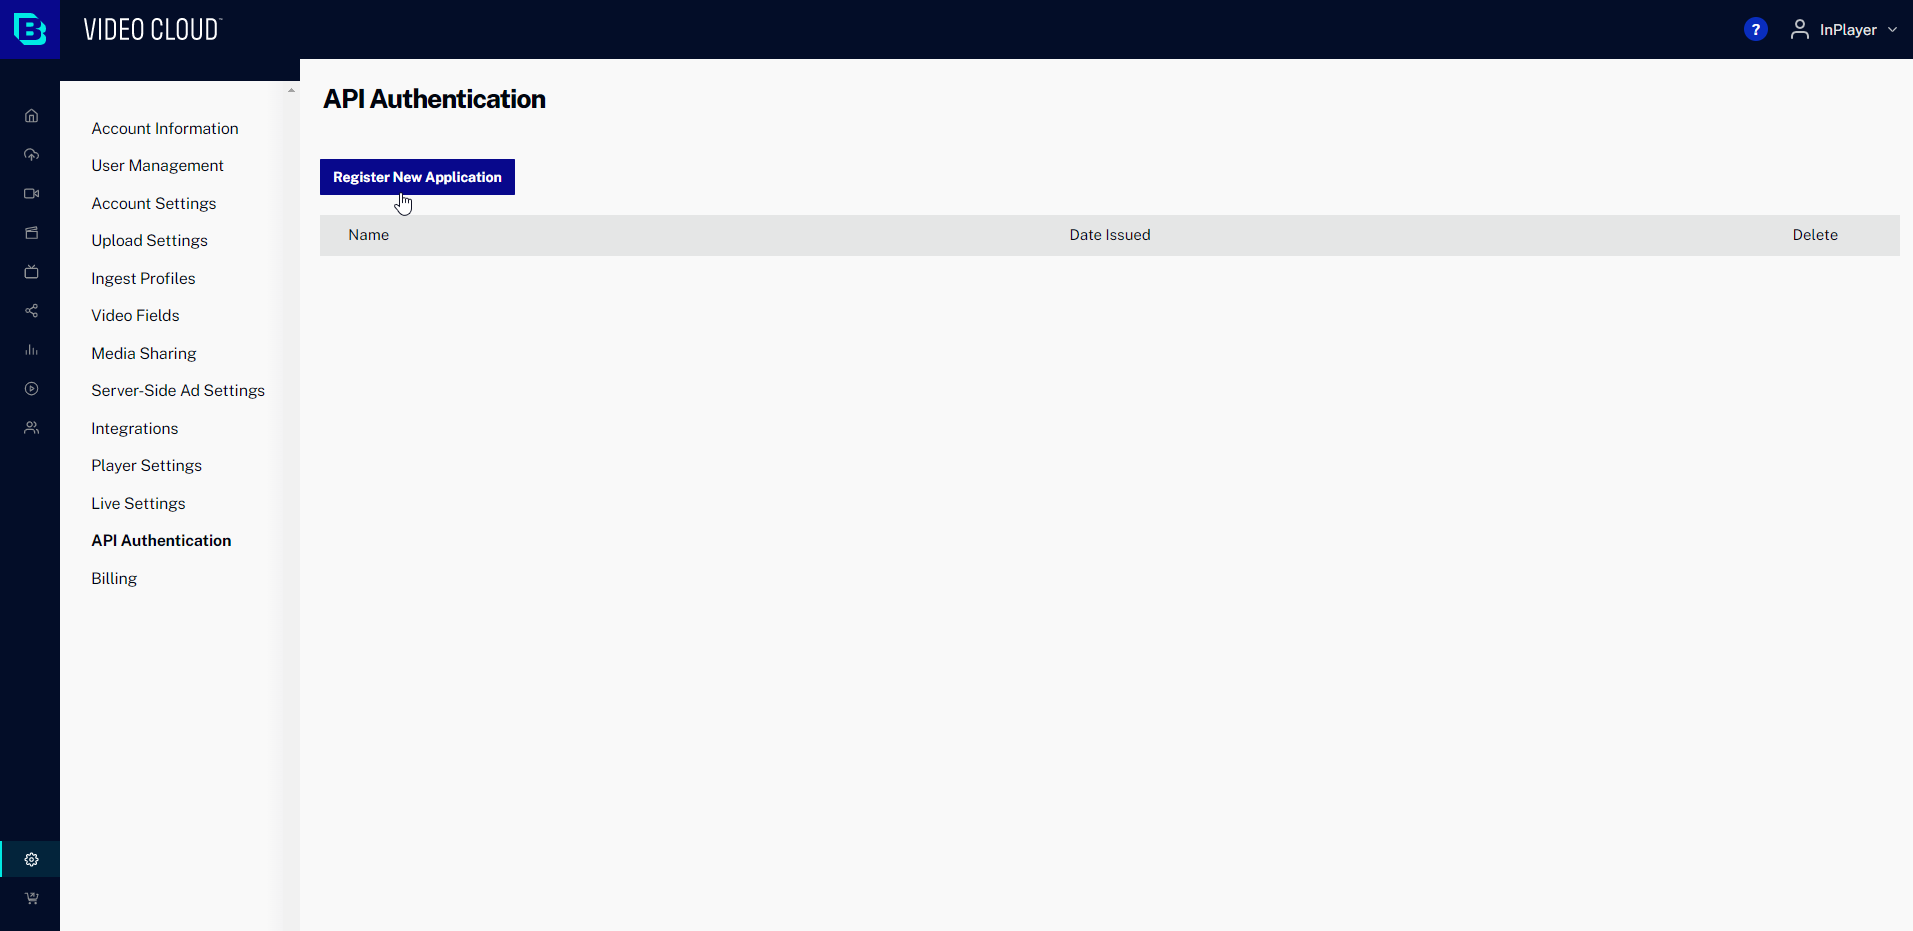
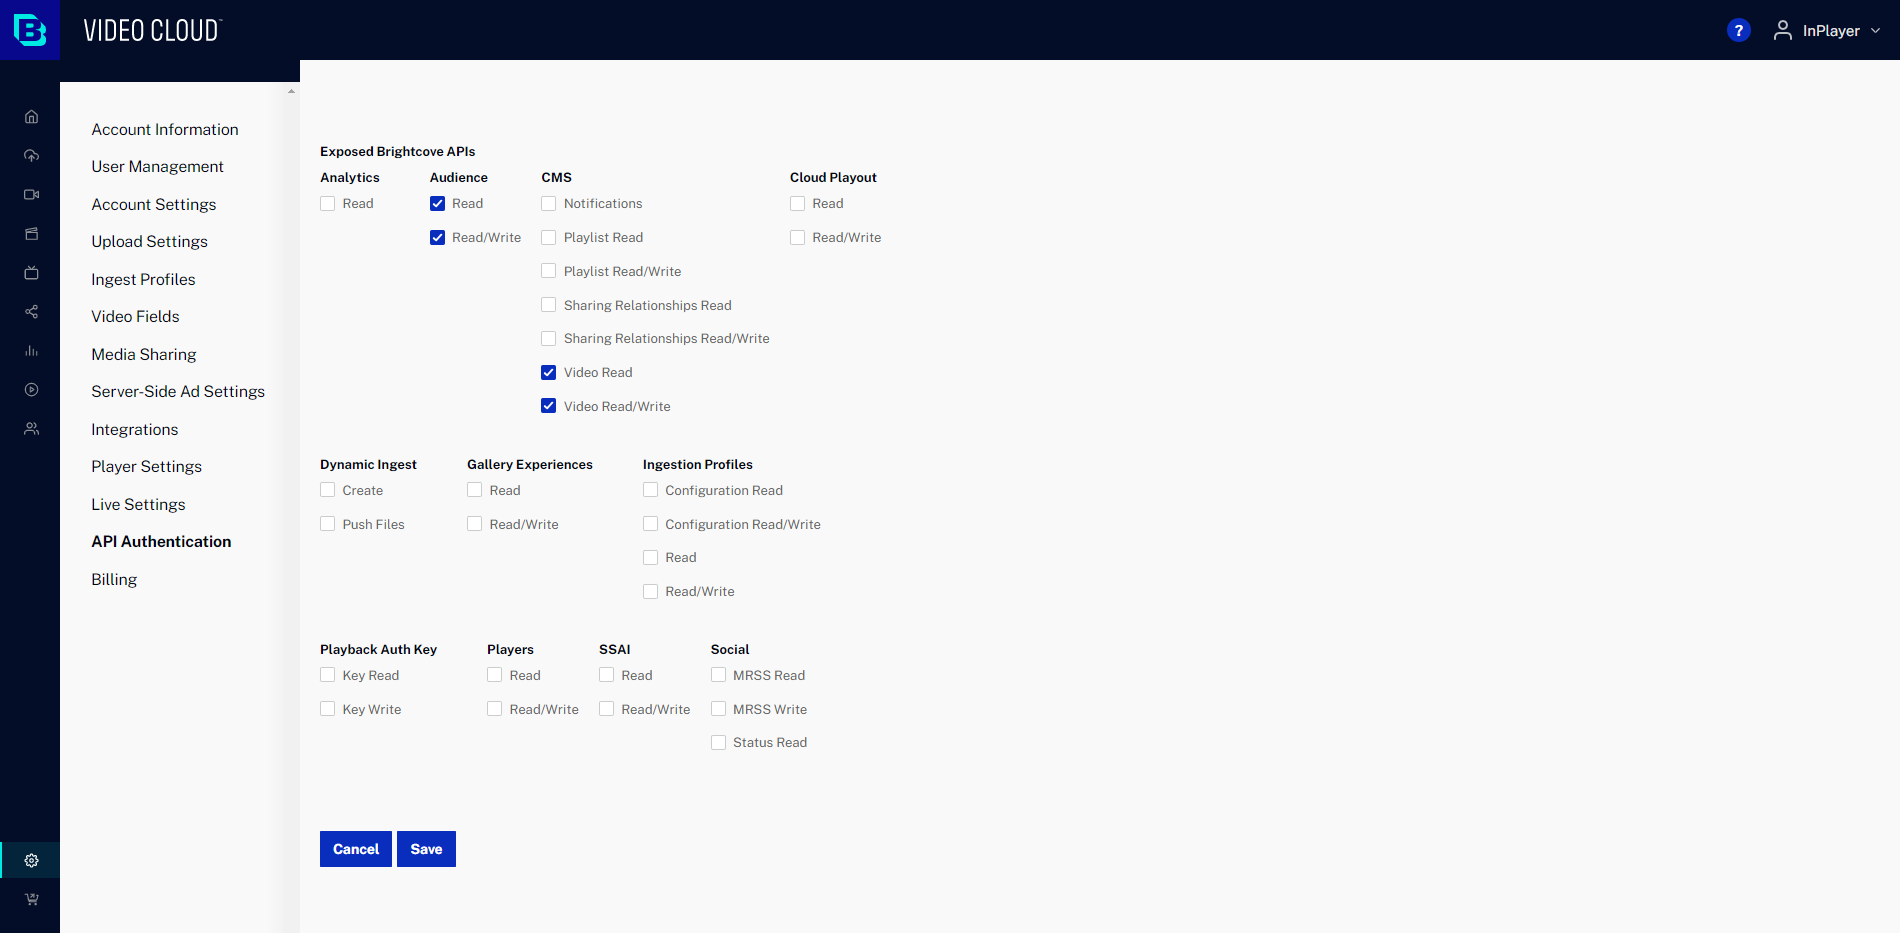
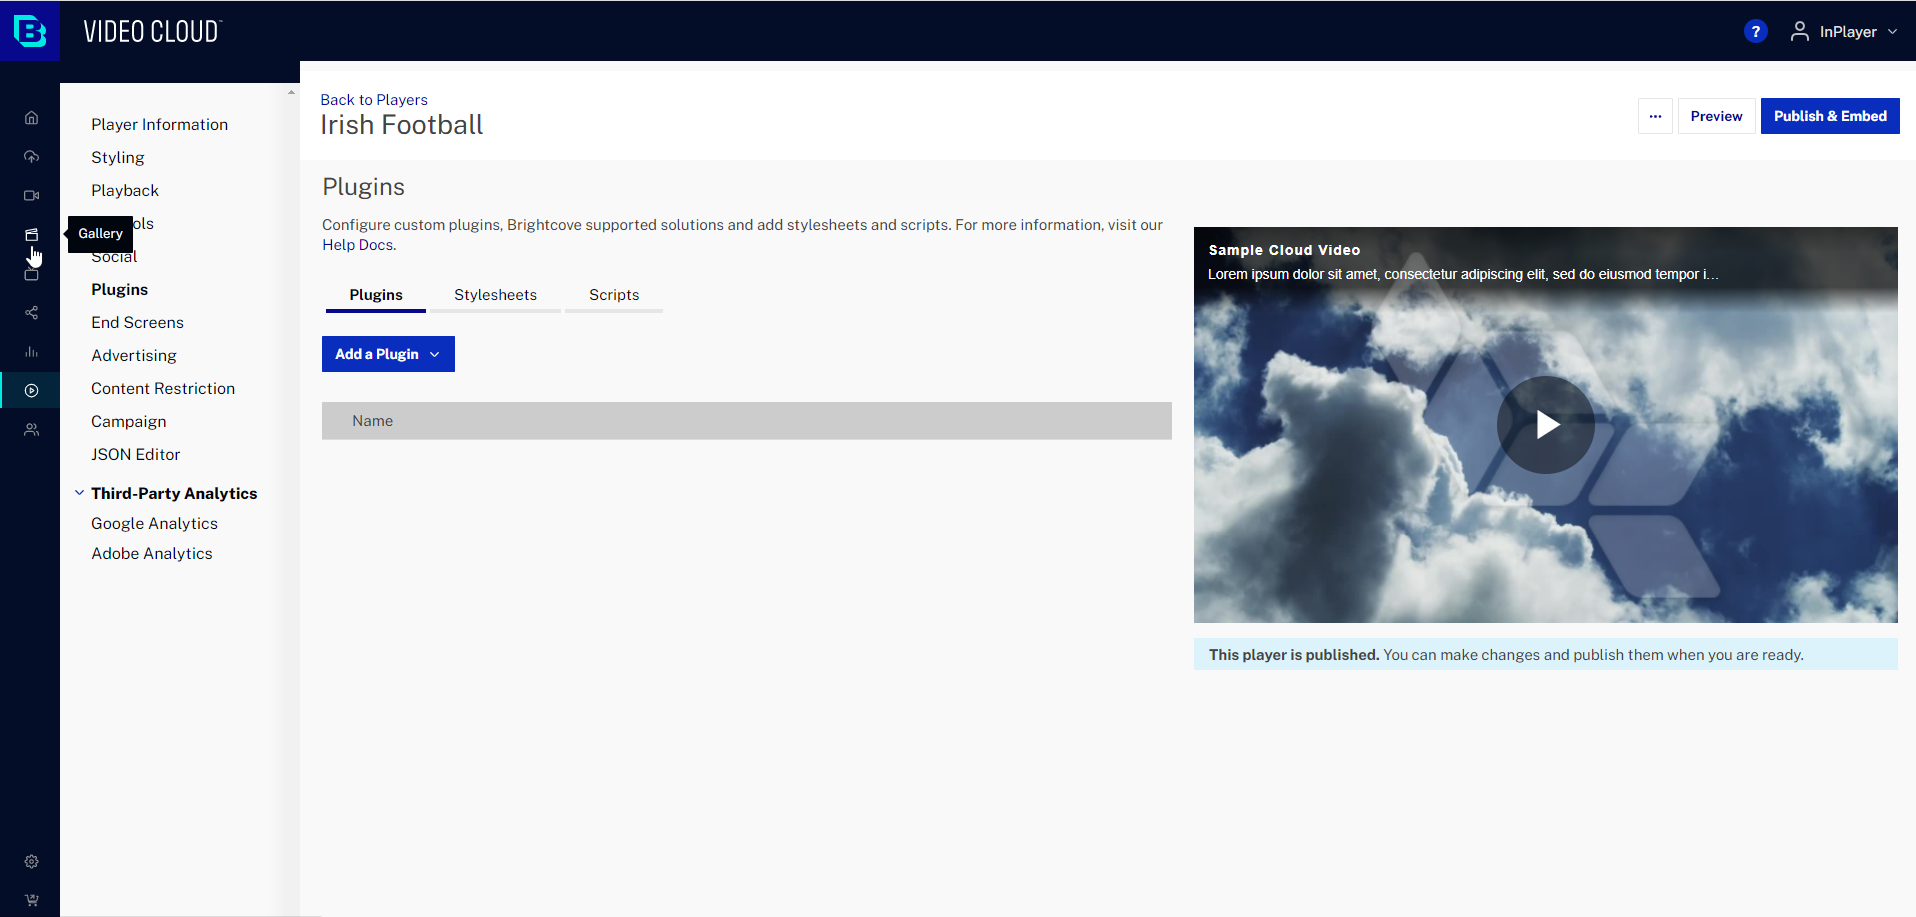
Log into your Brightcove account and navigate to the Players section.

Create a new player or open an existing one.

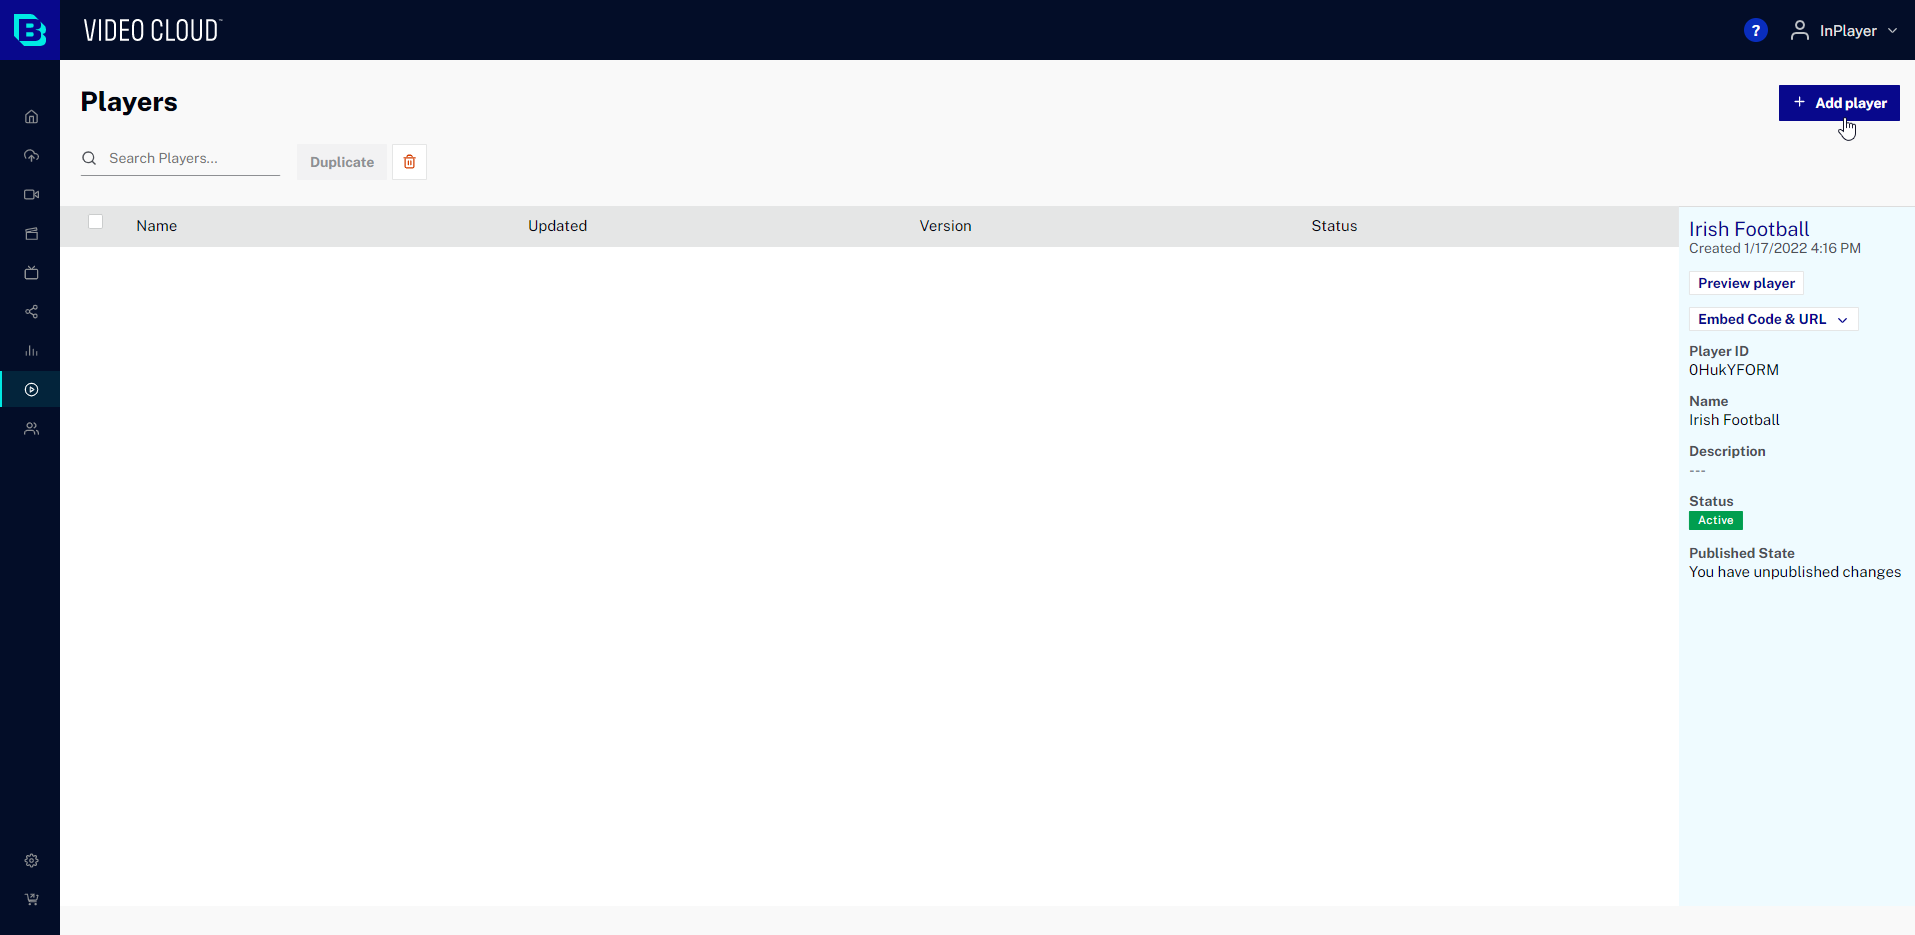
Go to the Plugins section of the player.

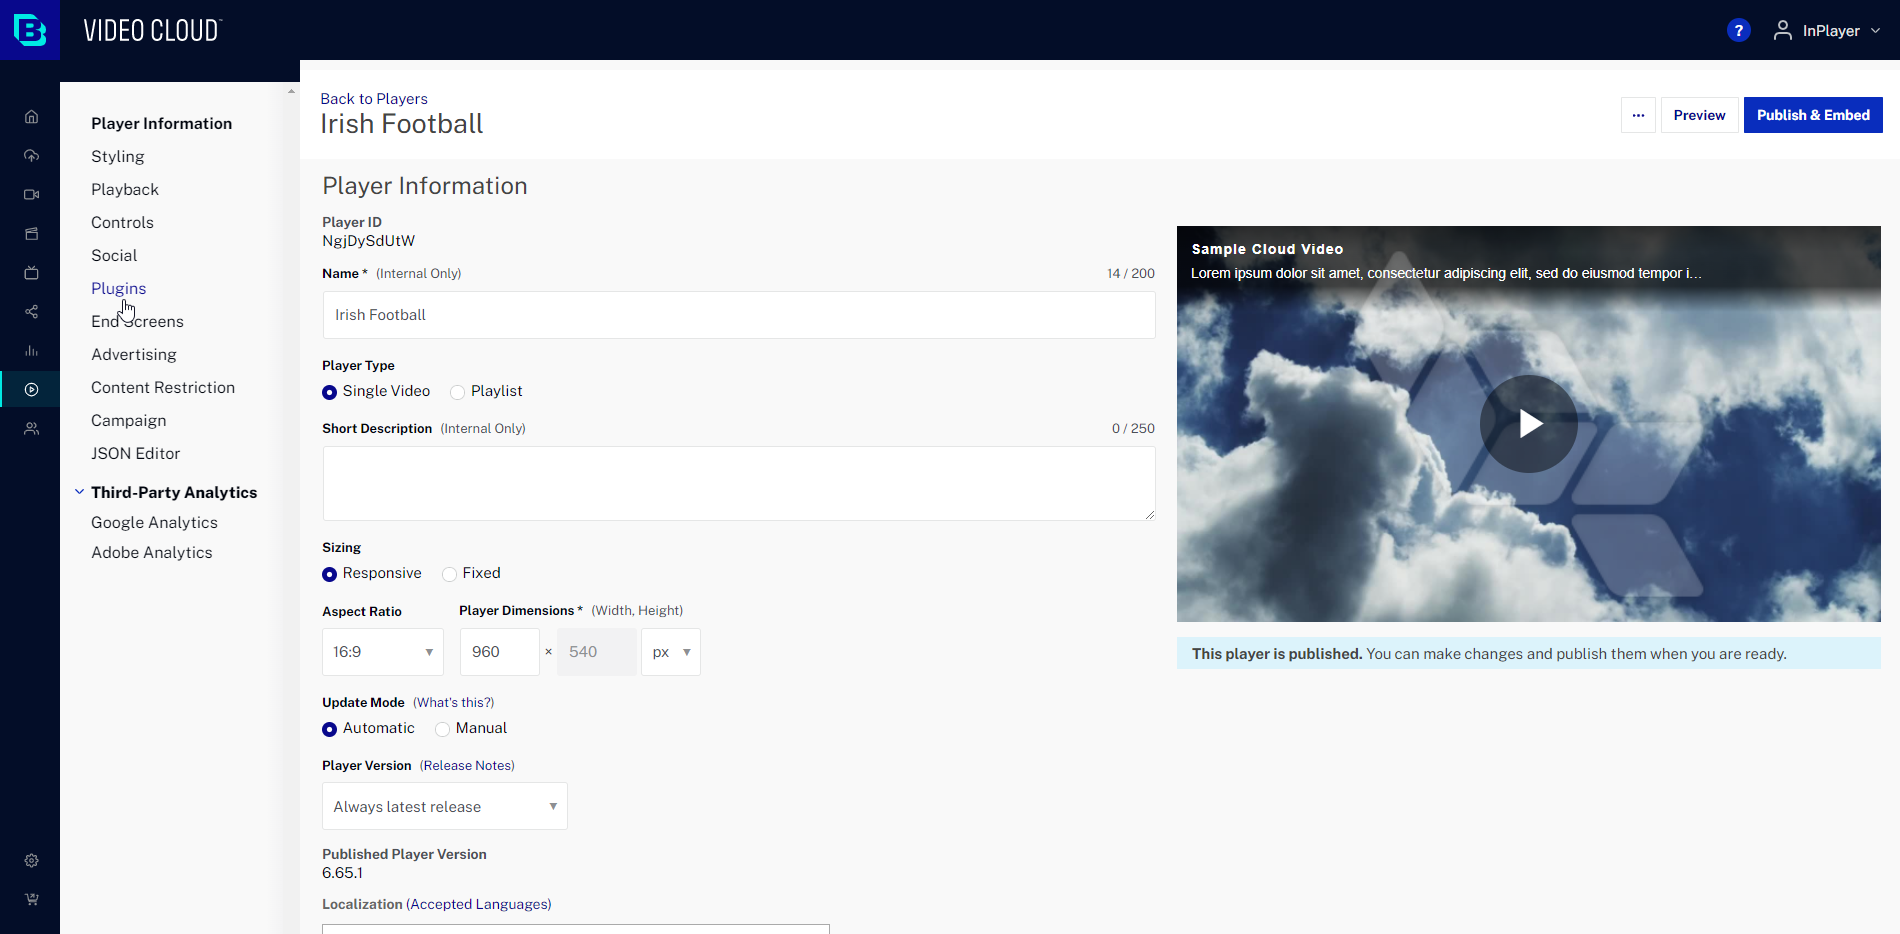
Click Add a Plugin and select Custom Plugin.

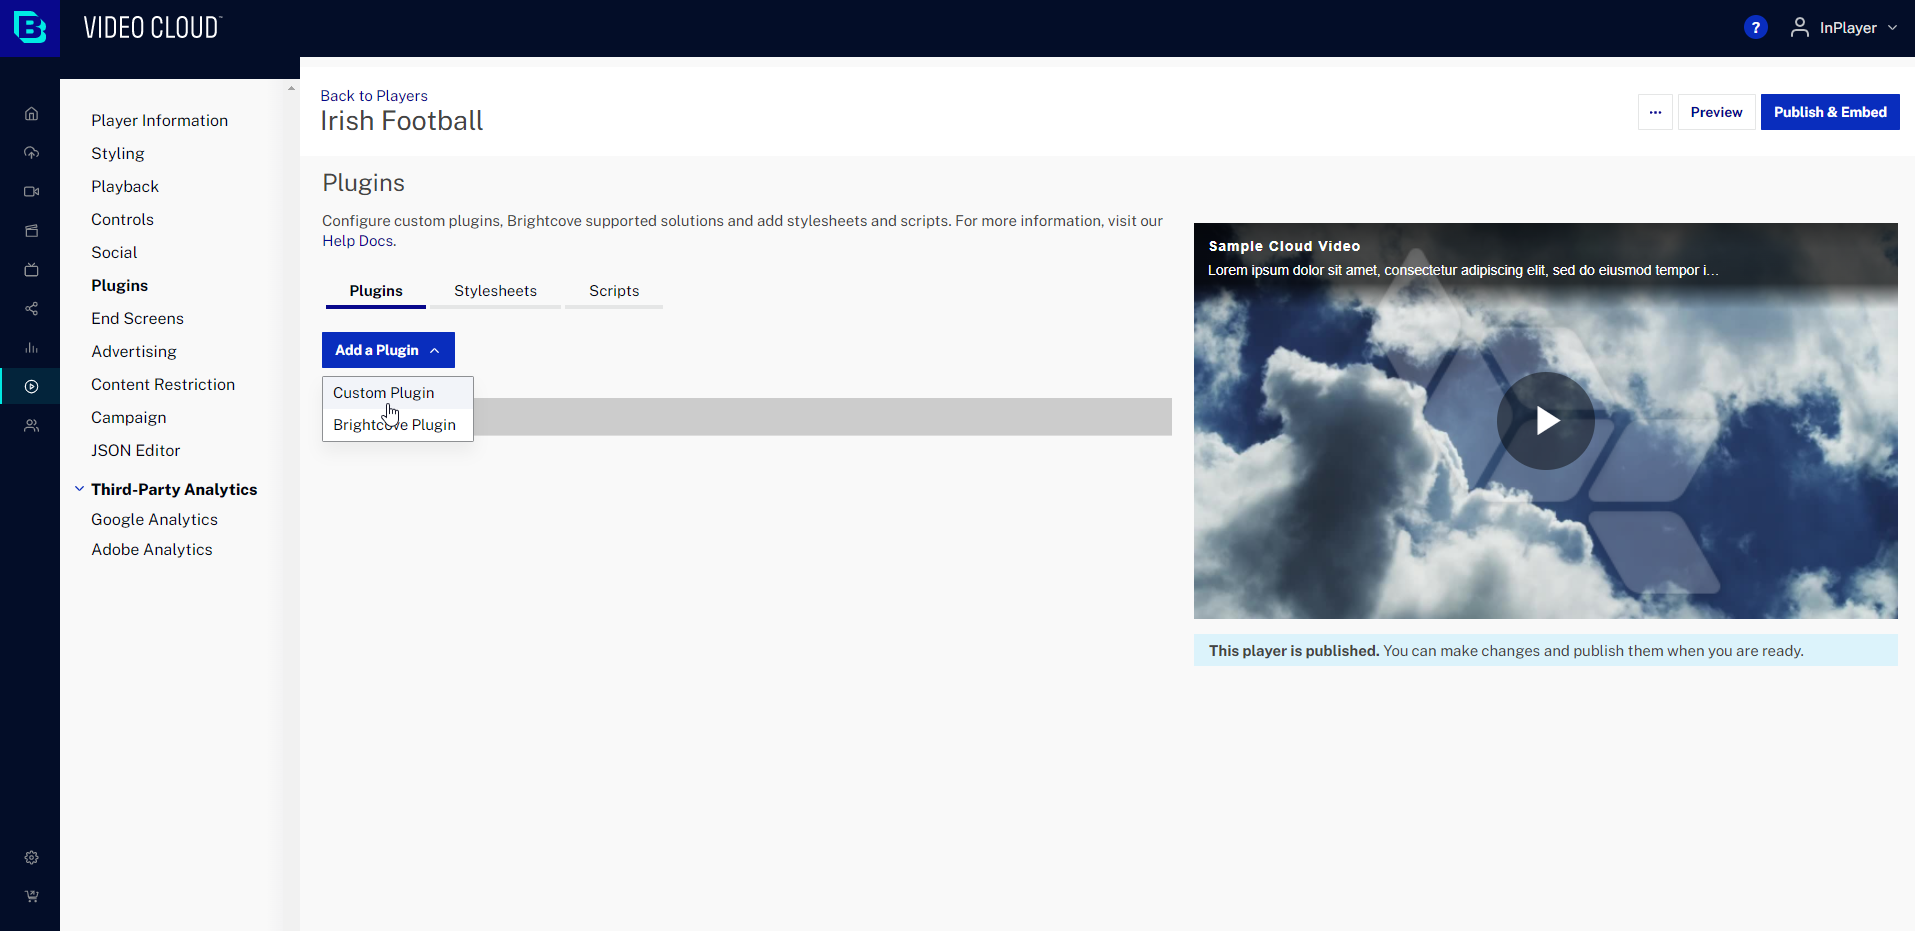
Under Plugin Name, enter:

inplayerPaywall

Under  JavaScript URL, enter:

https://brightcove.inplayer.com/gallery/inplayer-plugin.js

If you are using an InPlayer demo account, use this URL instead:
https://demo.inplayer.com/client/inplayer-plugin.js


Under Options (JSON), enter the following code, modified with your InPlayer Account UUID :

{
"inplayerUUID": "INSERT YOUR INPLAYER UUID HERE",
"brandingId": "INSERT YOUR BRANDING ID HERE",
"language": "INSERT 2 LETTER LANGUAGE CODE HERE"
}

To find your UUID, just log into your InPlayer account, and go to Account Details.
To find your branding ID, go to Settings and then to Branding. The branding ID will be displayed on the branding theme.
To see a list of the 2 letter language codes that need to be used when filling out the language line, go to this page.

If you don’t wish to include the branding ID or the language line, you can delete it.
However, when deleting lines, make sure the last line before the final } of the code does not have a comma after it.

If you delete the line:
“language”: “INSERT 2 LETTER LANGUAGE CODE HERE”
the default language will be English.

Click Save to save the changes you’ve made, then Publish & Embed, and finally Publish Changes.

Brightcove Gallery Experience setup

Once you have set up your player, it is time to set up the Gallery Experience.

To do this, follow the steps below.

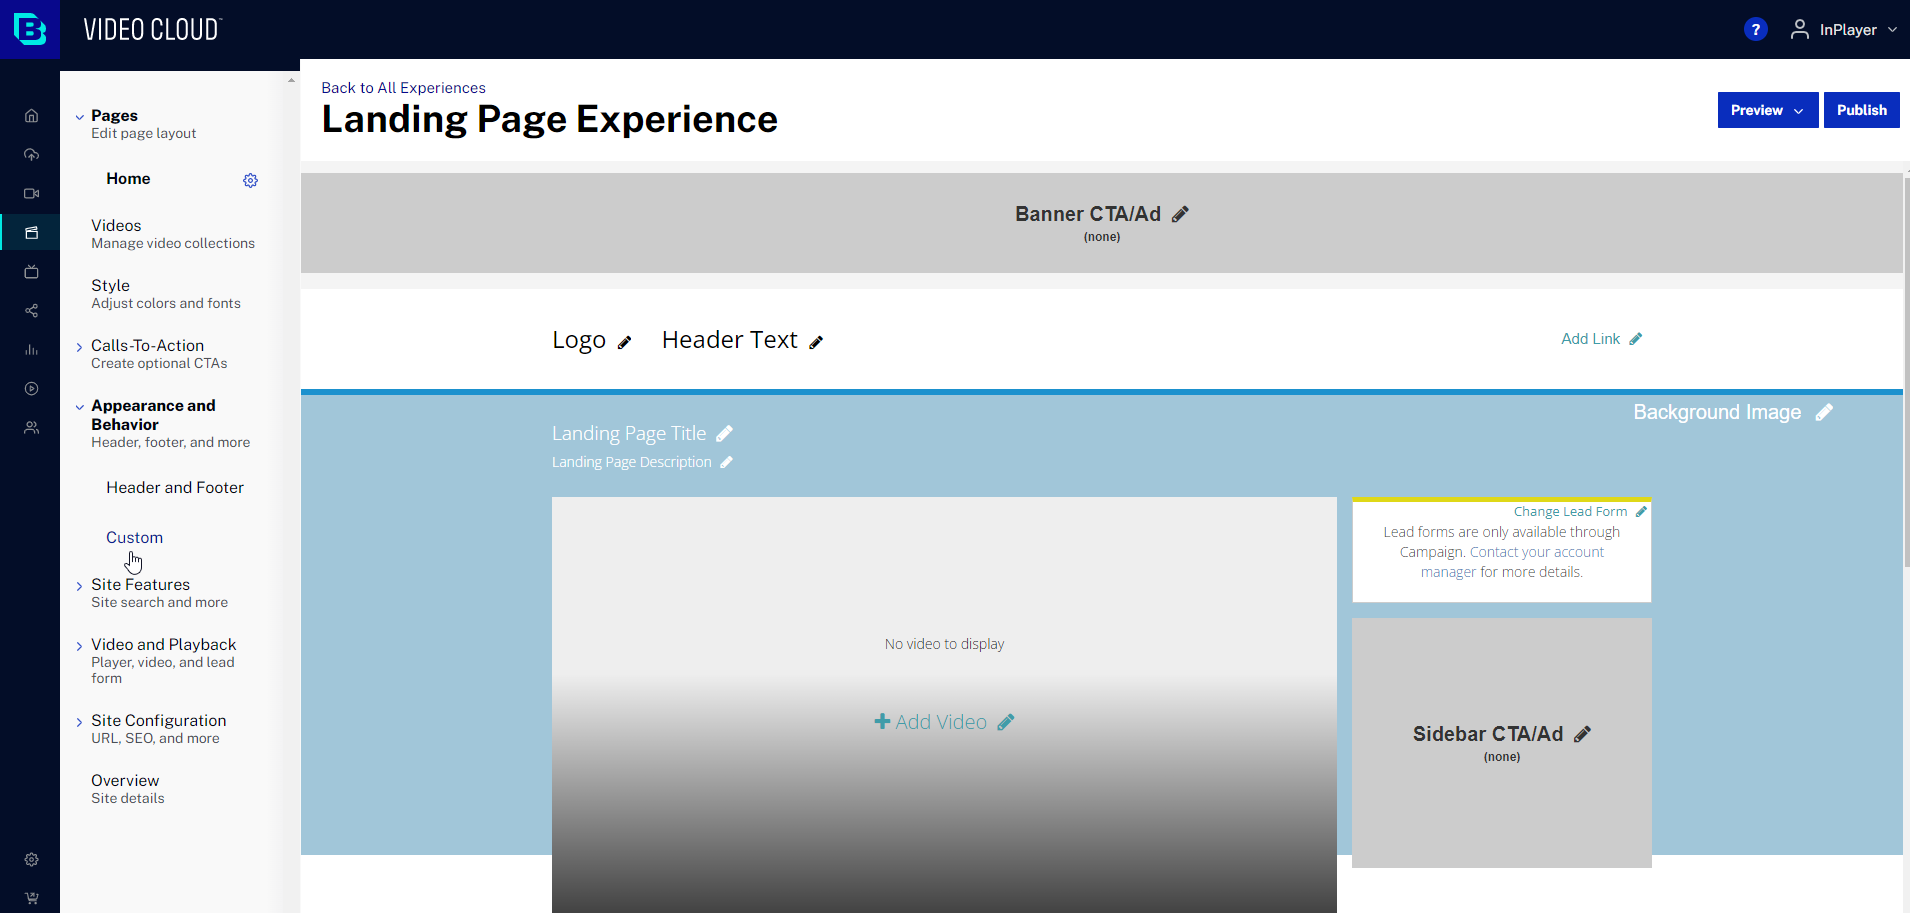
In your Brightcove account, navigate to the Gallery section.

Create a new Experience and open it.

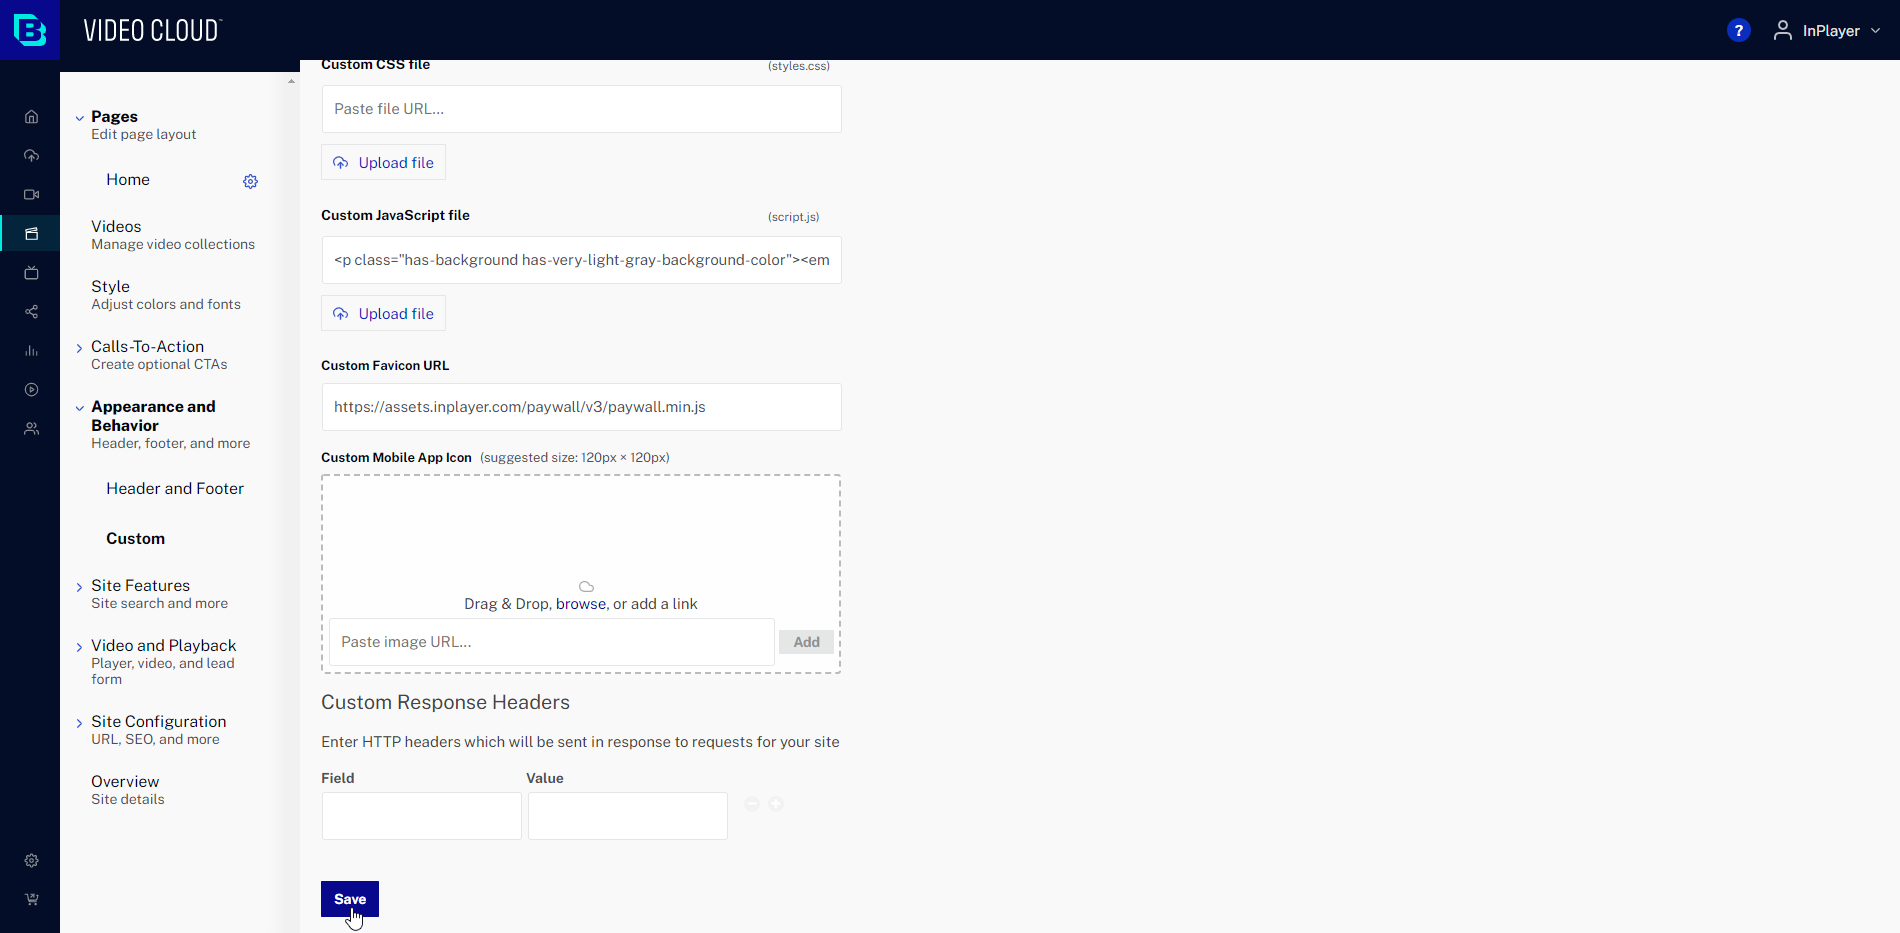
From the left-hand menu, go to APPEARANCE AND BEHAVIOR and then to Custom.

Under Custom JavaScript URL, enter the following URLs:
For the V2 paywall:

https://assets.inplayer.com/paywall/latest/paywall.min.js

For the V3 paywall:

https://assets.inplayer.com/paywall/v3/paywall.min.js

If you are using an InPlayer demo account, use these URLs instead:
For the V2 paywall: https://assets.inplayer.com/paywall/staging/paywall.min.js
For the V3 paywall: https://assets.inplayer.com/paywall/v3/staging/paywall.min.js


Click Save at the bottom of the page.

Next, go to the VIDEO AND PLAYBACK section, and then to Player and Lead Form.

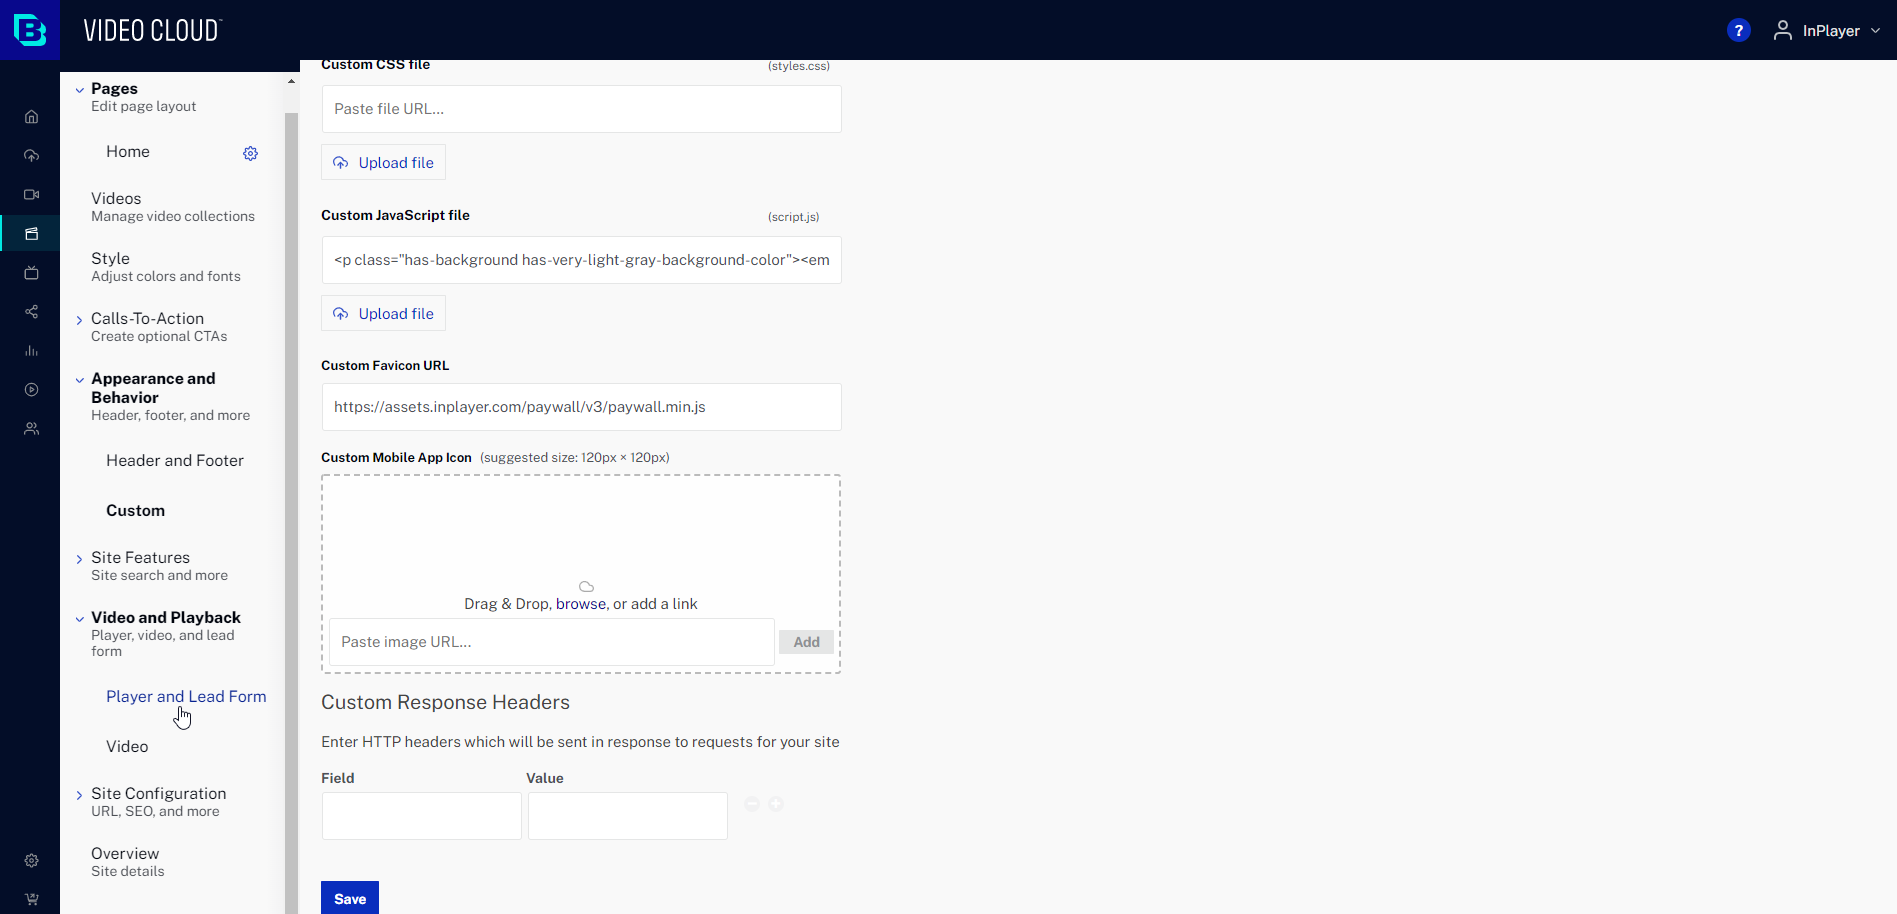
Here, select Use site-specific player and choose the player that you’ve previously set up with the InPlayer paywall.

Click Save at the bottom of the page, and then click Publish at the top.

You can now add your videos and otherwise modify the Gallery.

Make sure to save and publish your Gallery every time you make a change to it.

Also, remember that you will need to create a separate asset in the InPlayer dashboard for every video you are going to add to the Gallery. Read our guides to learn how to do that.

If you have any questions, don’t hesitate to contact us at clients@inplayer.com.

Brightcove

Connecting InPlayer and Brightcove

First, log into your InPlayer Dashboard.

Go to Settings, and then to the Integrations tab.

Click on Brightcove.

Enter the Client ID, Client Secret and Account ID from your Brightcove account, and click Save.

You will also notice the Private Key field. This is an optional field but it provides higher protection.

If you have mobile app or TV app integration, i.e. sell your assets via a mobile or a TV app, this is a mandatory field.

If you are going to embed the assets on a webpage only, the field is optional, but it does provide Brightcove’s Playback Authorization Service (PAS), which means higher security for your content. What it does is, it enables tokenisation, which signs your content with a one-time-use-only token, which means the content cannot be shared. We therefore strongly suggest that you take advantage of it.

How to find the Client ID, Client Secret and Account ID

Log into your Brightcove account.

Go to ADMIN.

Click on API Authentication.

Click on Register New Application.

Enter a Name and Description for the client registration.

Select one or more of your accounts for authorization.

Under Exposed Brightcove APIs, select the Read/Write from the Audience section and Video Read/Write from the CMS section.

Click Save.

The Client ID and Client Secret will be displayed.

Copy them and paste them in the InPlayer Dashboard.

Next, go to ADMIN and click on Account Information.

Here you can see your Account ID.

How to find the Private Key (optional)

First, make sure your Brightcove account has these two services enabled:

  • Playback Authorization Services
  • Dynamic Delivery

Contact your Account Manager at Brightcove for this.

Next, you need to create a Public and Private Key pair.
Brightcove already provides useful documentation and several examples on how to do this in this article.

Then, you need to create client credentials for Brightcove Video Cloud Key management.
To do so, you will need to log into your Brightcove account, and then get the BC_TOKEN that is saved in your browser’s cookies.

To get the BC_TOKEN, log into your Brightcove account using Google Chrome, right-click anywhere on the page, and click on Inspect to open the dev tools console.
In the console, go to the Applications tab, expand the entry Cookies, and click on http://studio.brightcove.com/
The BC_TOKEN will be displayed.

With the BC_TOKEN you can make another request to create the client credentials for Brightcove Key API management. To do that, use this call:

curl --location --request POST 'https://oauth.brightcove.com/v4/client_credentials' \
--header 'Authorization: BC_TOKEN ' \
--header 'Content-Type: application/json' \
--data-raw '{
    "type":"credential","maximum_scope":[
            {"identity":{"type":"video-cloud-account","account-id":replace_with_account_ID},
                "operations":
                    ["video-cloud/playback-auth/key/read","video-cloud/playback-auth/key/write"]
            }
                        ],
                        "name":"PAS Creds","description":"App for PAS"
                        }'

Save the Client ID and the Secret Key that are returned from the call.

Next, you need to create the Access Token you will use to register your Public Key in the Brightcove platform.
The Access Token can be generated with the below request, where your Client ID and Client Secret are passed as the username:password in a basic Authorization header.

curl --location --request POST 'https://oauth.brightcove.com/v4/access_token' \
--header 'Authorization: Basic {client_id}:{client_secret} ' \
--header 'Content-Type: application/x-www-form-urlencoded' \
--data-urlencode 'grant_type=client_credentials'

Save the Access Token that is returned from the call.

Please note that the Access Token is valid for one subsequent request. Make sure to generate it prior to creating a new public key.


Using the Access Token you can now register your Public Key with Brightcove. To do that, use this call:

curl --location --request POST 'https://playback-auth.api.brightcove.com/v1/accounts/79364953001/keys' \
--header 'Authorization: Bearer {Access Token}' \
--header 'Content-Type: application/json' \
--data-raw '{"value":"Your Public Key Value"}'

The last step is to enter the Private Key in the InPlayer Dashboard, in the Private Key field of the Brightcove Integration section.

It is very important to note that only videos that have Dynamic Delivery enabled can be protected by this method.


An easy way to check whether a video has Dynamic Delivery is to look at the video icon in the Video list in Brightcove. The videos with a green cloud have Dynamic Delivery and the ones with a grey cloud do not.

Media Module Video List

Once your Brightcove account manager enables the Dynamic Delivery feature, it can be used for newly uploaded videos or for videos that have already been uploaded.

To enable Dynamic Delivery on a new video, make sure to select an Ingest Profile listed under DYNAMIC DELIVERY, during the uploading process.

You can choose between 4 Dynamic Delivery ingest profiles:

  • Multiplatform Extended (7 Renditions)
  • Multiplatform Standard with MP4 (7 Renditions)
  • Multiplatform Standard (6 Renditions)
  • Multiplatform Extended with MP4 (8 Renditions)

To enable Dynamic Delivery on an already uploaded video, open the video, scroll down to the VIDEO FILES section on the left, and click Restranscode.

Select one of the Dynamic Delivery ingest profiles.
You will notice that the profiles here are not divided as Dynamic Delivery and Legacy as when you upload a new video, but the Dynamic Delivery ones are easy to spot since they will always start with the word Multiplatform, and will be the same 4 that are mentioned above.

Click Restranscode to start the re-transcoding process.

As soon as the process finishes, the video will have Dynamic Delivery. Until it does, it will still be playable, but as a non-Dynamic Delivery video.

Once you set everything up, the next step is to protect your Brightcove content by creating an InPlayer asset.

You can learn how to do that here.

Once you create your assets, you can use them individually, or as a part of a Brightcove Gallery.

If you have any questions, don’t hesitate to contact us at clients@inplayer.com.