Age restrictions

Age restrictions give you a way to restrict access to your content based on age.

The feature is not enabled by default, but if you want to use it, just send us an email at clients@inplayer.com and we will enable it for you.

When a viewer tries to purchase an asset that has been age-restricted, they will have to confirm their date of birth.

If their age is less than the one set up in the InPlayer Dashboard, they will not be granted access.

You can set up a global age restriction that affects your entire content, or an asset-specific age restriction, which affects a single asset. Note that the asset-specific restrictions will always override the global restrictions.

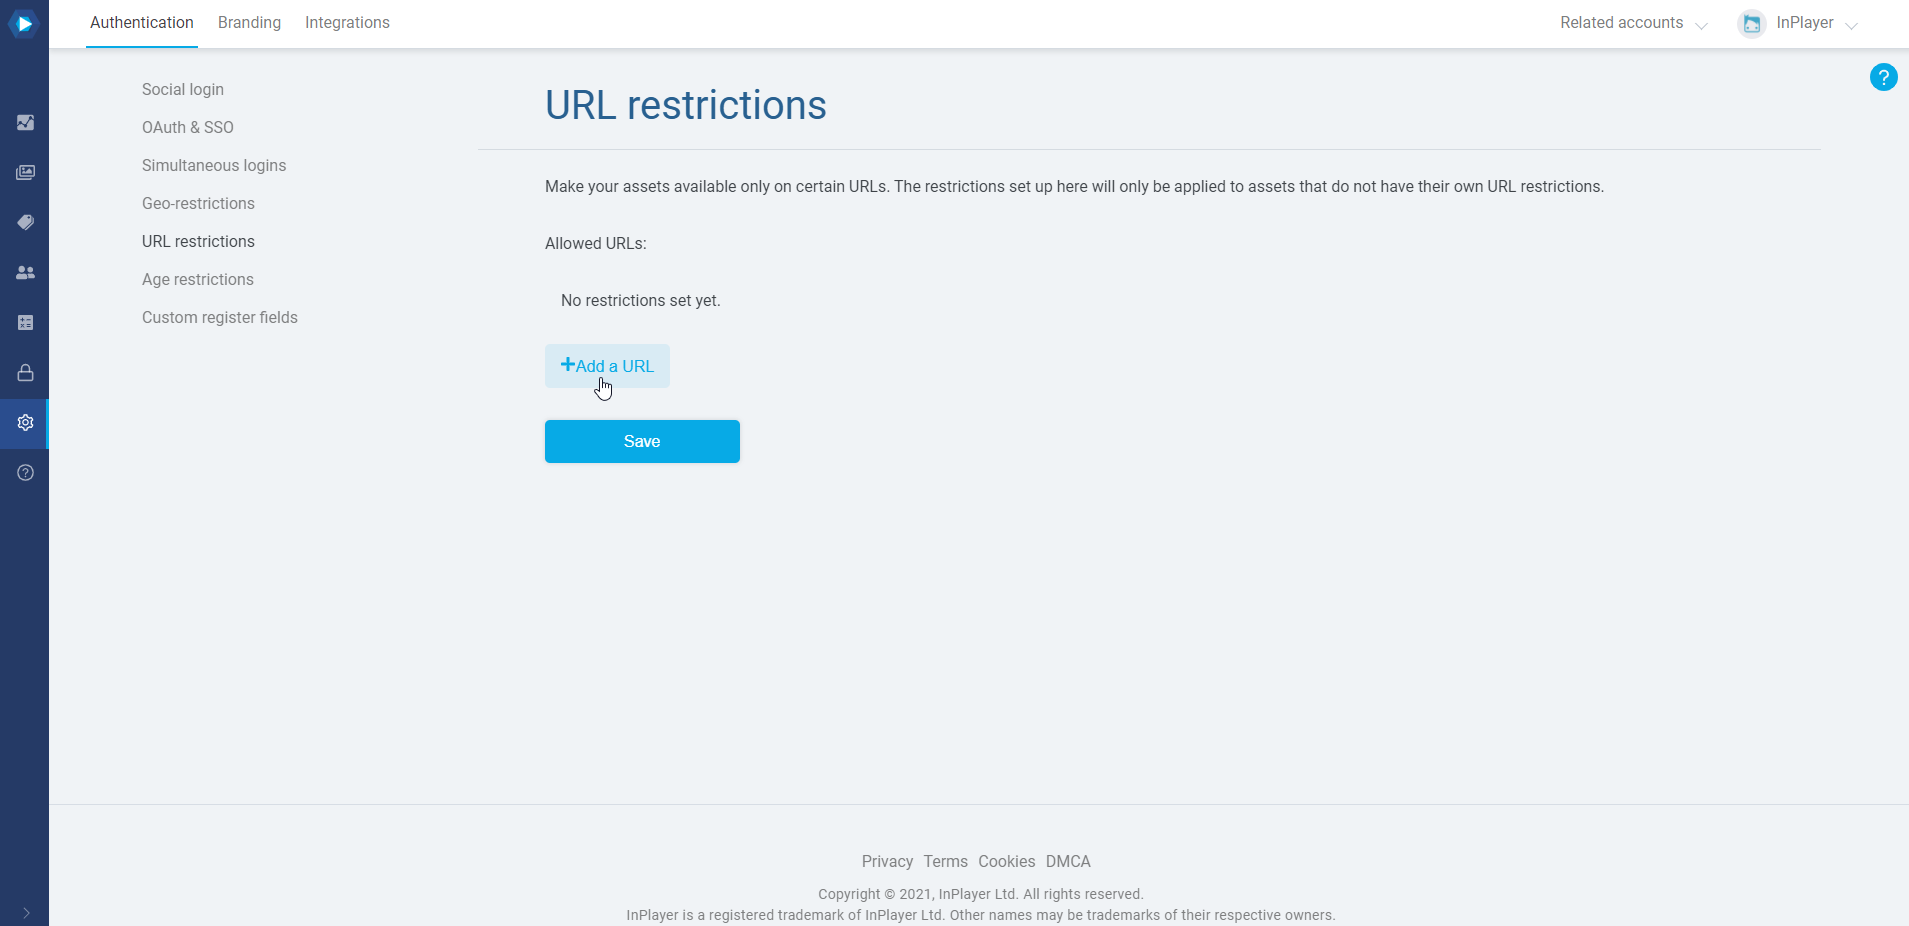
You will find the Age restrictions feature in the Authentication tab of the Dashboard settings.

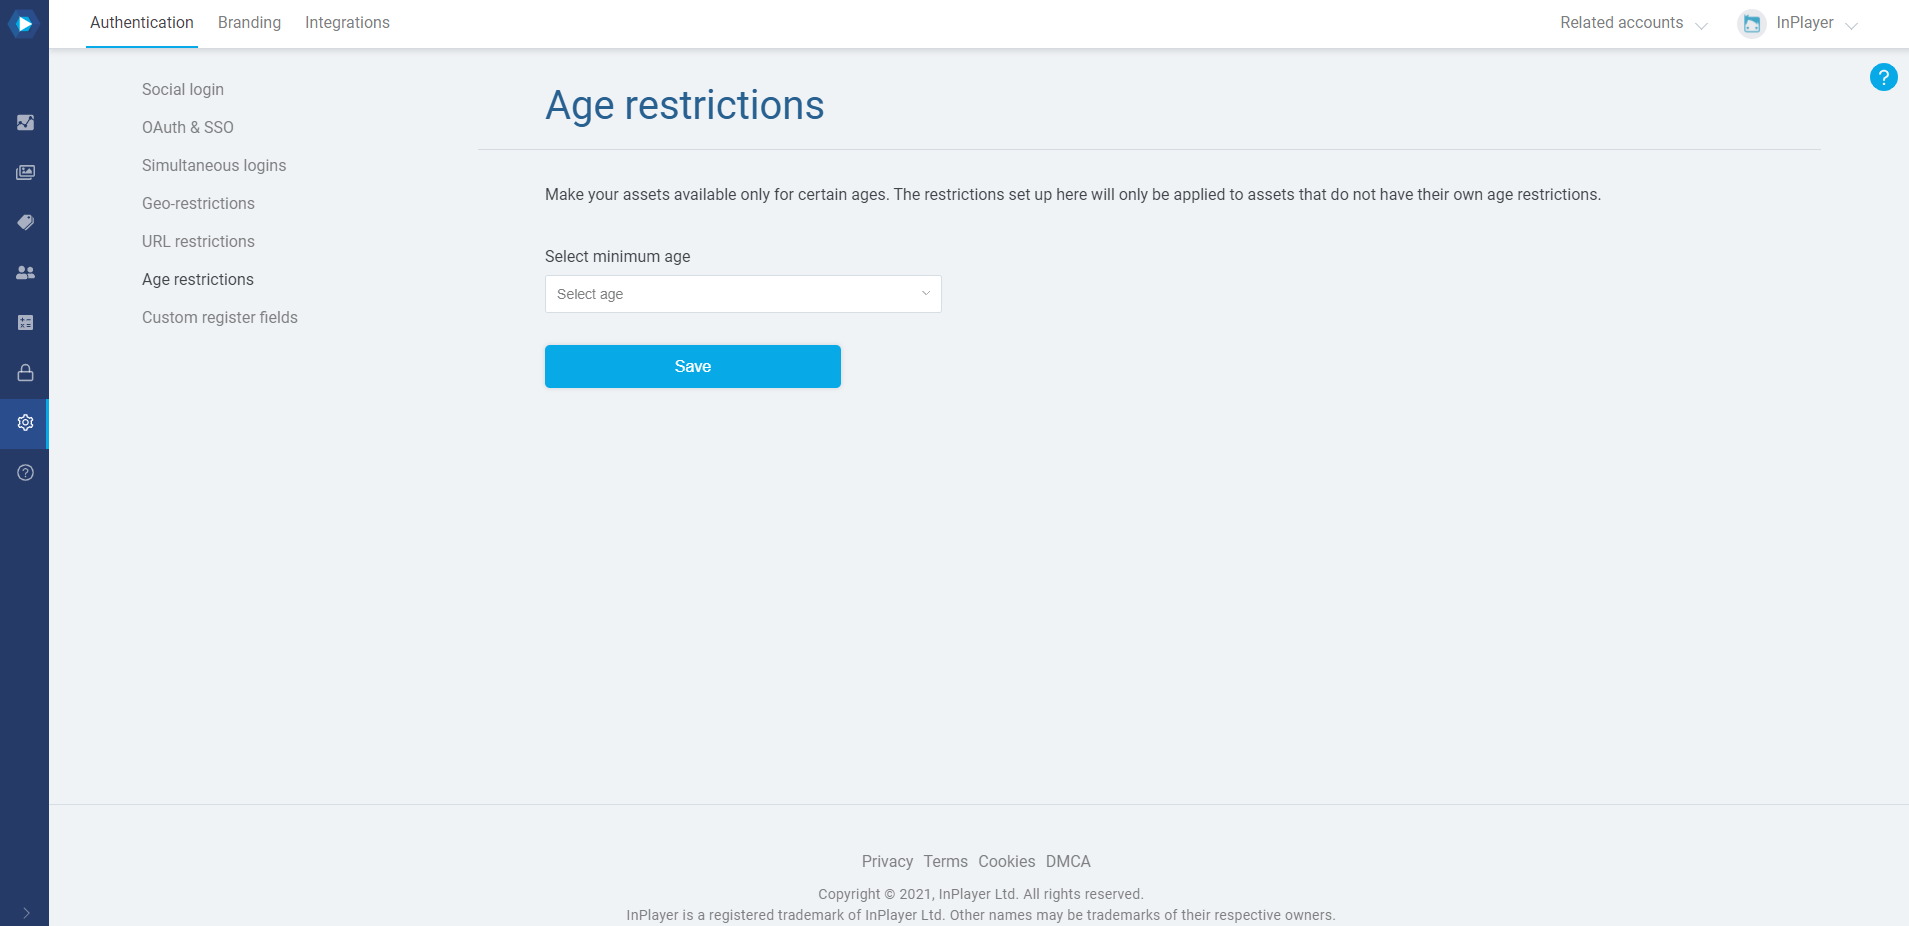
Setting up a global age restriction

The age restriction you set up in the Age restrictions tab of the Settings is going to be the global restriction, and will affect your entire content, i.e. all of your assets.

To do this, select the minimum age from the drop-down menu.
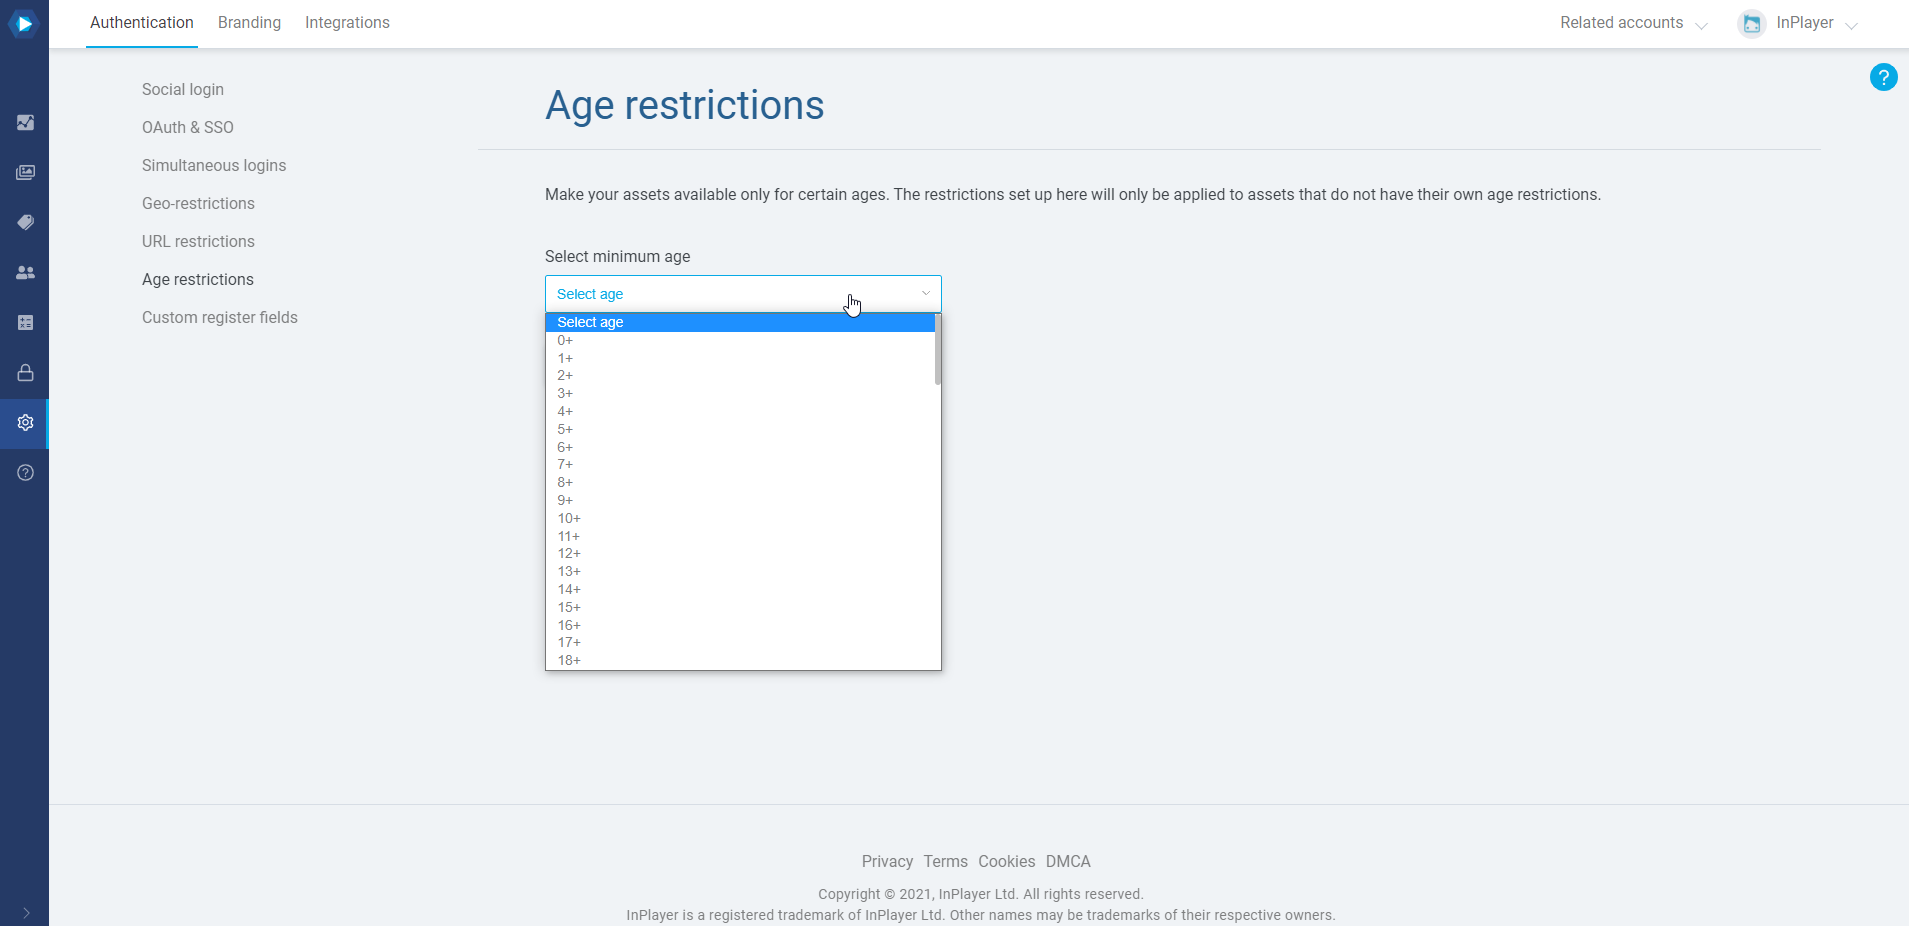
Then click Save.

Removing a global age restriction

To remove the global age restrictions on your account, go back to Age restrictions tab of the Settings, click Delete and then Yes, delete!.

Setting up an asset-specific age restriction

An asset-specific age restriction will affect only a single asset.

You can set it up in the asset’s settings.

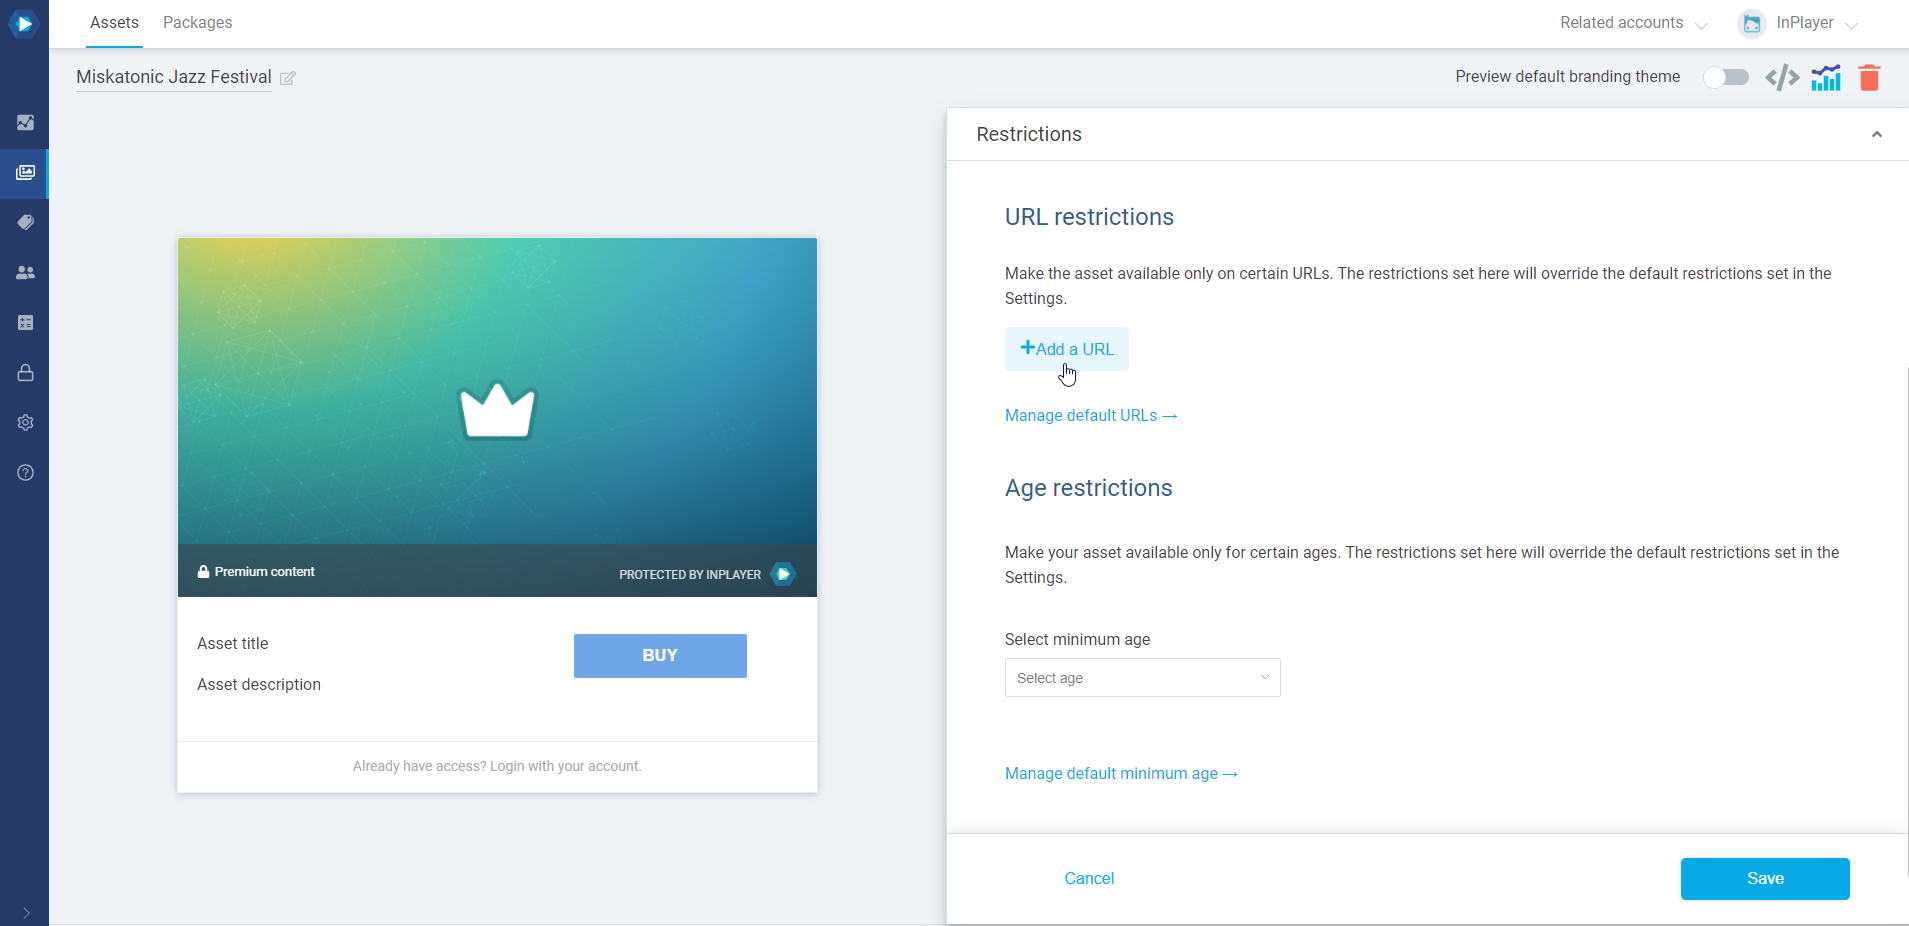
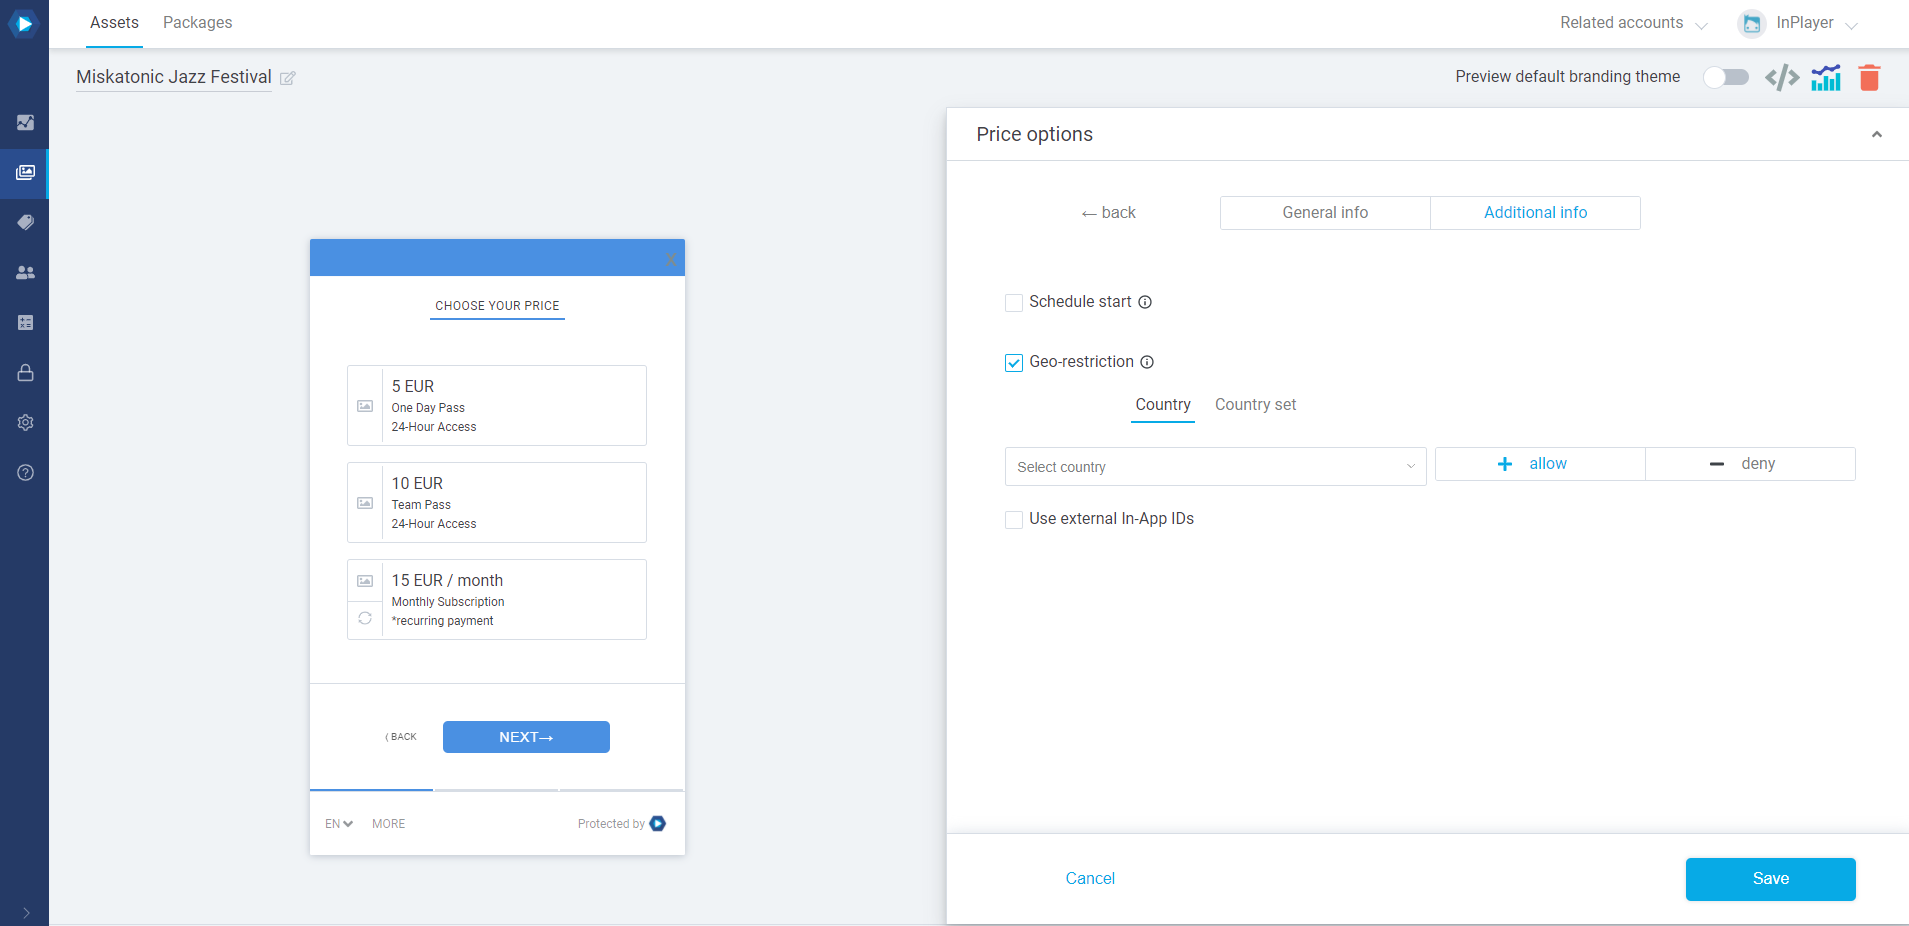
To do this, open the asset from the Content tab, go the Restrictions section, and under Age restrictions select a minimum age.

Make sure to click the Save button in the bottom right corner.

Removing an asset-specific age restriction

To remove an asset-specific age restriction, you would need to revert the restrictions for that asset to default. Note that this will remove all restrictions from that asset, including Geo- and URL restrictions. If you had any Geo- or URL restrictions set up for that asset, you will have to set them up again after reverting to default.

To revert the restrictions to default, open the asset from the Content tab, go to the Restrictions section, scroll down and click Reset to default.

Viewer experience

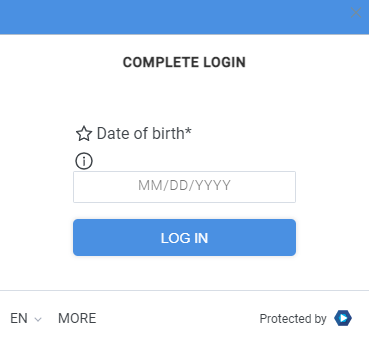
When a viewer tries to purchase an asset that is age-restricted, they will first need to enter their date of birth.

Upon entering their age, they will receive an email with a PIN number.

They will need to enter this PIN on the next screen on the paywall.

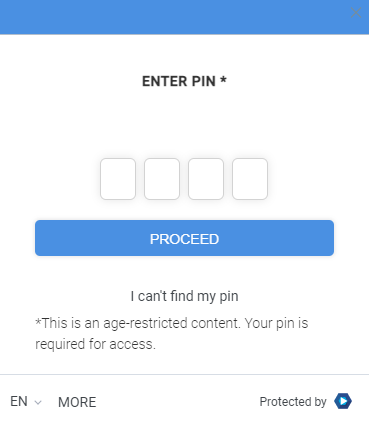
They will be able to use the same PIN each time they log in, but they can also get a new one, in case they lose or forget it.

When they enter their PIN, if their age is equal or greater than the one set up in the age restriction settings, they will be able to purchase the asset and watch the content.

The PIN enables the viewer to watch for one hour. After the hour is up, the PIN window will appear again and the viewer will need to enter it again so they can continue watching.

If the viewer’s age is lower than the one set up in the age restriction settings, they will be shown a message informing them that they won’t be able to watch the content due to their age.

This concludes our guide.

If you have any questions, don’t hesitate to contact us at clients@inplayer.com.

URL restrictions

Similar to the geo-restrictions, with URL restrictions you can limit the availability of your content based on a webpage.

This means that your assets will only be embeddable on webpages specified by you.

You can set up a default URL restriction that affects your entire content, or an asset-specific URL restriction, which affects a single asset. Note that the asset-specific restrictions will always override the default restrictions.

You will find the URL restrictions feature in the Authentication tab of the Dashboard settings.

Setting up a default URL restriction

The domain you set up in the URL restrictions tab of the Settings is going to be the default restriction, and will affect your entire content, i.e. all of your assets.

To do this, click on Add a URL.

Enter your URL and click Save.

Make sure to add the exact page URL where your asset is going to be embedded, and that you do not add a / at the end of the URL, nor any other special characters.

If you ever wish to remove a webpage, just click the  button next to it.

Setting up an asset-specific URL restriction

An asset-specific URL restriction will affect only a single asset.

You can set it up in the asset’s settings.

To do this, open the asset, go the Restrictions section, and under URL restrictions, click Add a URL and enter the domain.

Make sure to add the exact page URL where your asset is going to be embedded, and that you do not add a / at the end of the URL, nor any other special characters.

This concludes our guide.

If you have any questions, don’t hesitate to contact us at clients@inplayer.com.

Geo-restrictions

With Geo-restrictions you can restrict access to your content based on the viewer’s country.

You can either set it up as a default restriction that will affect your entire content, or an asset-specific restriction, which affects a single asset.
Note that the asset-specific restrictions will always override the default restrictions.
In addition, you can also set up geo-restrictions for individual asset prices, making them available in certain countries.

You will find the Geo-restrictions feature in the Authentication tab of the Dashboard settings.

Creating a Country set

To restrict the content, you first need to create a country set, which you can then use as the default geo-restriction set, or use it on a single asset only.

To create a new country set, click on New country set.

You can either allow a set of countries, thereby making the assets only available there, or deny a set of countries thereby making the asset available everywhere but there.
Set everything up and click Save.

Setting up a default geo-restriction

The set you set up as default in the Geo-restrictions tab of the Settings will affect your entire content, i.e. all of your assets.

To do this, click on the three dots in the upper right corner of the country set, and then click on make default.

Setting up an asset-specific geo-restriction

An asset-specific geo-restriction will affect only a single asset.

You can set it up in the asset’s settings.

To do this, open the asset, go the Restrictions section, and under Geo-restrictions select the country set you wish to use for the asset.

Setting up a price-specific geo-restriction for an asset

In addition to being able to geo-restrict a single asset, we can go one step further and geo-restrict only a single price option of an asset.

To do this, open the asset, go to the Price options section, and open the price you wish to restrict by clicking on the button.

Then go to the Additional info tab and check the Geo-restriction setting.

Here, you can either restrict the price in a single country, or use a country set you’ve created previously.

This concludes our guide.

If you have any questions, don’t hesitate to contact us at clients@inplayer.com.