InPlayer Relate is a powerful feature that gives you the possibility of having one master account and multiple child (related) accounts.
You will be able to access the related accounts straight from your master account, without requiring a password for them, as well as mirror some of the settings from the master account to the related accounts.
The related accounts will act as normal, standalone, and independent InPlayer accounts, with their own individual email, password, audience, assets, branding, etc.
So if a viewer registers on one related account, it doesn’t mean that they can log into the other related accounts as well. To do so, they would need to register on those accounts as well.
The main benefits of the InPlayer Relate feature are:
- Login As
The Login As feature enables you to log into any of the related accounts via the master account, without requiring a password.
- Inheritance
The Inheritance feature provides you with the option to have each related account inherit certain settings from your master account.
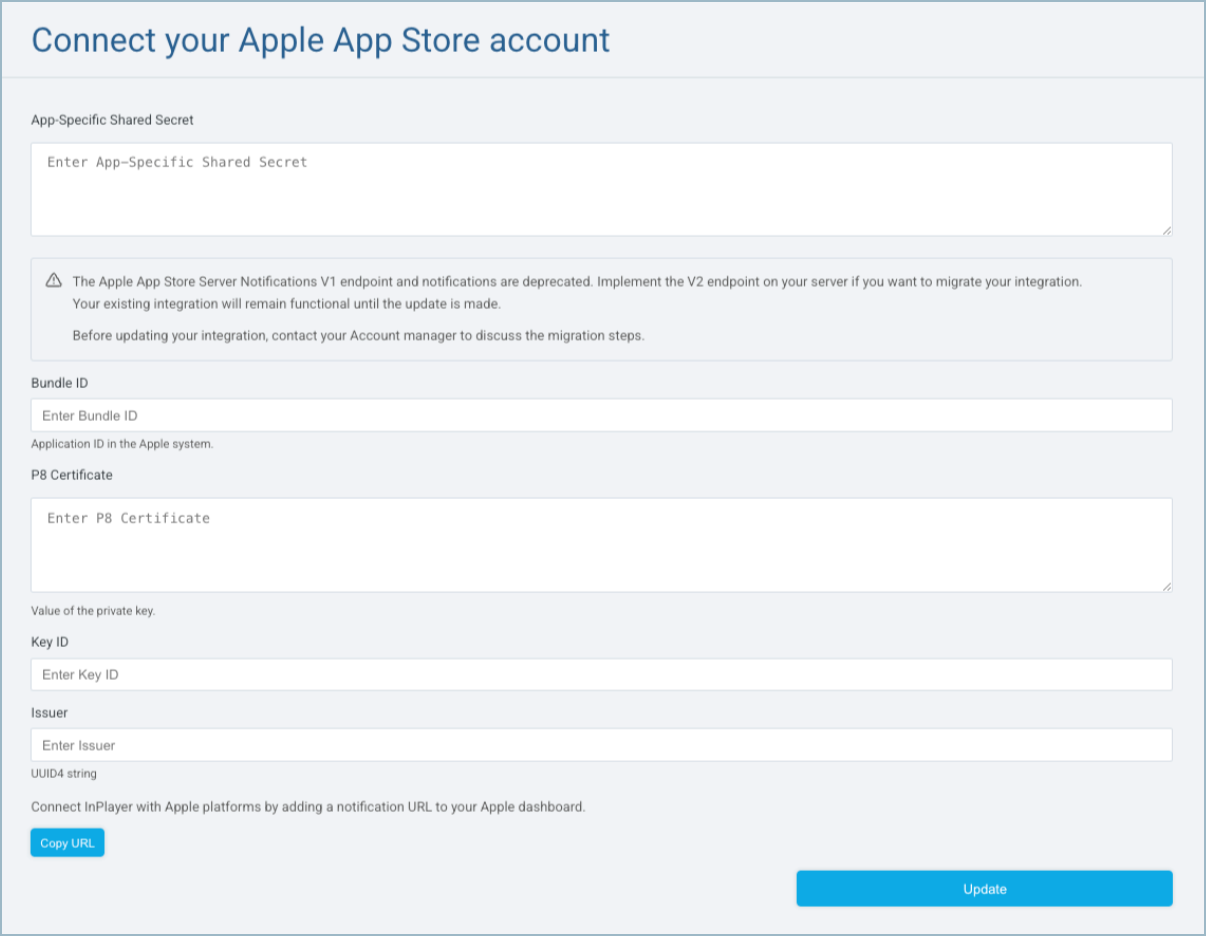
For example, with the payment setup inheritance, all purchases made on assets from the related accounts will be subject to the revenue share and transaction fee that have been set in the master account.
If you have Stripe Connect enabled on your master account and use the inheritance feature, all payments from the related accounts will be processed on your own Stripe account.
Activating InPlayer Relate
To activate this feature, contact your account manager or send us an email at clients@inplayer.com.
Once you get a confirmation that the feature has been activated, you can start setting things up.
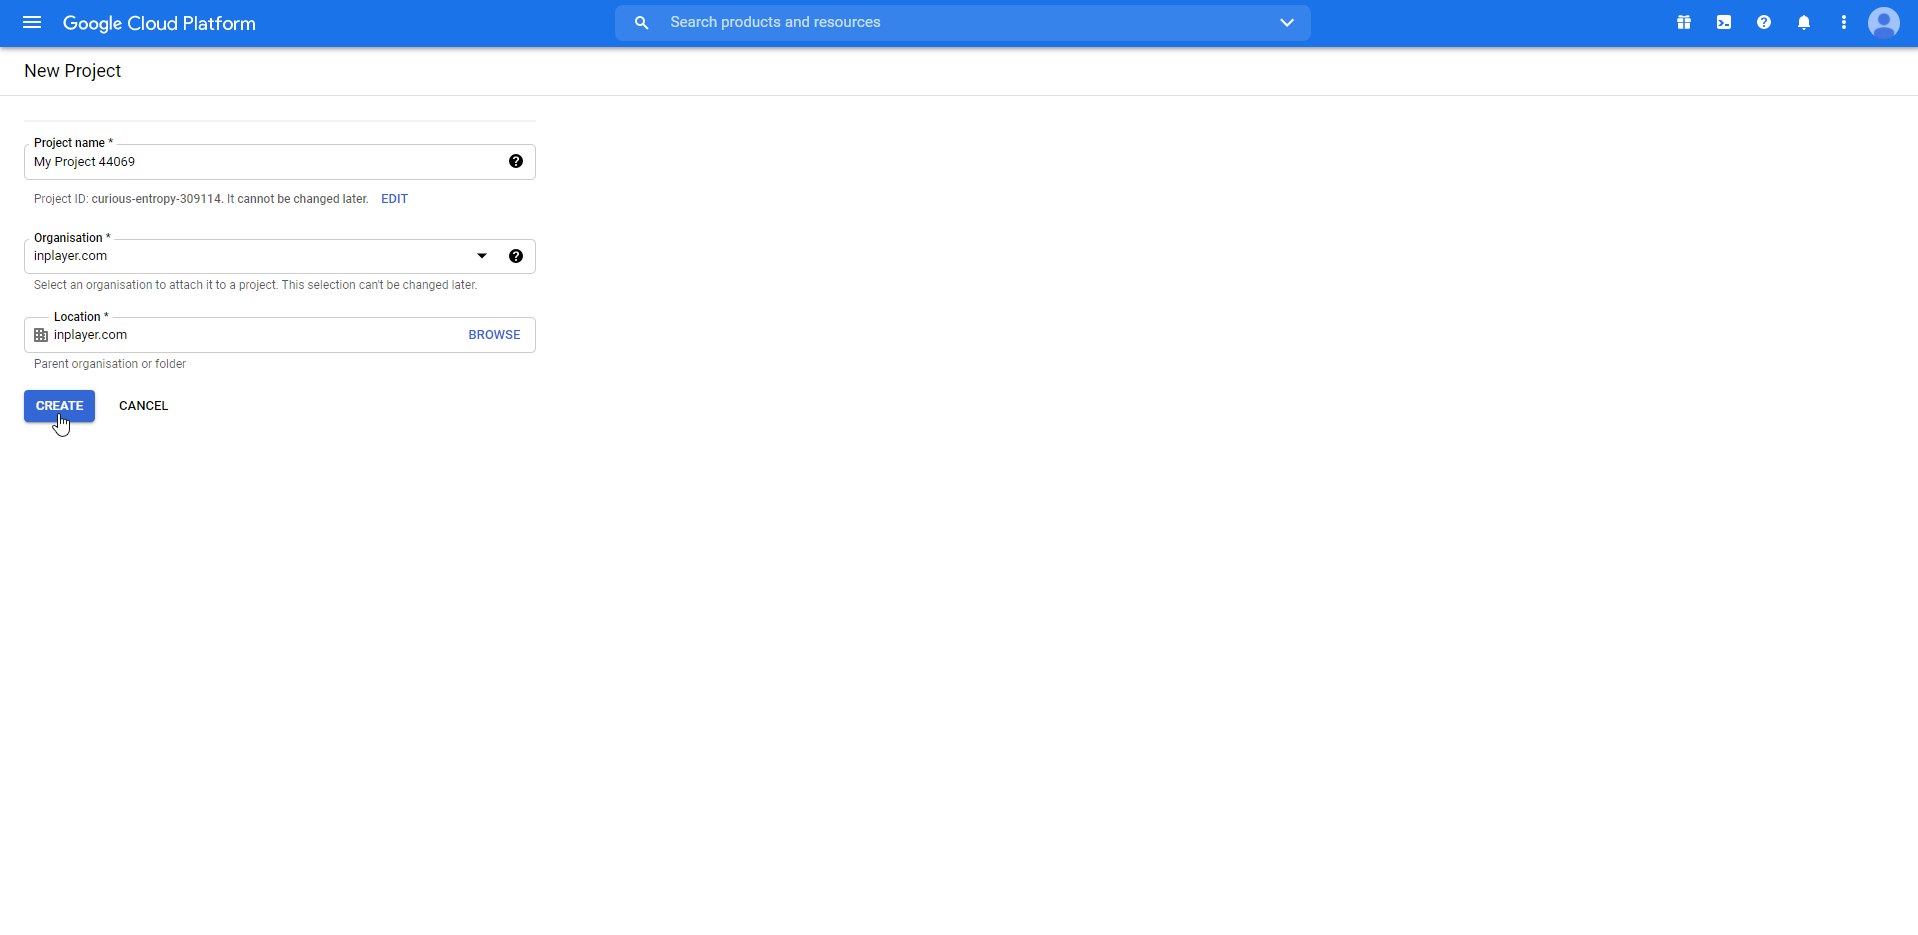
Creating an InPlayer Relate account
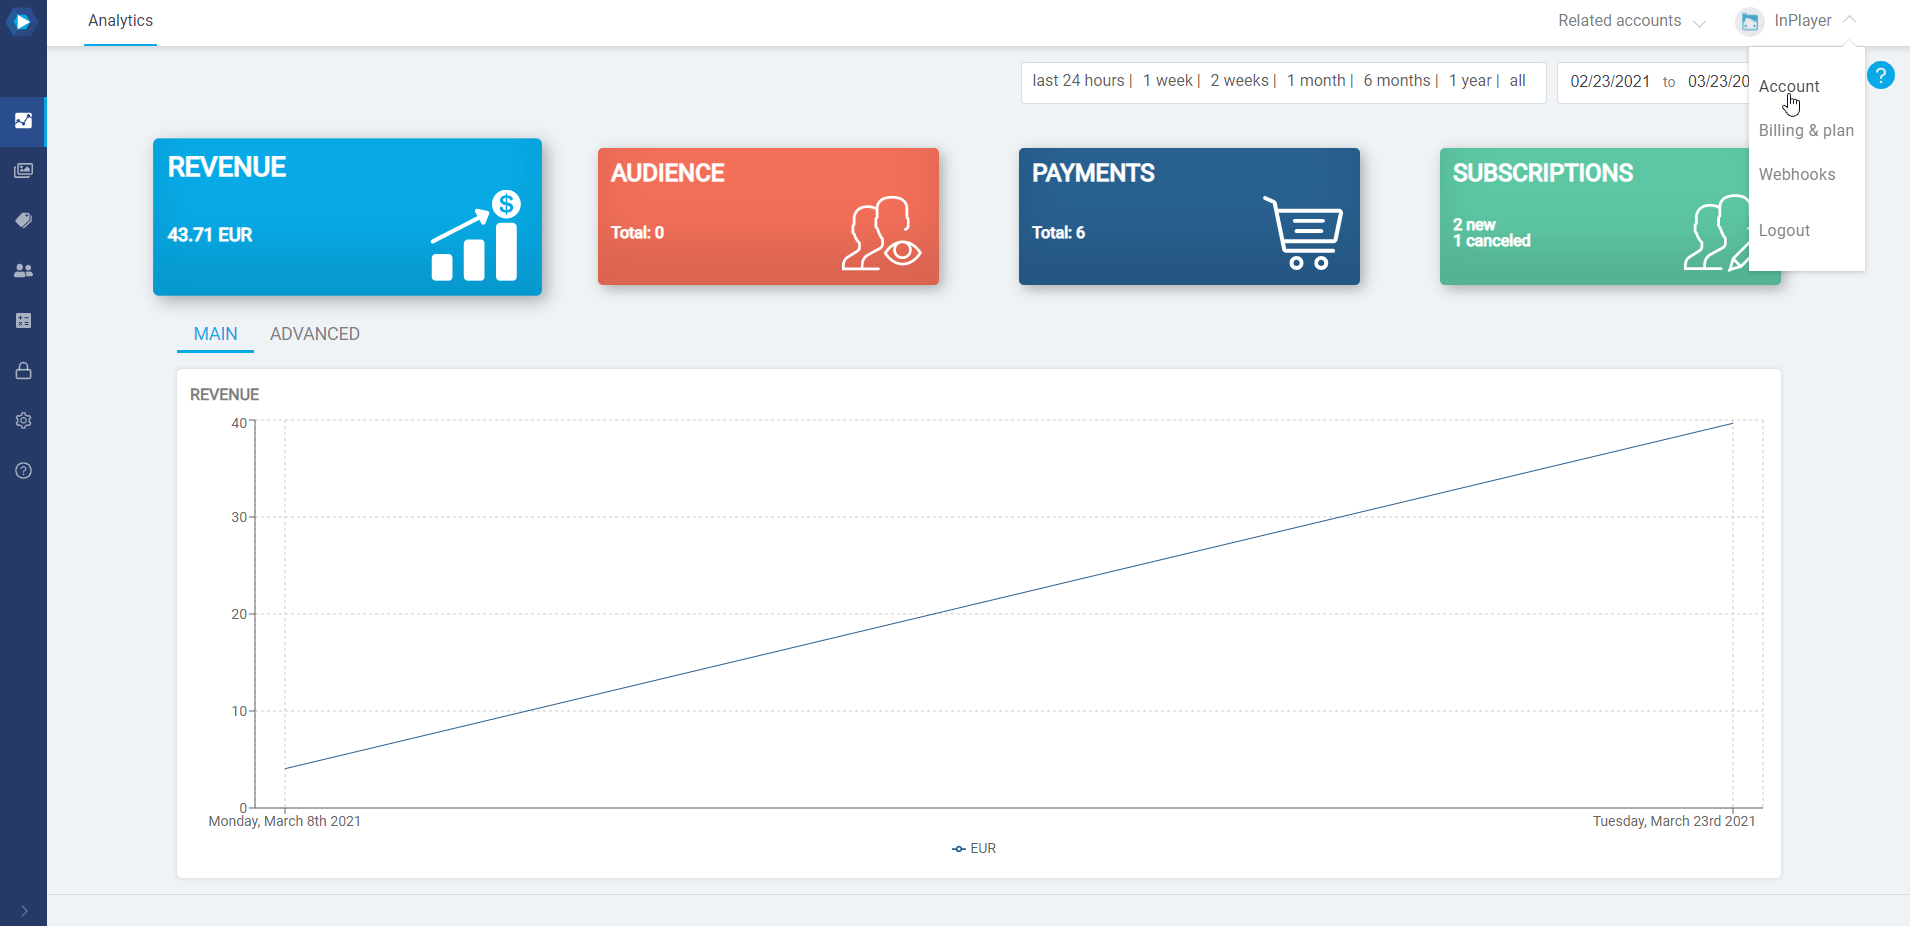
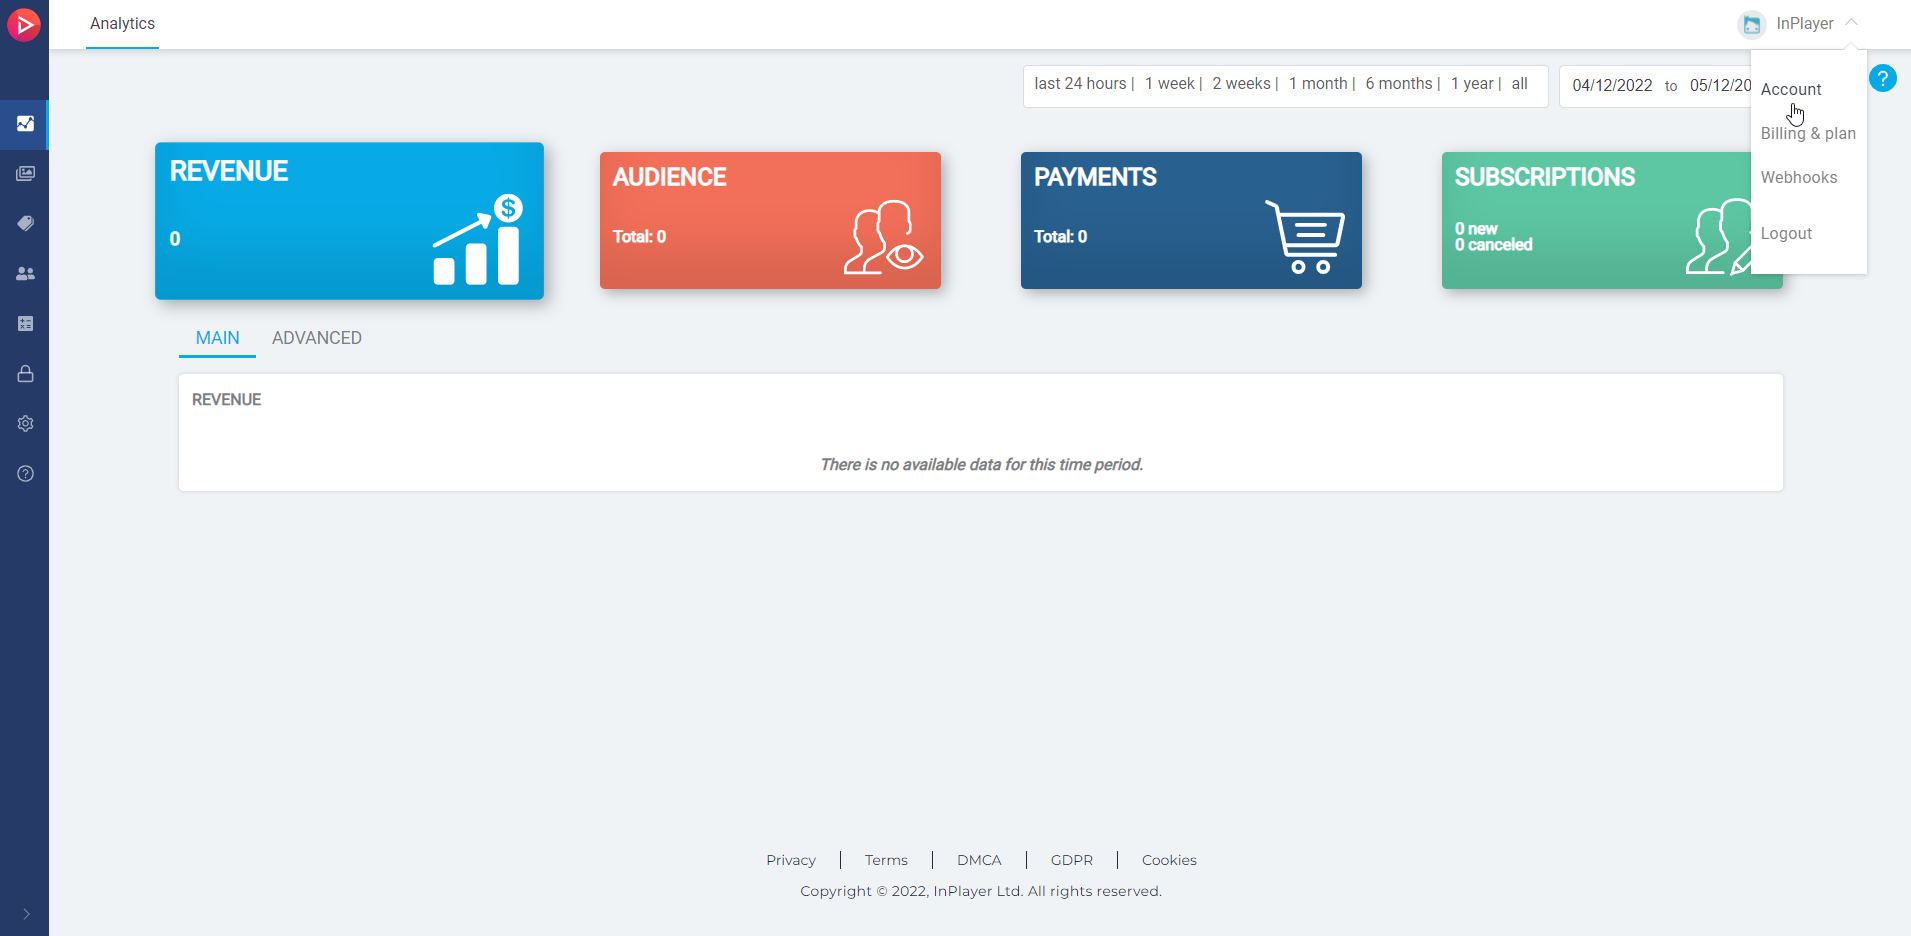
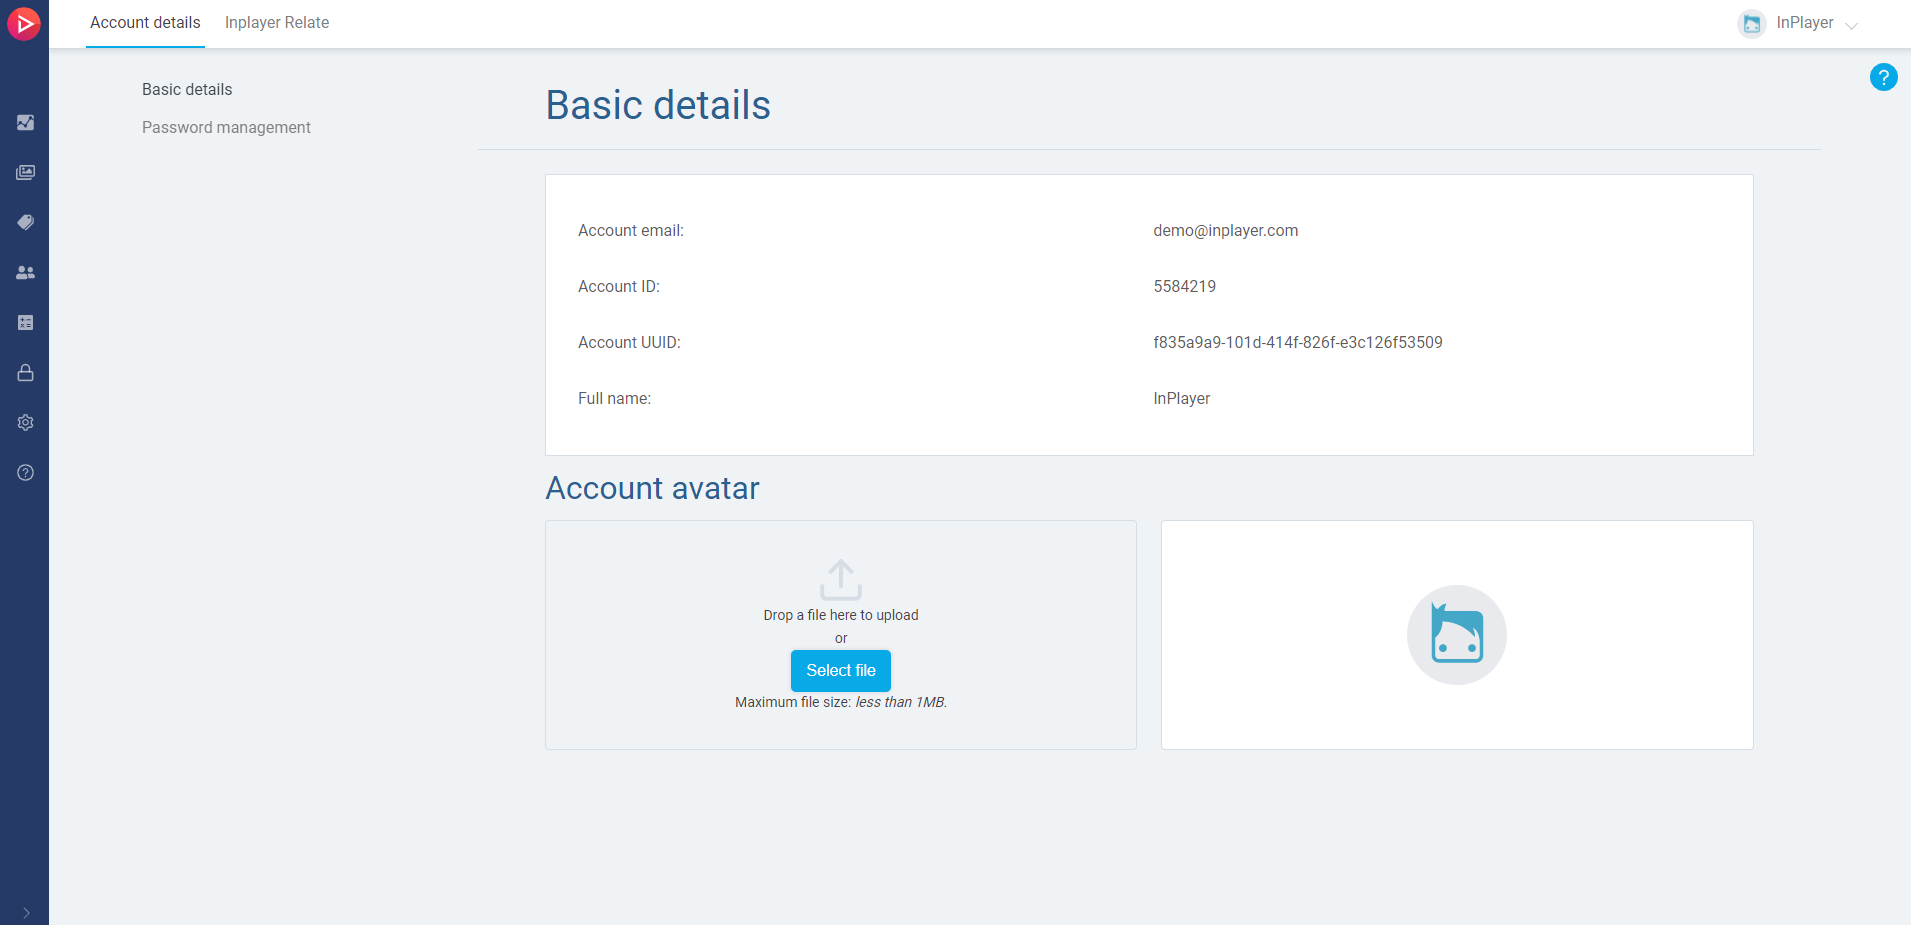
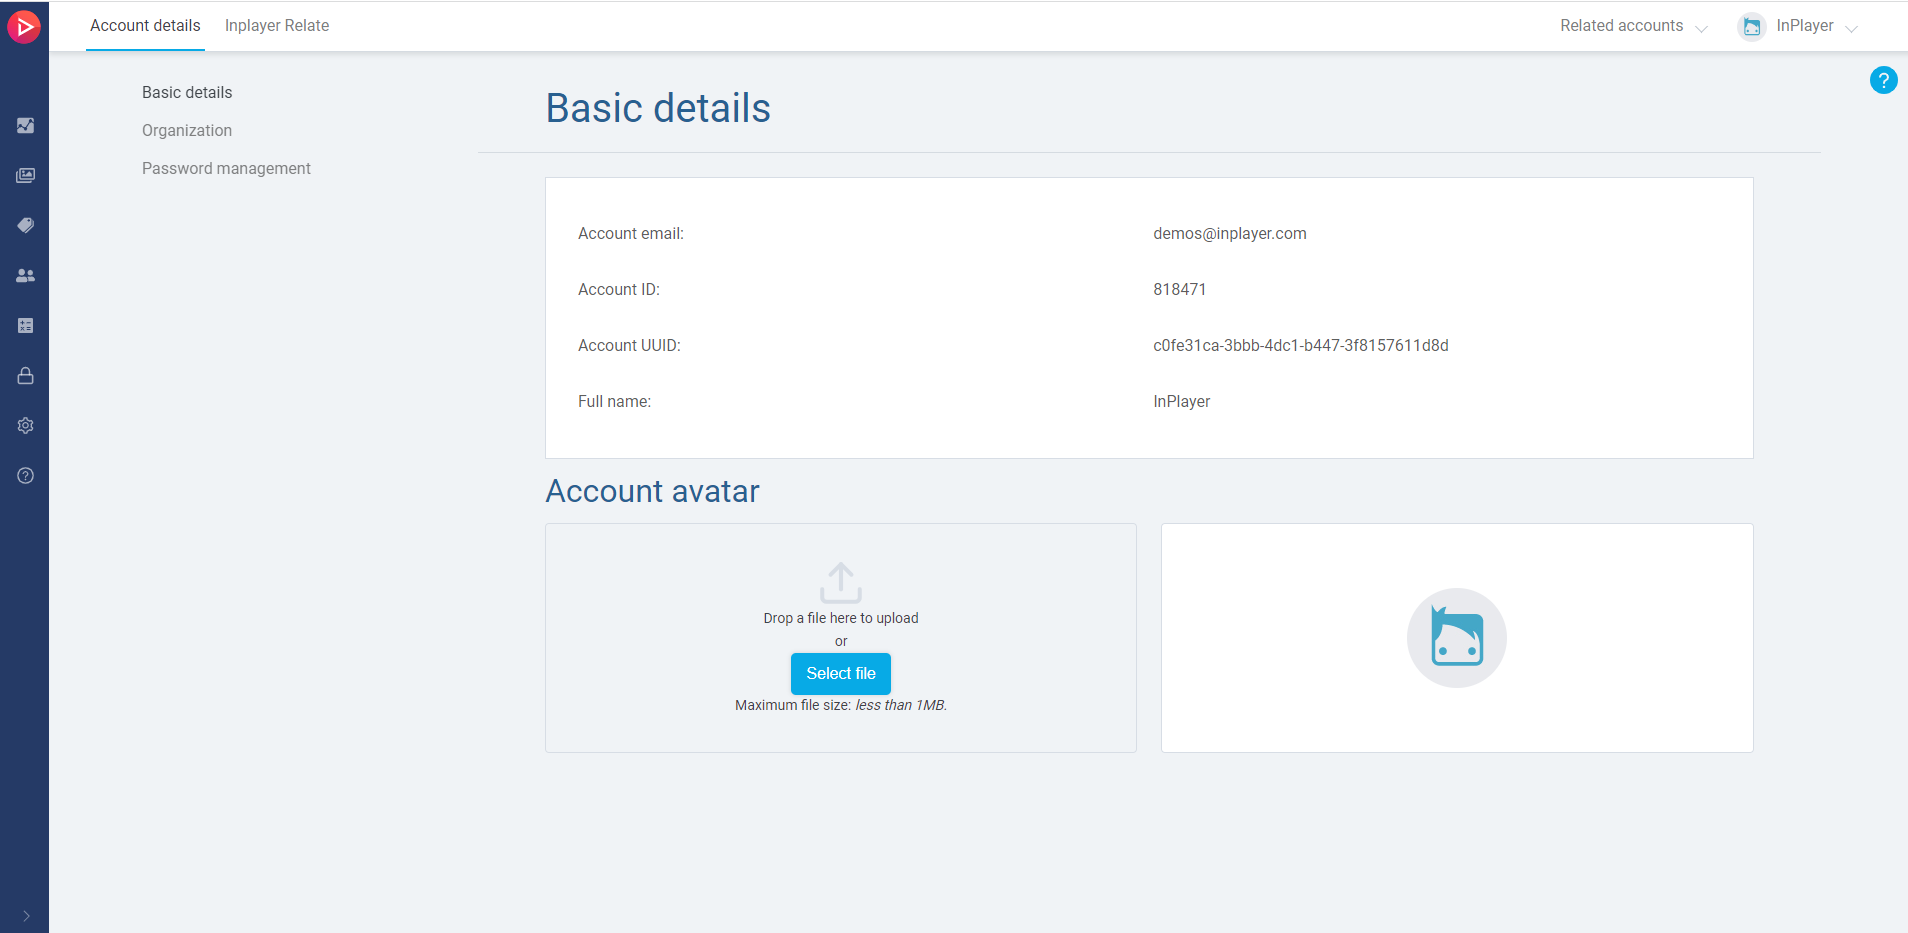
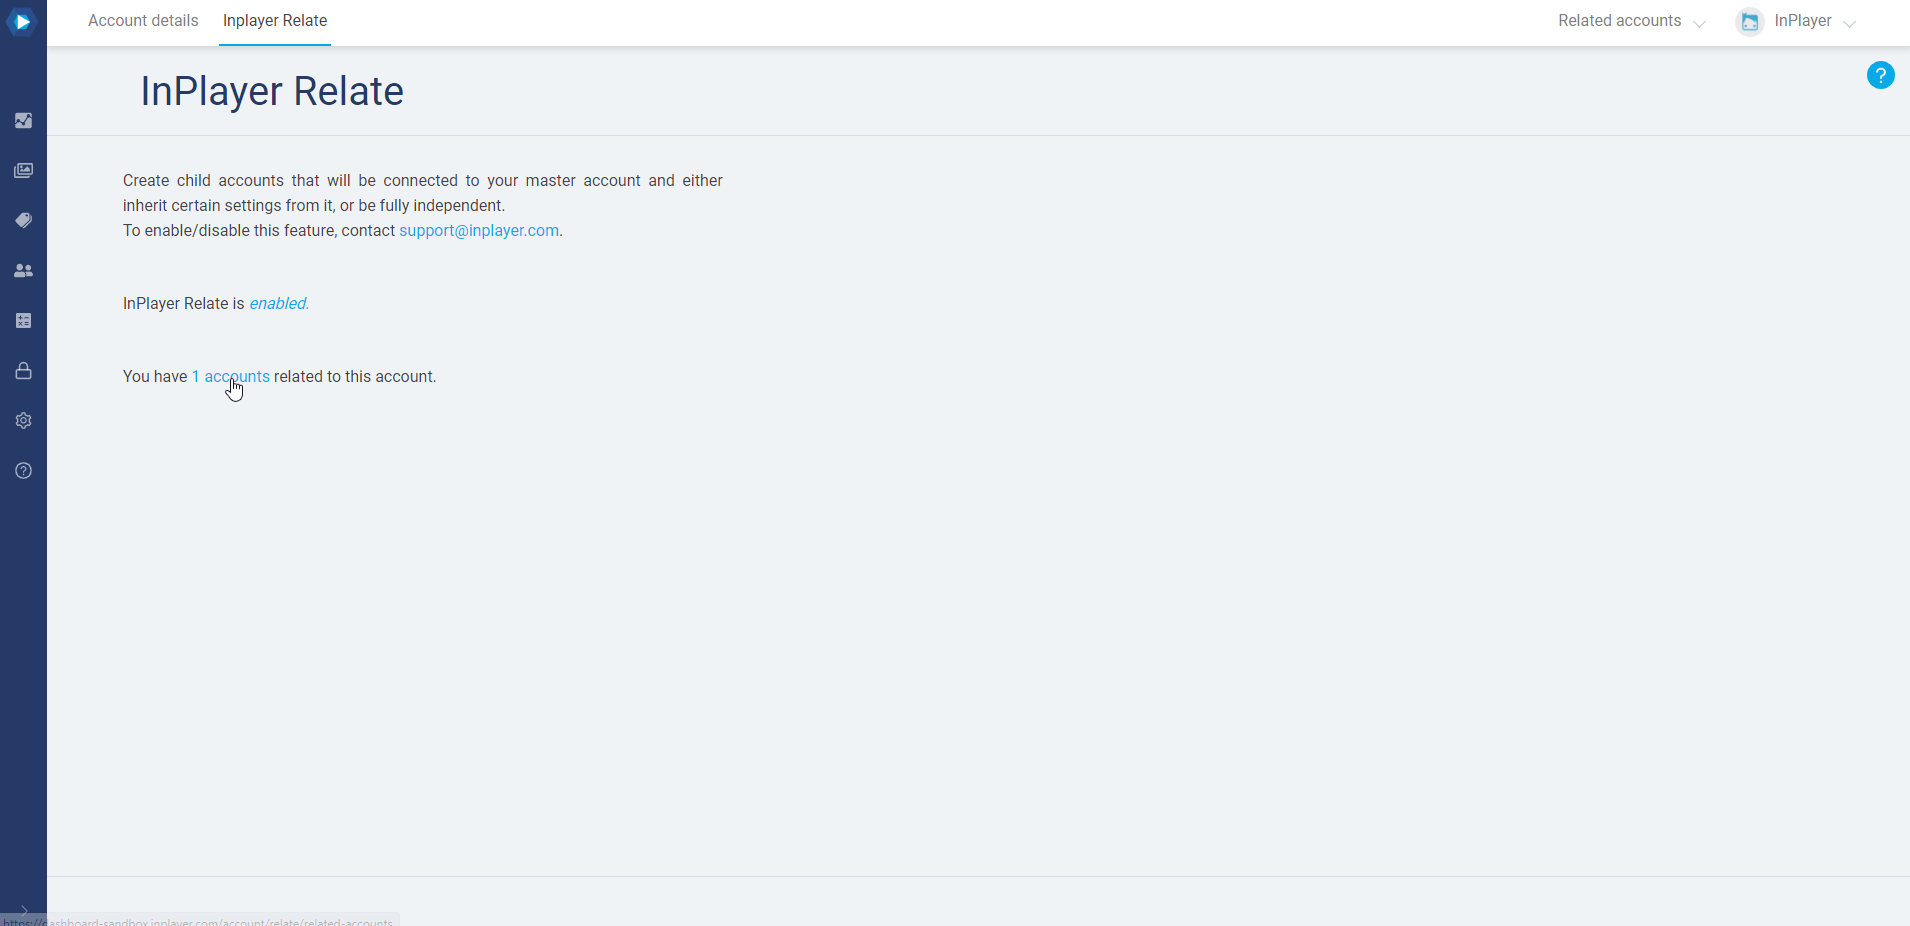
Log into your InPlayer Dashboard, go to your account menu in the top right corner, and click on Account.

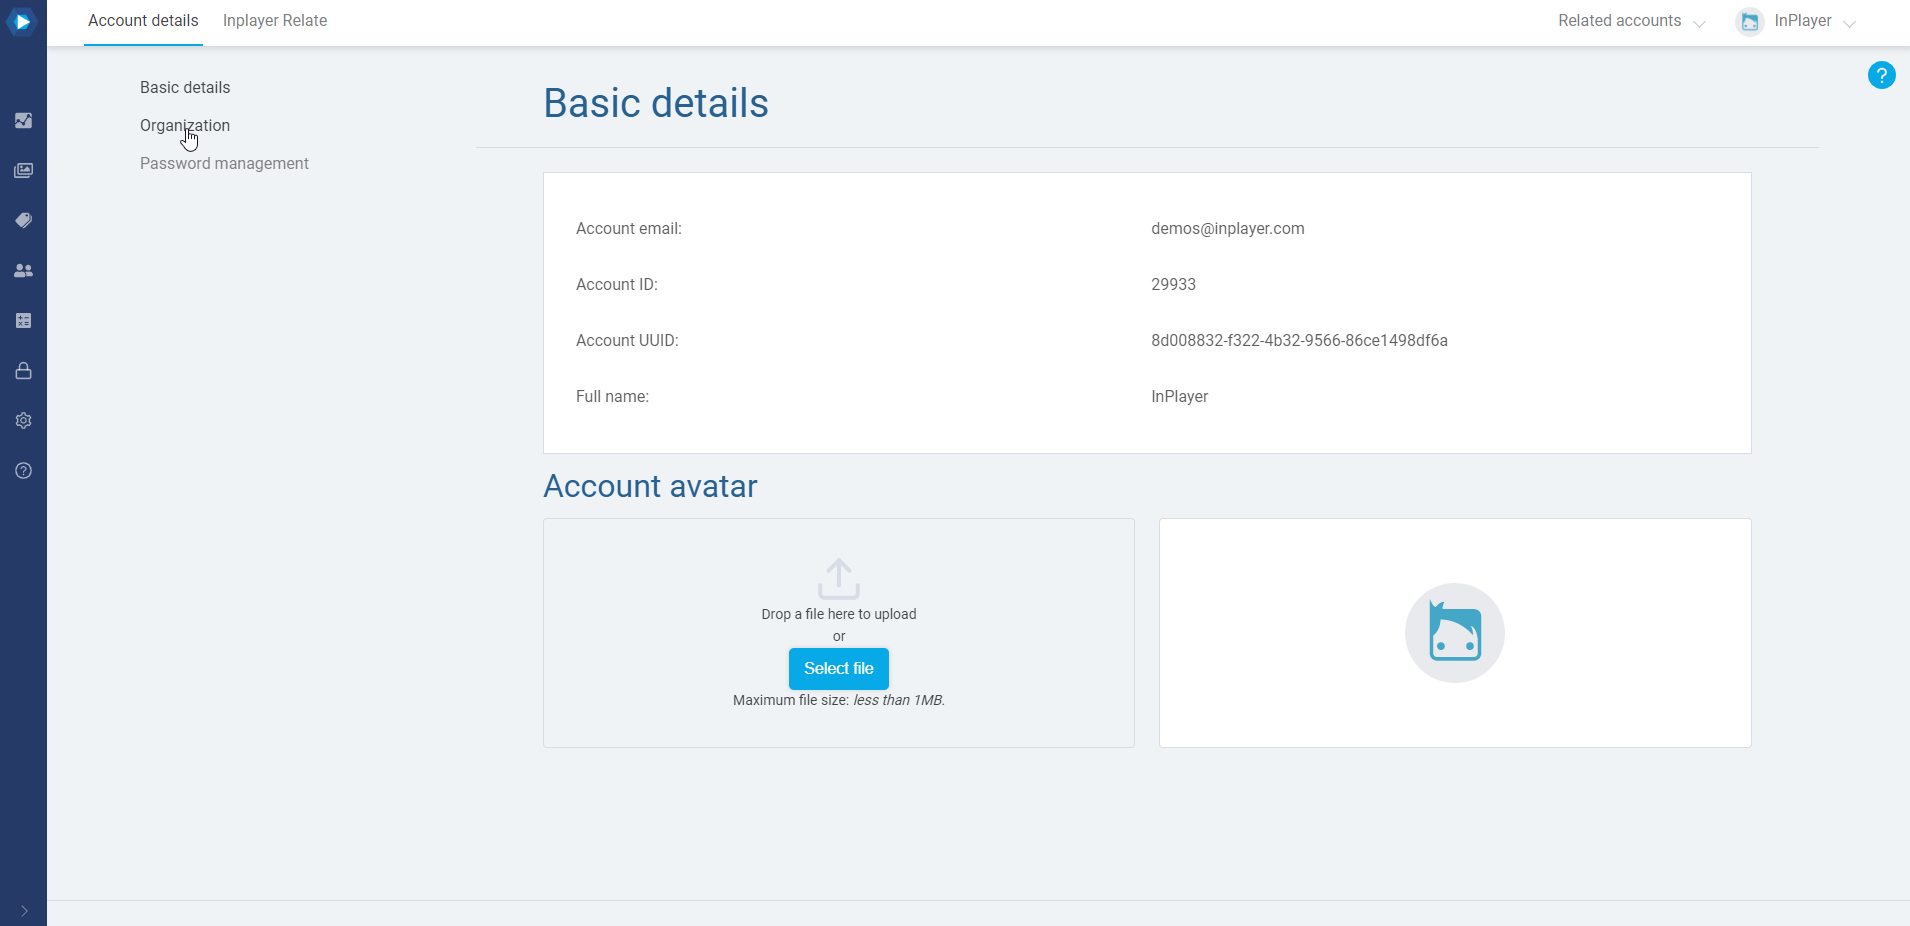
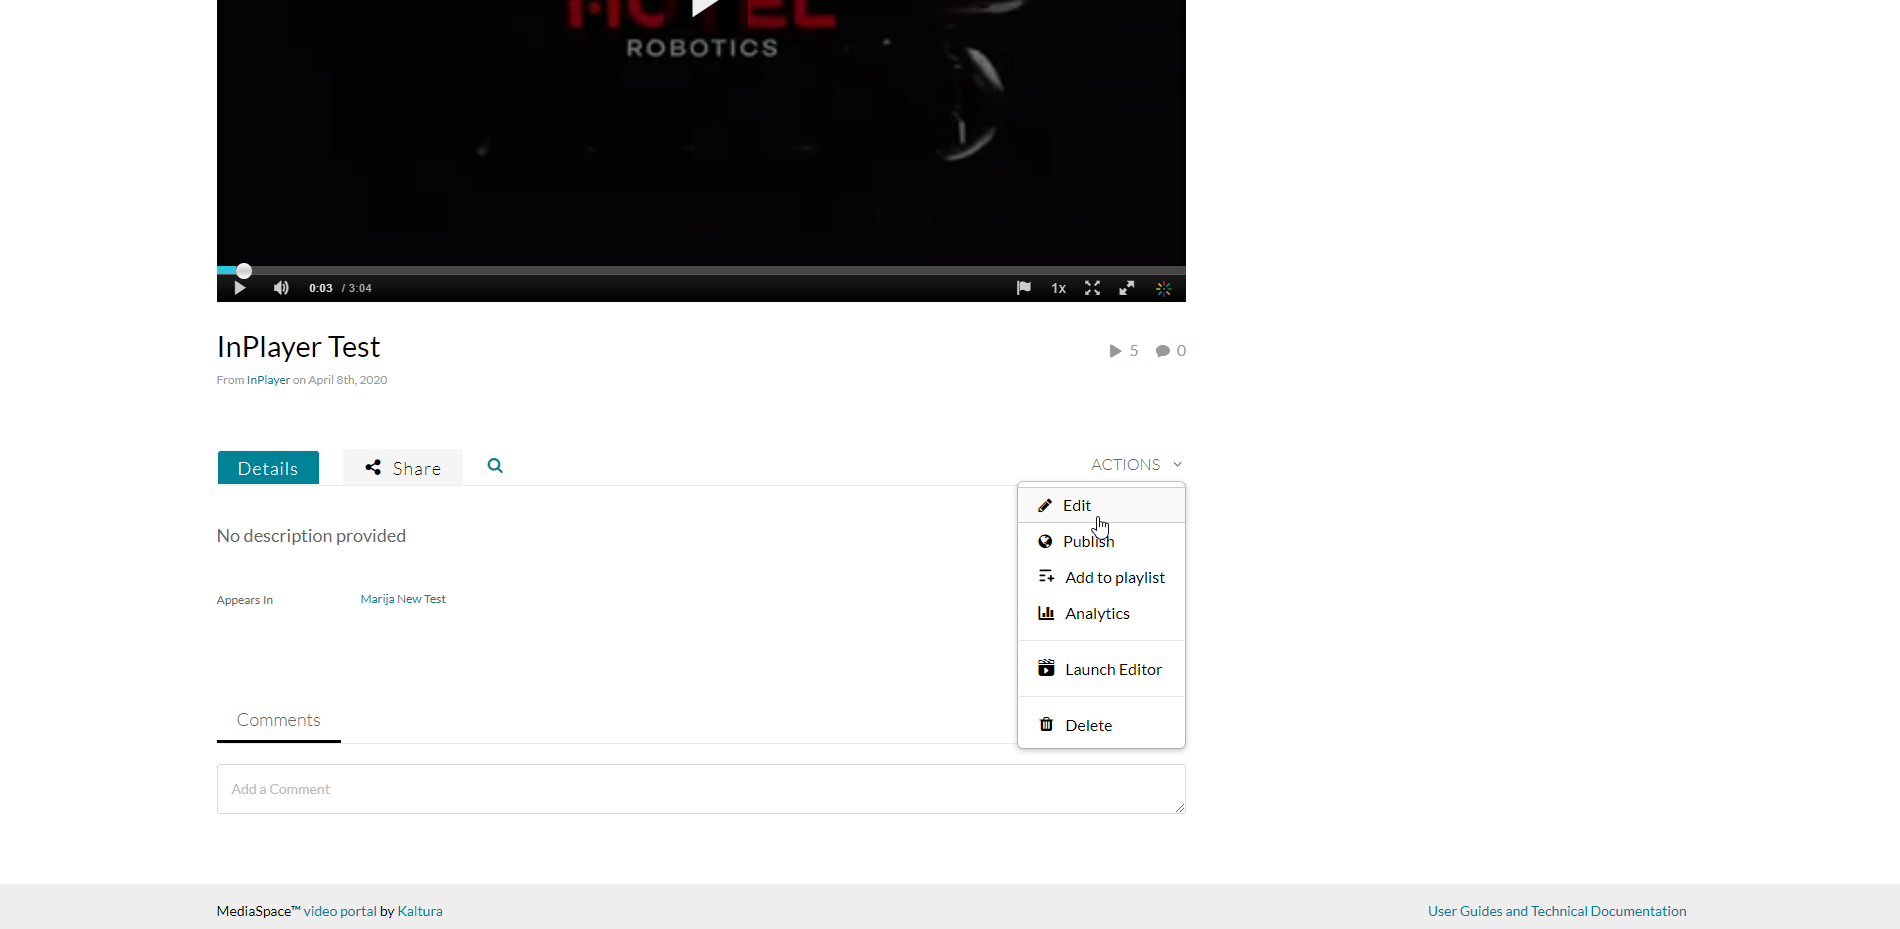
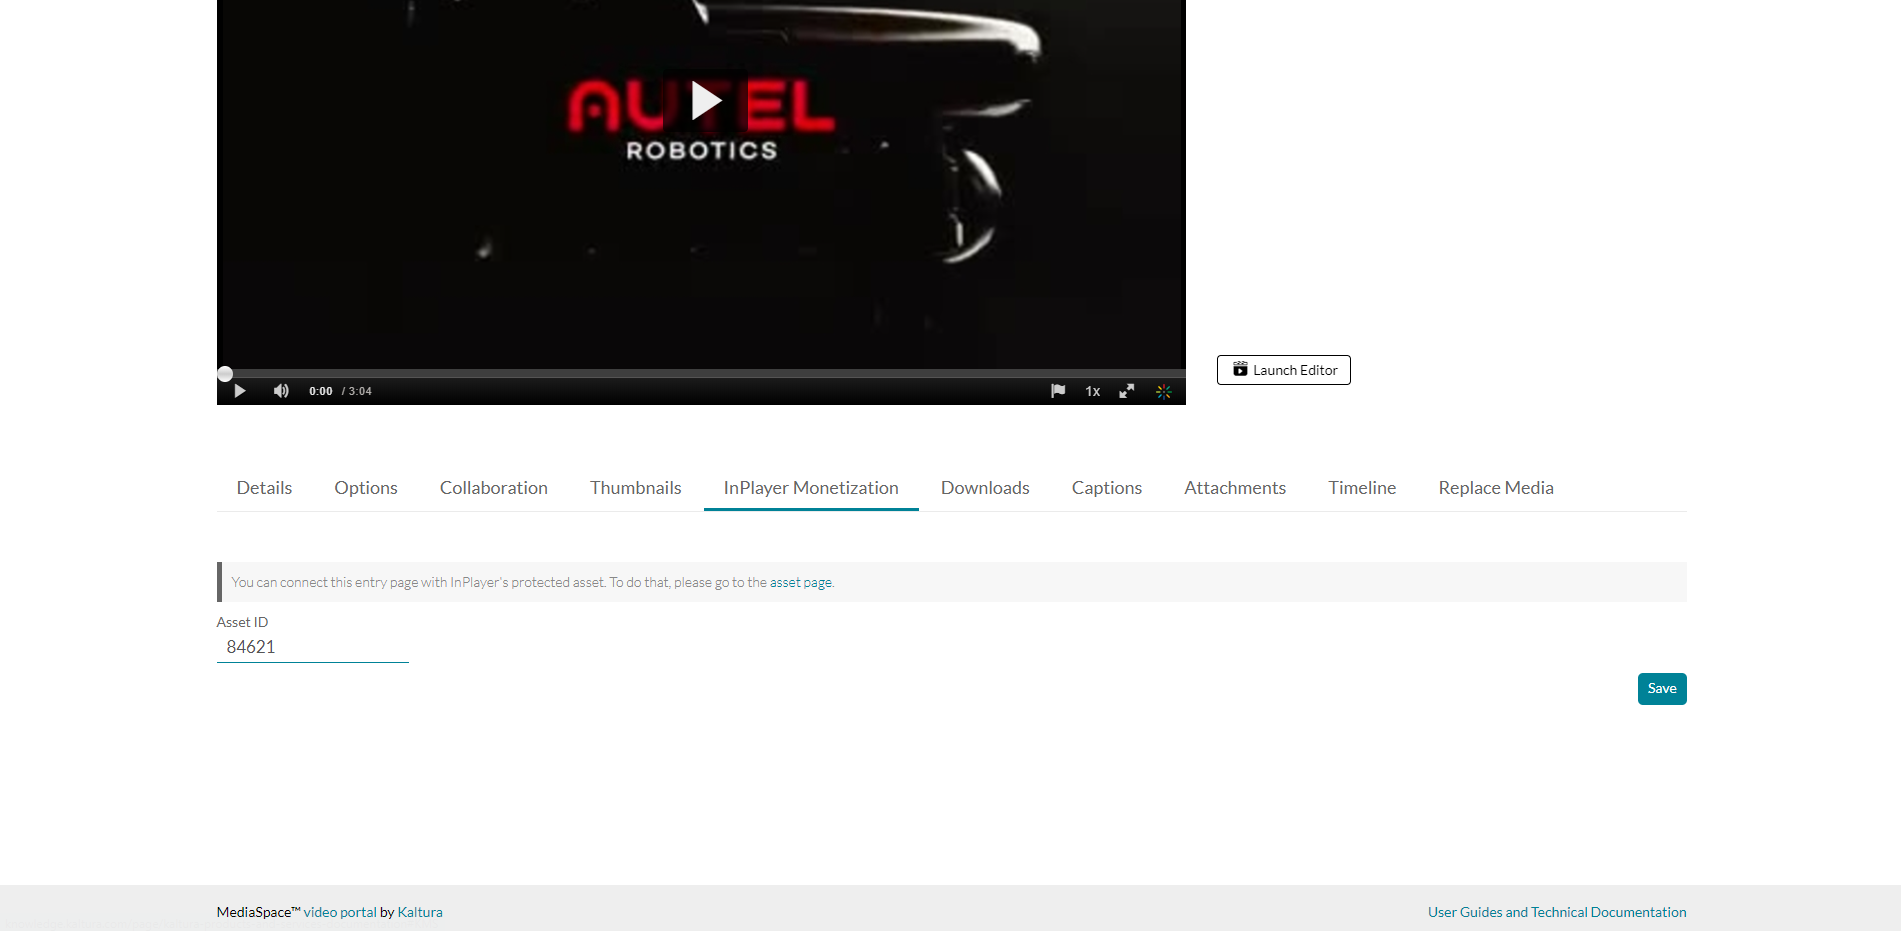
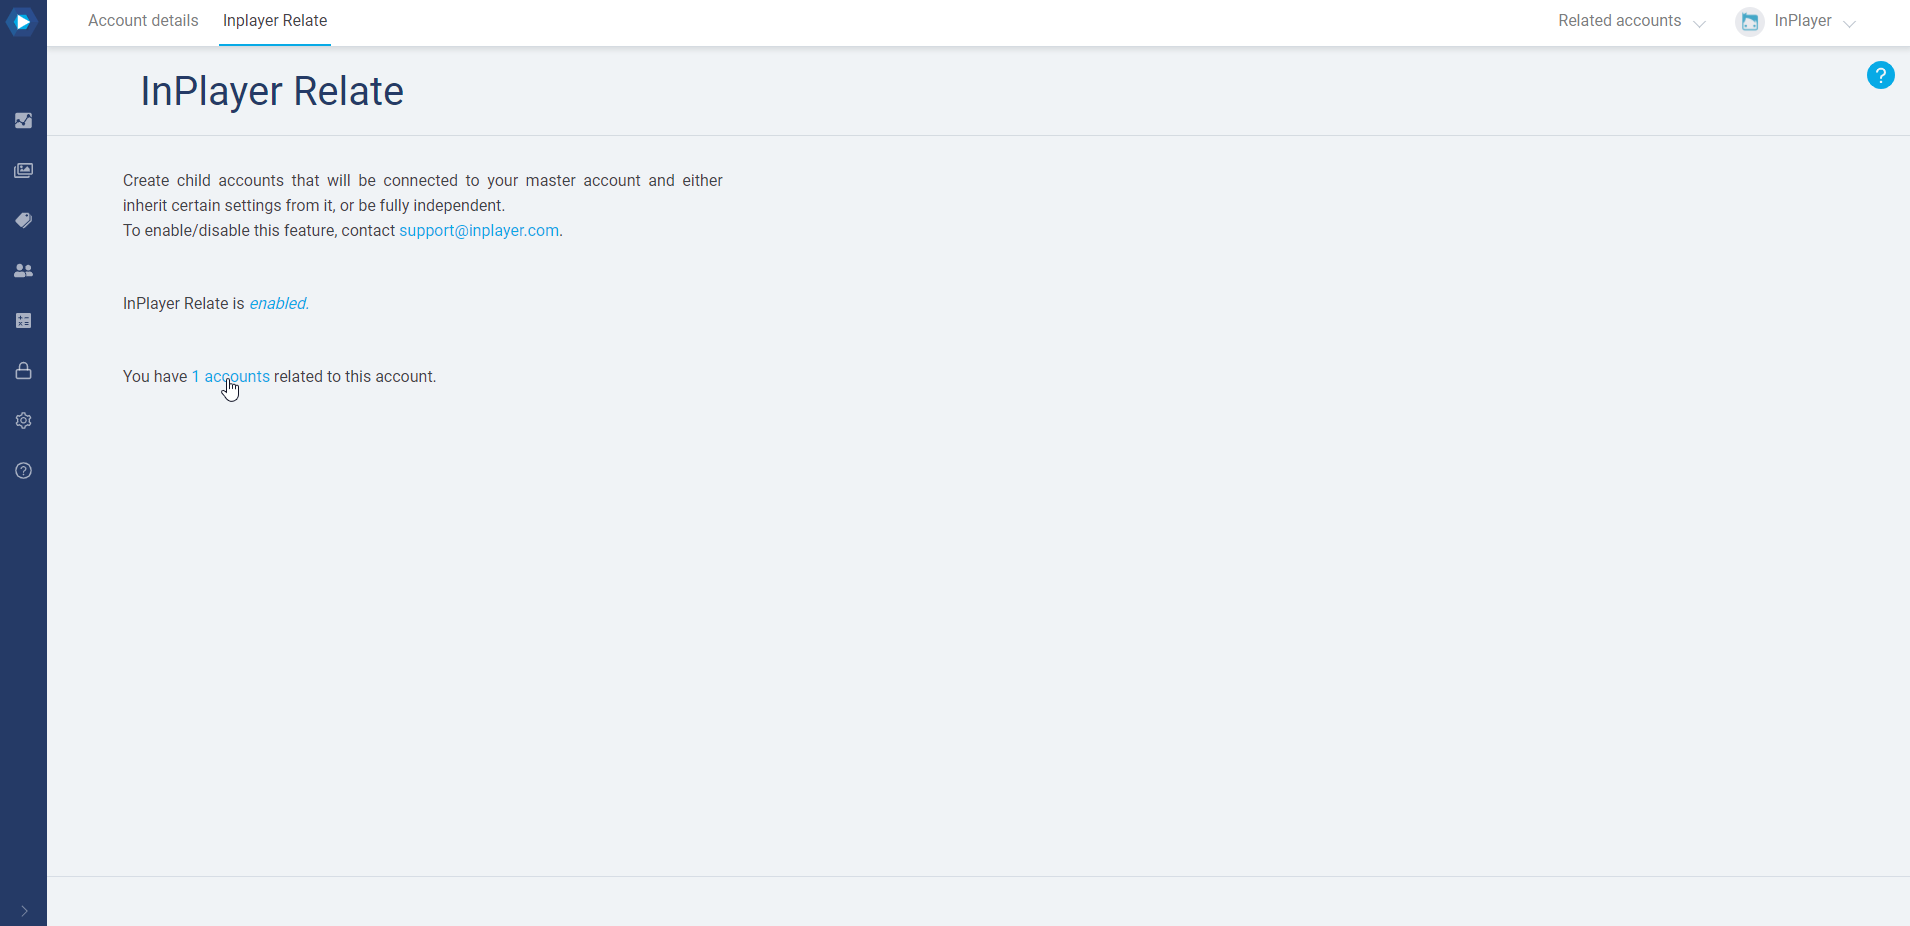
Click on the InPlayer Relate tab.

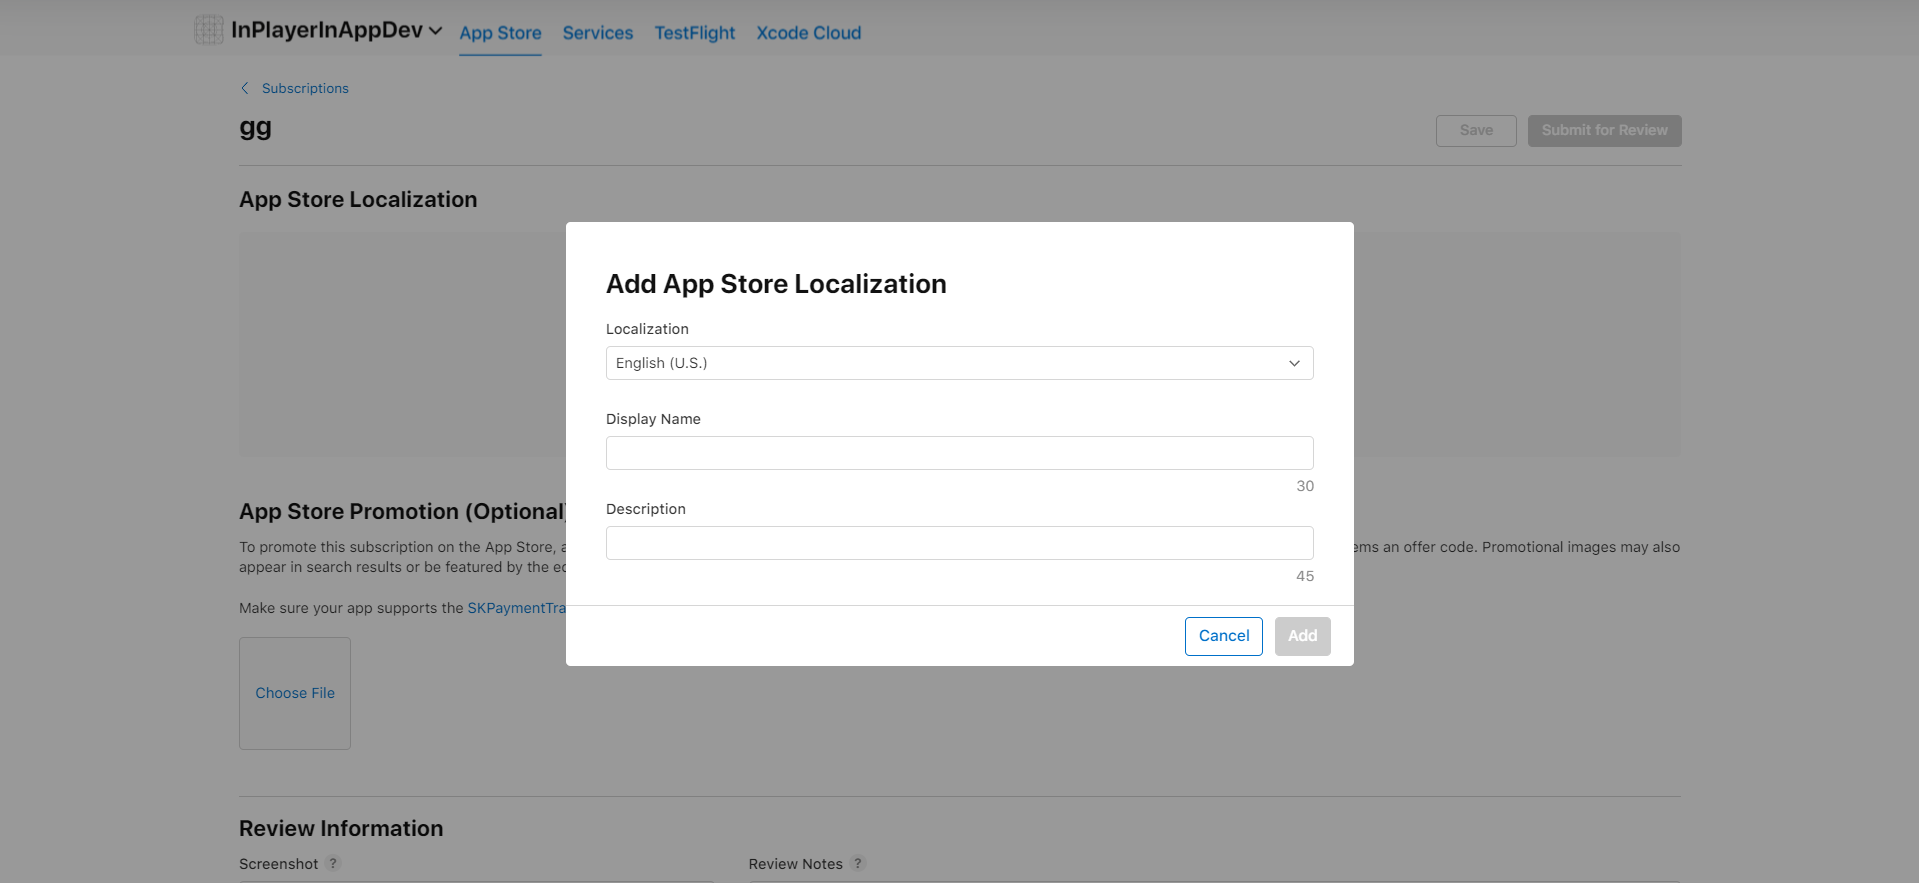
To create a new related account, go to the InPlayer Relate settings and click on 0 accounts (The number will change depending on how many related accounts you have).
Then click on Create new related account.

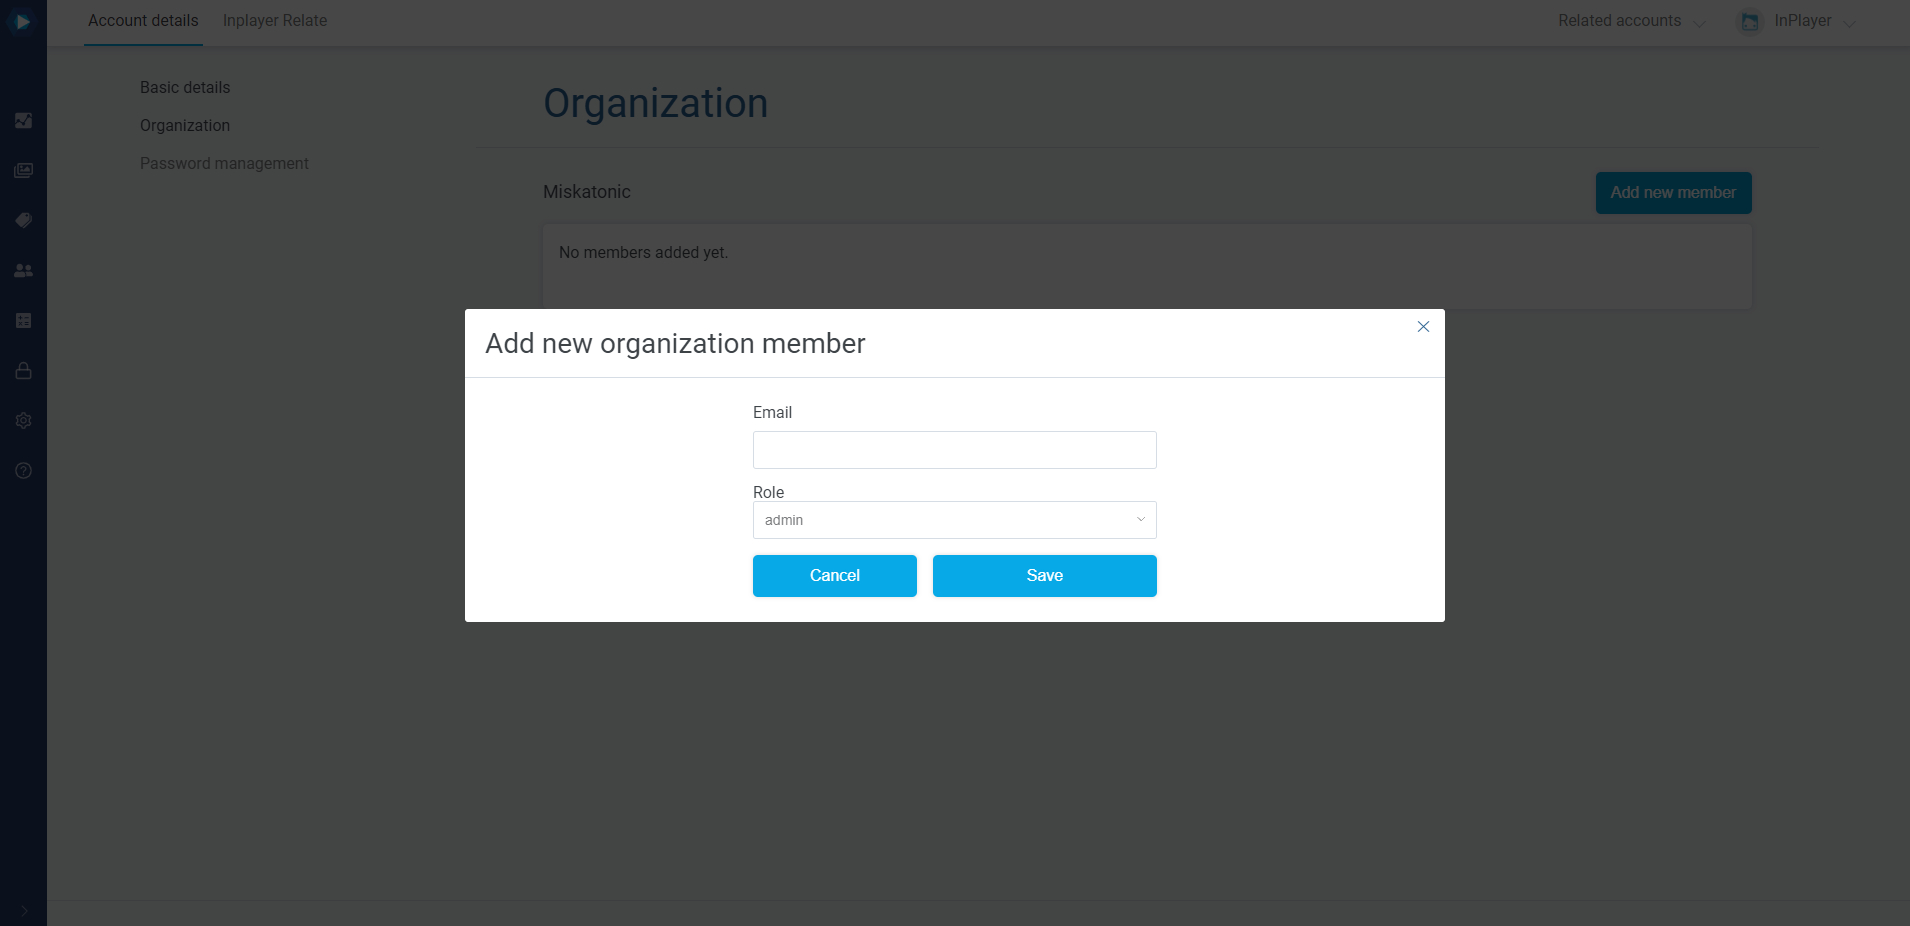
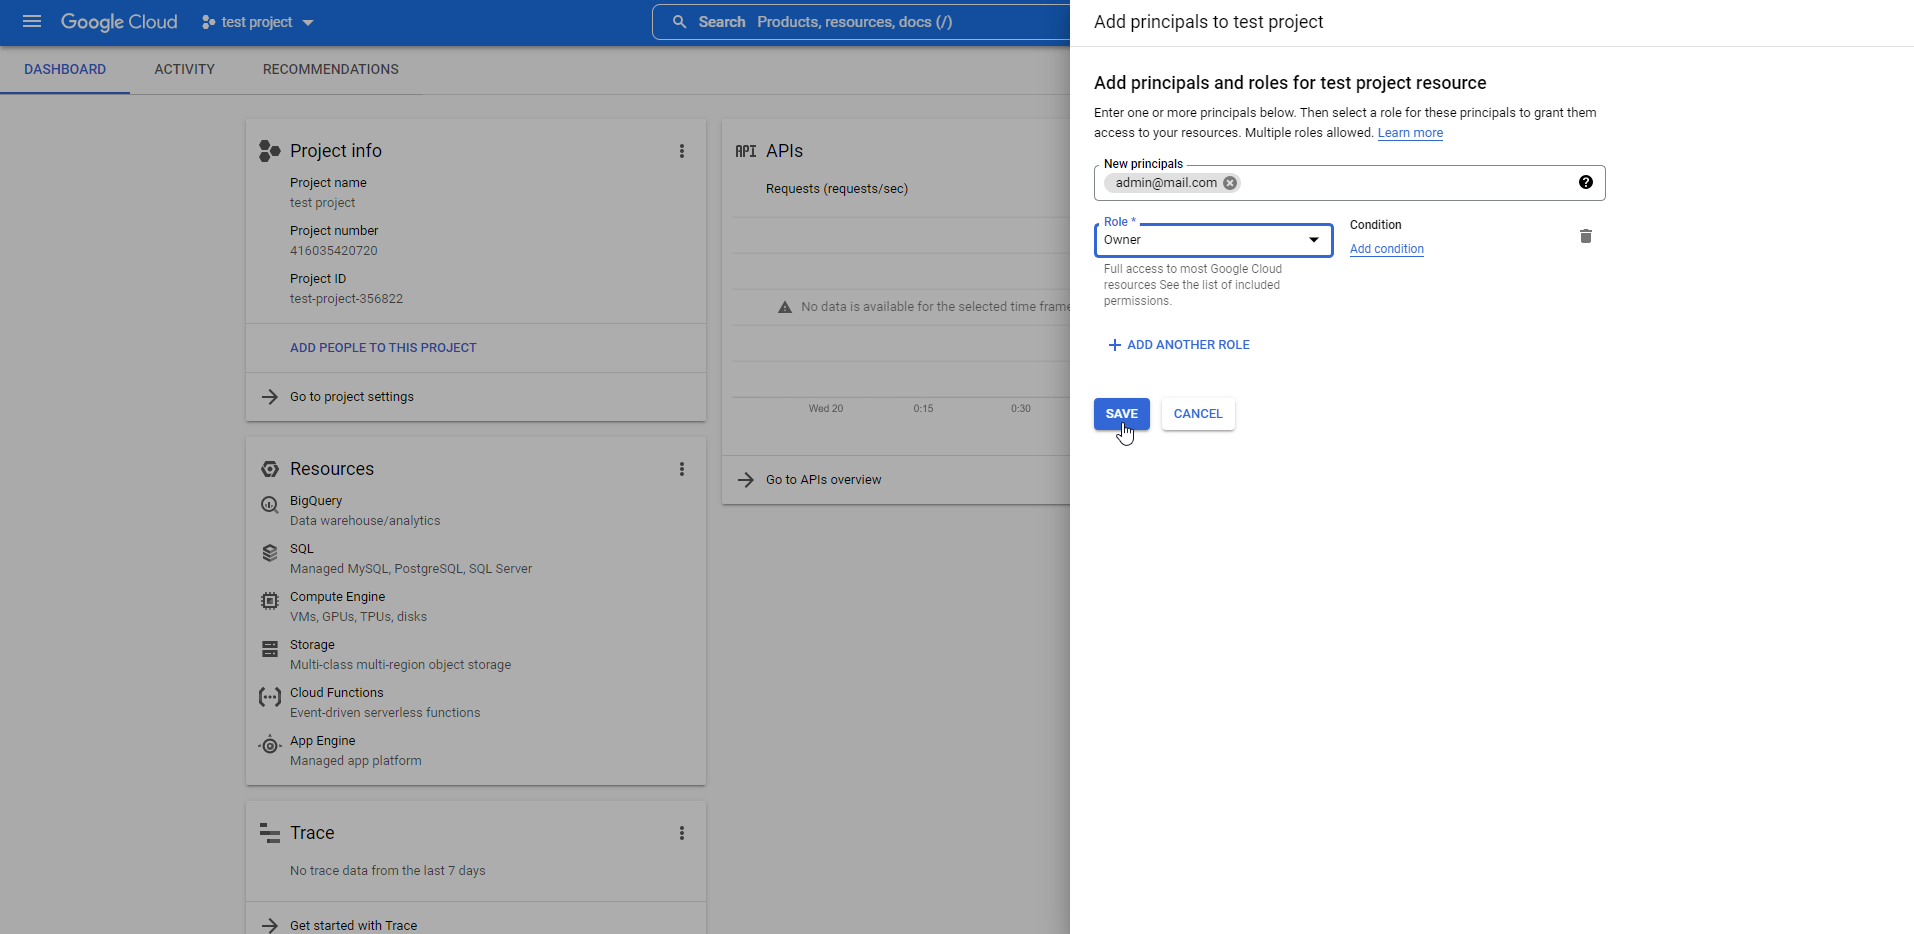
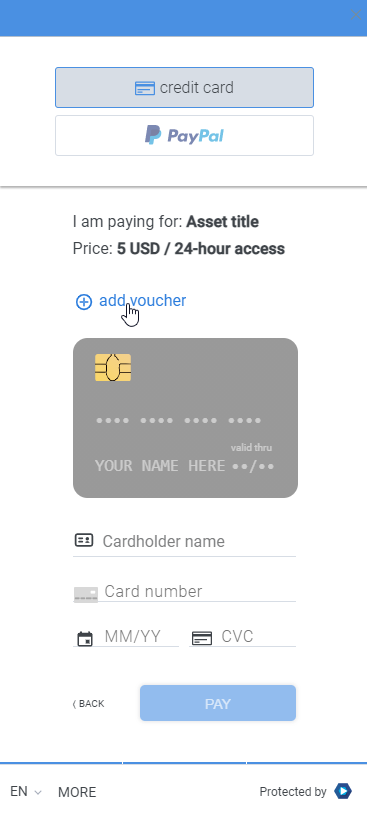
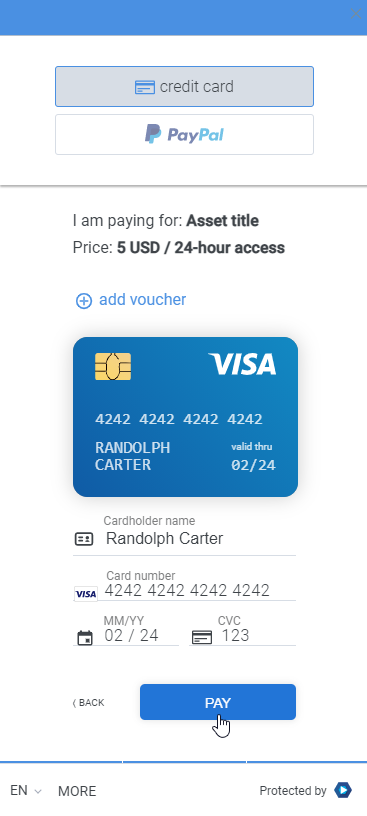
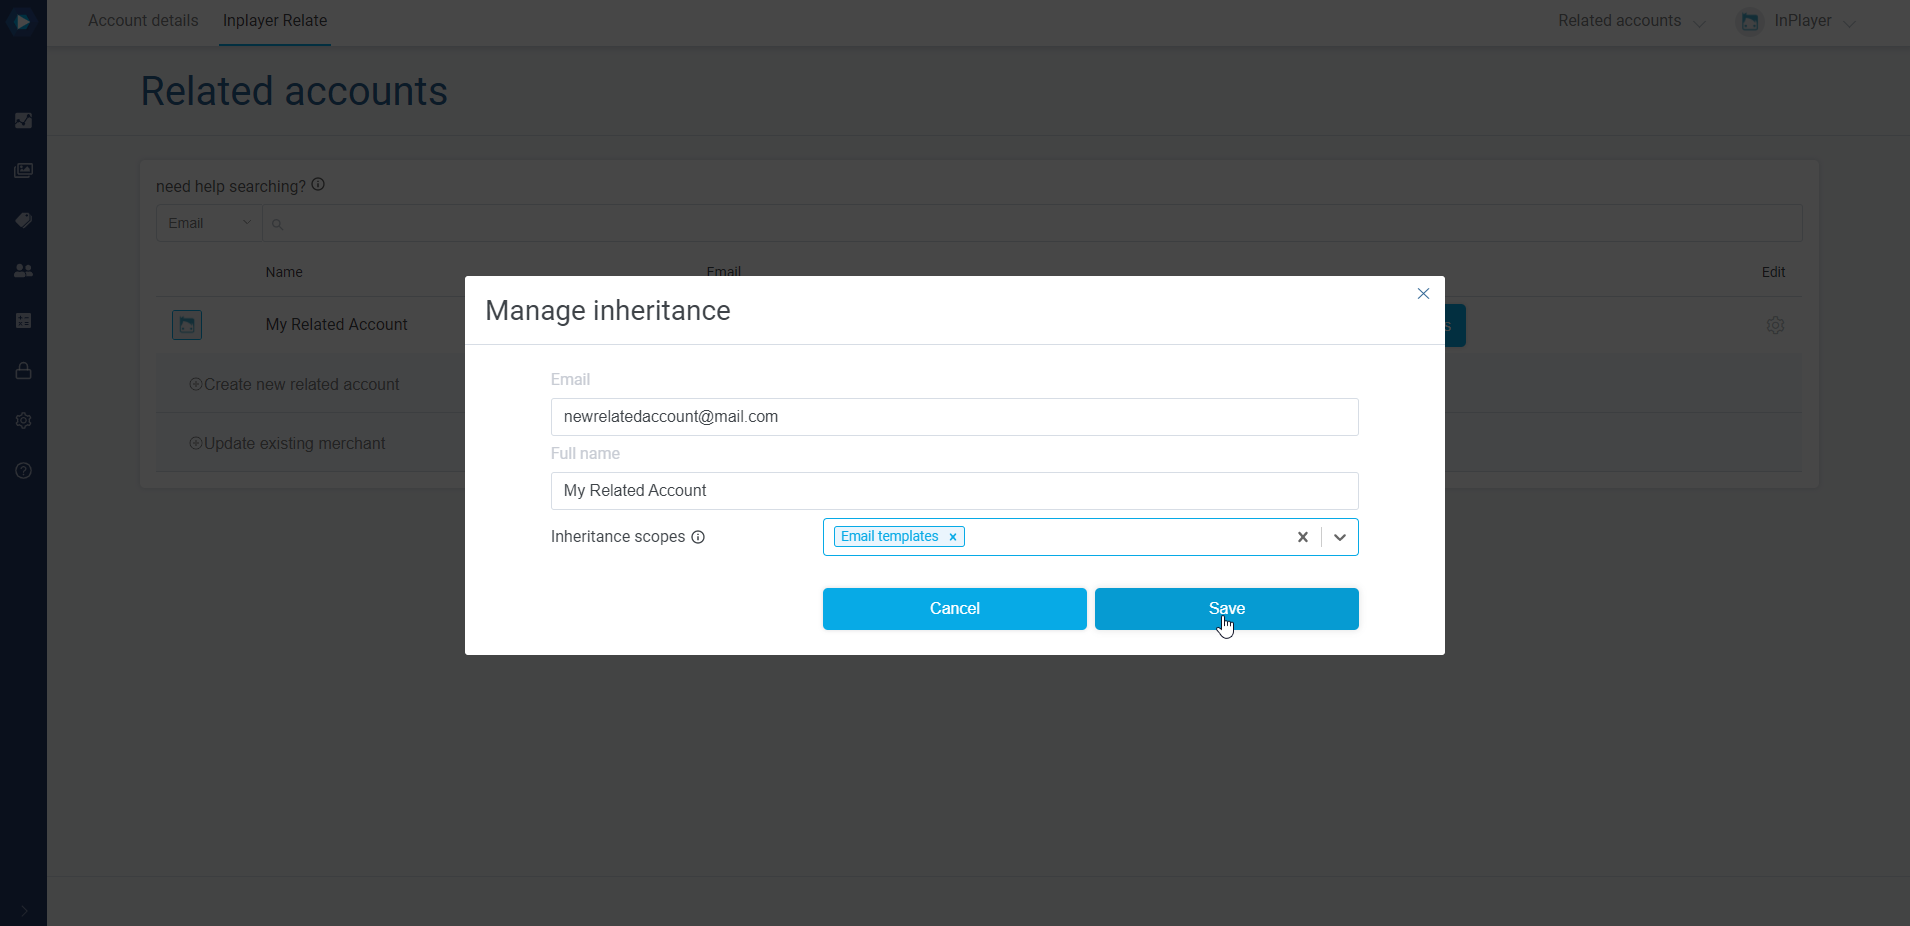
Fill out the form.
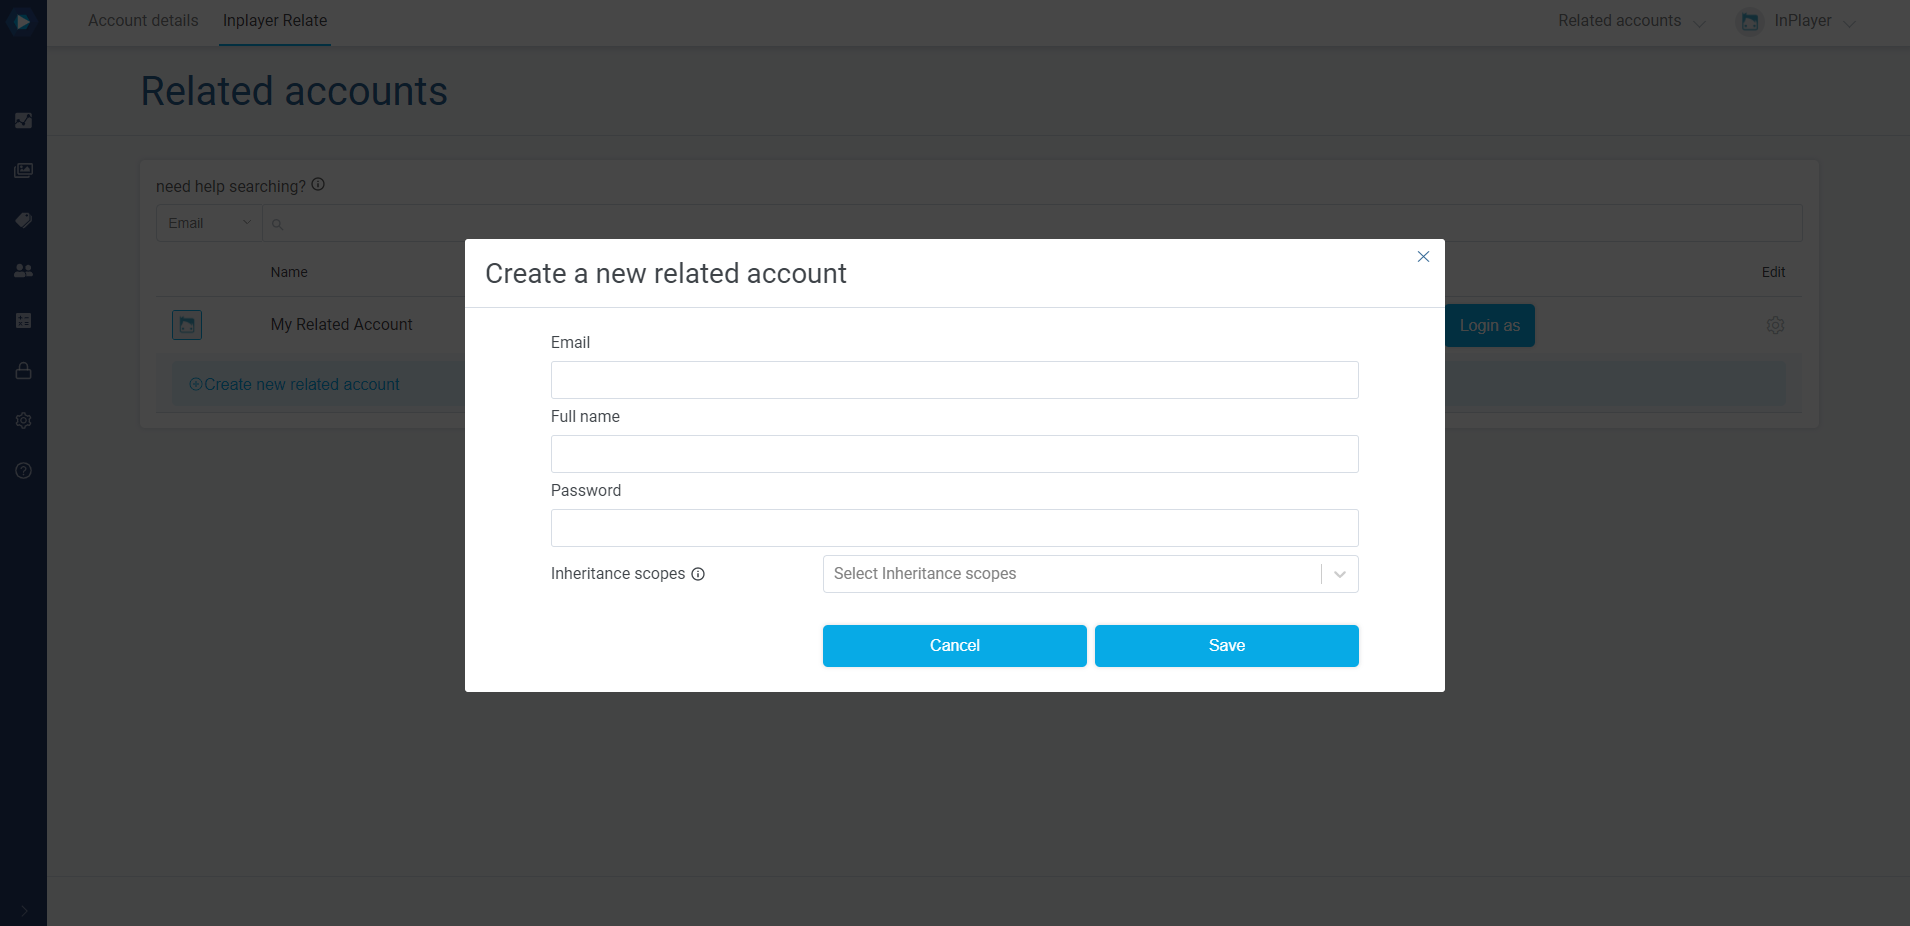
- Email – the email of the related account.
- Full Name – the name for the account.
- Password – the password for the account.
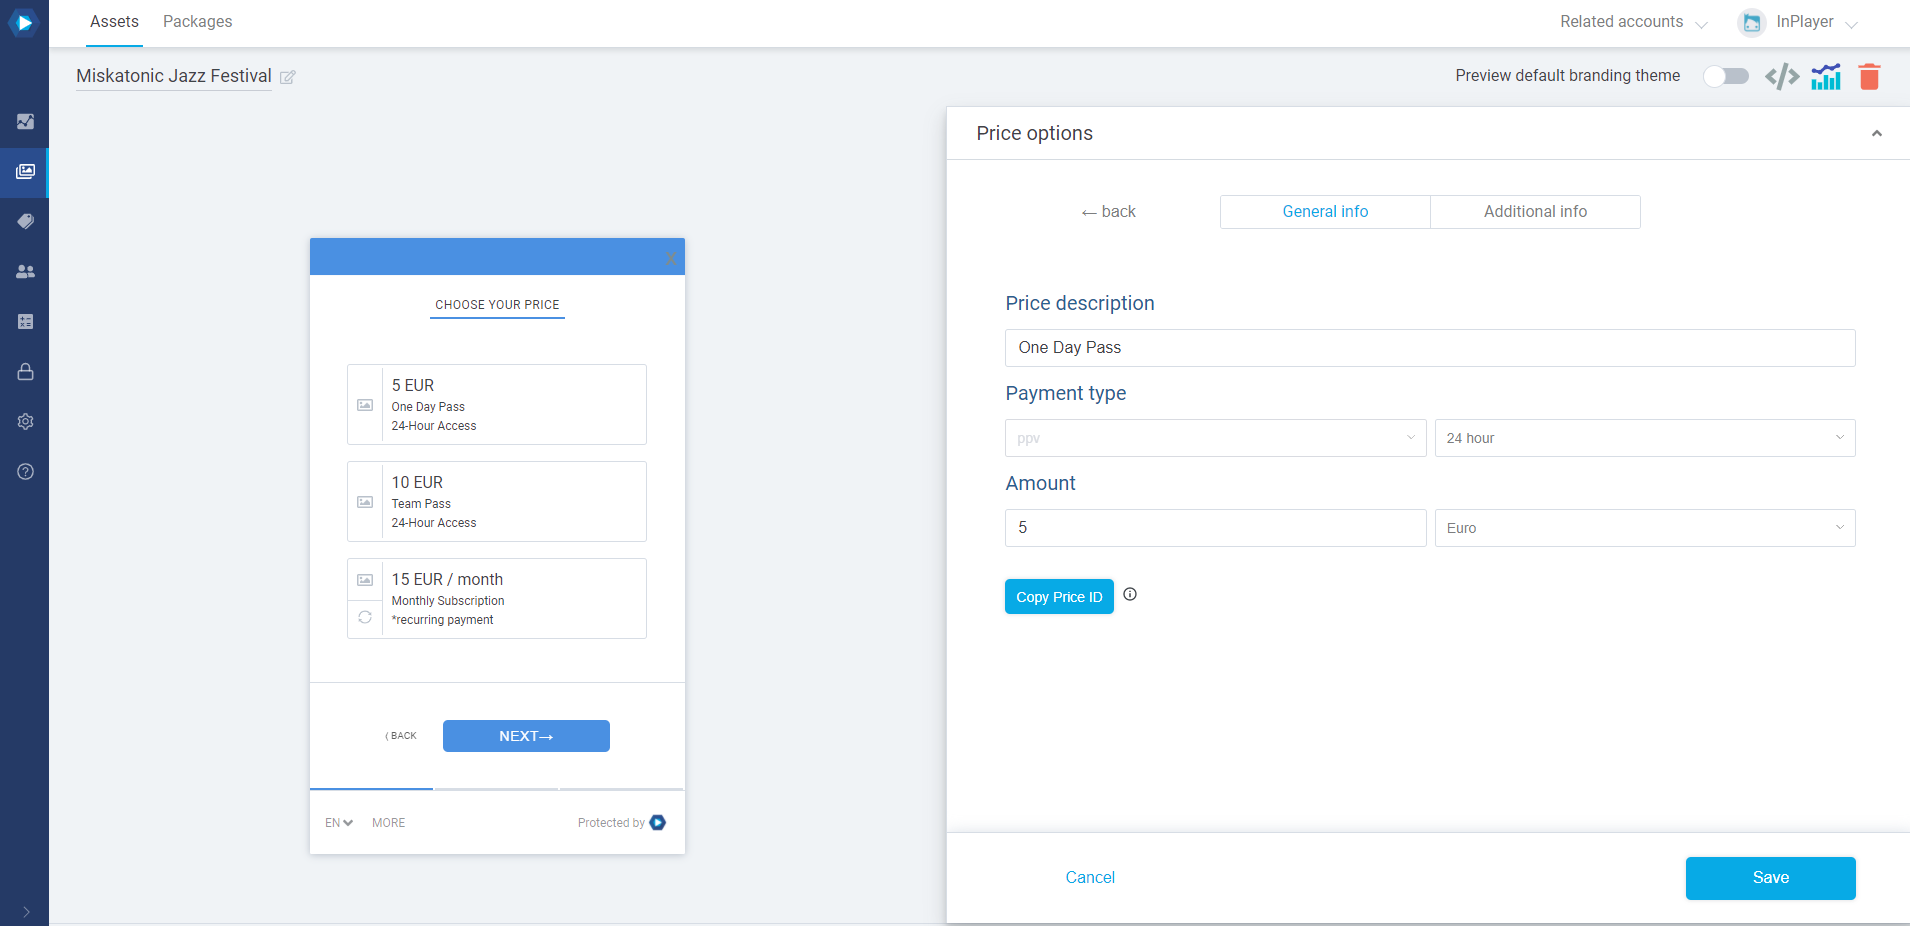
- Inheritance scopes – which settings will the related account inherit from the master account.
You can select Payment setup and/or Email templates.
If you select Payment setup, you can choose which payment method the related account will inherit from the master account.
It is also possible to have a combination of inherited and non-inherited payment methods.
If you leave the Inheritance scopes field blank, the related account will not inherit anything from the master account.
When you’re done, click Save.
Adding an existing account
To add an existing account as your related account, contact your account manager or our support team at clients@inplayer.com.
Disconnecting a related account
If you want to disconnect a related account from the master account, thereby turning the related account into a completely independent account, just do the following:
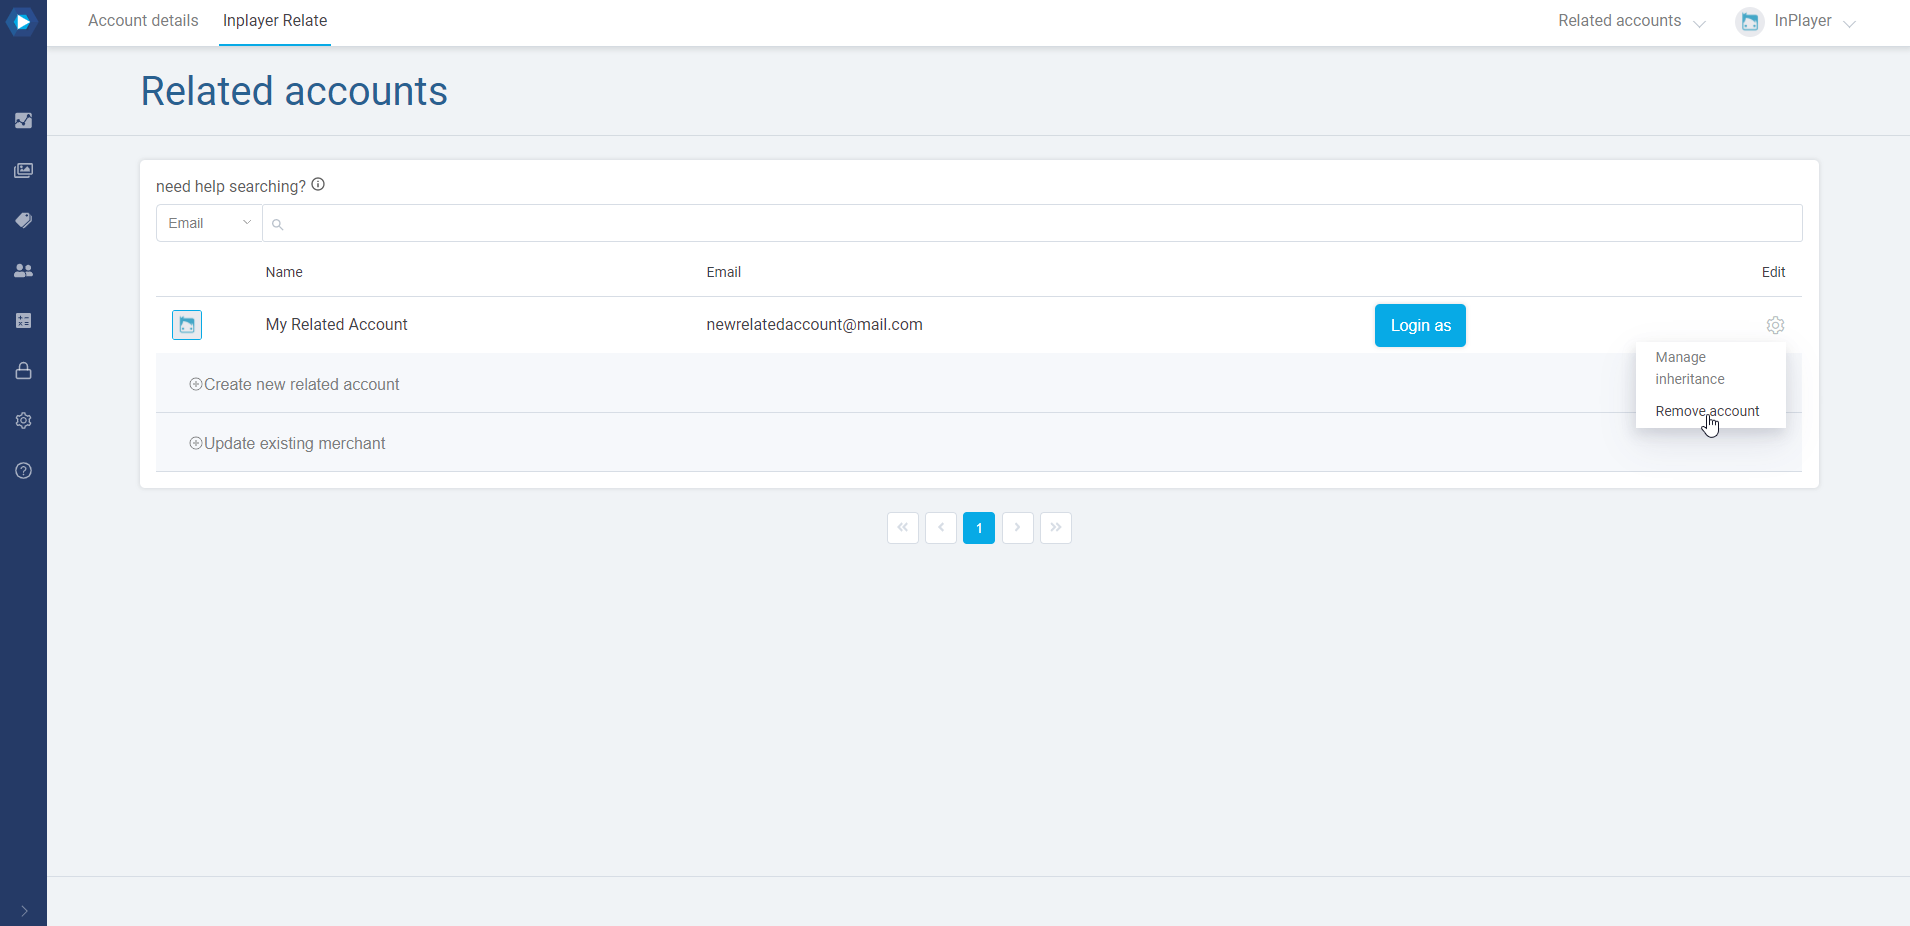
Go to the InPlayer Relate settings and click on 1 accounts (The number will change depending on how many related accounts you have).

Click on the ![]() button to the right of the account you want to disconnect and then click Remove account.
button to the right of the account you want to disconnect and then click Remove account.
Confirm the action by clicking Yes, delete!.
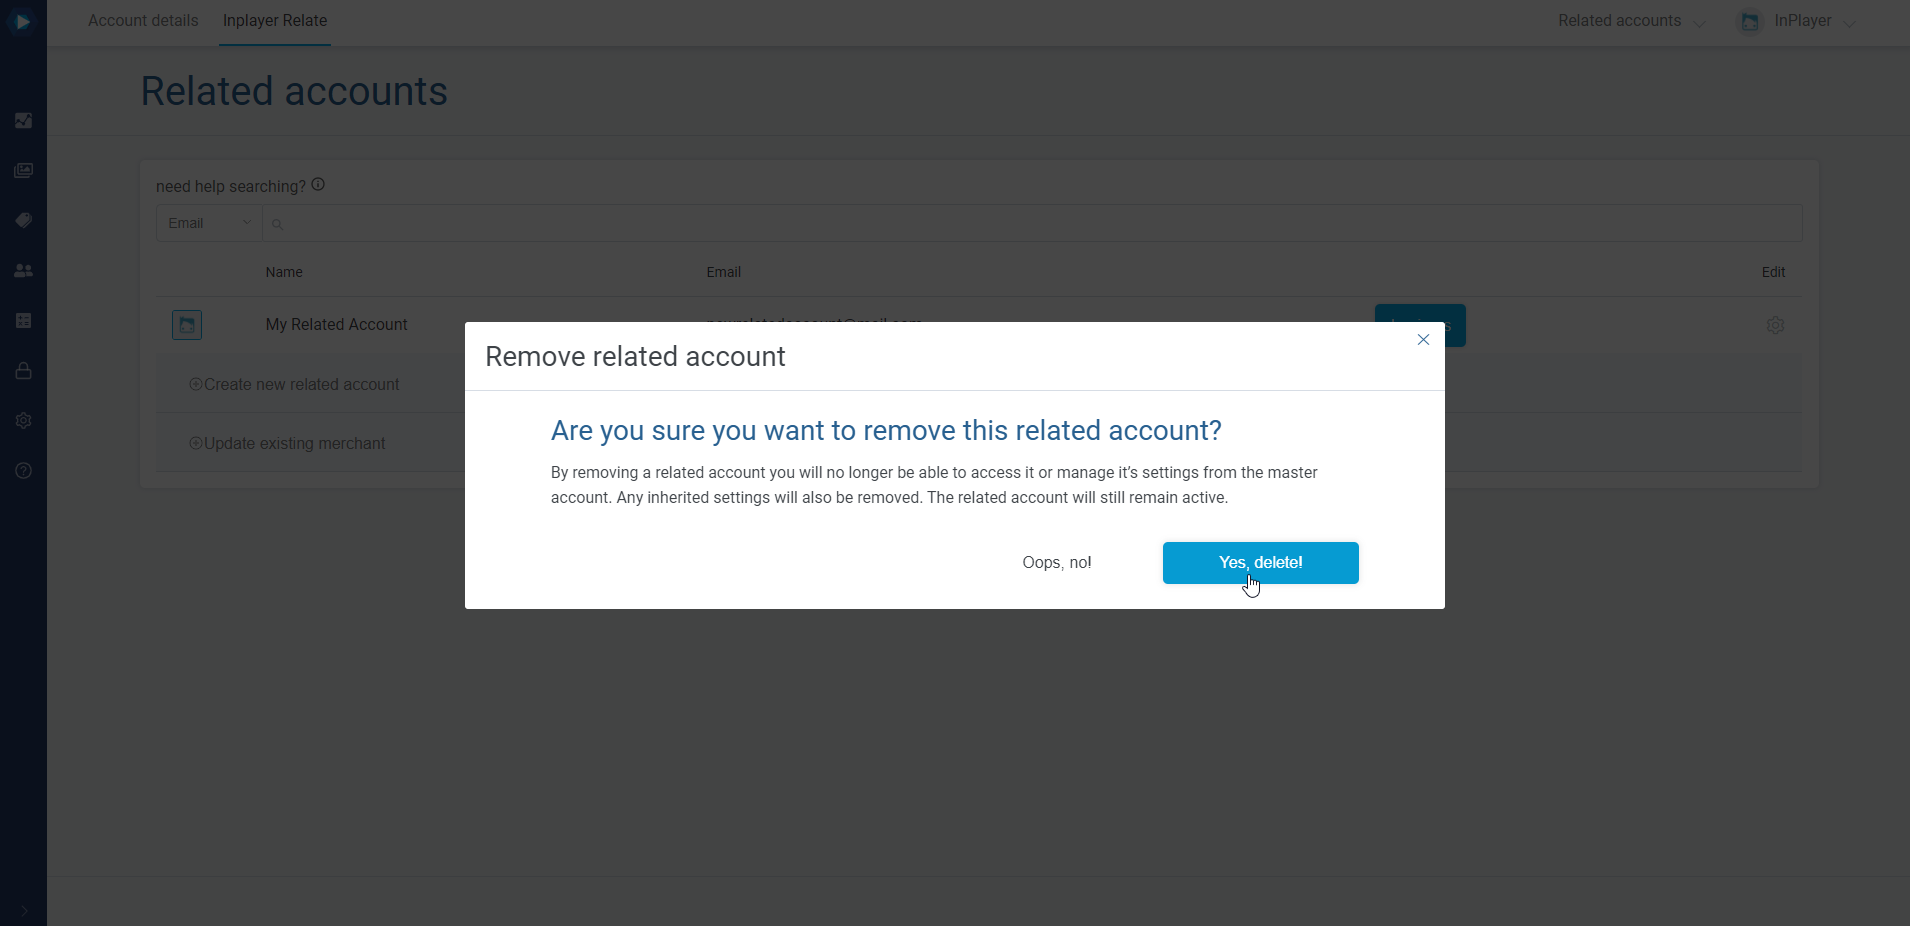
You have now disconnected the related account from the master account.
If you ever want to re-connect the two accounts, contact your account manager or send us an email at clients@inplayer.com and we will do that for you.
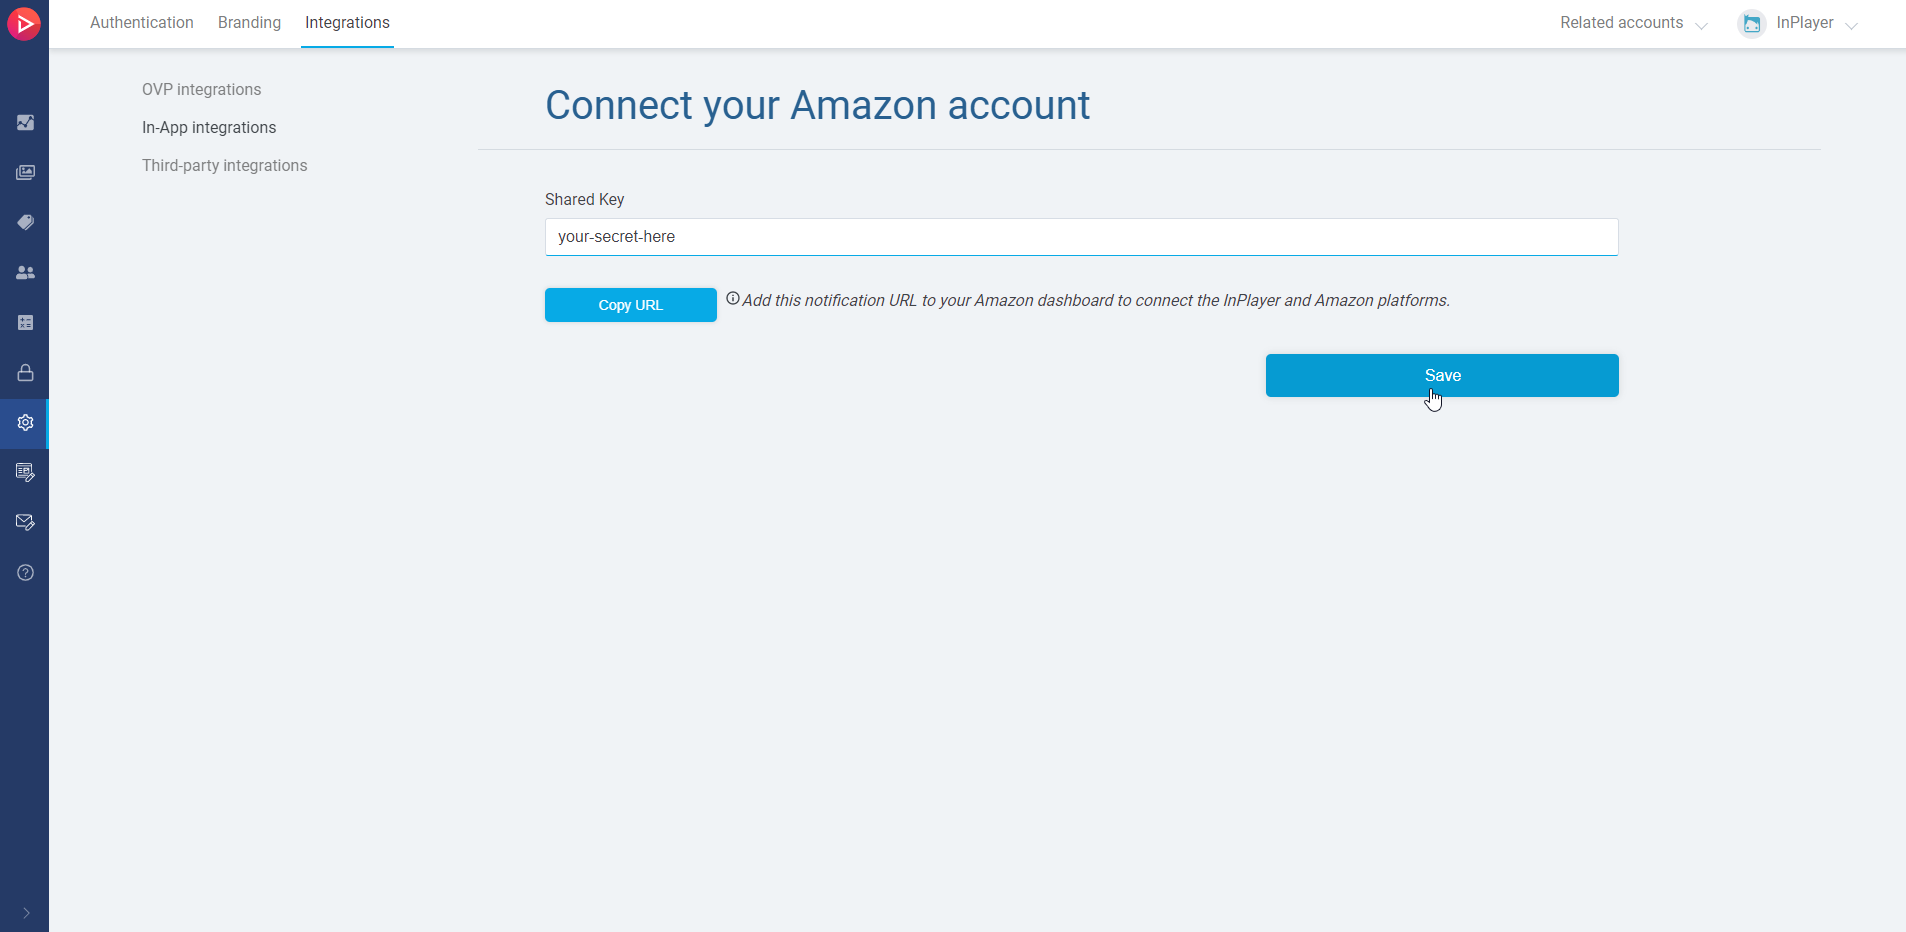
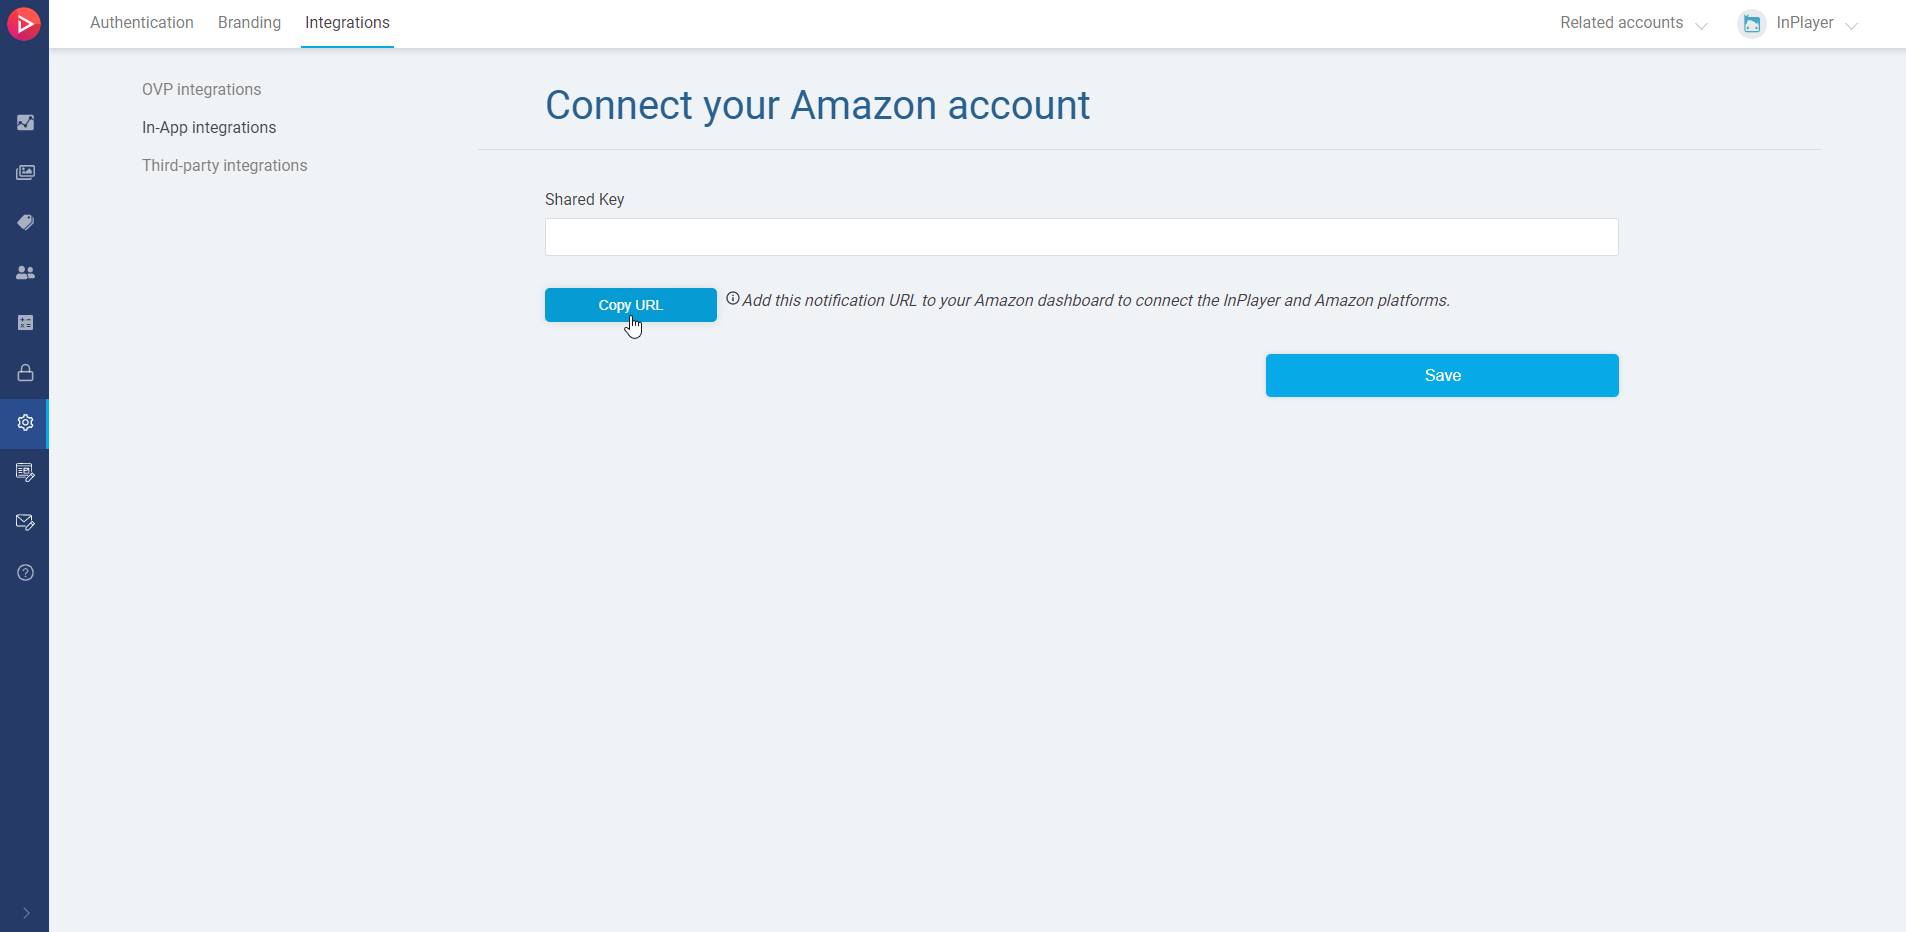
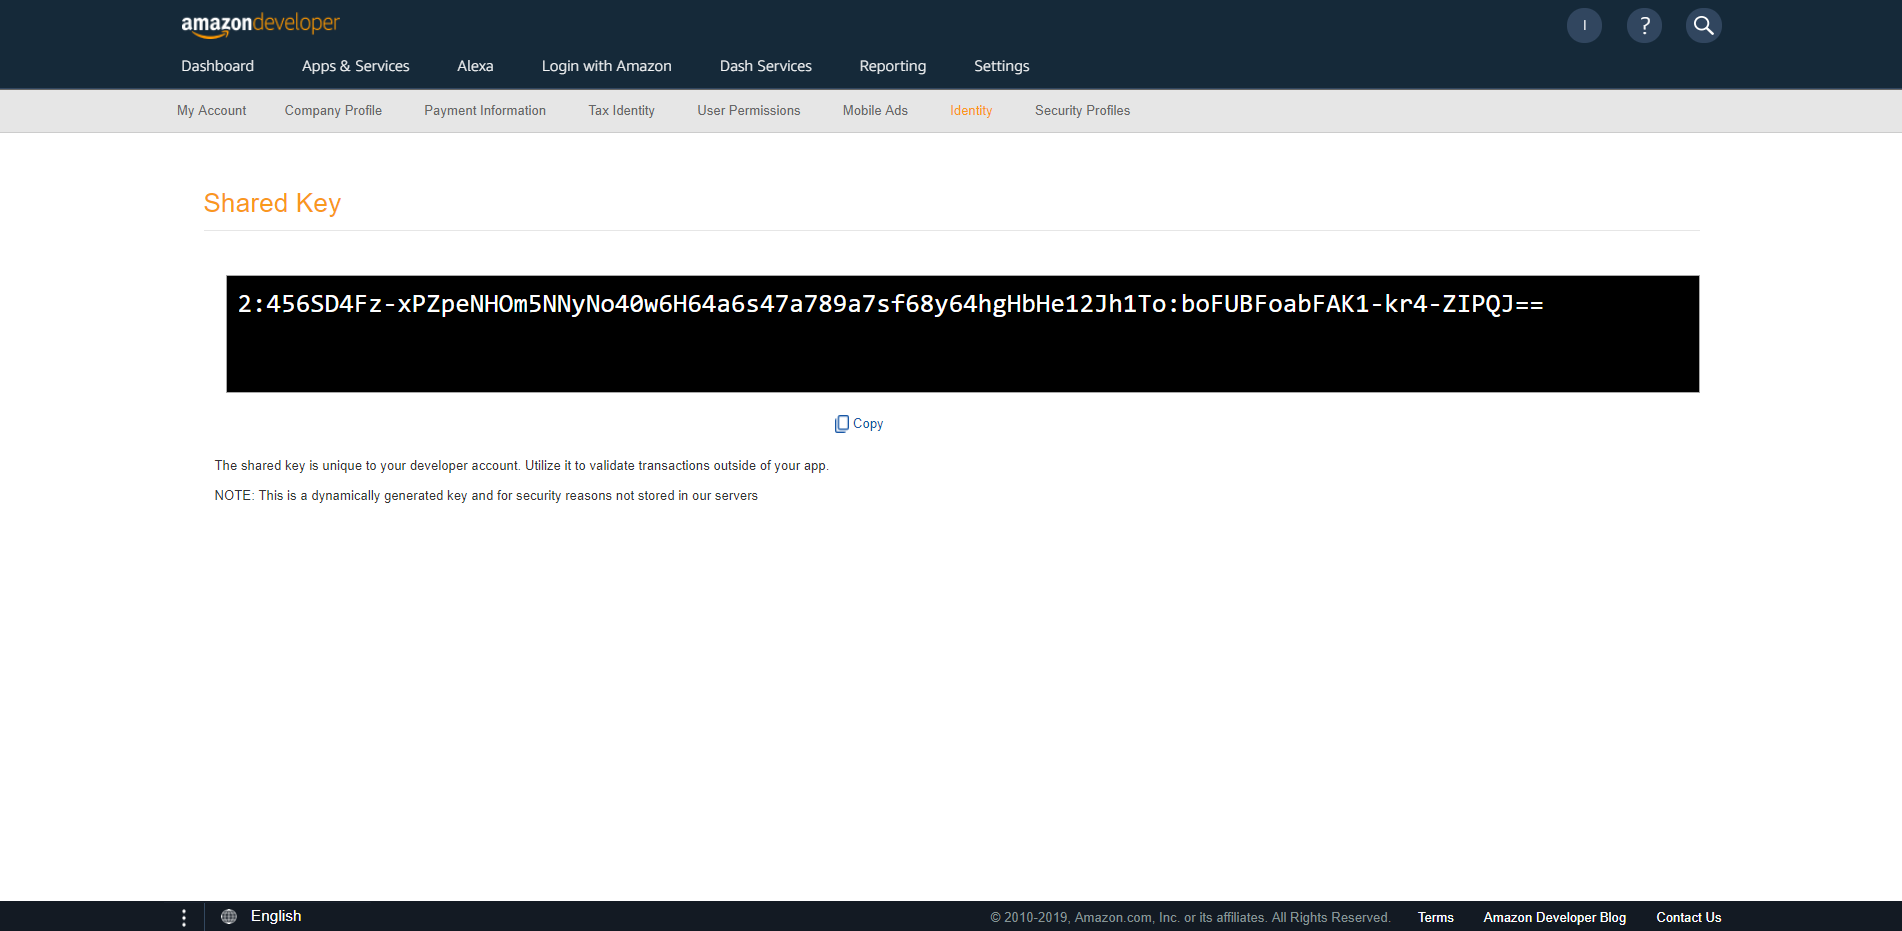
Managing the Inheritance settings
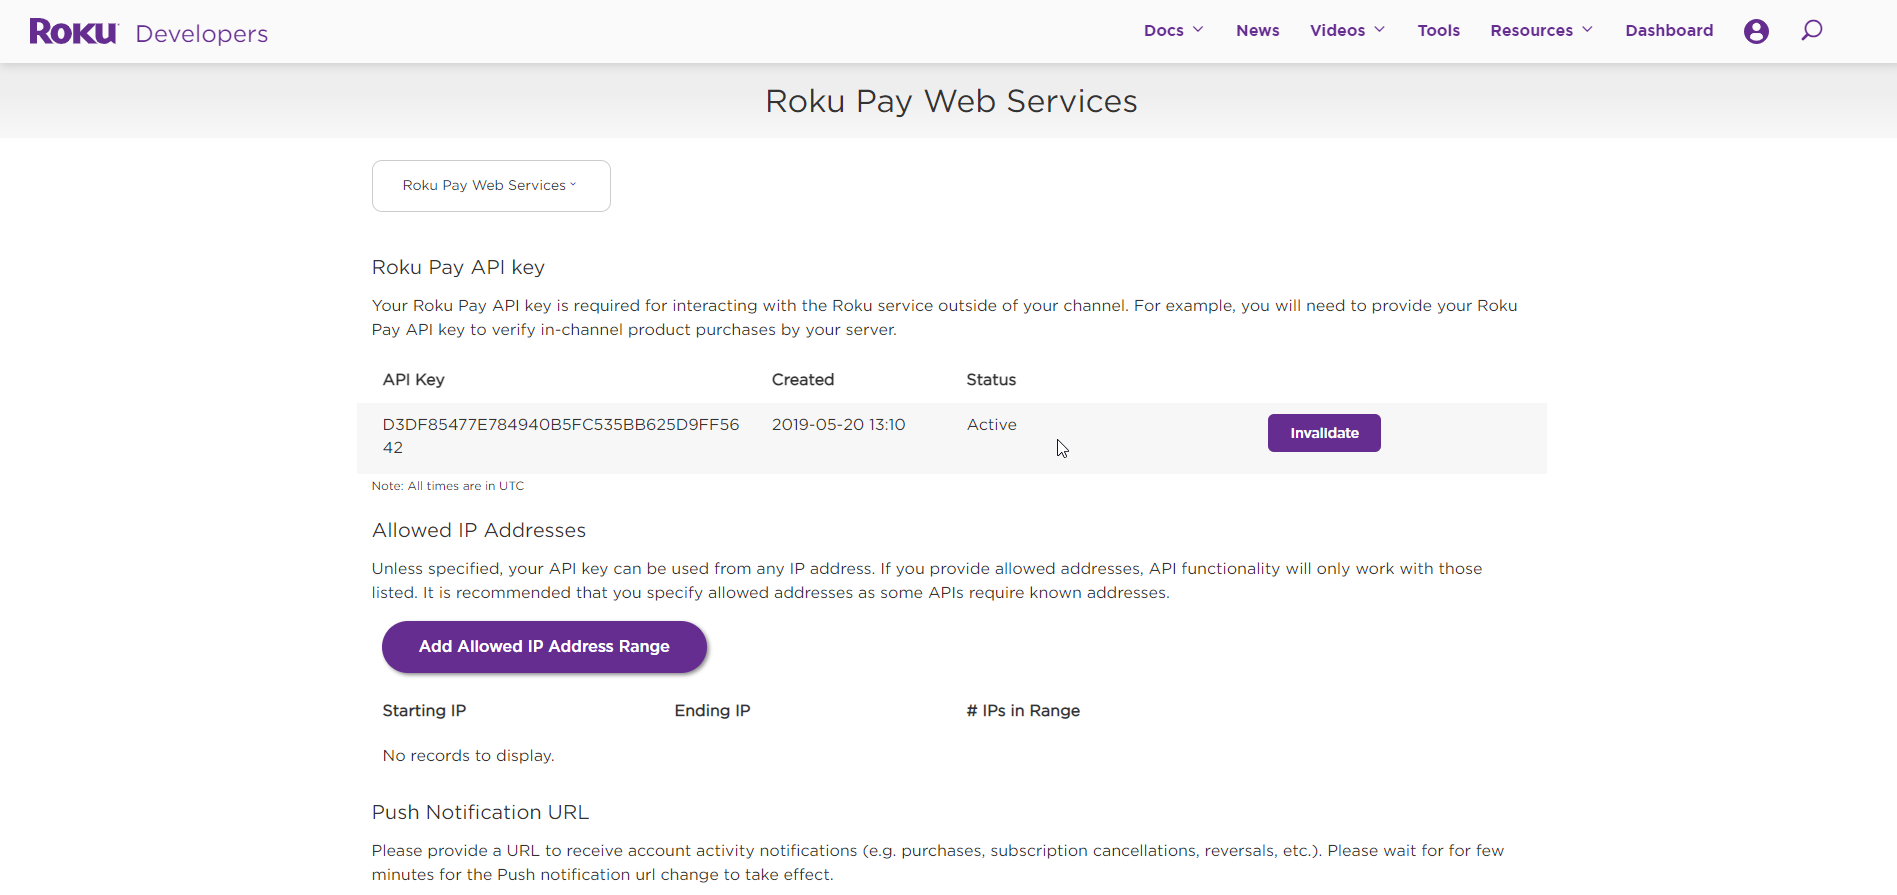
To manage the inheritance settings of a related account, go to the InPlayer Relate Settings and click on 1 accounts (The number will change depending on how many related accounts you have).
Click on the ![]() button to the right of the related account you want to manage and then click Manage inheritance.
button to the right of the related account you want to manage and then click Manage inheritance.

Modify the Inheritance Scopes settings to your liking, and then click Save.
Note that it will take about 5 minutes for the changes to go live.
Note also that if a new payment method is added to the master account after you’ve already set up some related accounts on it, you will need to go to the Inheritance settings for the related accounts and check the payment box for them, if you wish the related accounts to inherit the new payment method as well. This will not happen by default.
Accessing related accounts
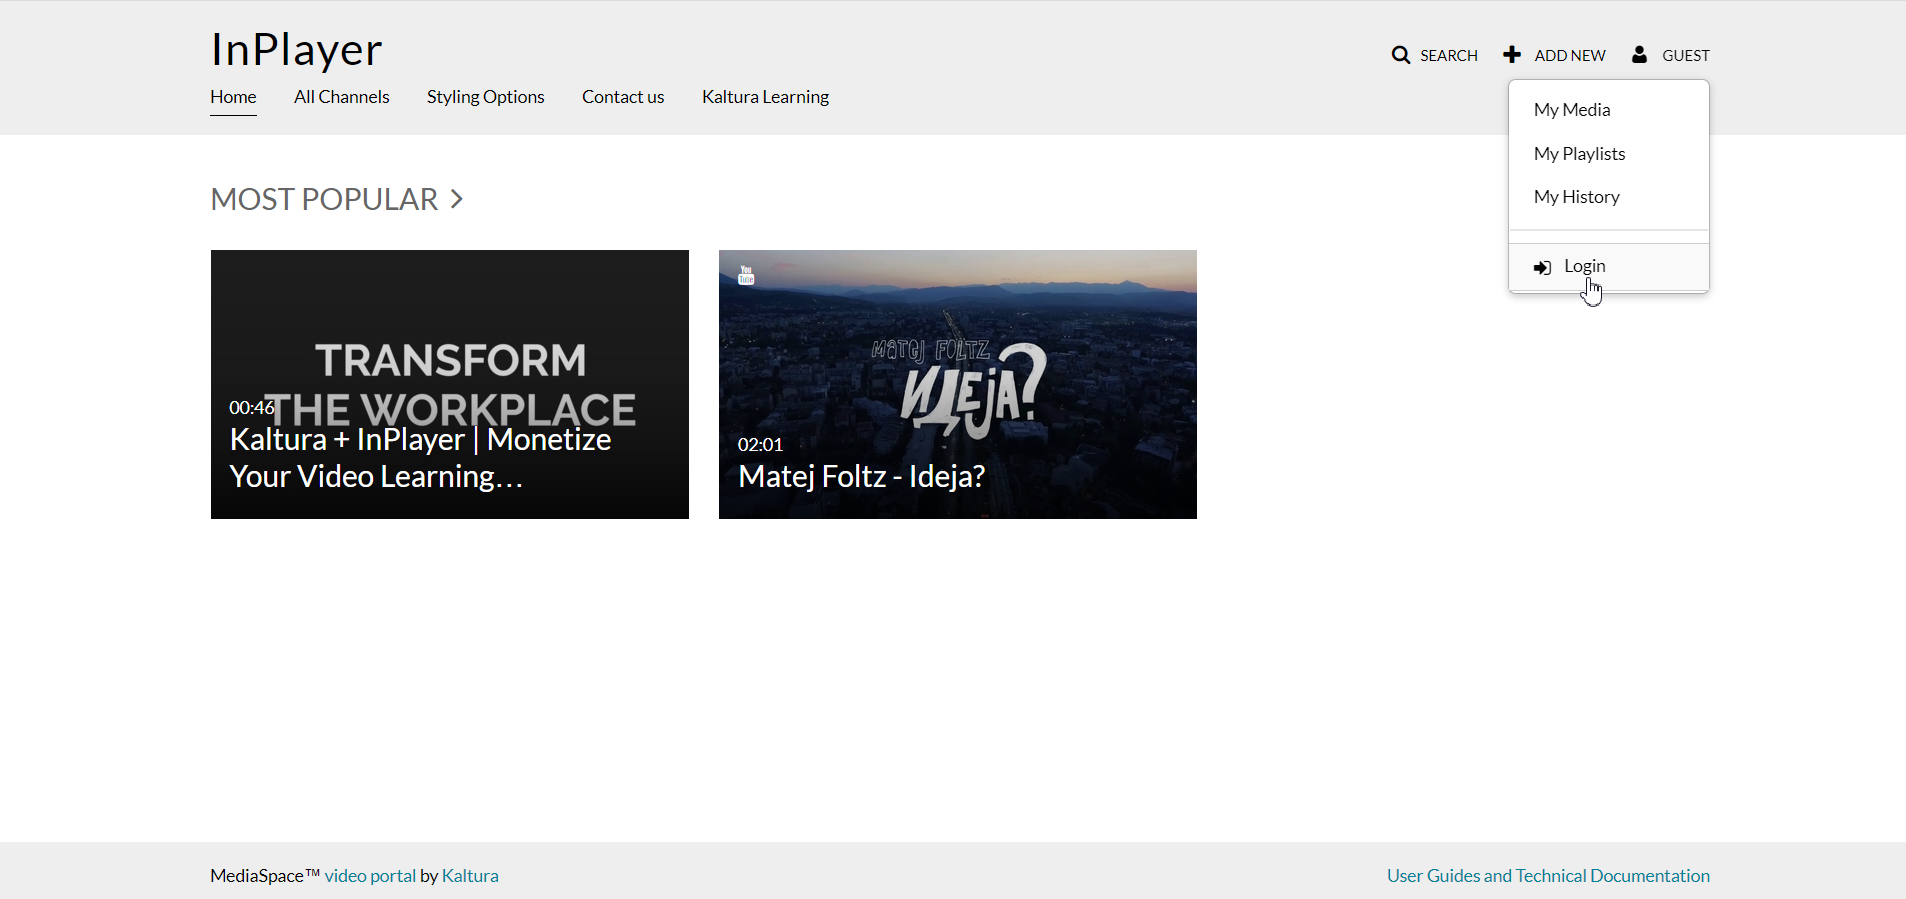
To access your related accounts, first log into your master account.
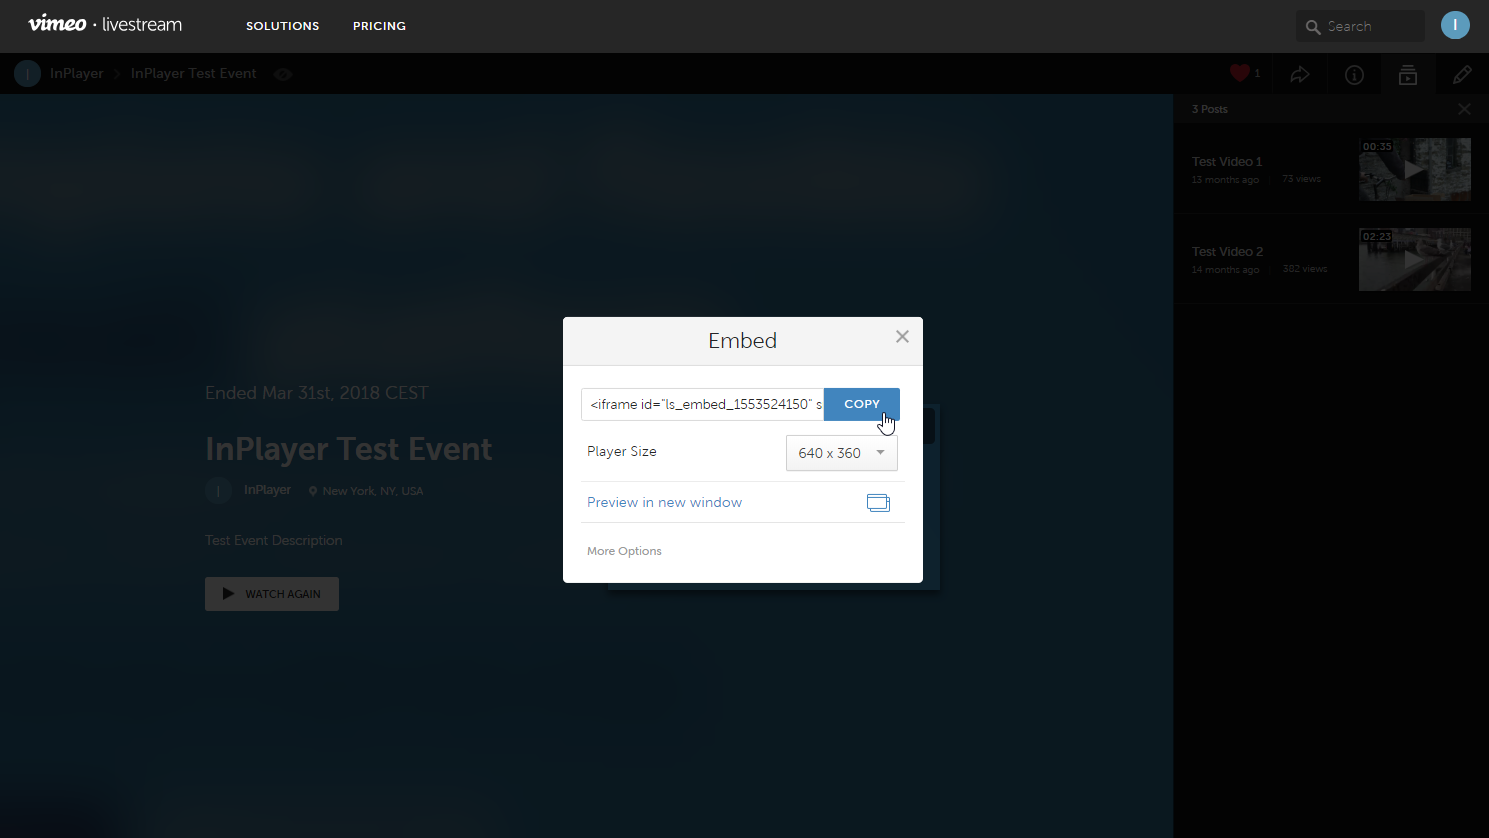
Then, click on the Related Accounts button in the top right corner, right next to the account menu, and select the related account you want to access.
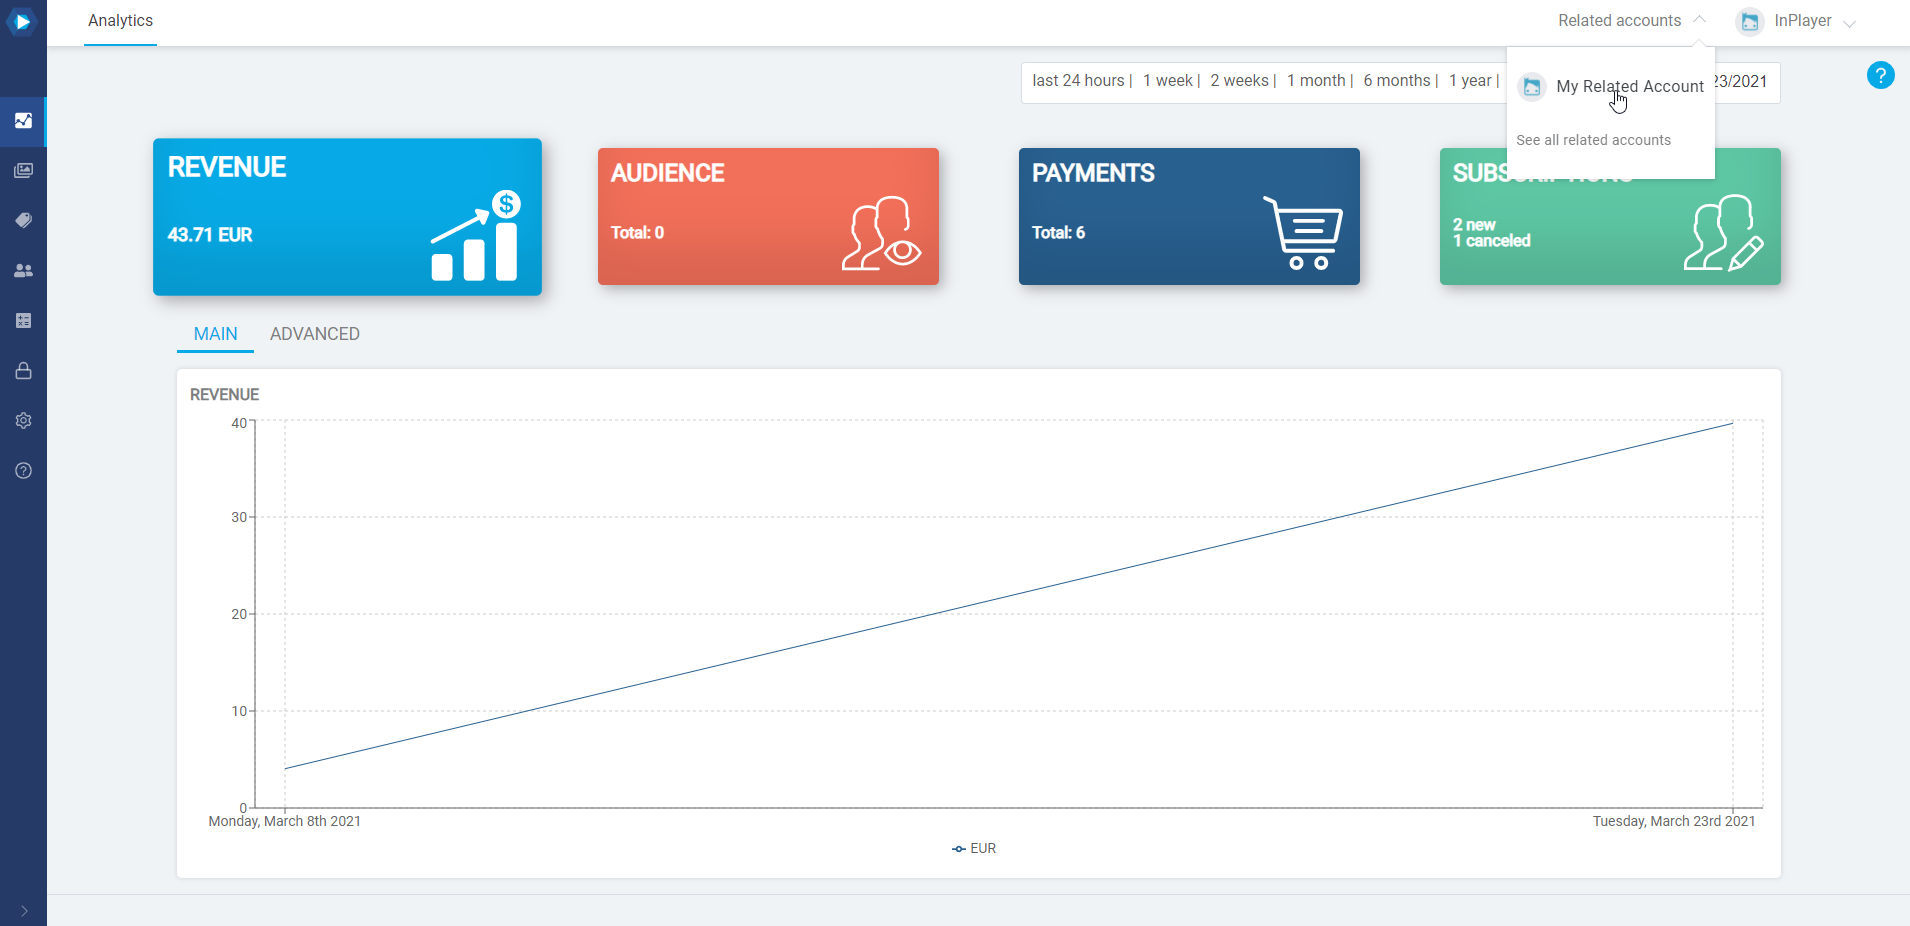
Enter the password of your master account and click Sign in.
You will be logged into the related account.
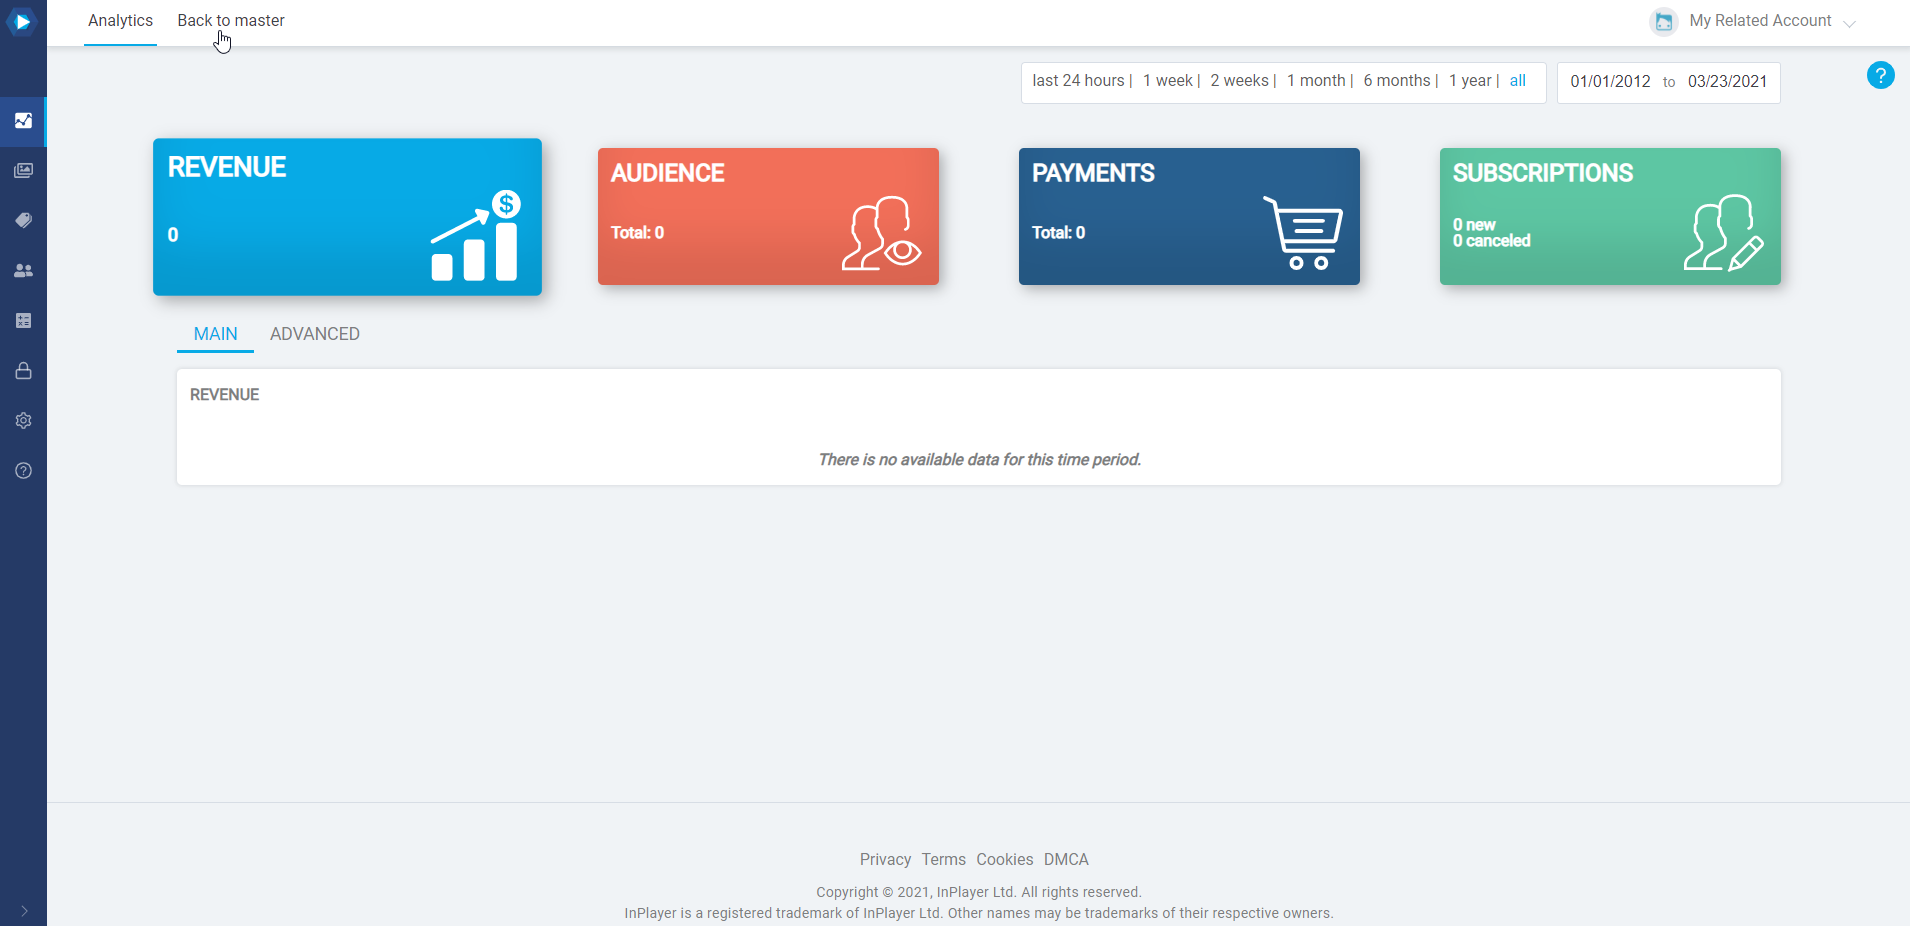
If you wish to go back to the master account, just click the Back to master button in the top left.
You can also access the related account like you would a regular InPlayer account, i.e. by going to the InPlayer Dashboard login page and logging in with the email and the password you’ve set up during the account creation process.
This concludes our guide.
If you have any questions, don’t hesitate to contact us at clients@inplayer.com.