Settings
Learn about content restrictions, social login, OAuth, and much more.
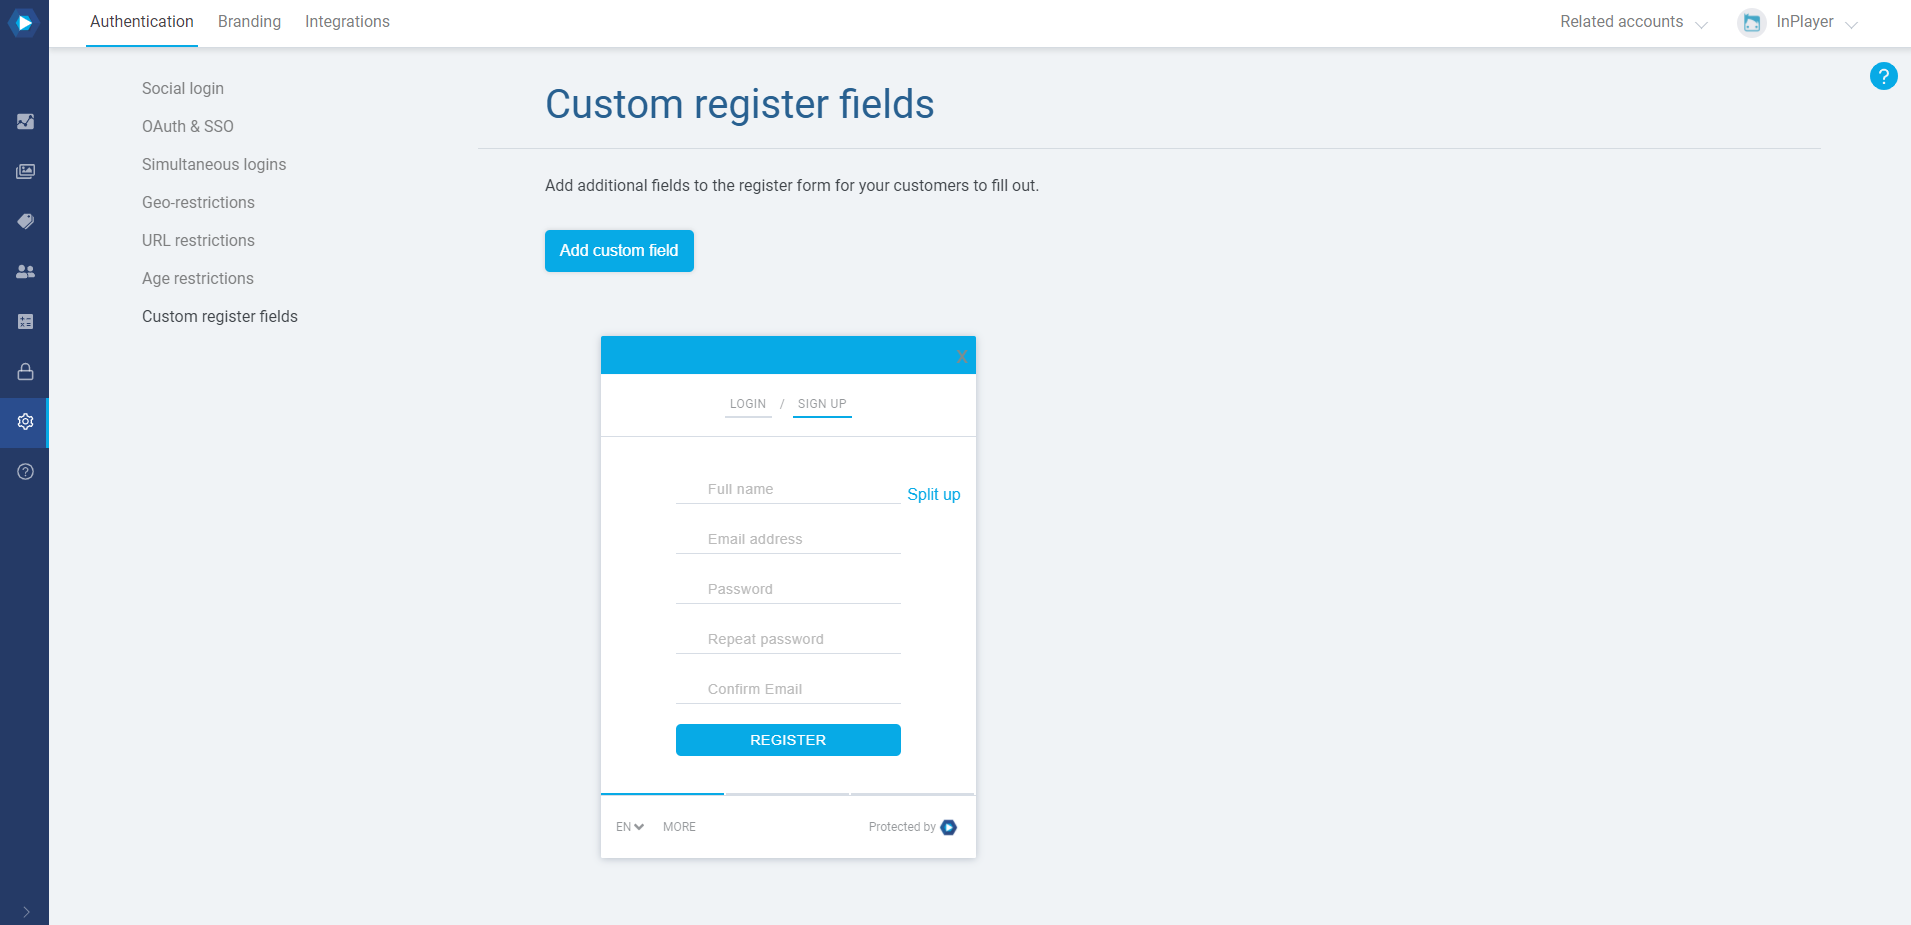
Custom register fields
Custom register fields are additional fields on the paywall’s registration form. They can be used to gather all kinds of metadata from your audience. These details will help you discover, identify and describe your viewer, and understand their connection and feelings about your product or service.
For each of the custom register fields, you can set up whether they are going to be required or non-required.
You will find the Custom register fields feature in the Authentication tab of the Dashboard settings.
Adding custom register fields
To add a custom field, click Add custom field.
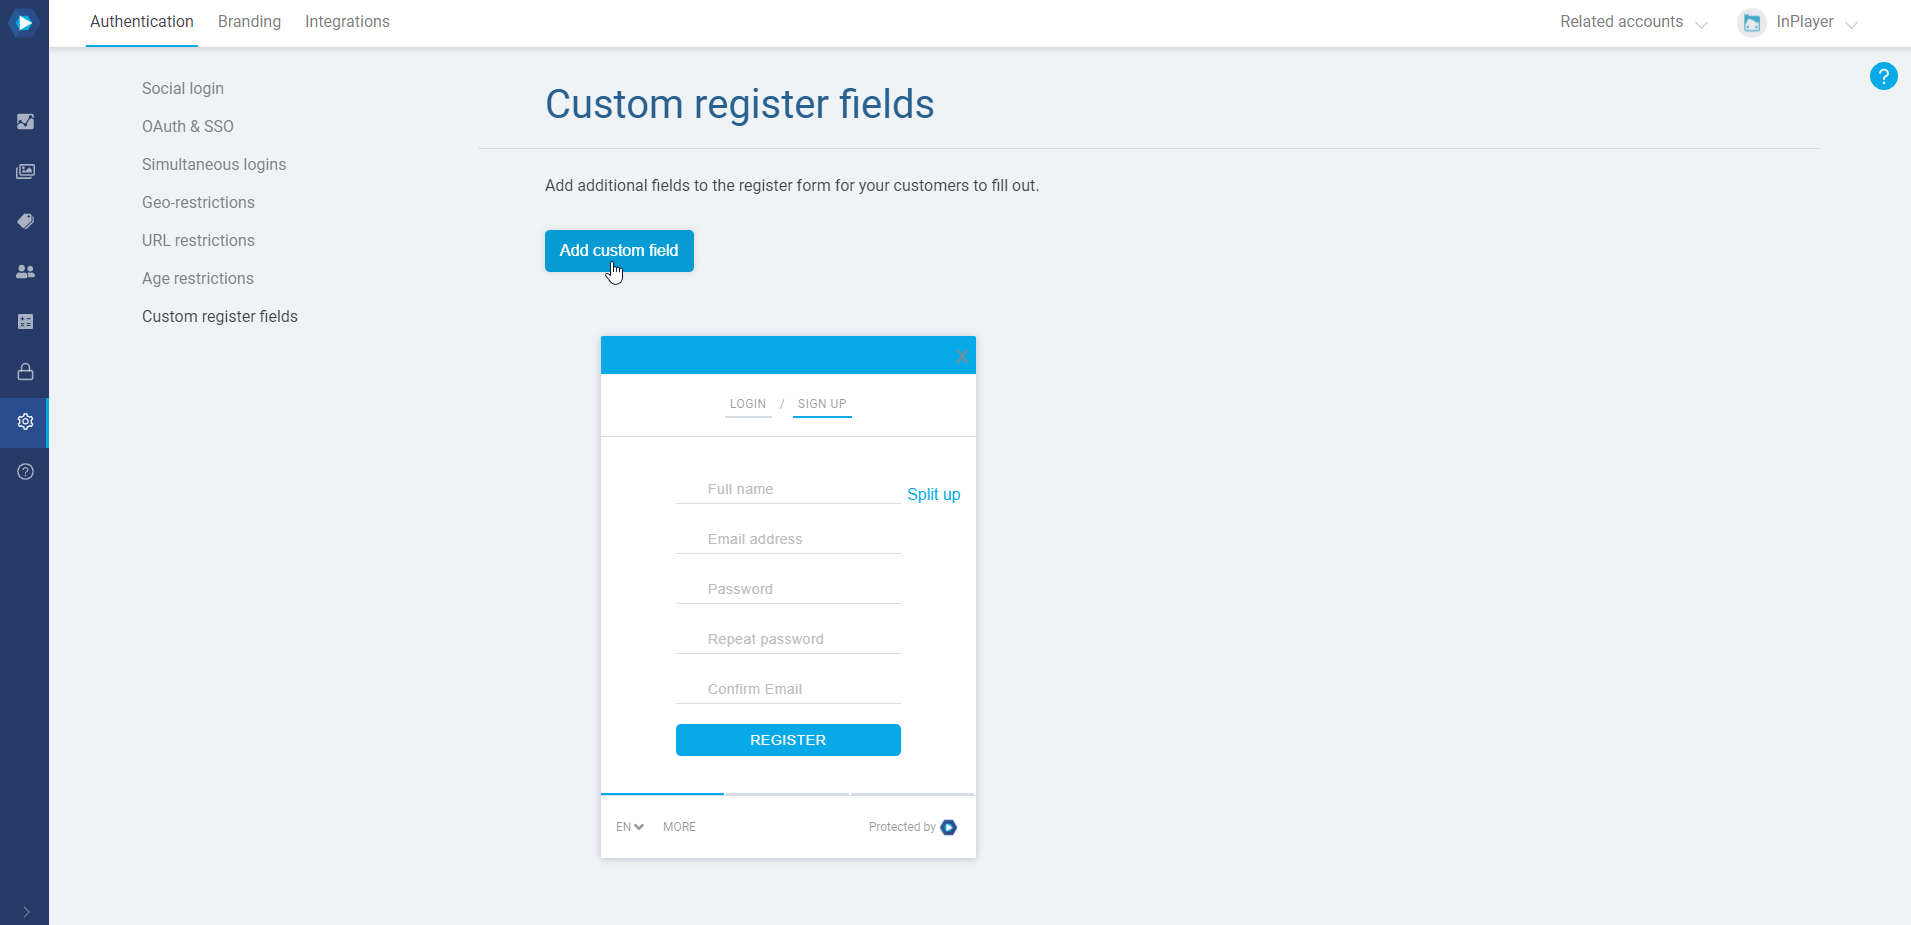
There are several different types of custom fields.
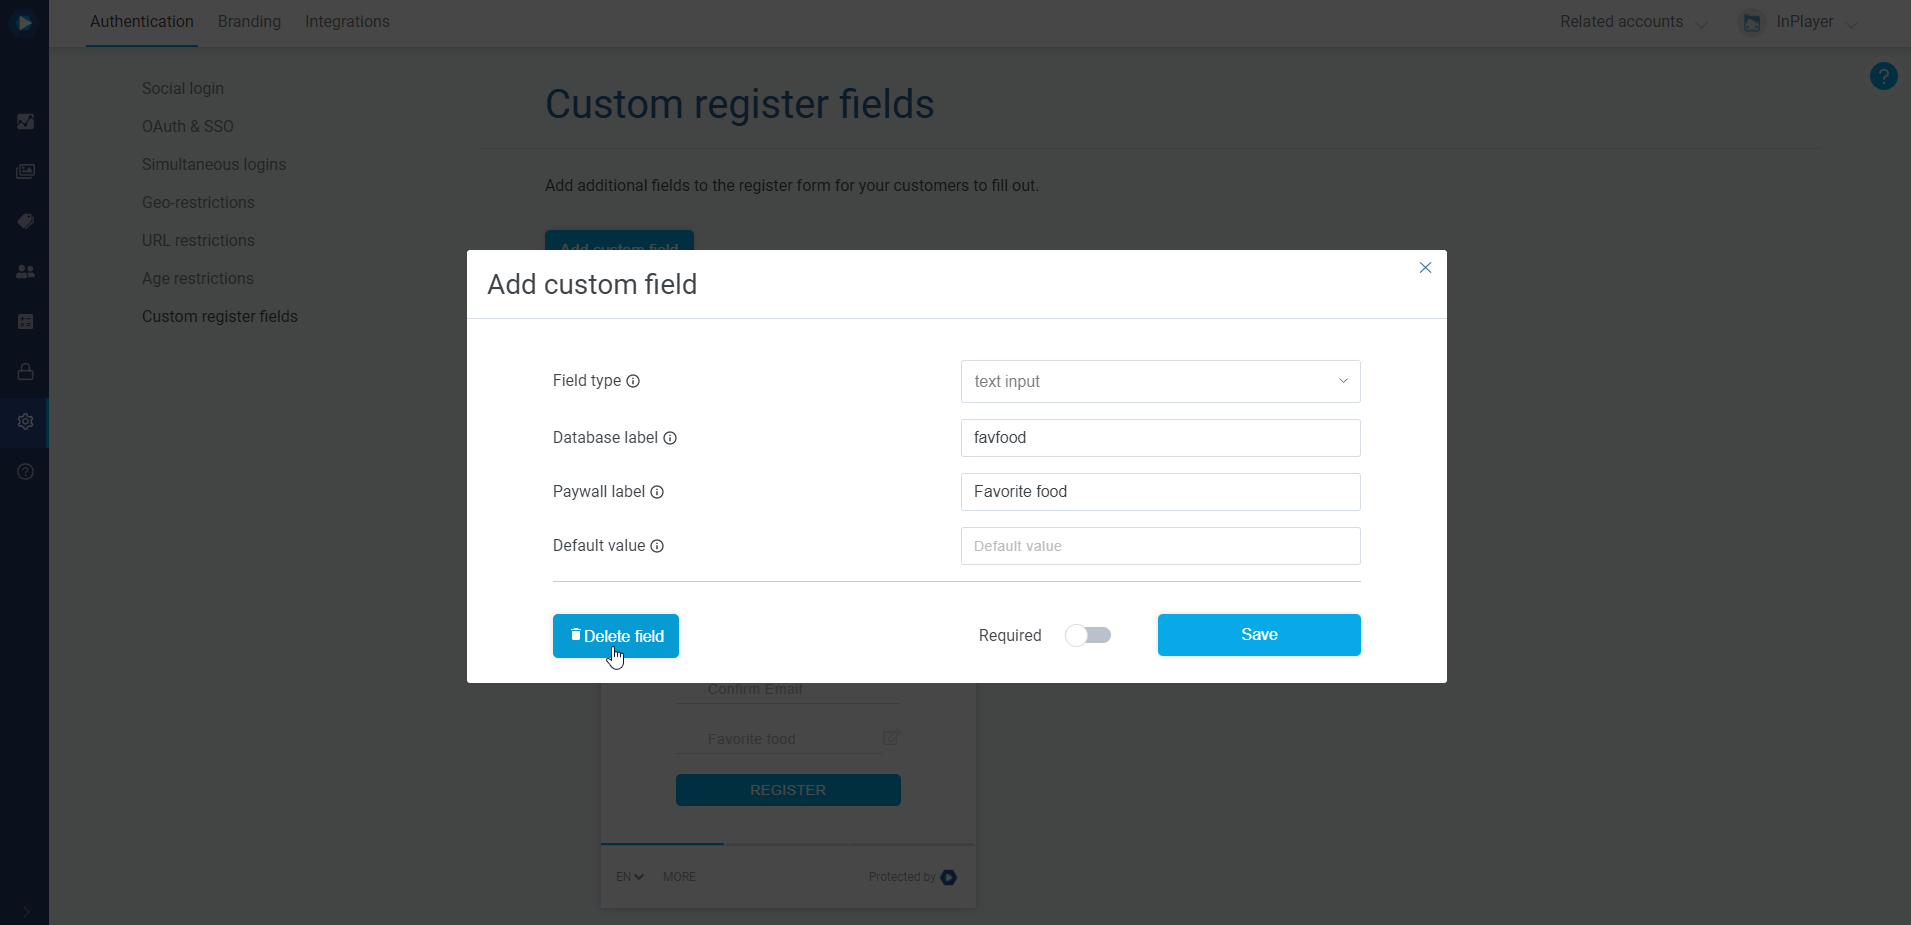
Text field
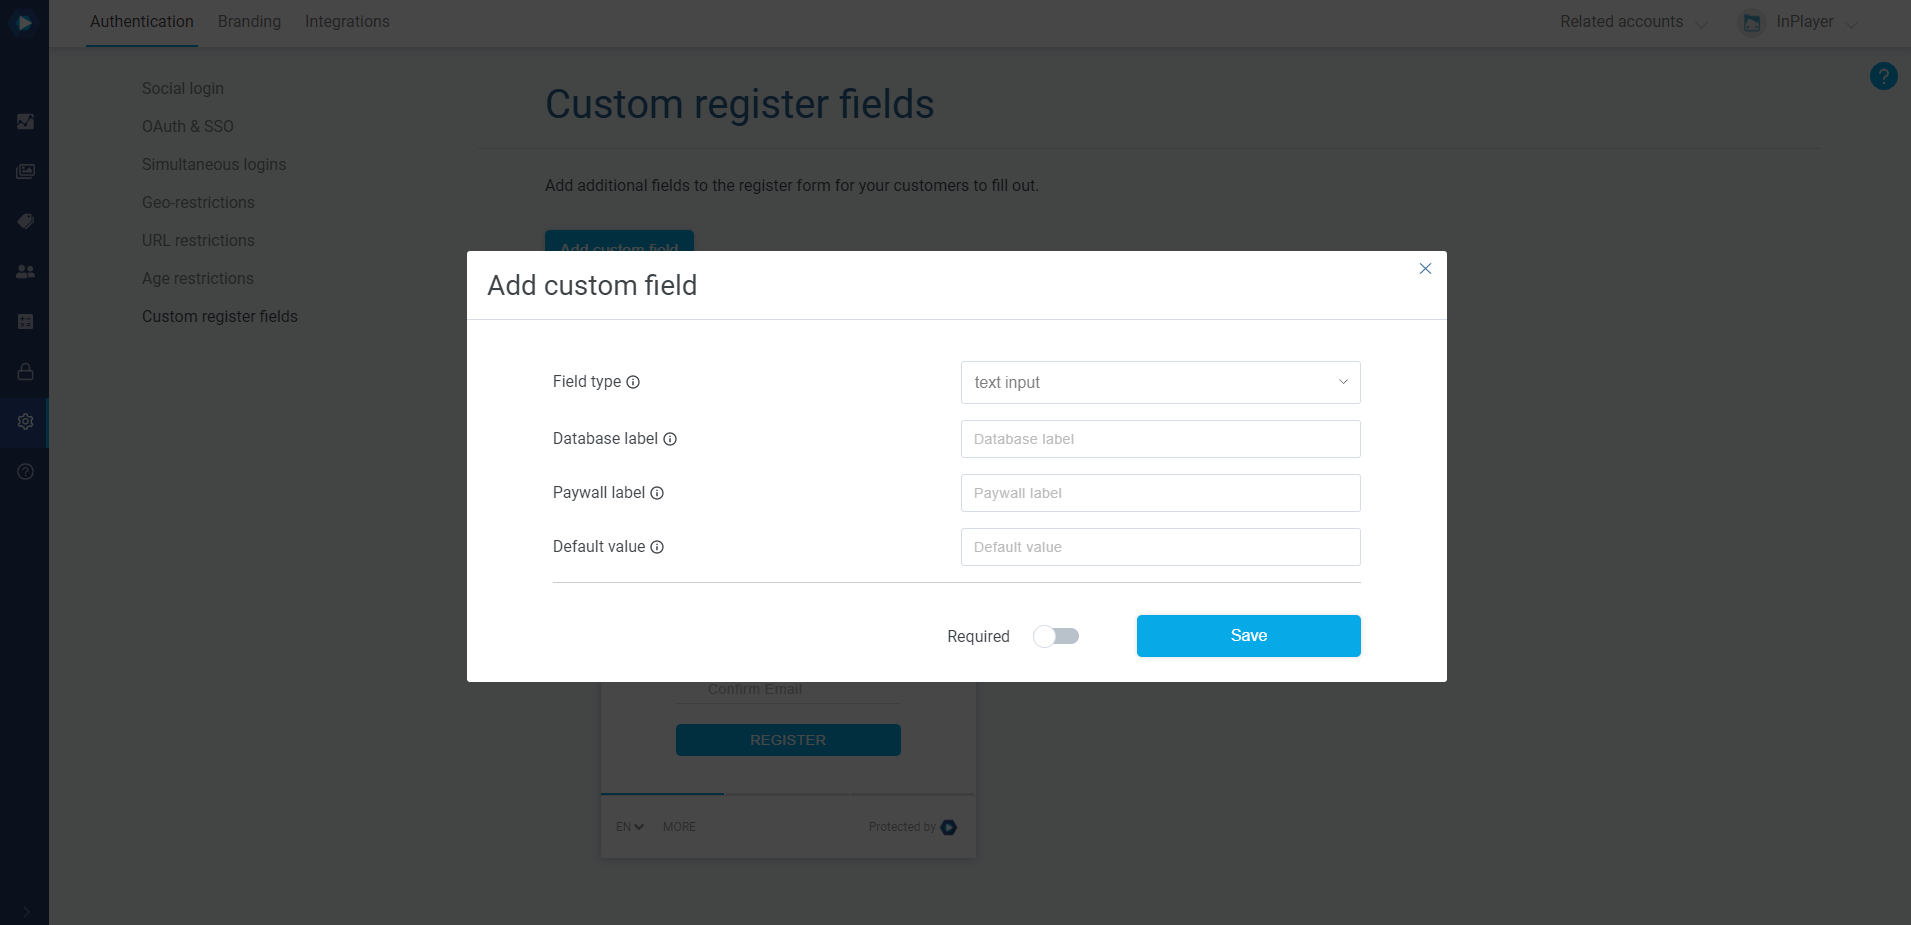
The text input field is where your viewers can type in text.
- Database label – This is the name of the field which is stored in the database. Your viewers will not see this. Make sure not to include any blank spaces or special characters, except _. Note that there is a 20 character limit.
- Paywall label – Here you can type in a short description that will tell the viewers what they should enter in the field.
- Default value – This is going to be the default text in the field. You can leave this blank.
Dropdown menu

The dropdown menu field lets you add a drop-down menu to the registration form.
- Database label – This is the name of the field which is stored in the database. Your viewers will not see this. Make sure not to include any blank spaces or special characters, except _. Note that there is a 20 character limit.
- Paywall label – Here you can type in a short description for the field.
- Dropdown menu entries – This is where you add the drop-down menu entries.
- Database label – This is the title of the entry that will be written in the database. Your viewers will not see this. Make sure not to include any blank spaces or special characters, except _.
- Paywall label – This is the title of the entry that will appear on the paywall, and what your viewers will actually see.
Once you set up an entry, make sure to click the + button on the right of it to save it.
You can add up to 30 entries.
Radio button
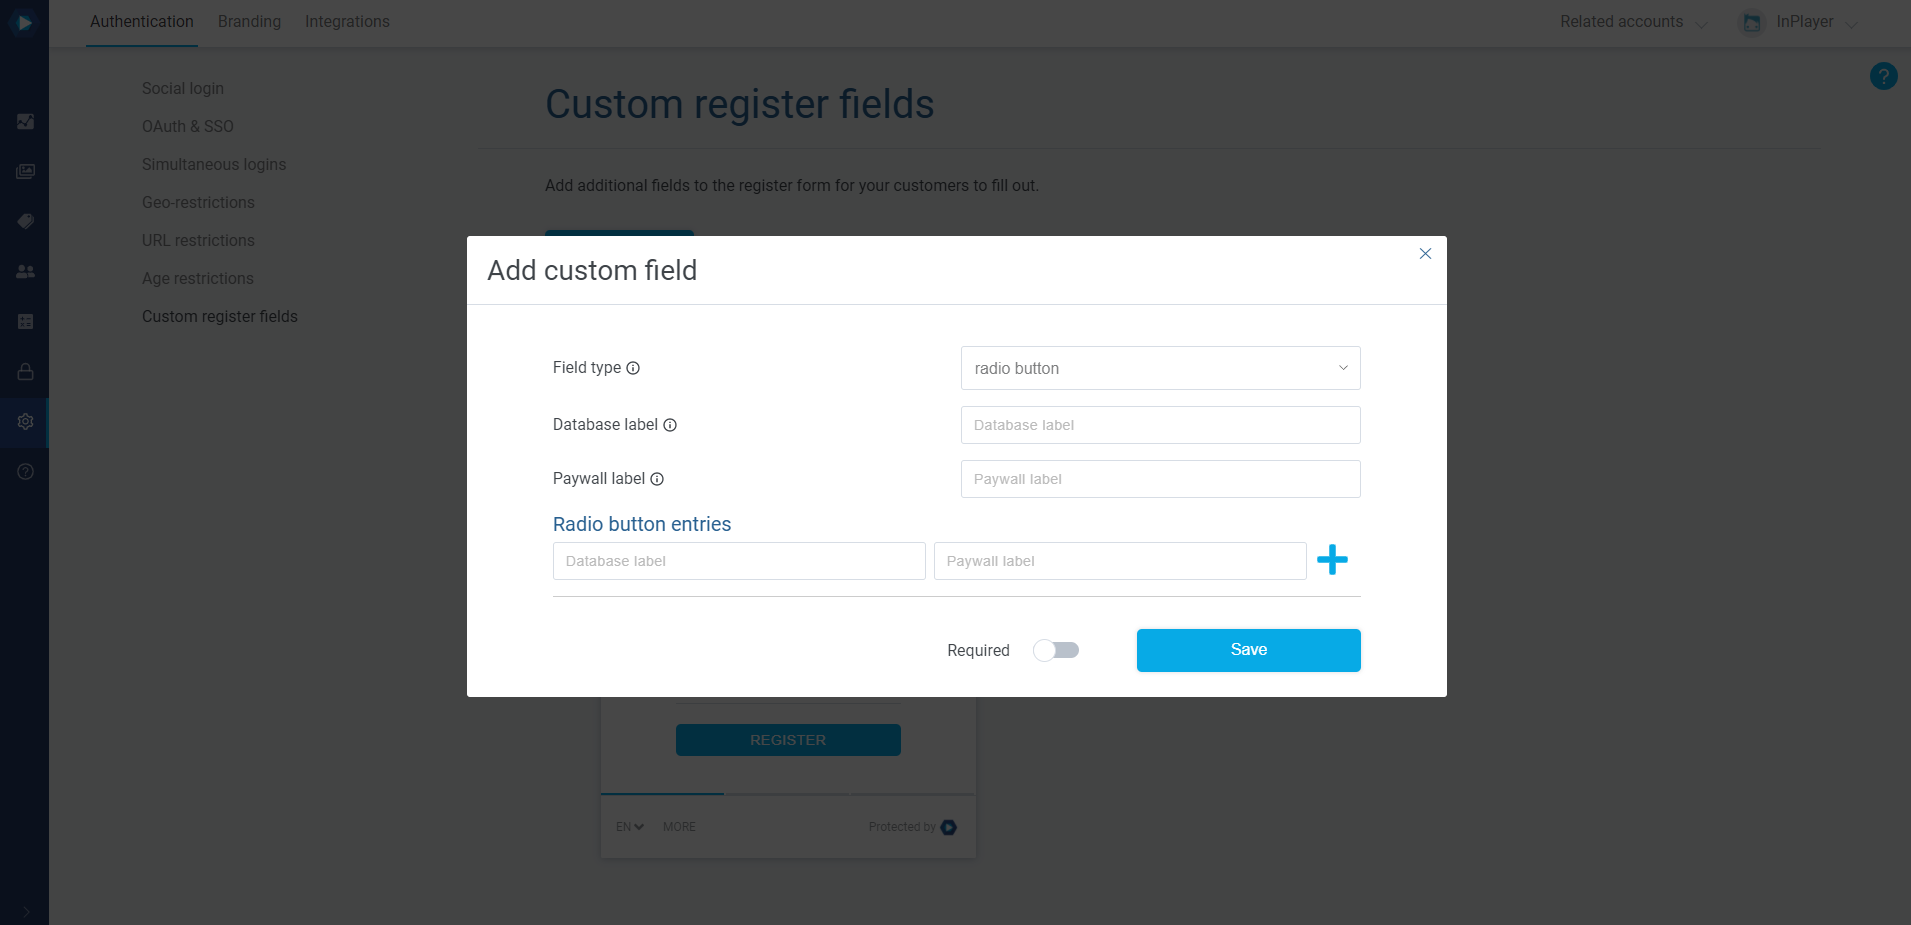
The radio button field lets you add a set of multiple options from which the viewer will have to select only one.
- Database label – This is the name of the field which is stored in the database. Your viewers will not see this. Make sure not to include any blank spaces or special characters, except _. Note that there is a 20 character limit.
- Paywall label – Here you can type in the description or title of the field that your viewers will see.
- Radio button entries – This is where you add the multiple options.
- Database label – This is the title of the option that will be written in the database. Your viewers will not see this. Make sure not to include any blank spaces or special characters, except _.
- Paywall label – This is the title of the option that will appear on the paywall, and what your viewers will actually see.
Once you set up an option, make sure to click the + button on the right of it to save it.
Checkbox
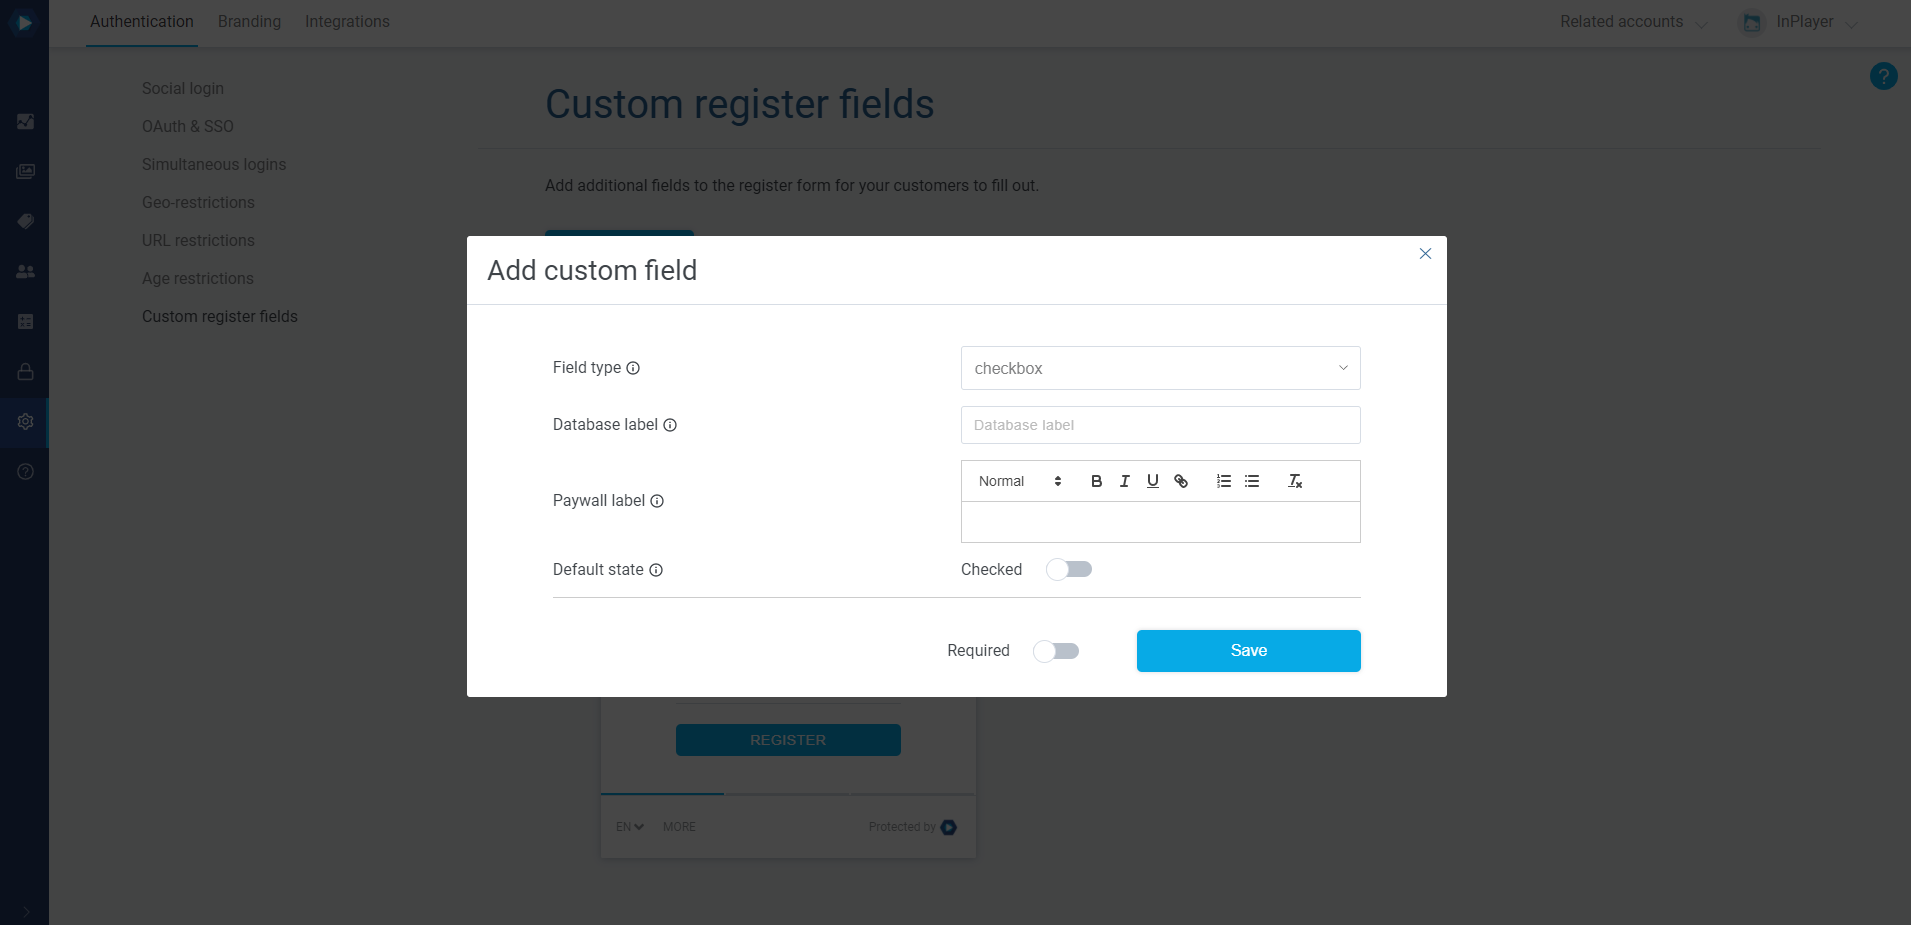
The checkbox field lets you add a checkbox.
- Database label – This is the name of the field which is stored in the database. Your viewers will not see this. Make sure not to include any blank spaces or special characters, except _. Note that there is a 20 character limit.
- Paywall label – Here you can type in the description or title of the field that your viewers will see.
- Default value – Set whether the field will be checked or unchecked by default.
A very useful feature of the Checkbox custom register field is that you can add a hyperlink to the Paywall label text.
To do this, select the text you want to hyperlink to and click ![]() .
.
When getting an audience report, the values for a checkbox field will be one of the following:
blank – viewer did not check the checkbox field on registration and has never checked it since,
on – viewer currently has the checkbox field checked,
off – viewer had the checkbox field checked, but they have currently unchecked it.
Country list
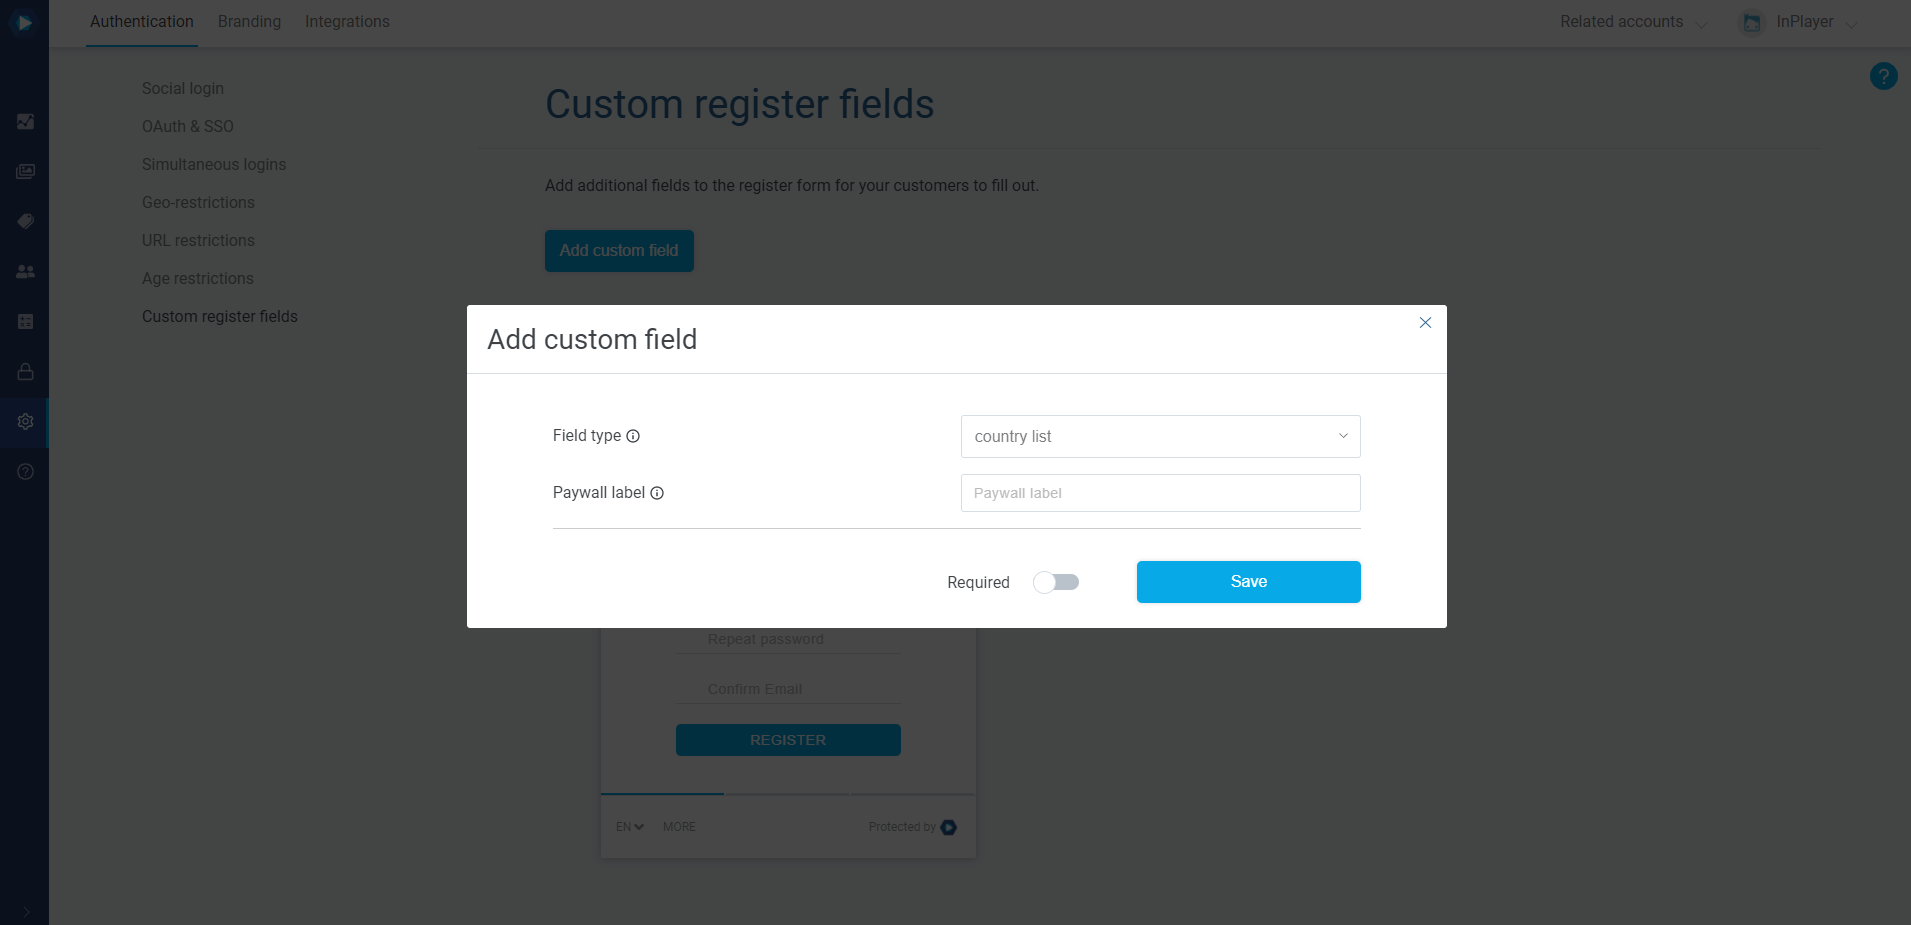
With the country list, your viewers can select their country.
- Paywall label – Here you can type in a short description for the field.
Date picker

This will include a date picker field.
- Database label – This is the name of the field which is stored in the database. Your viewers will not see this. Make sure not to include any blank spaces or special characters, except _. Note that there is a 20 character limit.
- Paywall label – Here you can type in the description or title of the field that your viewers will see.
Modifying custom register fields
Once created, the custom fields can always be modified.
To do this, just open the field you wish to edit by clicking on the ![]() button next to it.
button next to it.

Removing a custom field
To remove a custom field, just open it, and click the Delete field button.
Getting the metadata from the custom fields
The viewer metadata gathered from the custom fields can be accessed and exported at any time
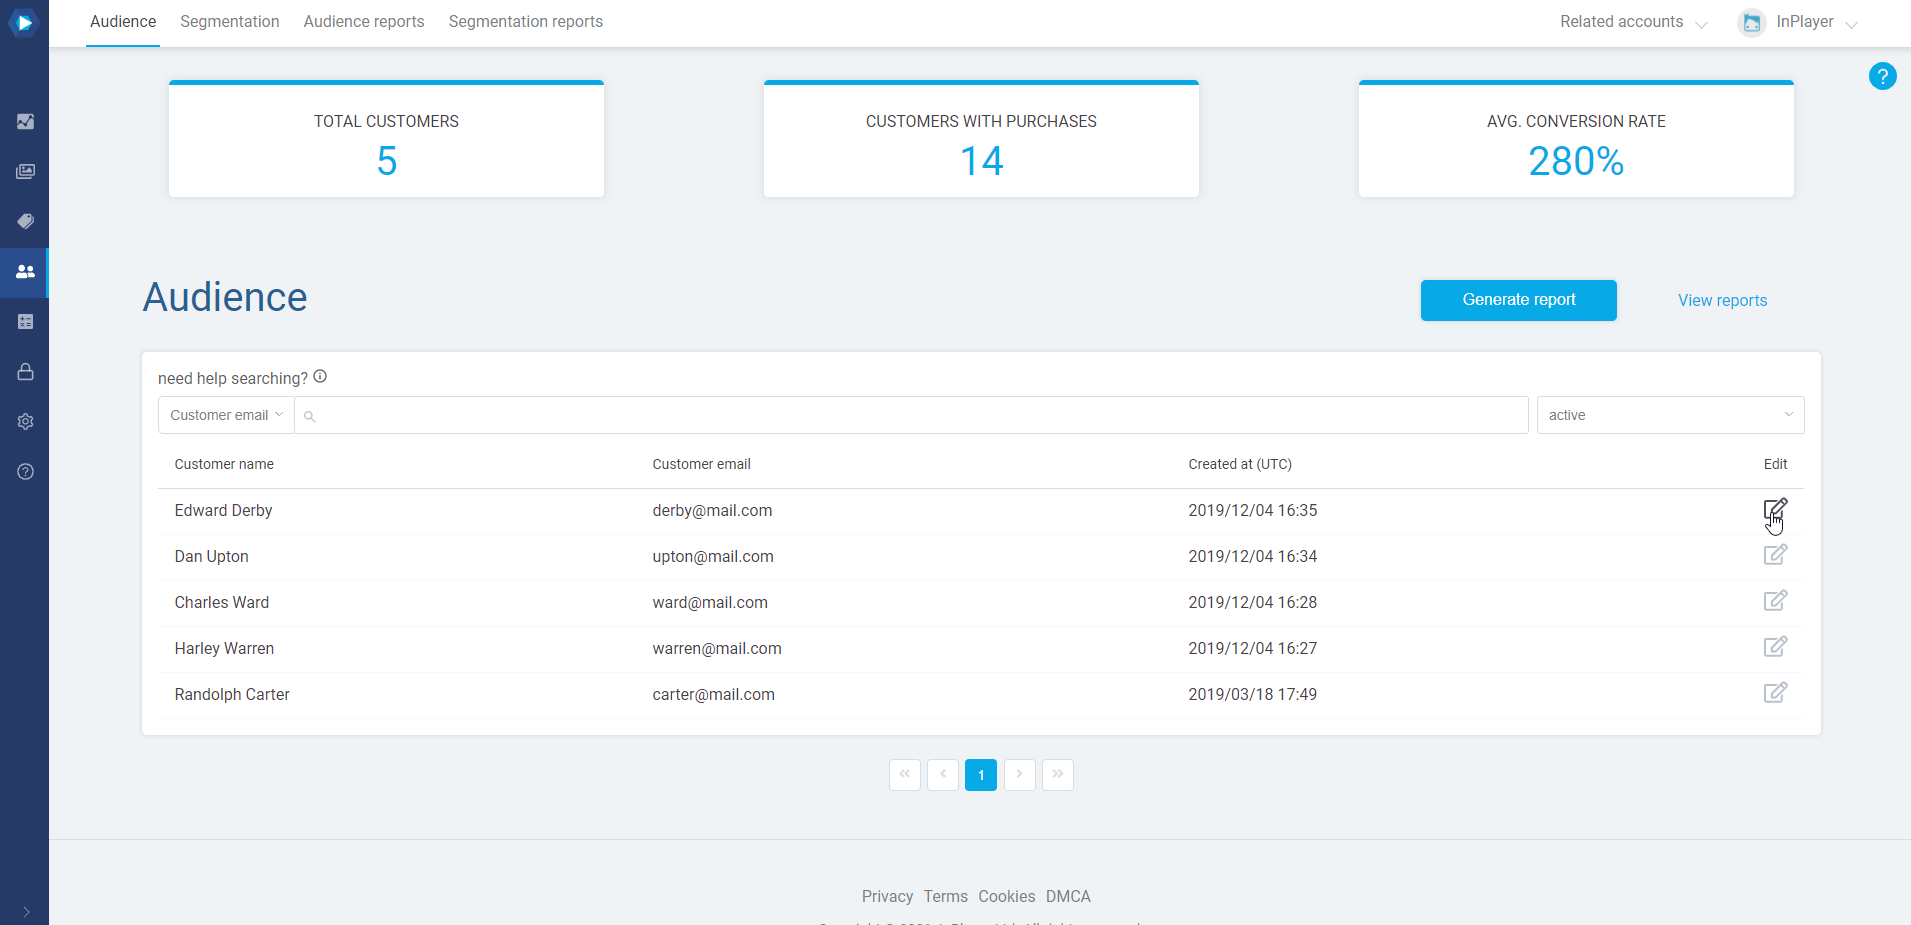
To do this, go to the Audience tab of your InPlayer Dashboard.
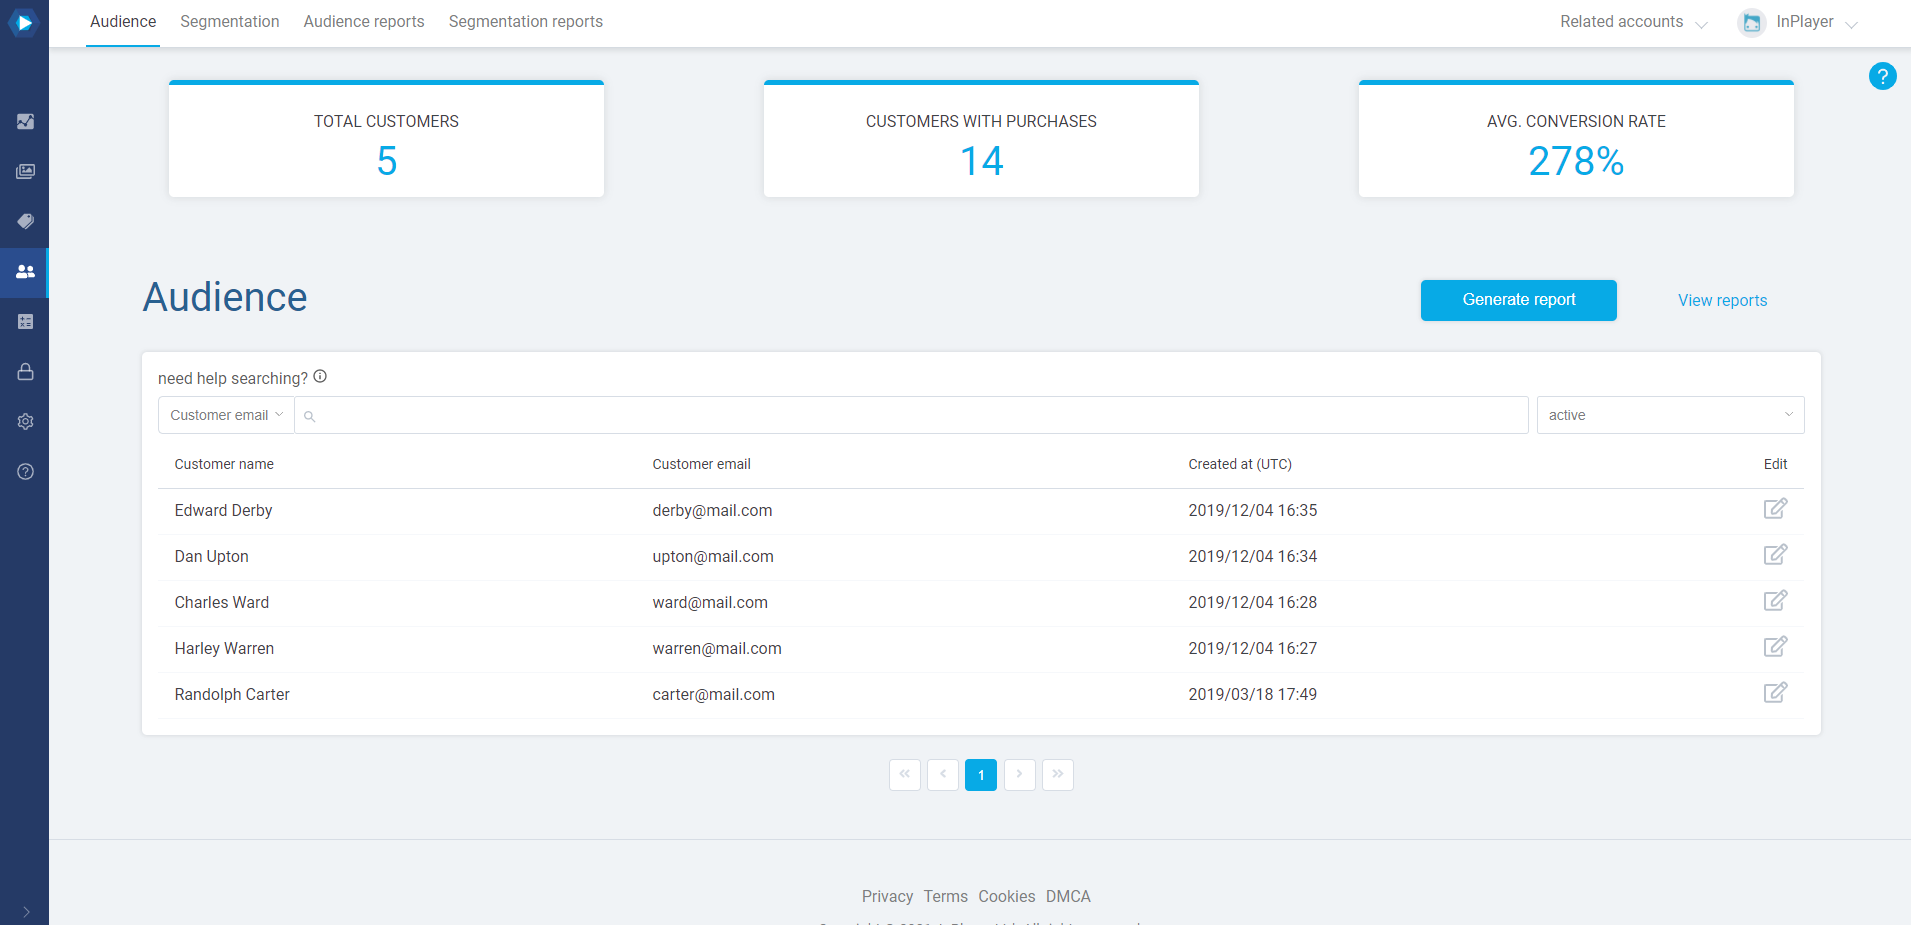
To get the viewers’ metadata, click on the ![]() button on the right, under the Edit column in the viewer’s row.
button on the right, under the Edit column in the viewer’s row.
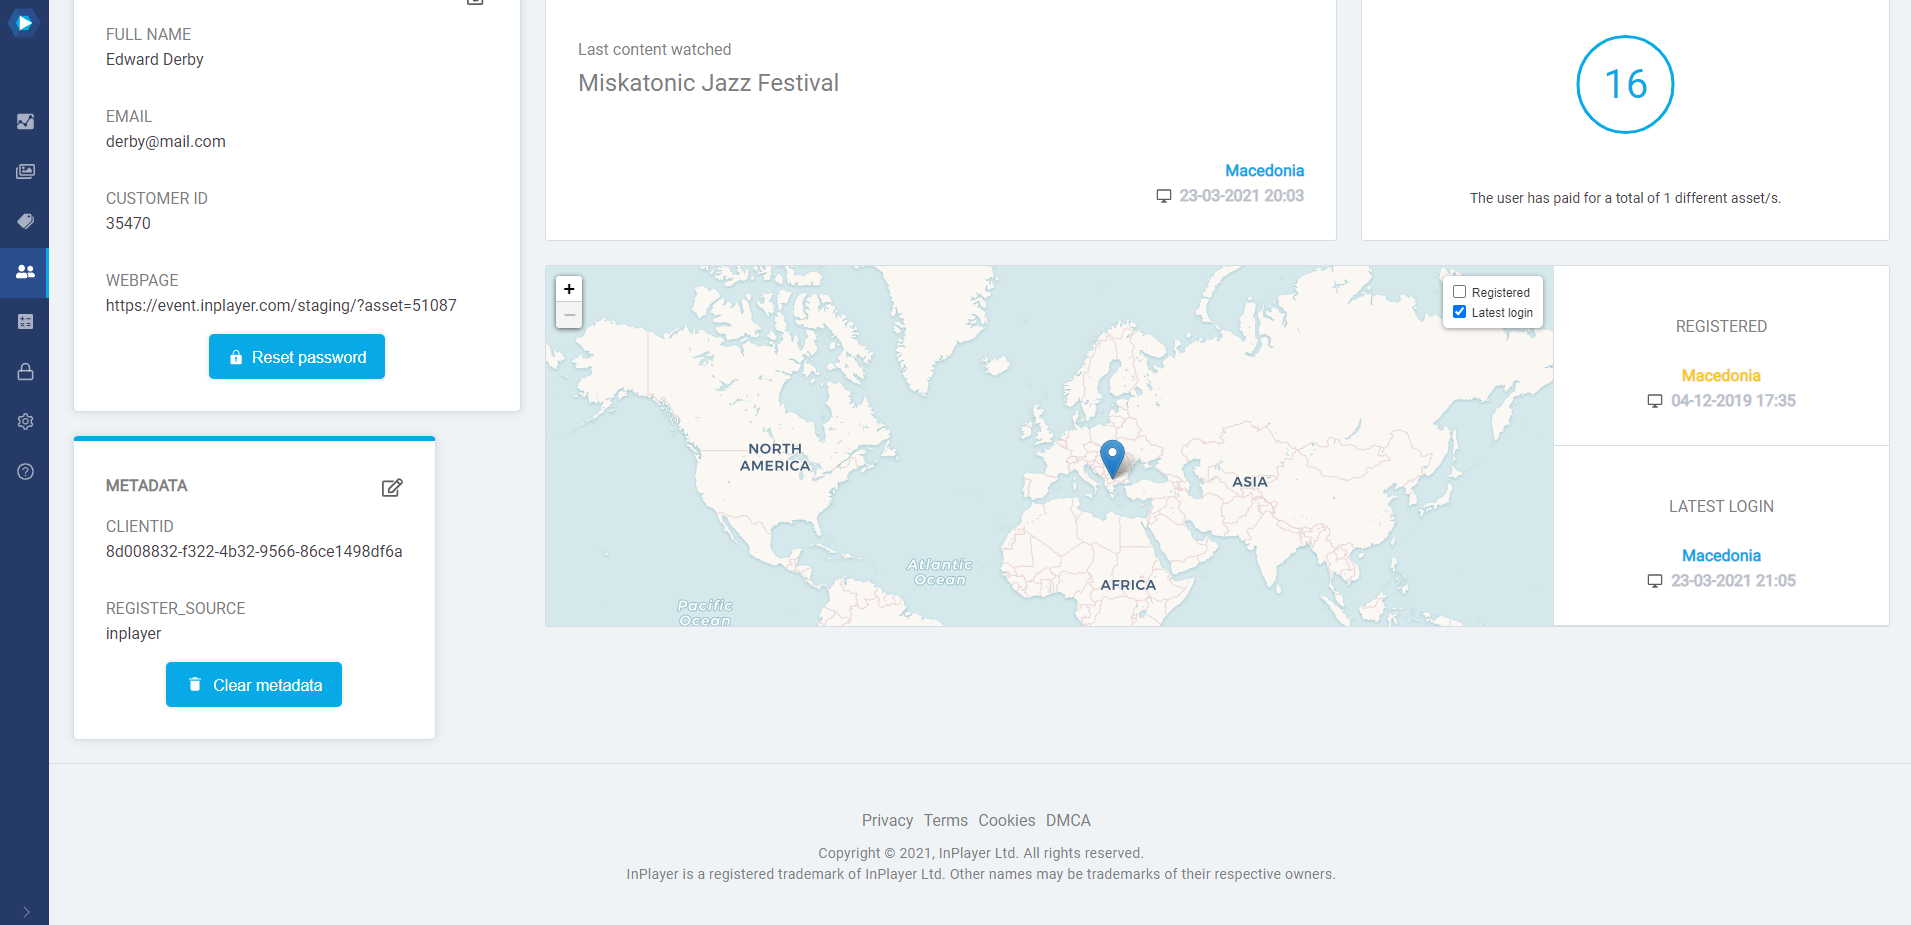
In the METADATA section, you can see the metadata that was gathered from the viewer upon registration.
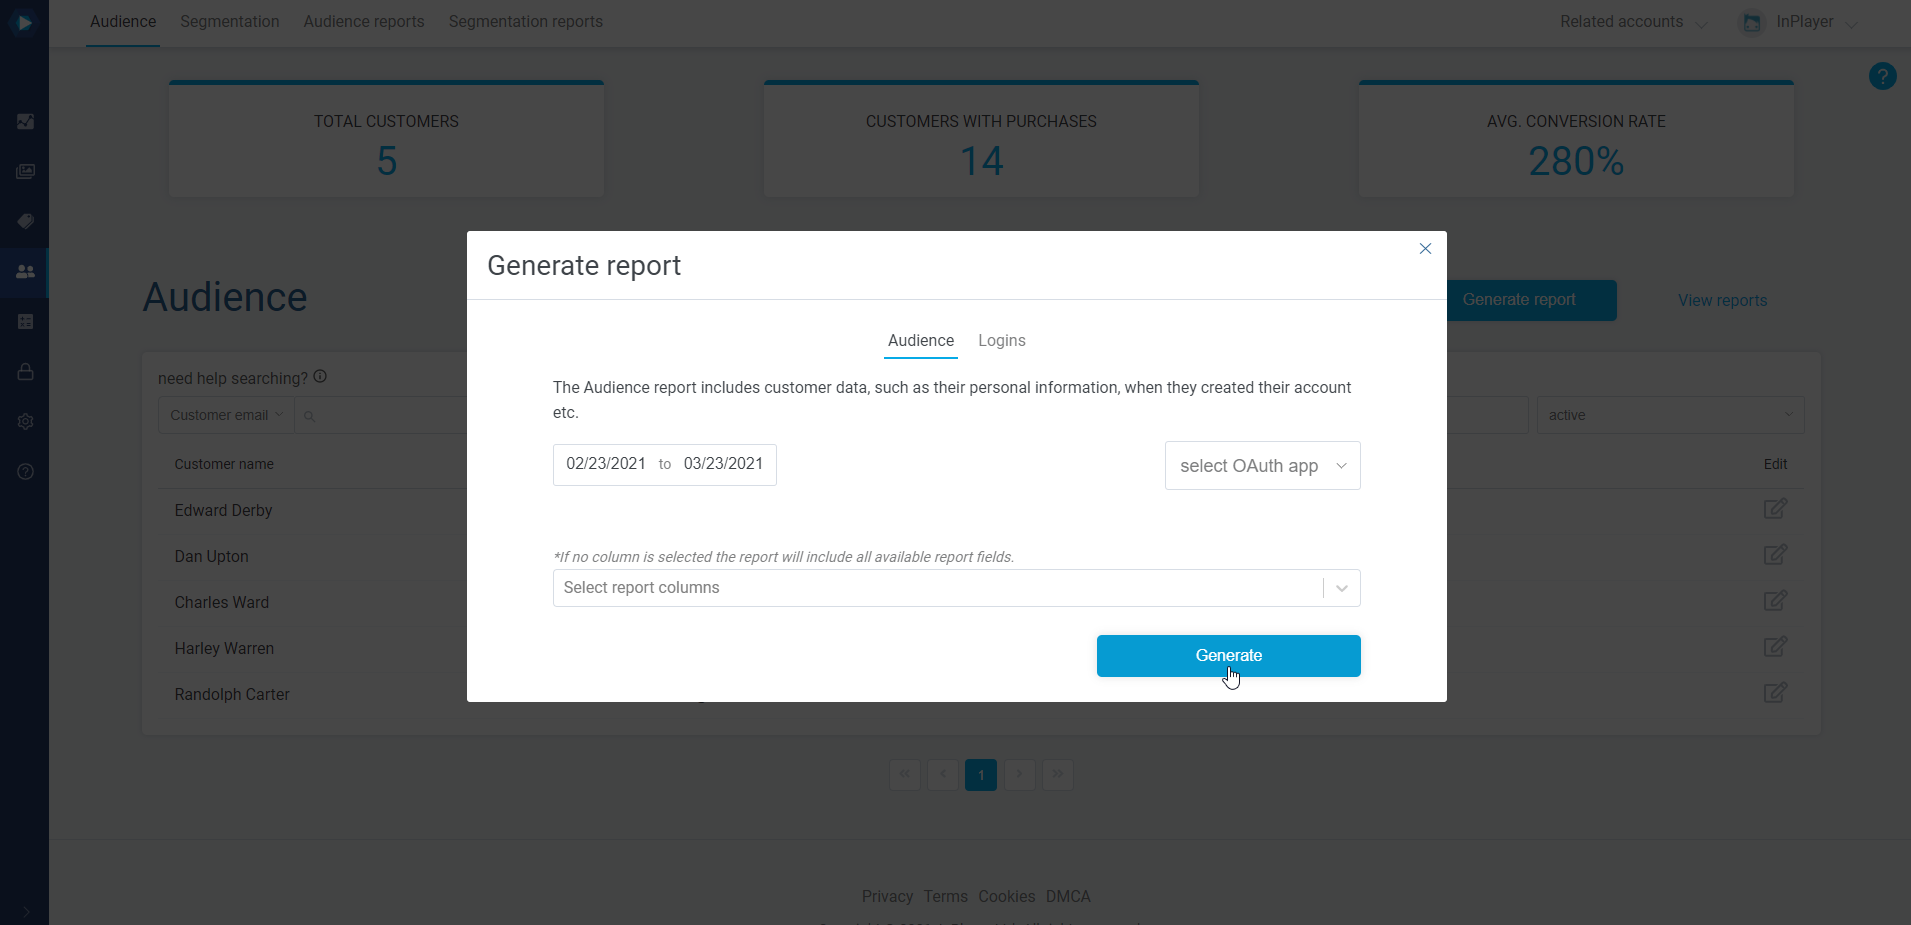
Additionally, if you want to export the data for a report, you can always do so by clicking on Generate report in the Audience tab.

Here, in Select report columns, you can select all the fields you wish to include in your report, along with the timeframe for it.
Then click Generate.
To view the report, click on View reports.
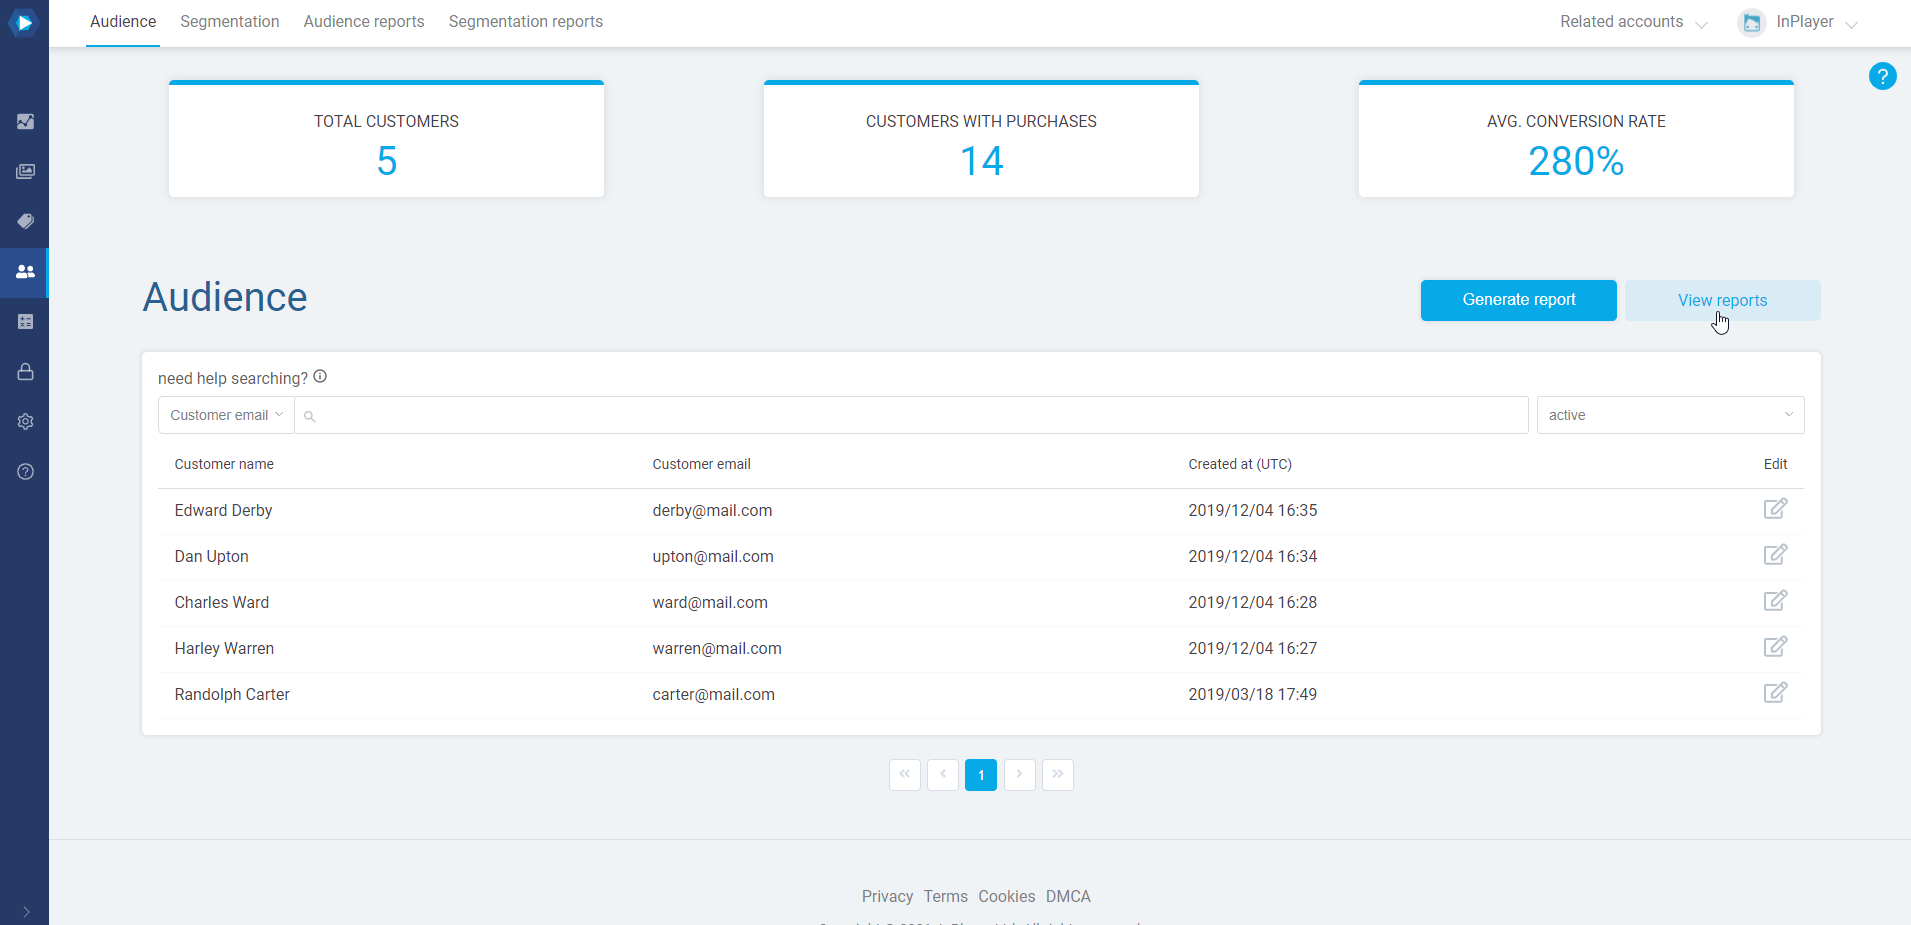
From there you can download the report as a CSV file and use it in any way you wish.
This concludes our guide.
If you have any questions, don’t hesitate to contact us at clients@inplayer.com.