The Dashboard
Learning the Dashboard is essential for managing your business.
Account management
At the top right corner of the Dashboard, you will find the Account management menu.
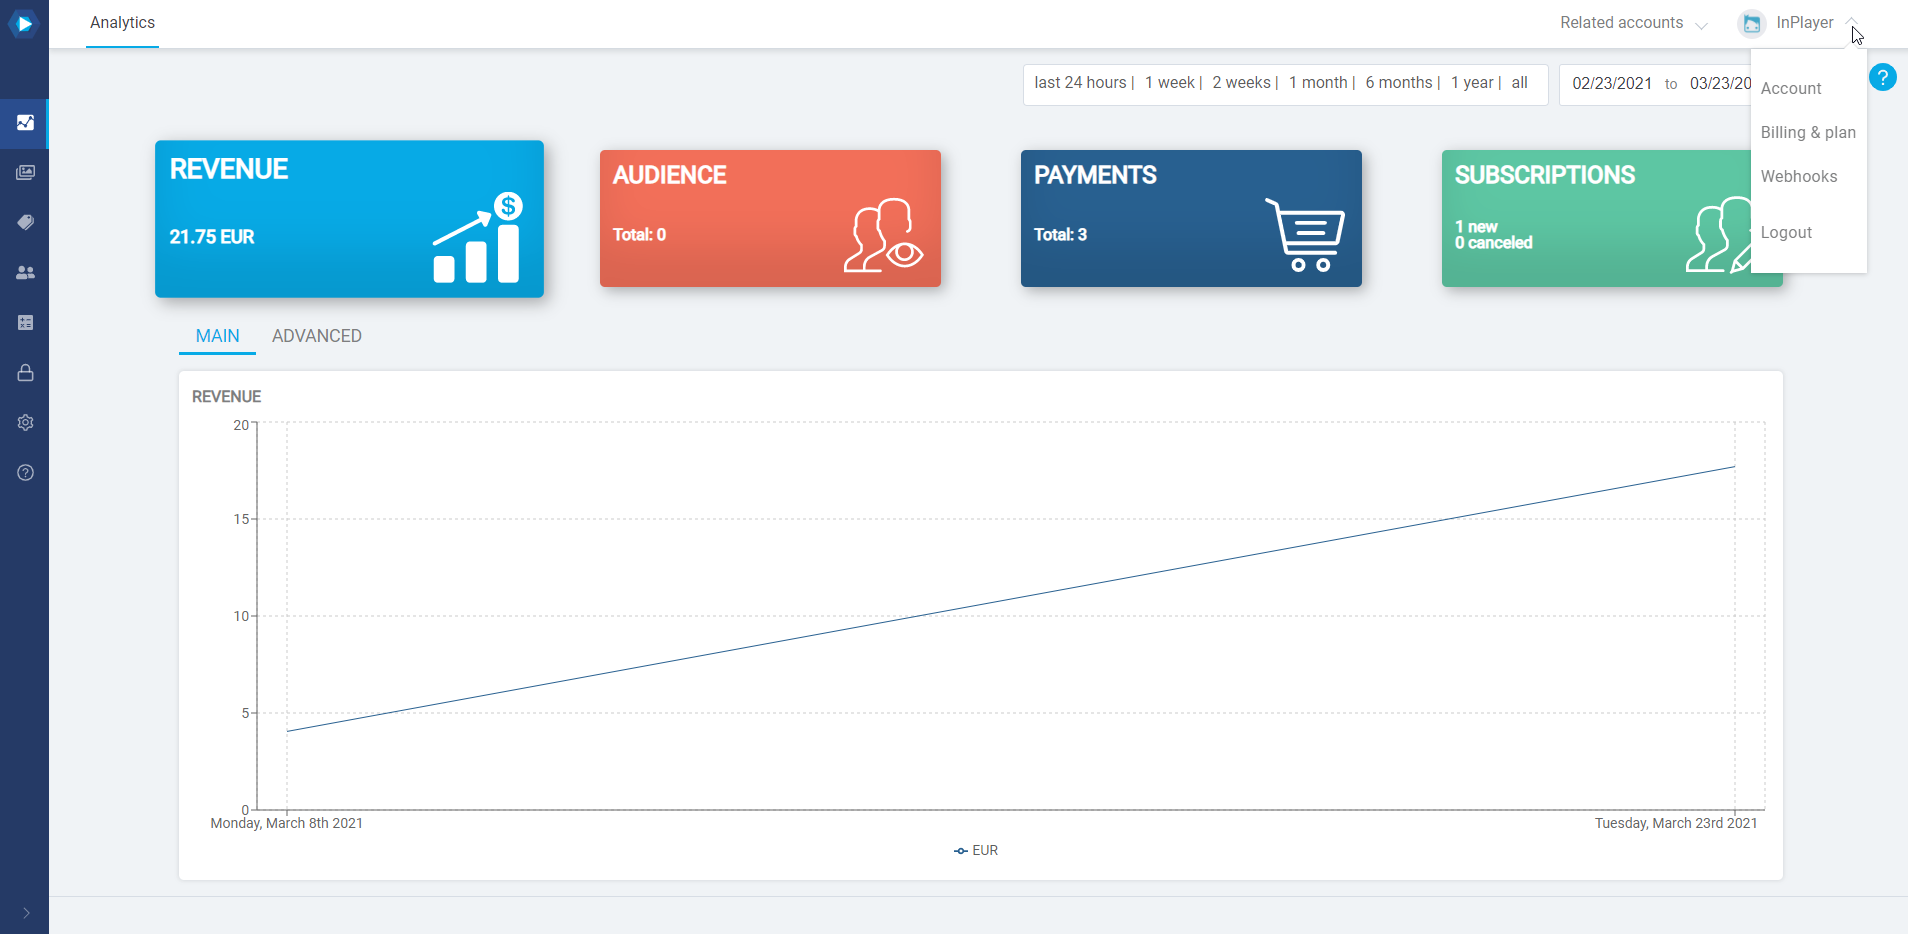
The menu contains three sections: Account, Billing & plan, and Webhooks.
Account
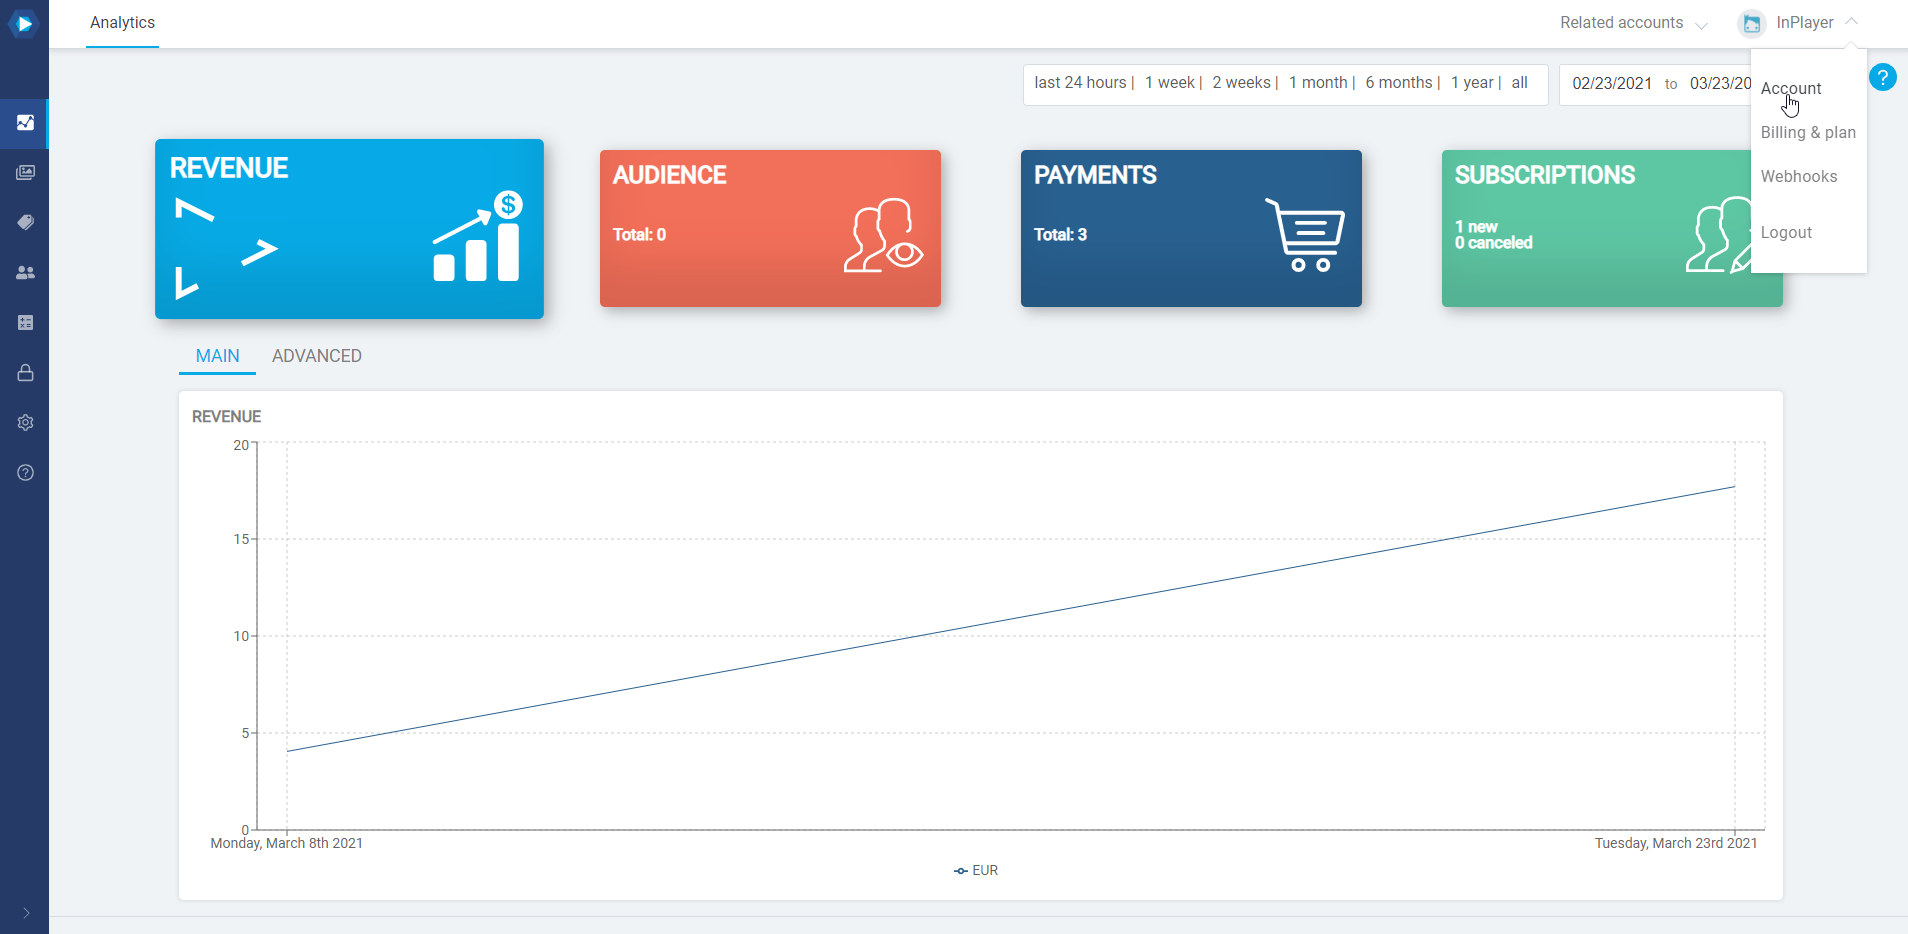
To access your account details, click on the avatar at the top right and then on Account.
The Account section is divided into two tabs: Account details and InPlayer Relate.
Account details
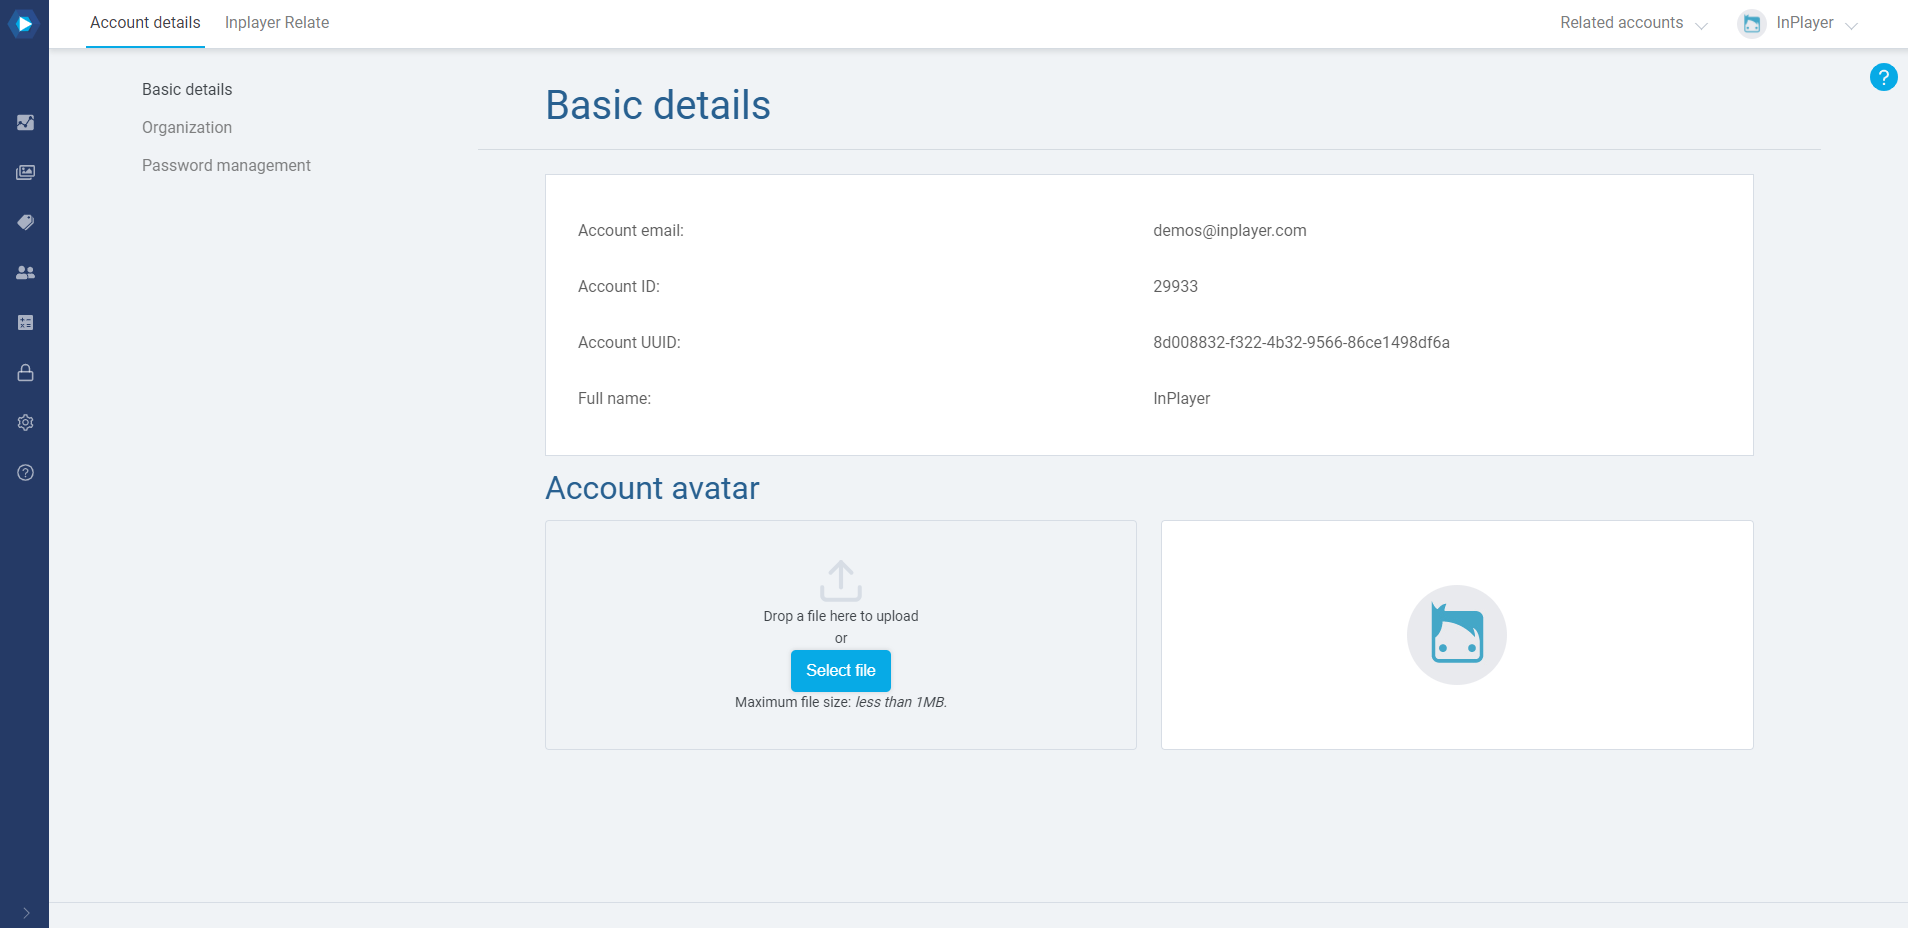
Basic details
Here, you can find your account’s basic details like the email, account ID, account UUID and your name.
Organization
The Organization feature is a powerful tool that lets you set up multiple logins to your account, each having different access permissions to your dashboard.

This is a great way of organizing who has access to what.
To learn all about the Organization feature, click here.
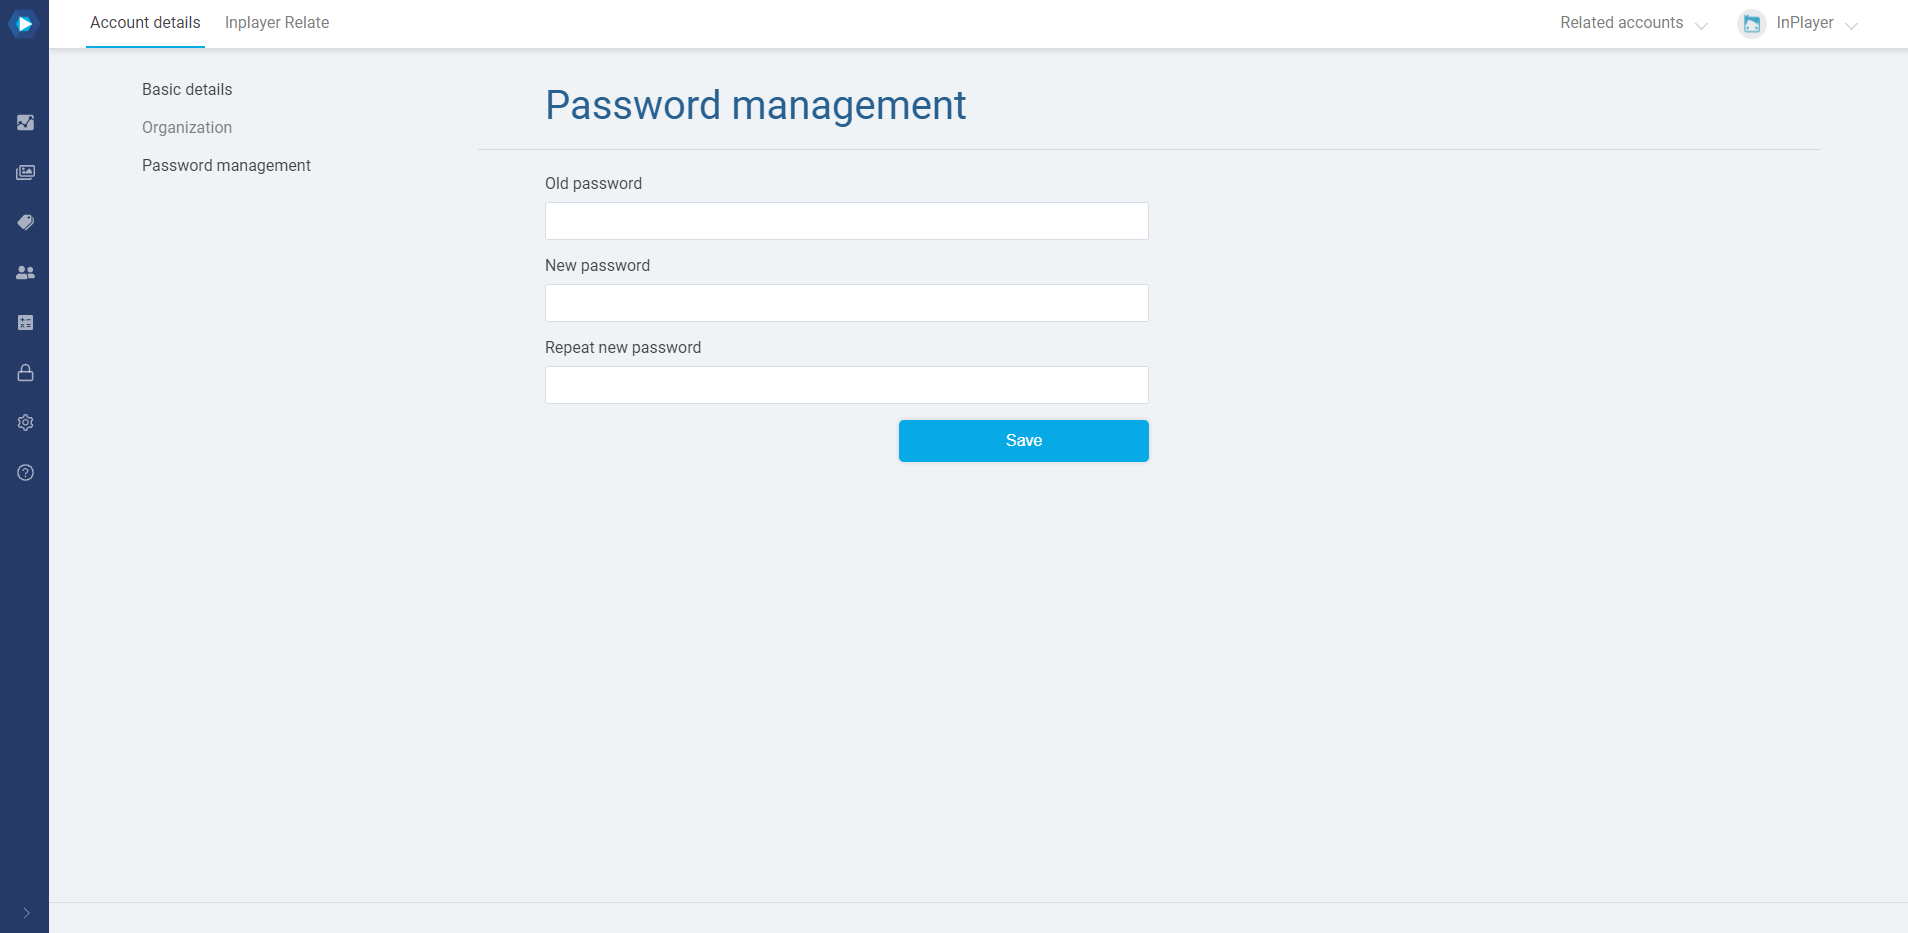
Password management
Here, you can change your account’s password.
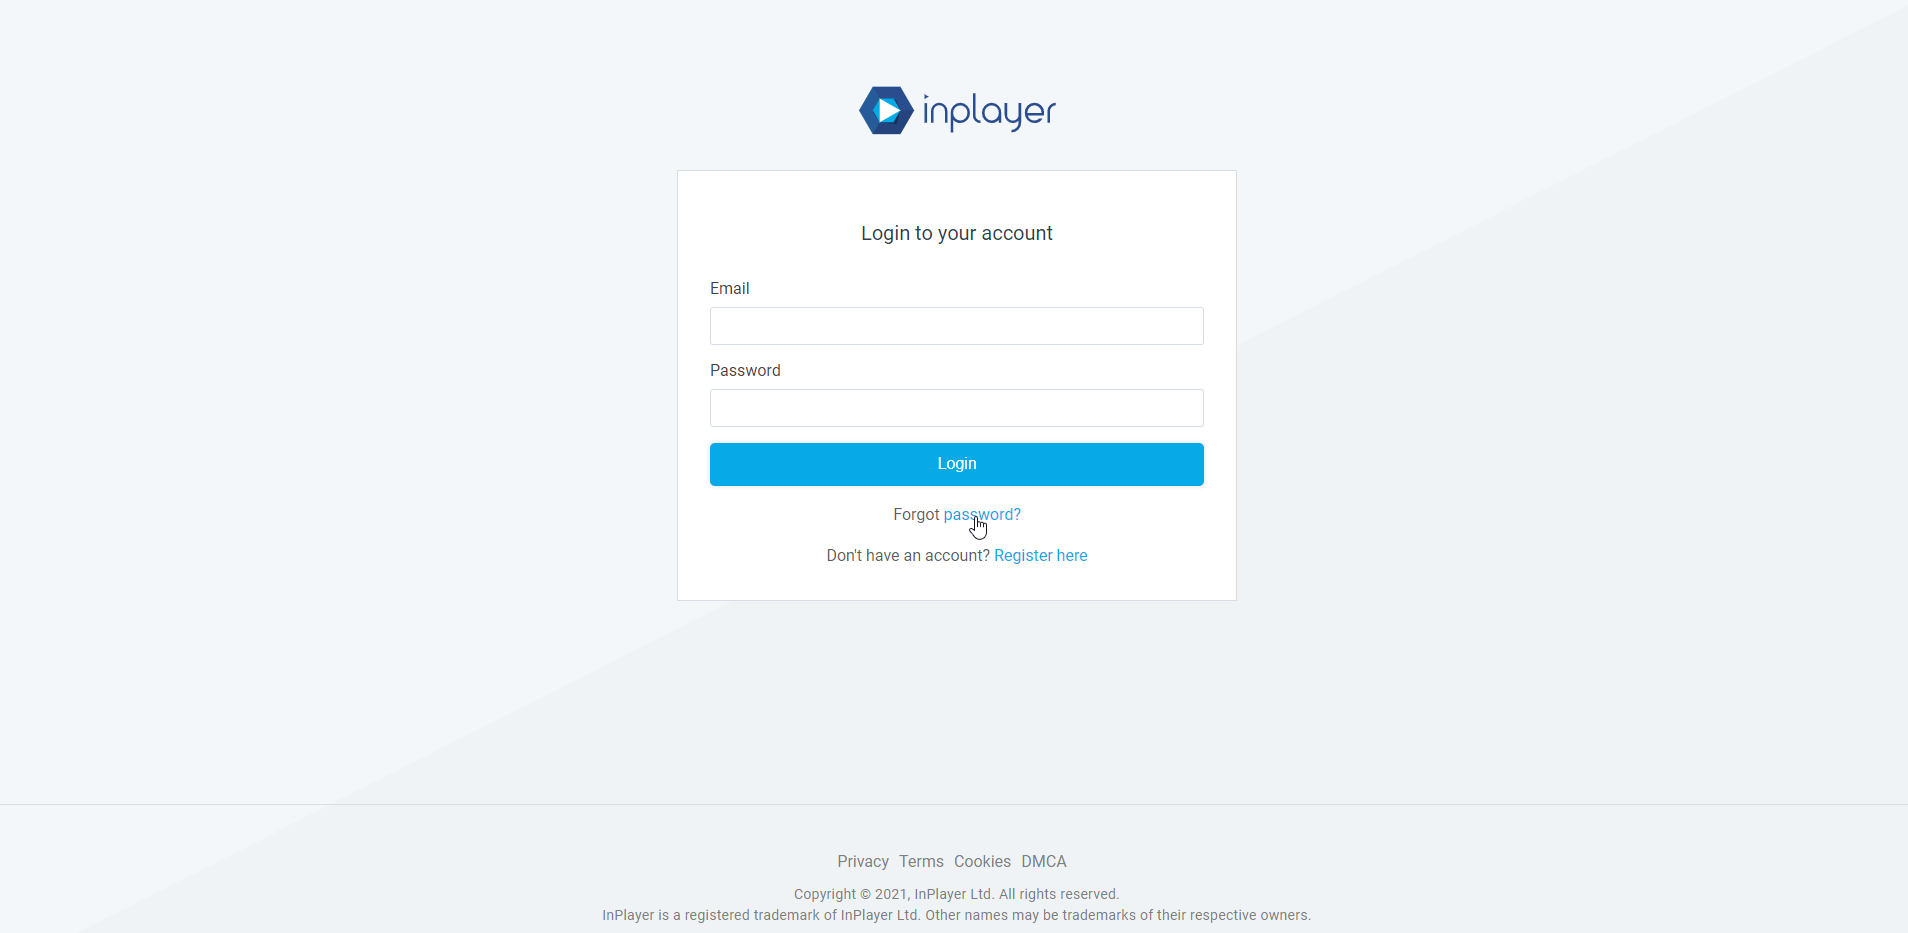
Another way of changing your password is via the InPlayer dashboard’s login page.
This is for cases where you can’t remember your old password.
Just click on Forgot password, enter your email and click Submit.
An email with a password reset token will arrive in your Inbox. You might need to check your Spam and Trash folders as well.
Just copy and paste the token from the email into the Token field of the password reset form, and enter your new password.

Finally, click Submit and your password will be changed.
InPlayer Relate
InPlayer Relate is another powerful feature that lets you create child accounts to your main InPlayer account.

You will be able to access the child accounts straight from your master account, without requiring a password for them, as well as mirror some of the settings from the master account to the child accounts, like the payment setup and the branded system emails.
To learn all about InPlayer Relate, click here.
Billing & plan
To access the Billing & plan section, click on your avatar at the top right and then on Billing & plan.

Here, you can see things like the payment processors that have been enabled on your account, as well as the revenue share and transaction fee that we, InPlayer, charge for each transaction, as per your contract with us.
This section is where you will also find one of the most useful features of our platform, Stripe Connect.
Stripe Connect
By default, all viewer credit card payments first go to our own Stripe account.
Then, after our finance team has processed the payments, which usually takes one month, the funds are transferred to you, on the bank or PayPal account of your choosing.
With Stripe Connect, however, you can connect your own Stripe account to the InPlayer dashboard and have all viewer credit card payments immediately transferred to your bank account.
In this case, we would also waive the credit card transaction fee we would normally charge since you yourself will be handling all such fees from your own Stripe Account and we would also lower the revenue share percentage.
Note that the above does not apply to PayPal viewer payments since those are processed via PayPal, which is a separate payment processor. For them, the default payment processing via our finance team still applies.
Stripe Connect is a great way of getting to your earnings and we always encourage all of our clients to use it.
Activating Stripe Connect
To do this, just go to Billing & Plan and click the Request for connect button.
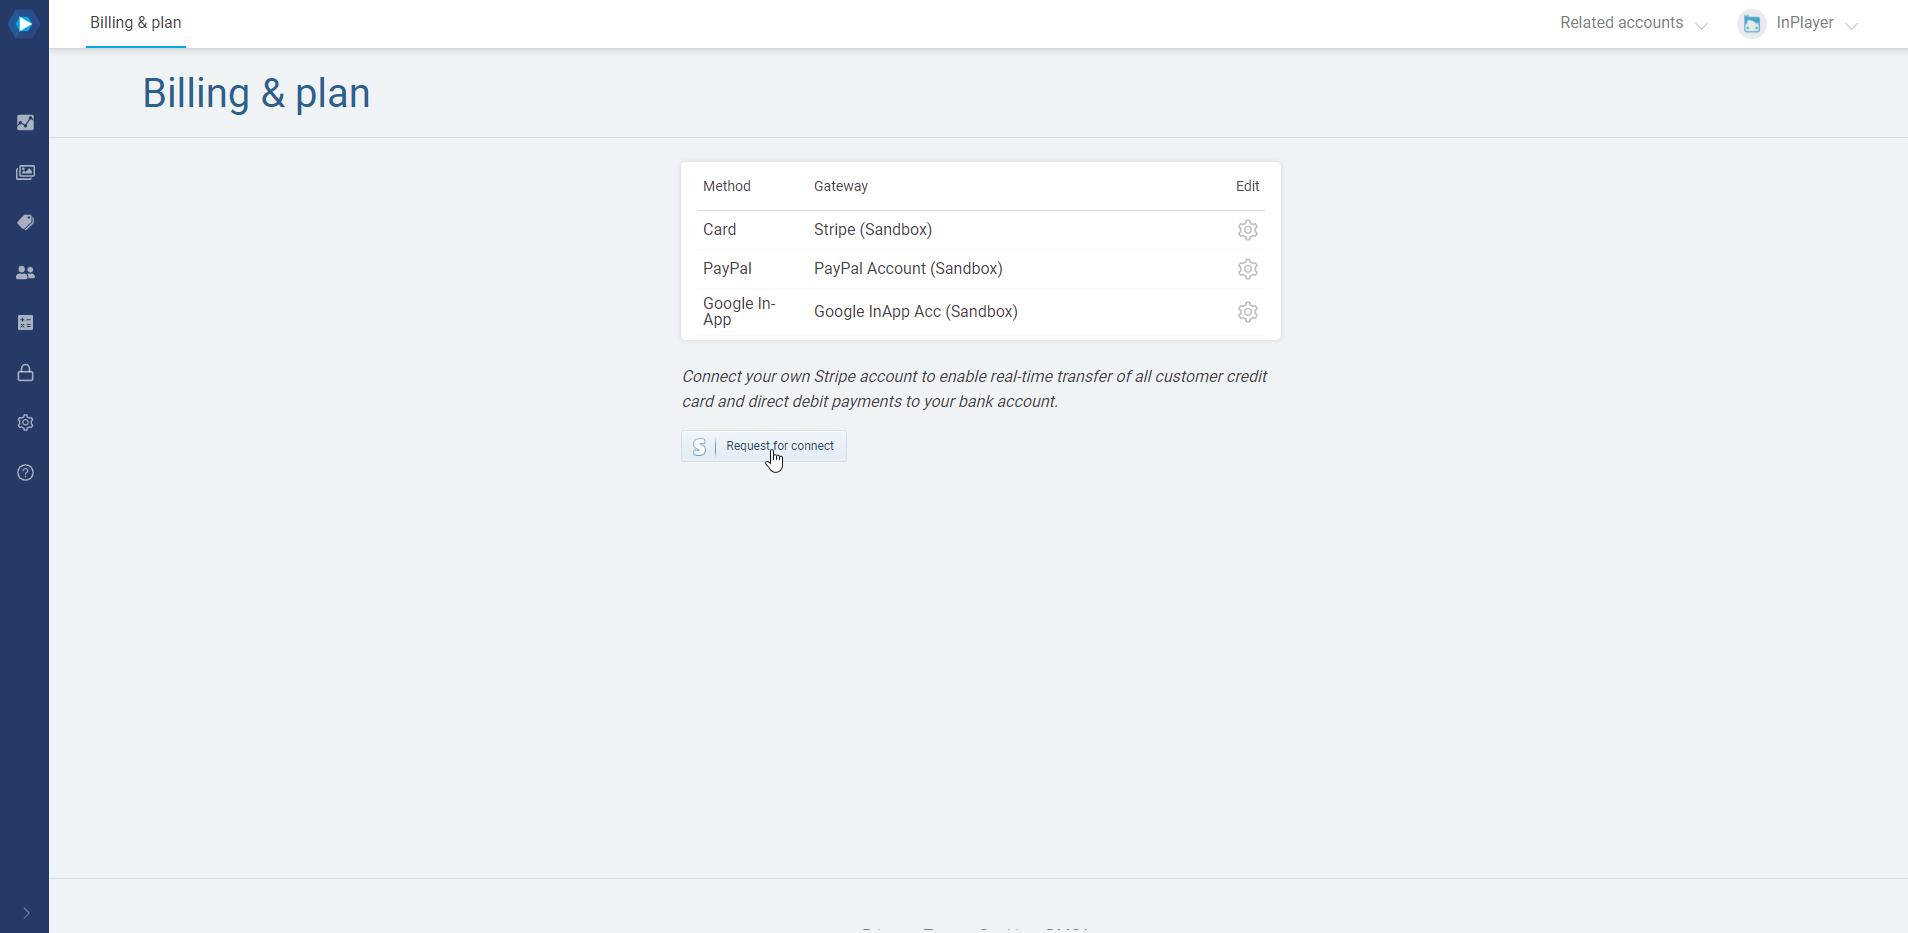
This will send us a notification that you wish to use Stripe Connect.
We will then activate this feature from our end, adjust the transaction fee and revenue share, and let you know about it so you can finish the setup.
To do that, just go back to Billing & Plan and click the Connect with Stripe button.
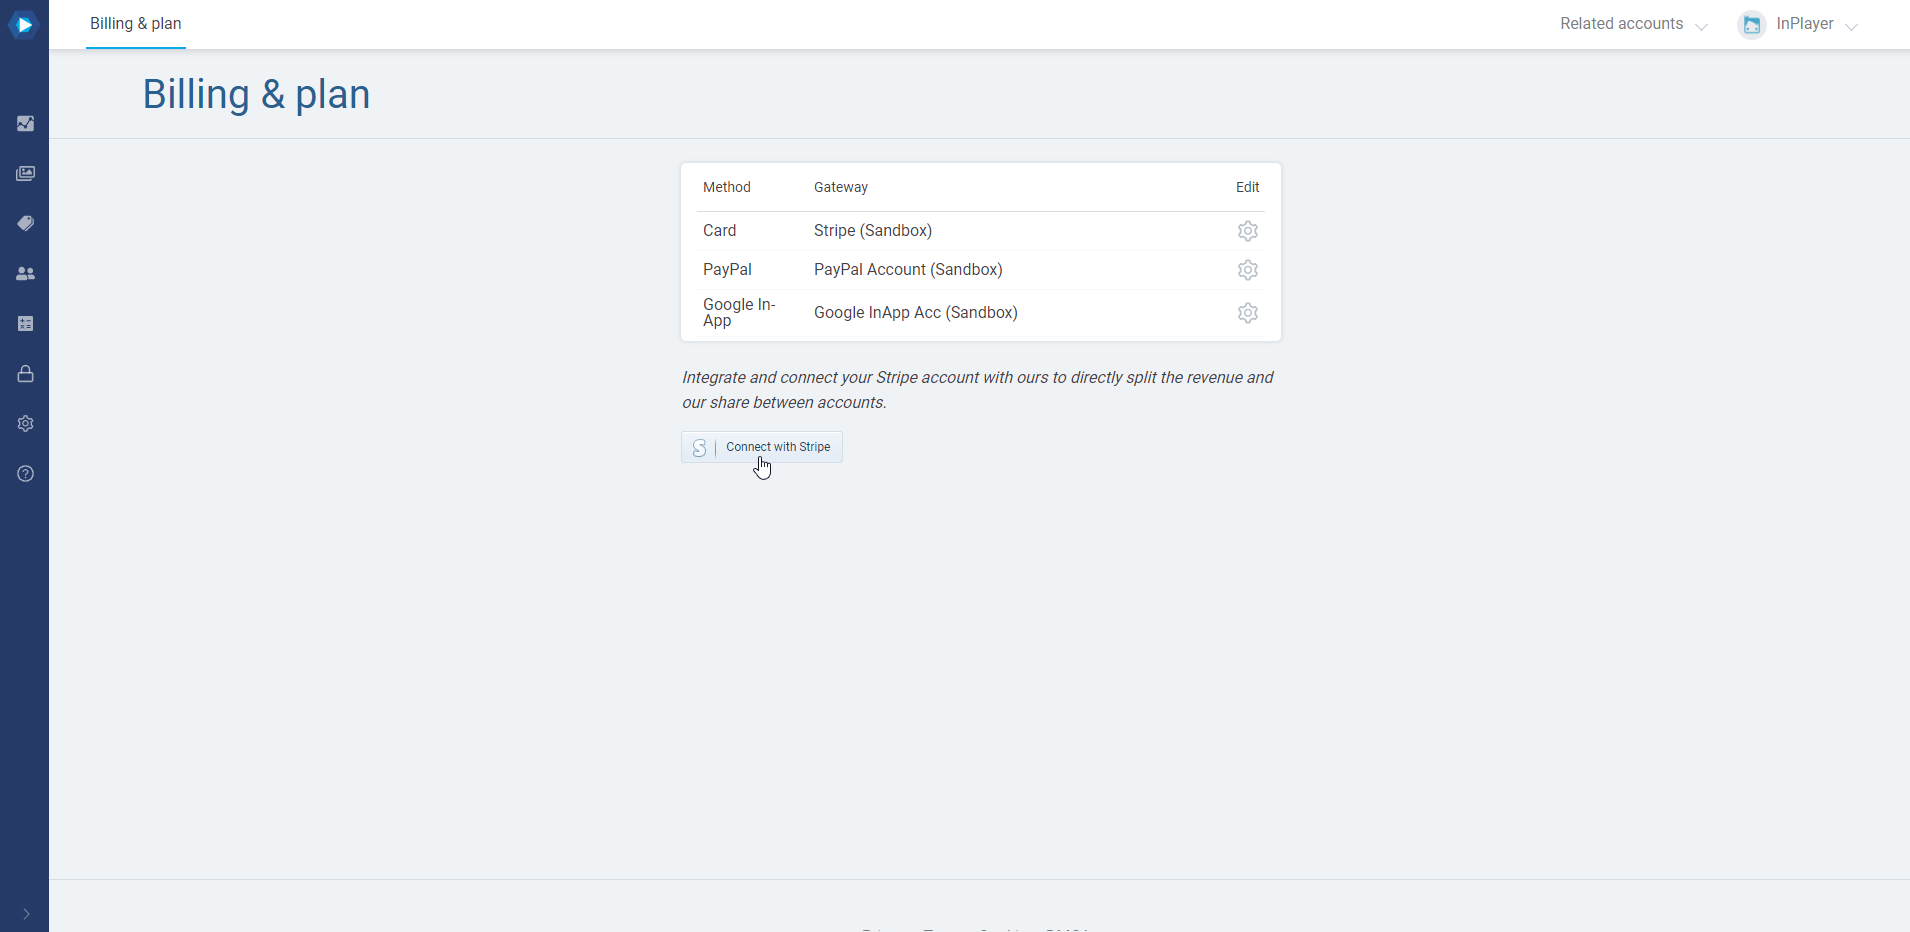
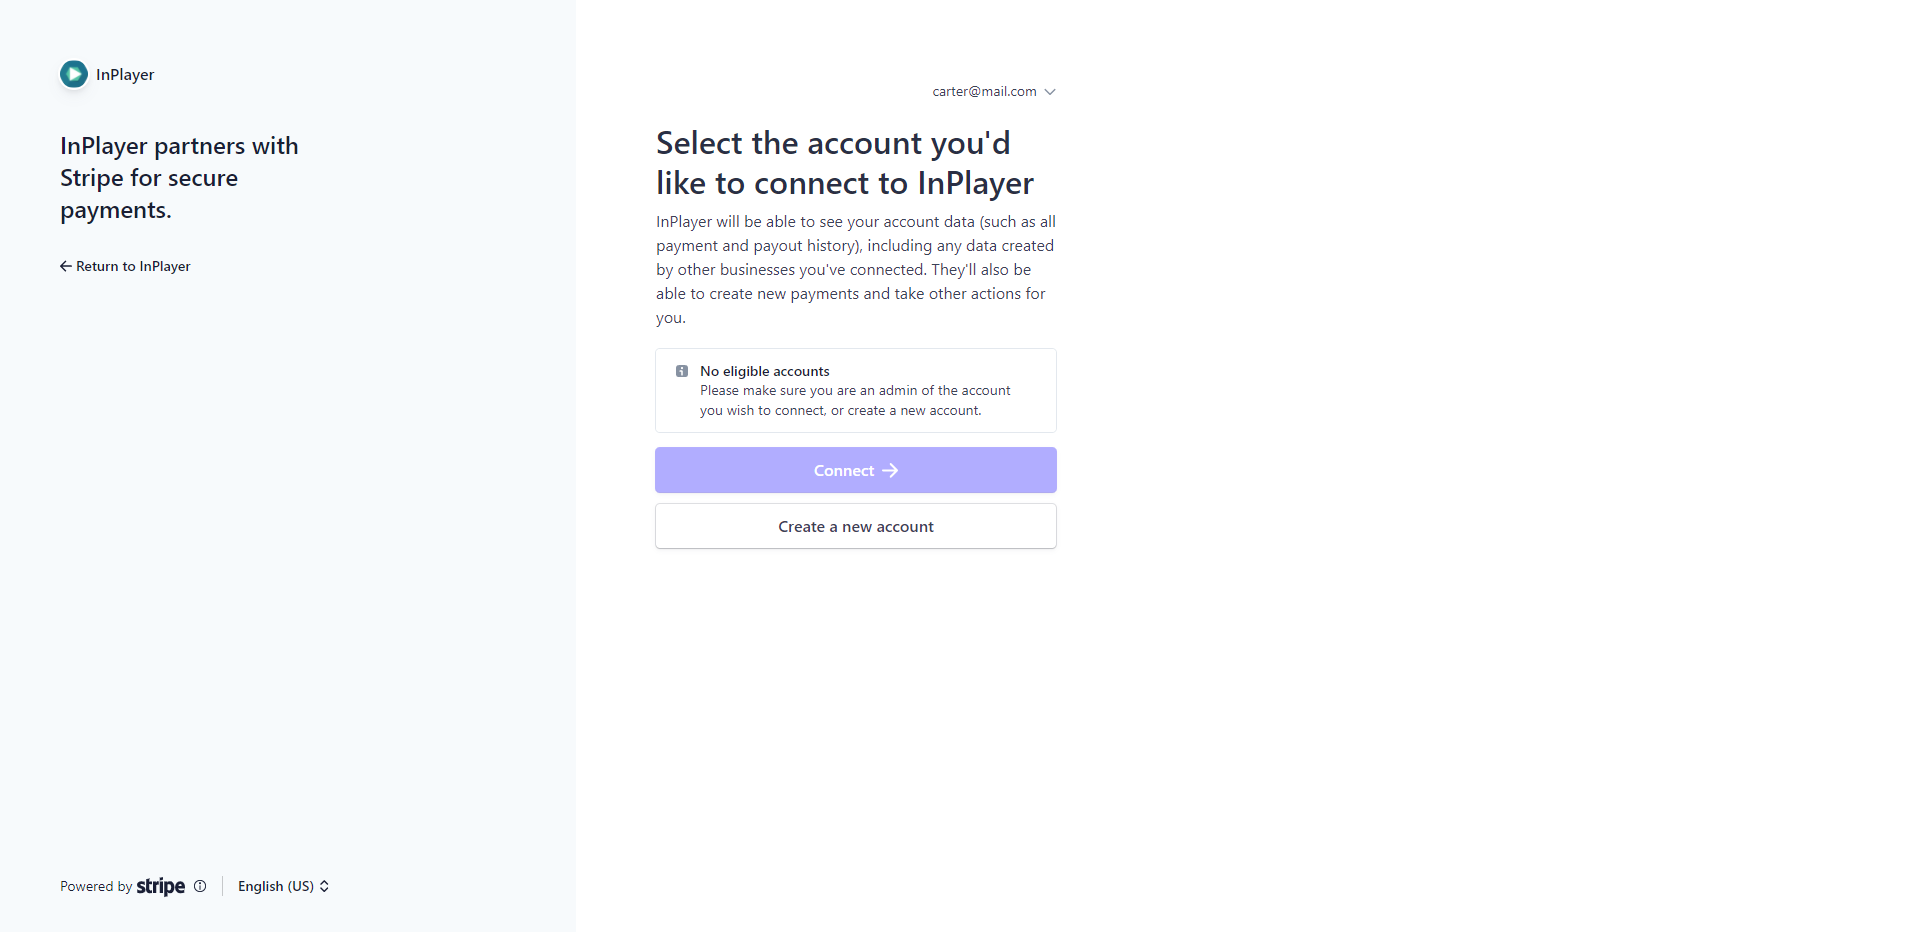
The Stripe login form will open in a new tab, and you will be able to connect your Stripe account. To do so, click on Sign in the upper right corner, enter your Stripe account credentials, and select the account profile you want to use, if you have multiple ones.
If you have any questions, don’t hesitate to contact us at clients@inplayer.com.
Webhooks
The last option in the Account Management menu are the Webhooks.

Webhooks are used for creating or updating a platform action/operation tracker, for syncing data between platforms, or for fetching results of backend operations of an application.
In simple terms, it is a way you can set up notifications about various events happening on the InPlayer Platform.
This includes things like receiving a notification whenever a viewer registers an account, completes a payment, cancels a subscription etc, as long as you have an app ready to receive those notifications.
To learn all about using webhooks, click here.
If you have any other questions, don’t hesitate to contact us at clients@inplayer.com.