Integrations
Connect your Dashboard with your existing Online Video or Third-party Platform.
iOS
This guide describes how to set up InPlayer in-app payments for your iOS app. When setting things up, please make sure to take your time and follow each step in the below instructions carefully.
If you are planning on using in-app purchases, make sure to let us know so we can enable the proper payment gateway on your account.
Creating the InPlayer app in App Store Connect
The first step is to create an InPlayer app in your App Store Connect account.
For a guide on creating the iOS app, check out the official Apple guide.
When creating the app, in the App Store section, under App Information, and then under App Store Server Notifications make sure to fill out the Production Server URL field of the app with the following URL:
https://services.inplayer.com/v2/hooks/apple-in-app/[InPlayer_Account_UUID]In case you do not see the App Store Server Notifications section in the App Information page (possible if importing the app from another OTT platform), create one in-app purchase in the app. Once you do, come back to the App Information page and the App Store Server Notifications section should become available. You can then proceed with the setup as described below.
In addition to this, make sure that under Notification version for the Production Server URL, you’ve selected Version 1 Notification. This can be accessed by clicking Edit next to the Production Server URL field label.
As for the URL, you will notice that it needs to be completed with your InPlayer Account UUID.
For example, if your Account UUID is c0fe41ca-3cbb-7pc1-5147-3m8157611d8d, the URL you would need to use in the App Store app would be:
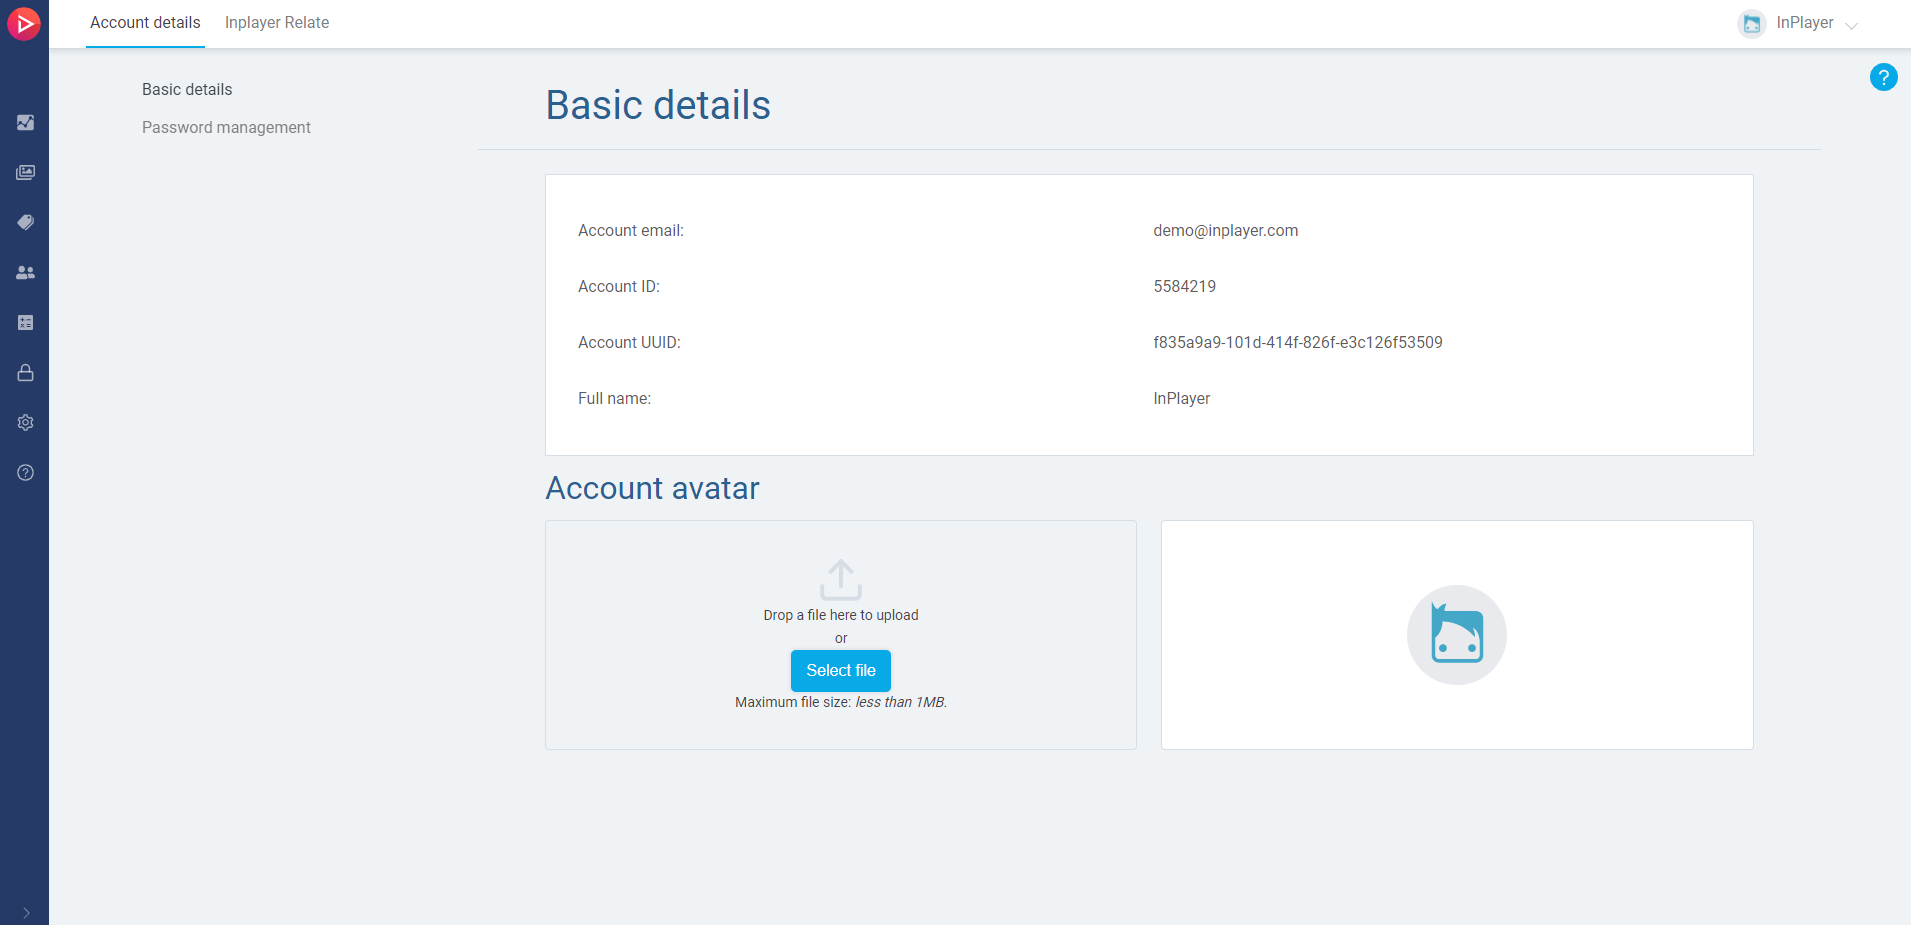
https://services.inplayer.com/v2/hooks/apple-in-app/c0fe41ca-3cbb-7pc1-5147-3m8157611d8dTo get the Account UUID, log into your InPlayer dashboard, click on your account name in the top right corner, and go to Account.
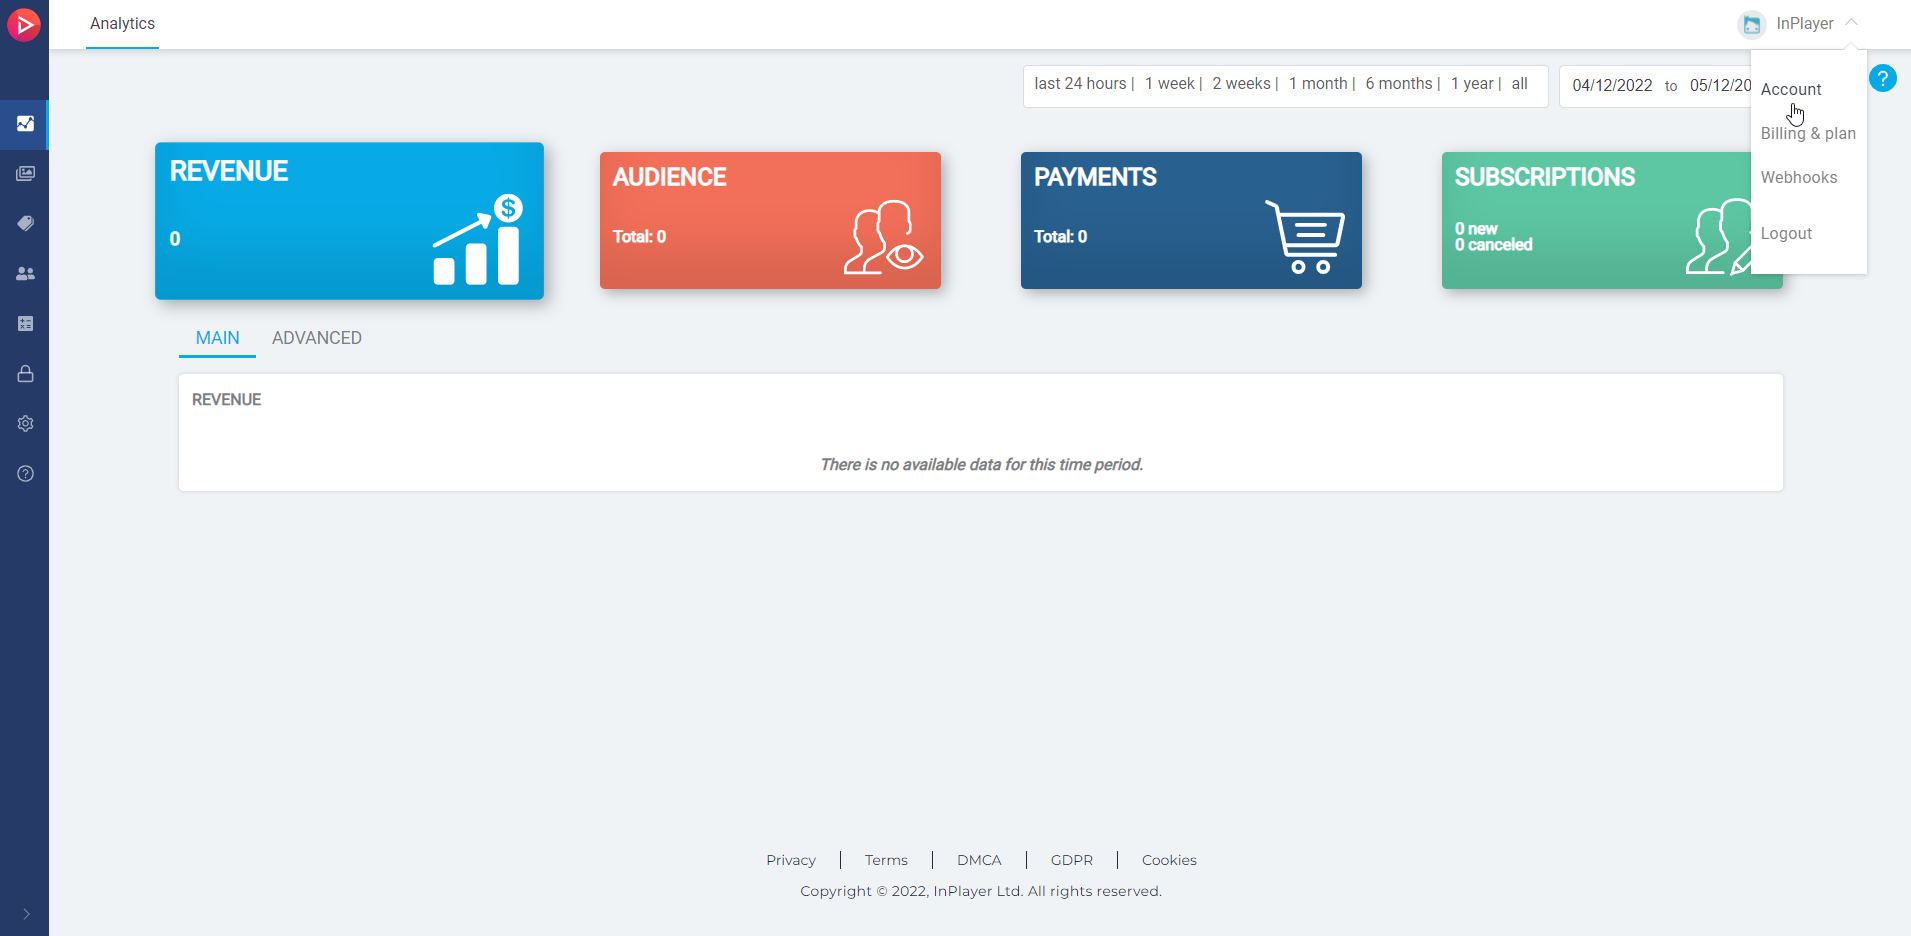
Your Account UUID will be listed on the page.
Connecting your InPlayer account and App Store Connect app
Setting up App Store Server Notifications v2
App Store Server Notifications is a server-to-server service that sends real-time notifications for in-app purchase events, such as subscription payments, cancellations, or refunds.
The InPlayer product listens for these notifications to update the user’s subscription and access premium content. InPlayer supports v2 Apple notifications.
This guide helps you set up and begin using v2 notifications.
ℹ️ If you currently use v1 Apple notifications with InPlayer, please migrate to v2. The steps in this guide pertain only to customers who do not already use v1 notifications.
Prerequisite
| Item | Description |
| Subscriptions endpoint | InPlayer endpoint for creating subscriptions Learn how to implement the updated endpoint in your app. For assistance, please contact your app partner. |
Setting up v2 notifications
Follow these steps to set up Apple Store Server Notifications v2 for InPlayer:
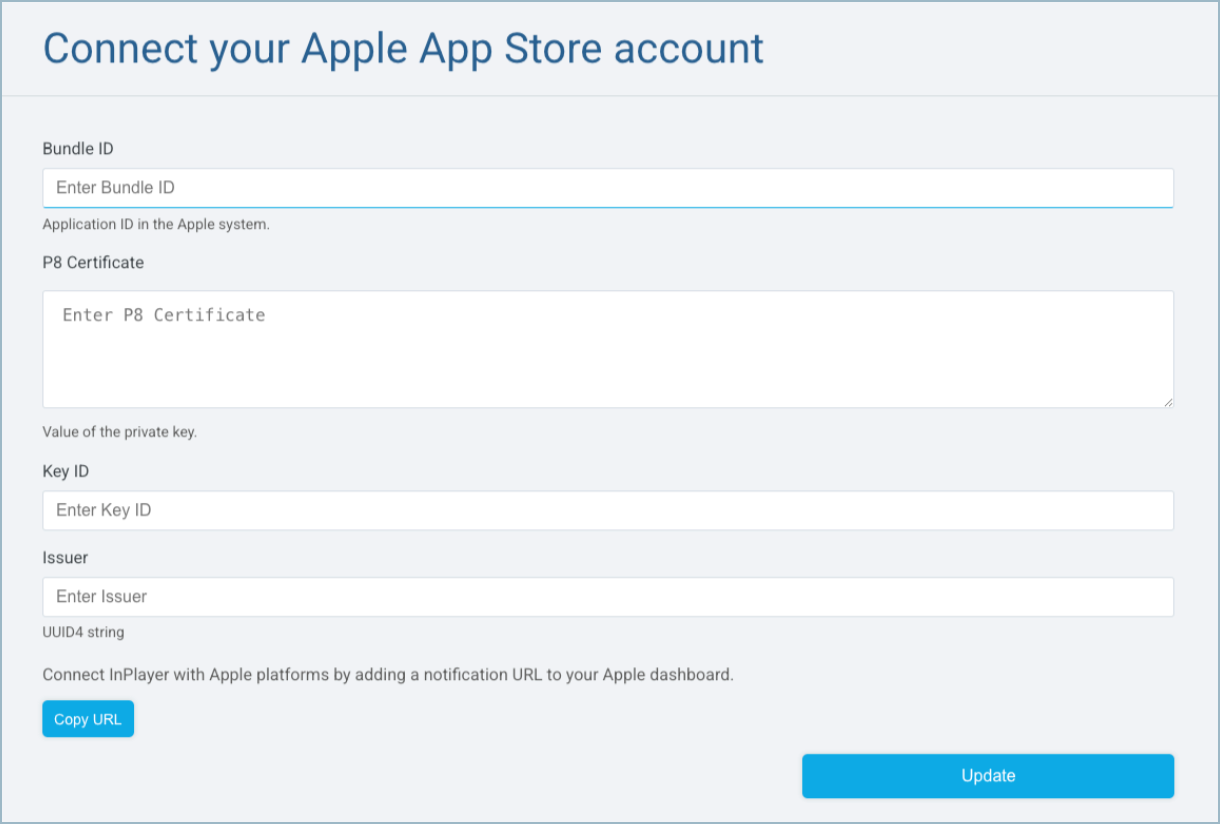
- On the In-App integrations page, click the App Store tile. The Connect your Apple App Store account page appears.
- Enter the following notification fields. You can copy the values of all fields directly from App Store Connect.
ℹ️ Follow these steps to find the relevant values in your App Store Connect account:On the landing page, click My Apps. The Apps page appears. Select your app. The app details appear. From the left navigation, in the General section, click App Information. The App Information page appears.
From here, you can locate the required fields and copy their values.
| Field | Description |
| Bundle ID | Value of the Application ID |
| P8 certificate | Value of the Apple private key used to decode notification webhooks |
| Key ID | Unique identifier of the Apple private key |
| Issuer | UUID4 string representing the provider of the key |
- Click Copy URL. The InPlayer notification URL is copied to your clipboard.
- Click Save.
- Configure v2 notifications in your App Store settings.
💡 To connect InPlayer with an Apple platform, paste the notification URL from step 3 in your App Store settings.
Once your InPlayer and Apple settings have been updated, your app will begin using v2 notifications.
Migrating to App Store Server Notifications v2
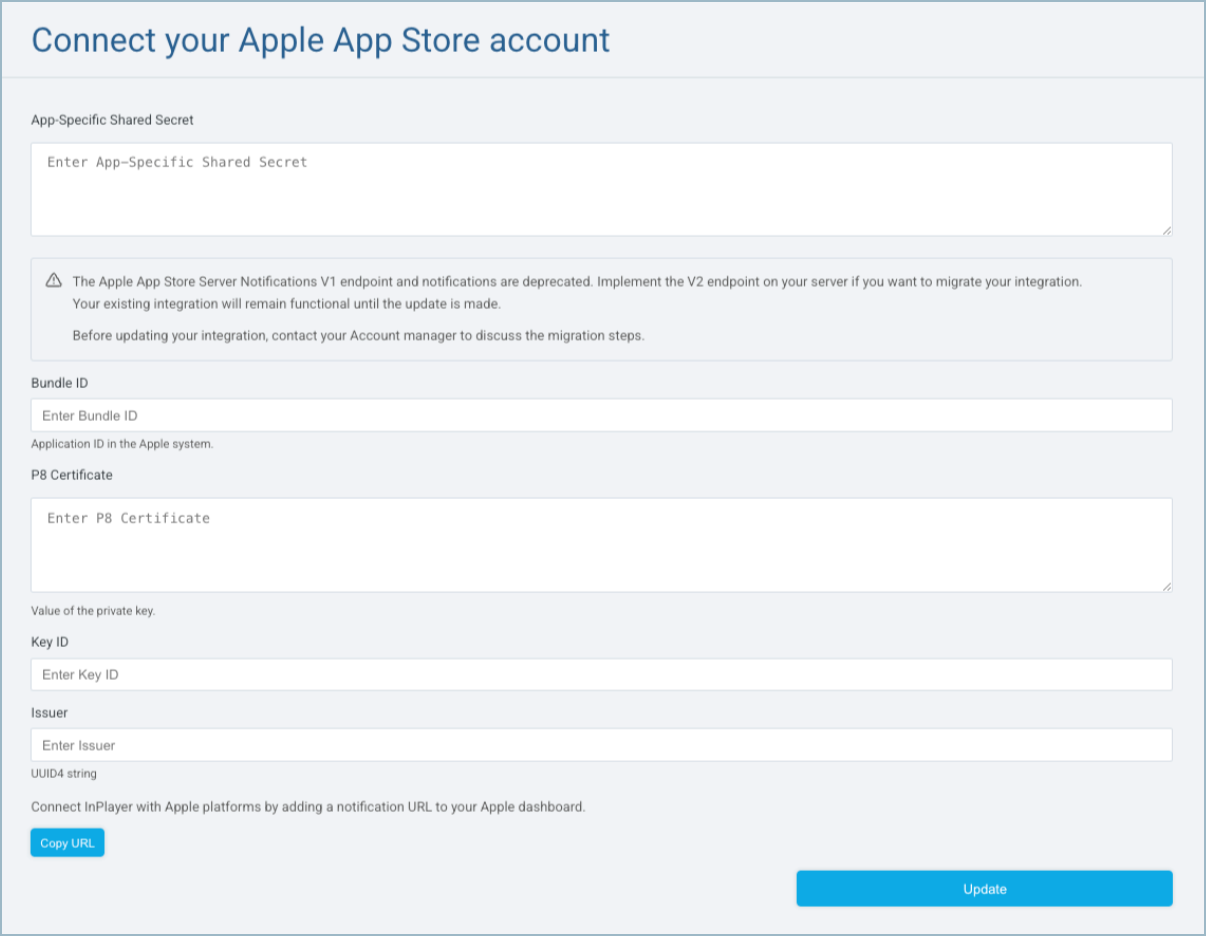
⚠️ Apple has deprecated App Store Server Notifications v1 and introduced version 2.
As a result of the v1 deprecation, InPlayer has enabled support for v2 Apple notifications.
This guide helps you migrate to and begin using v2 notifications.
⚠️ All apps currently using v1 notifications will continue to work. However, new apps or updates to existing apps must use v2.
Prerequisite
| Item | Description |
| Updated subscriptions endpoint | New InPlayer endpoint for creating subscriptions Learn how to implement the updated endpoint in your app. For assistance, please contact your app partner. |
Migrating to v2 notifications
Follow these steps to migrate your InPlayer setup to Apple Store Server Notifications v2:
- On the In-App integrations page, click the App Store tile. The Connect your Apple App Store account page appears.
- Enter the following notification fields. You can copy the values of all fields directly from App Store Connect.
ℹ️ Follow these steps to find the relevant values in your App Store Connect account:On the landing page, click My Apps. The Apps page appears. Select your app. The app details appear. From the left navigation, in the General section, click App Information. The App Information page appears.
From here, you can locate the required fields and copy their values.
| Field | Description |
| Bundle ID | Value of the Application ID |
| P8 certificate | Value of the Apple private key used to decode notification webhooks |
| Key ID | Unique identifier of the Apple private key |
| Issuer | UUID4 string representing the provider of the key |
- Click Copy URL. The InPlayer notification URL is copied to your clipboard.
- Click Save.
- Configure v2 notifications in your App Store settings.
💡 To connect InPlayer with an Apple platform, paste the notification URL from step 3 in your App Store settings.
Implement the App Store Server Notifications v2 Endpoint
The InPlayer product listens for App Store server notifications to update the user’s subscription and access premium content. As a result of the v1 deprecation, we have enabled support for v2 Apple notifications.
This guide outlines the steps to implement v2 notifications for an Apple app.
Implement the v2 notifications endpoint
To support v2 notifications, integrate the v2 endpoint with your app.
When creating a subscription, the Apple app must make a POST call to the following endpoint.
| curl –location –request POST ‘https://services.inplayer.com/v2/external-payments/apple/validate/transactions/{transactionId}’ \ –header ‘Authorization: Bearer <token>’ |
Once your InPlayer and Apple settings have been updated, your app will begin using v2 notifications.
Creating your InPlayer asset
The next step is to create your InPlayer asset.
We offer several different types of assets, so make sure to look at this section for instructions on how to create the correct asset type, depending on your wishes.
After you’ve created your asset, the next step is to create the in-app purchase.
Creating the in-app purchase
Next, you need to create the in-app purchase. The in-app purchase is going to be the App Store counterpart to the price option you have previously set up for your InPlayer asset.
Creating a PPV purchase
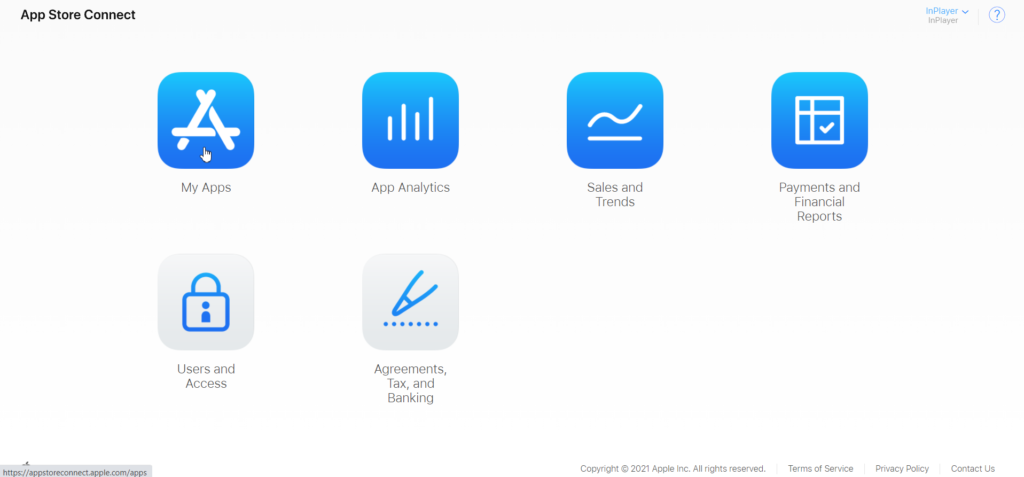
First, log into your App Store Connect account.
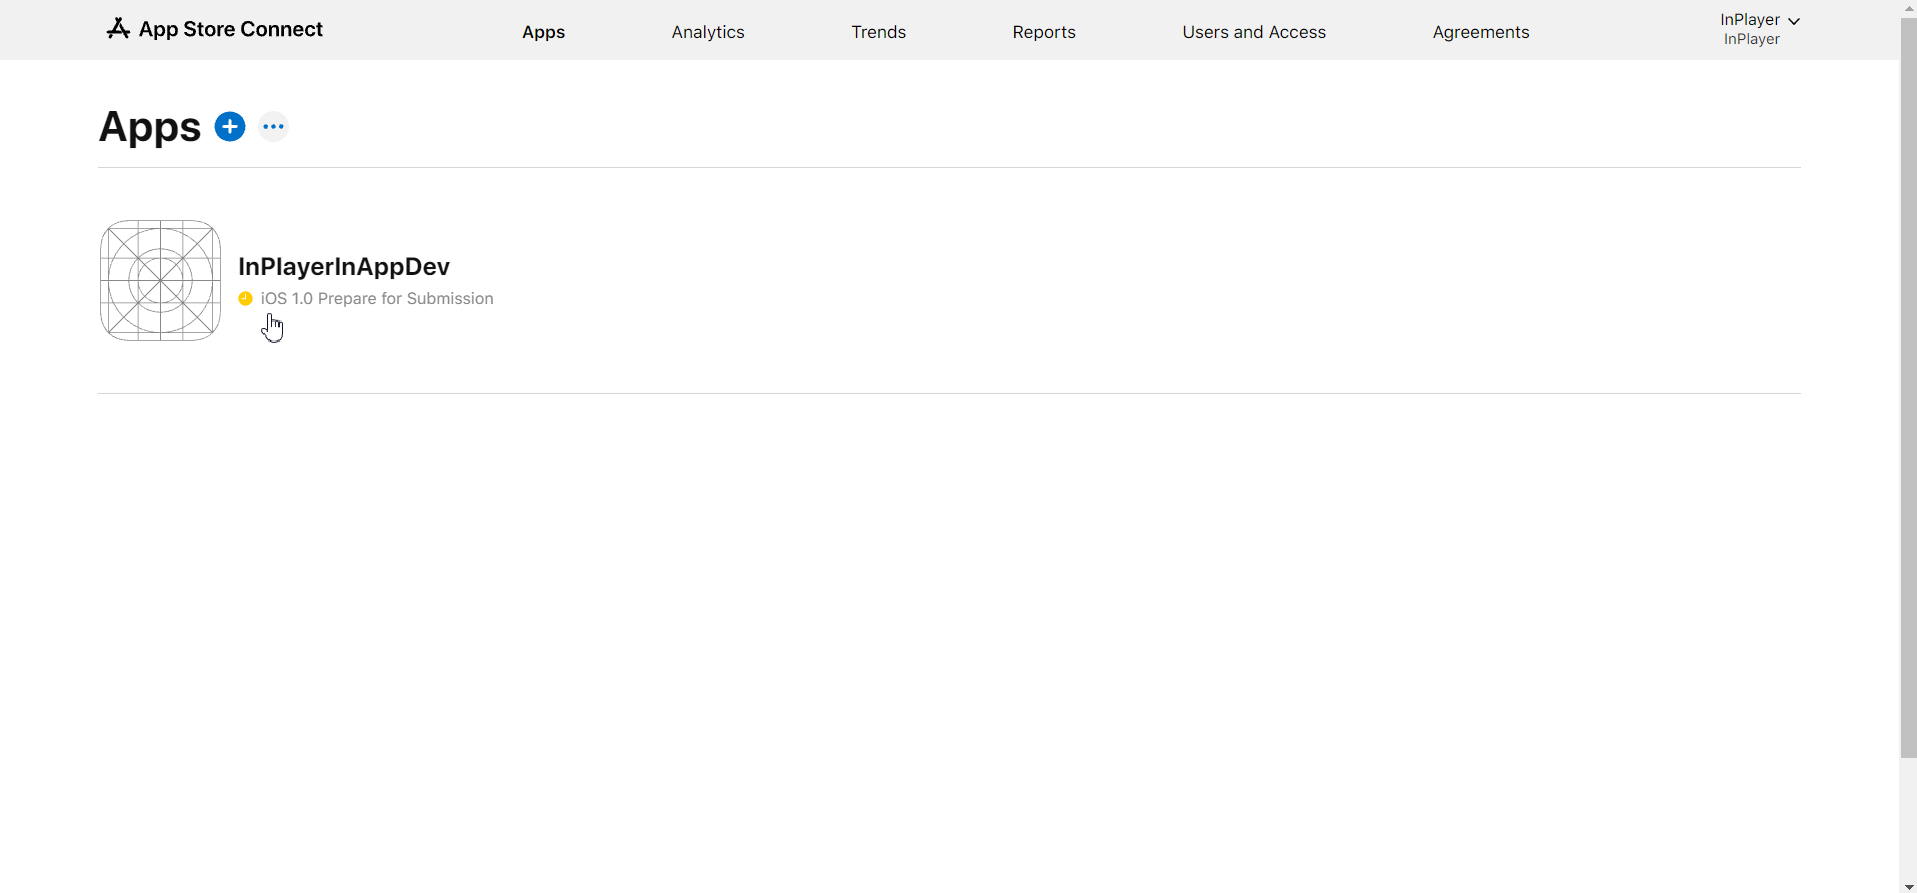
Click on My Apps.
Click on the app you are using for InPlayer purchases.
In the left-hand menu, under Features, click on In-App purchases.
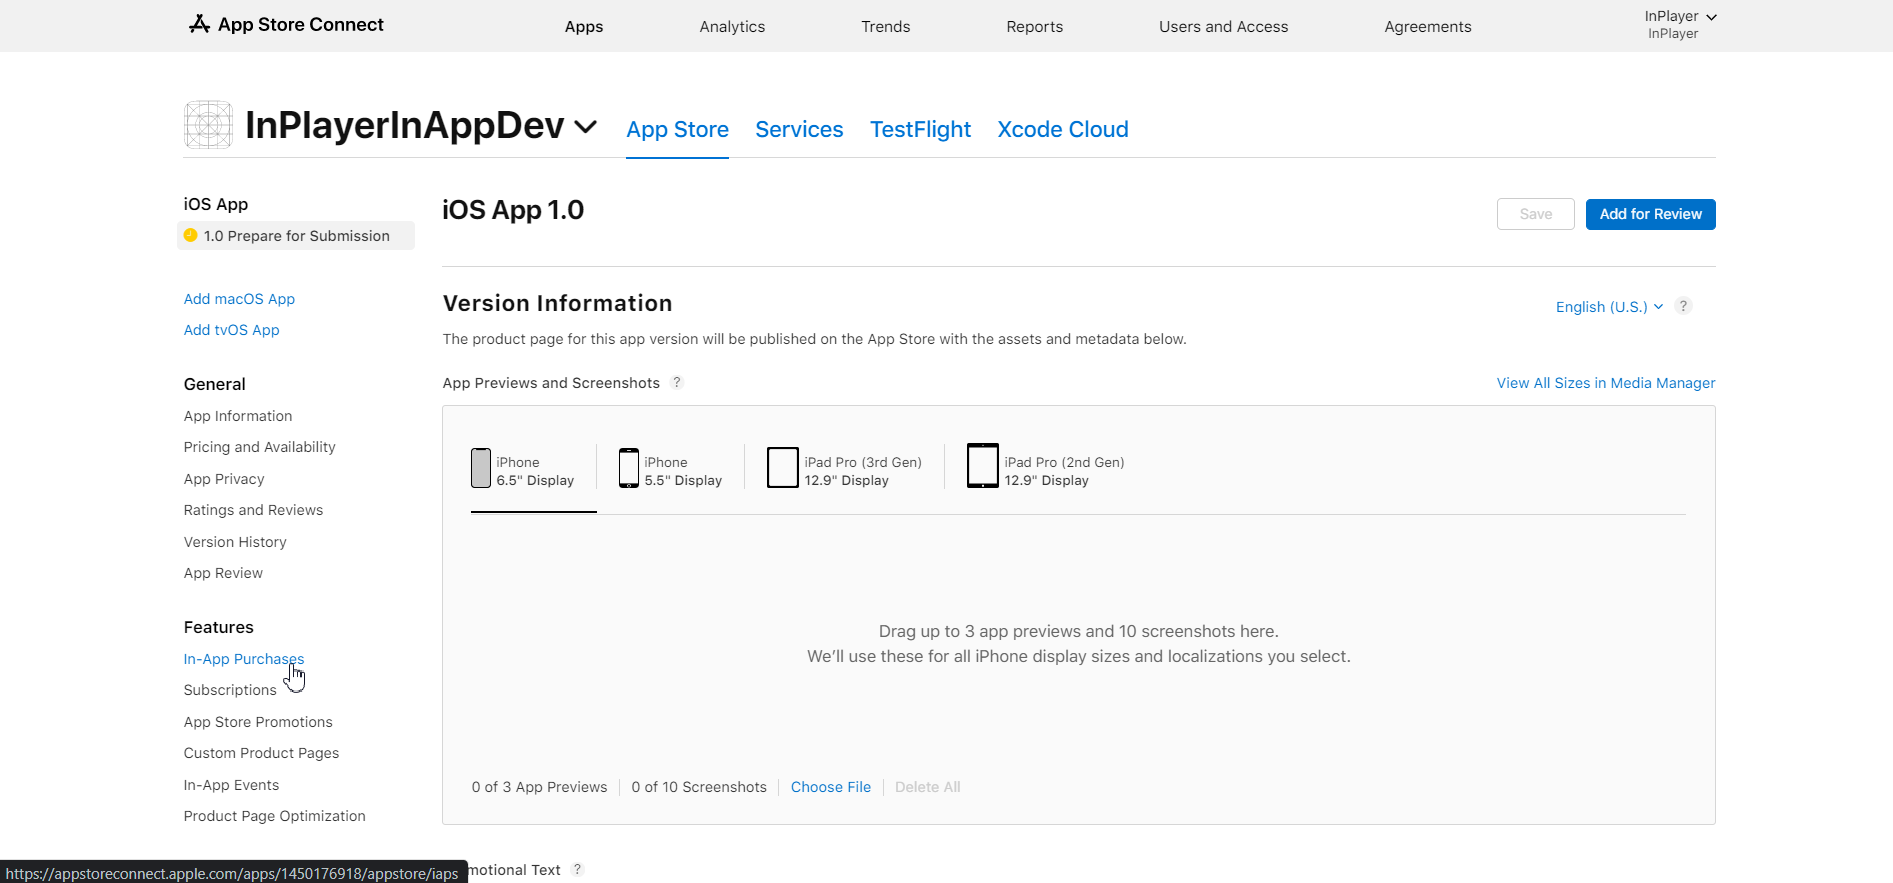
In the In-App Purchases section, create a new in-app purchase by clicking on ![]() .
.

In the pop-up window, select the Non-Consumable option.

Enter the Reference Name and Product ID.

Both fields need to be filled out with the same value.
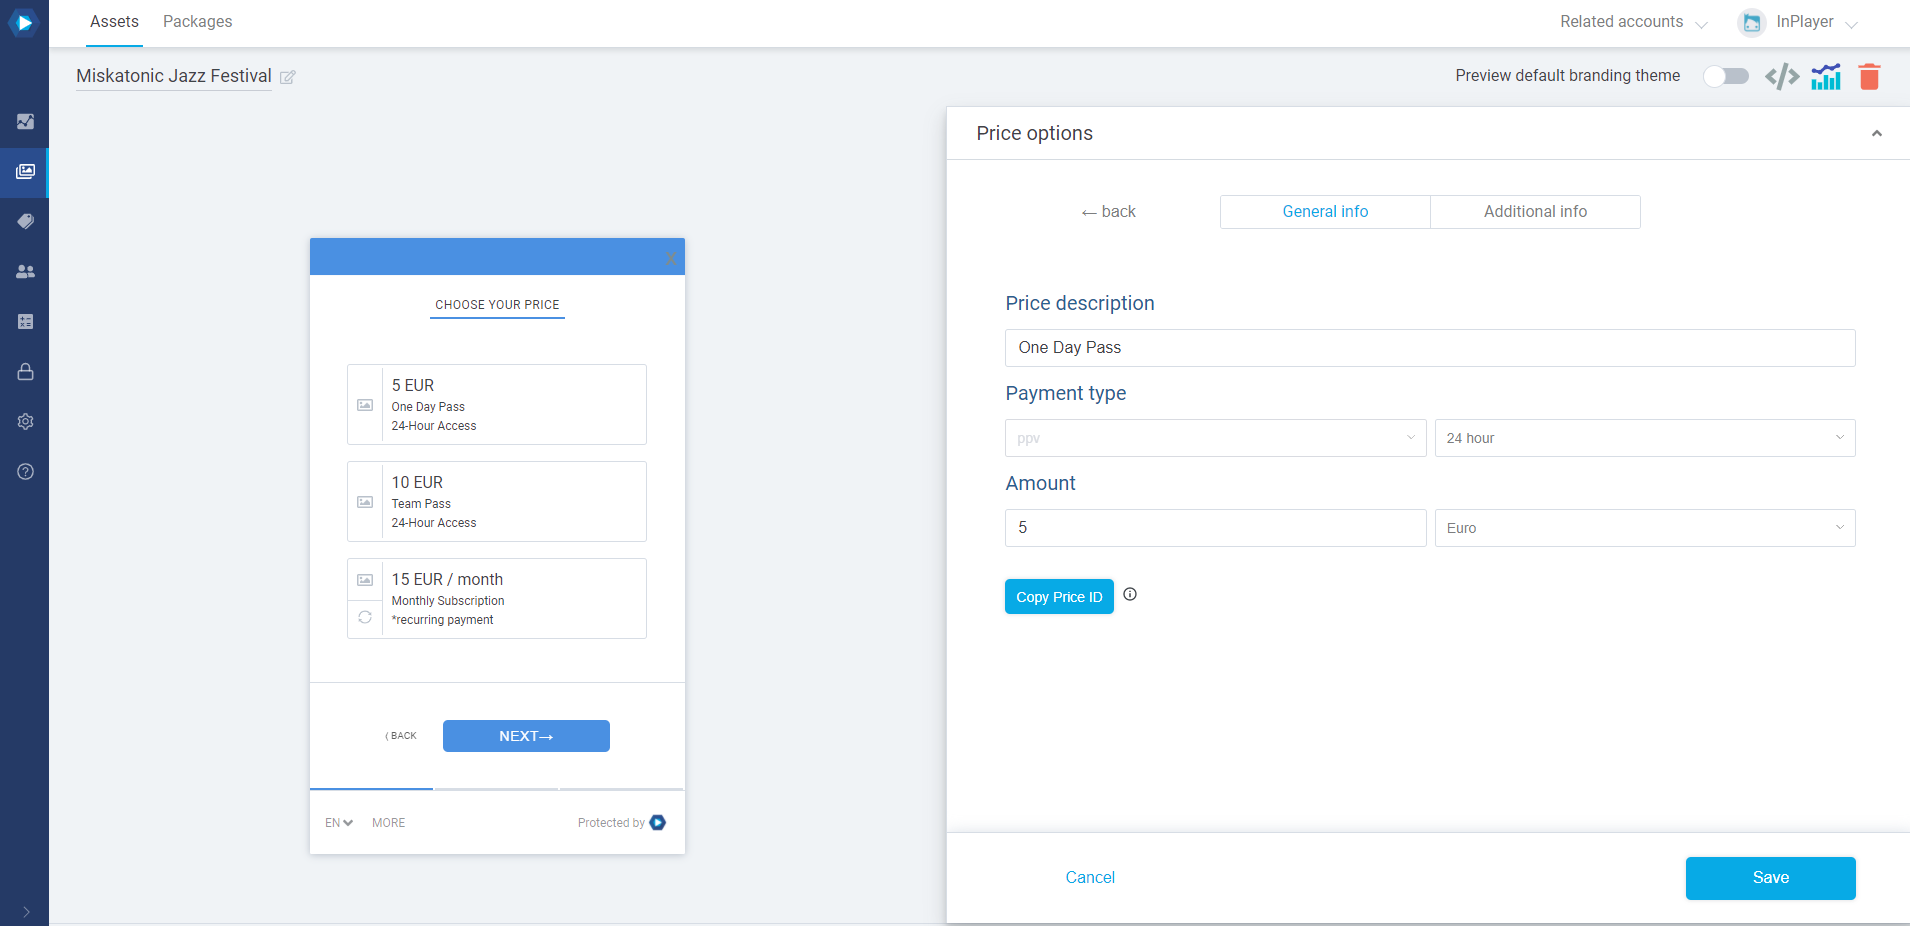
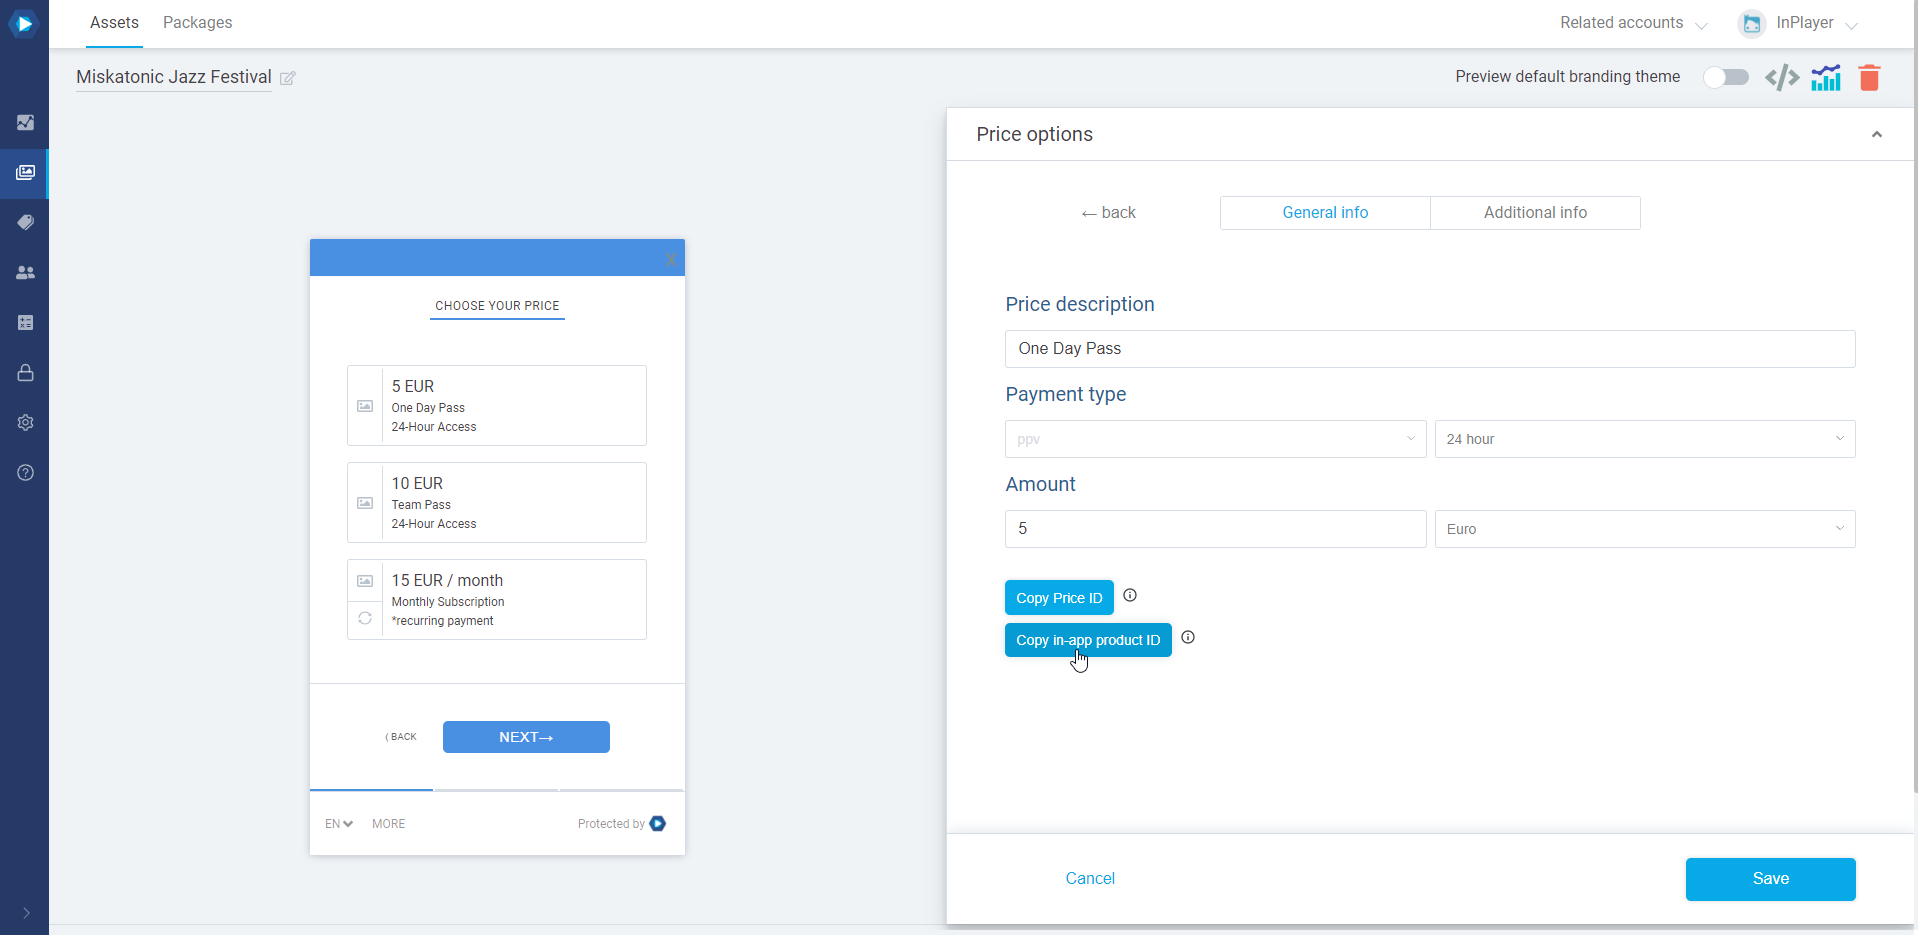
To get the Product ID, go to the Assets tab of your InPlayer dashboard and open the asset you wish to use.
Go to Price Options, open the price option for which you are creating the in-app purchase, and click the Copy in-app product ID button. That value is both the Product ID and Reference number.
Click Create.
Next, set the price. Note that the available prices in the App Store are all in decimal numbers (ex. $4.99 as opposed to $5), so make sure to either set up the same price in the InPlayer Dashboard, or pick the closest one in the App Store.

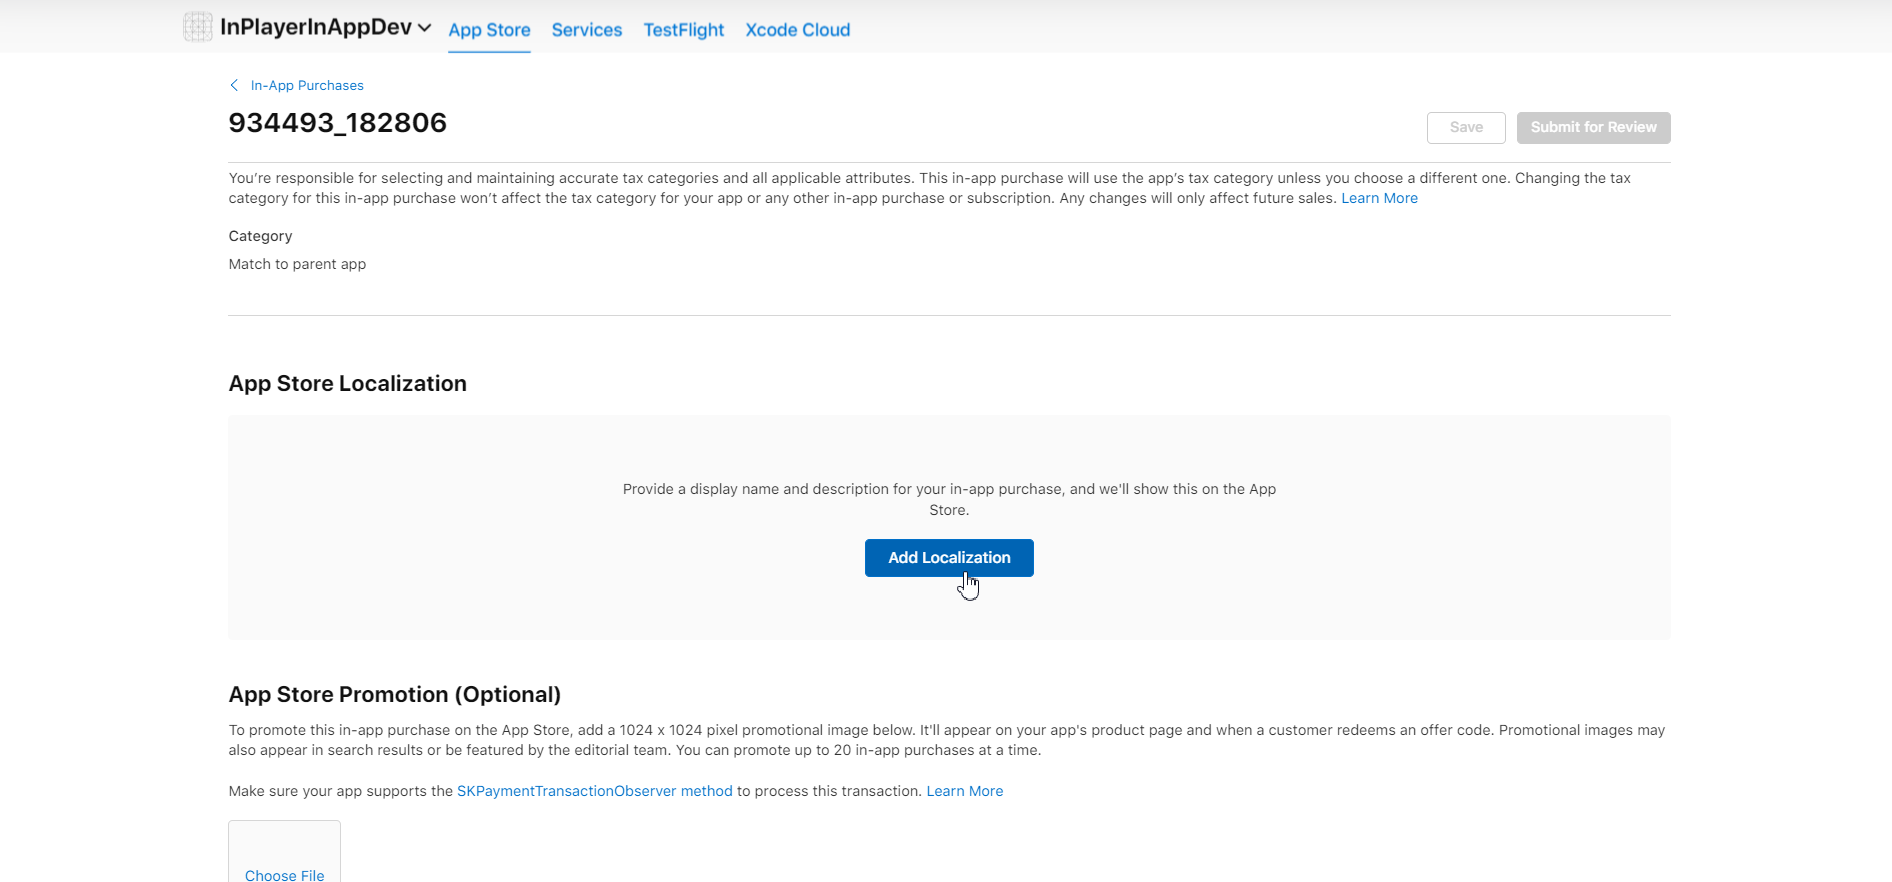
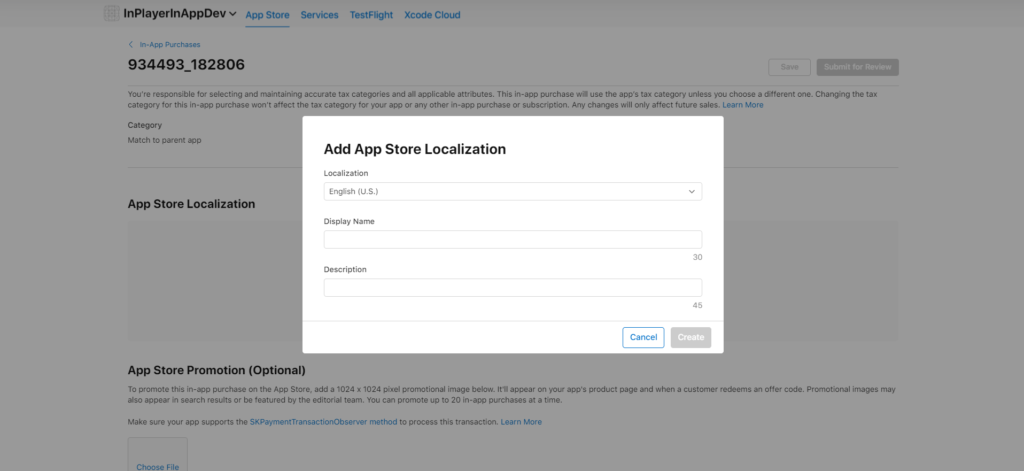
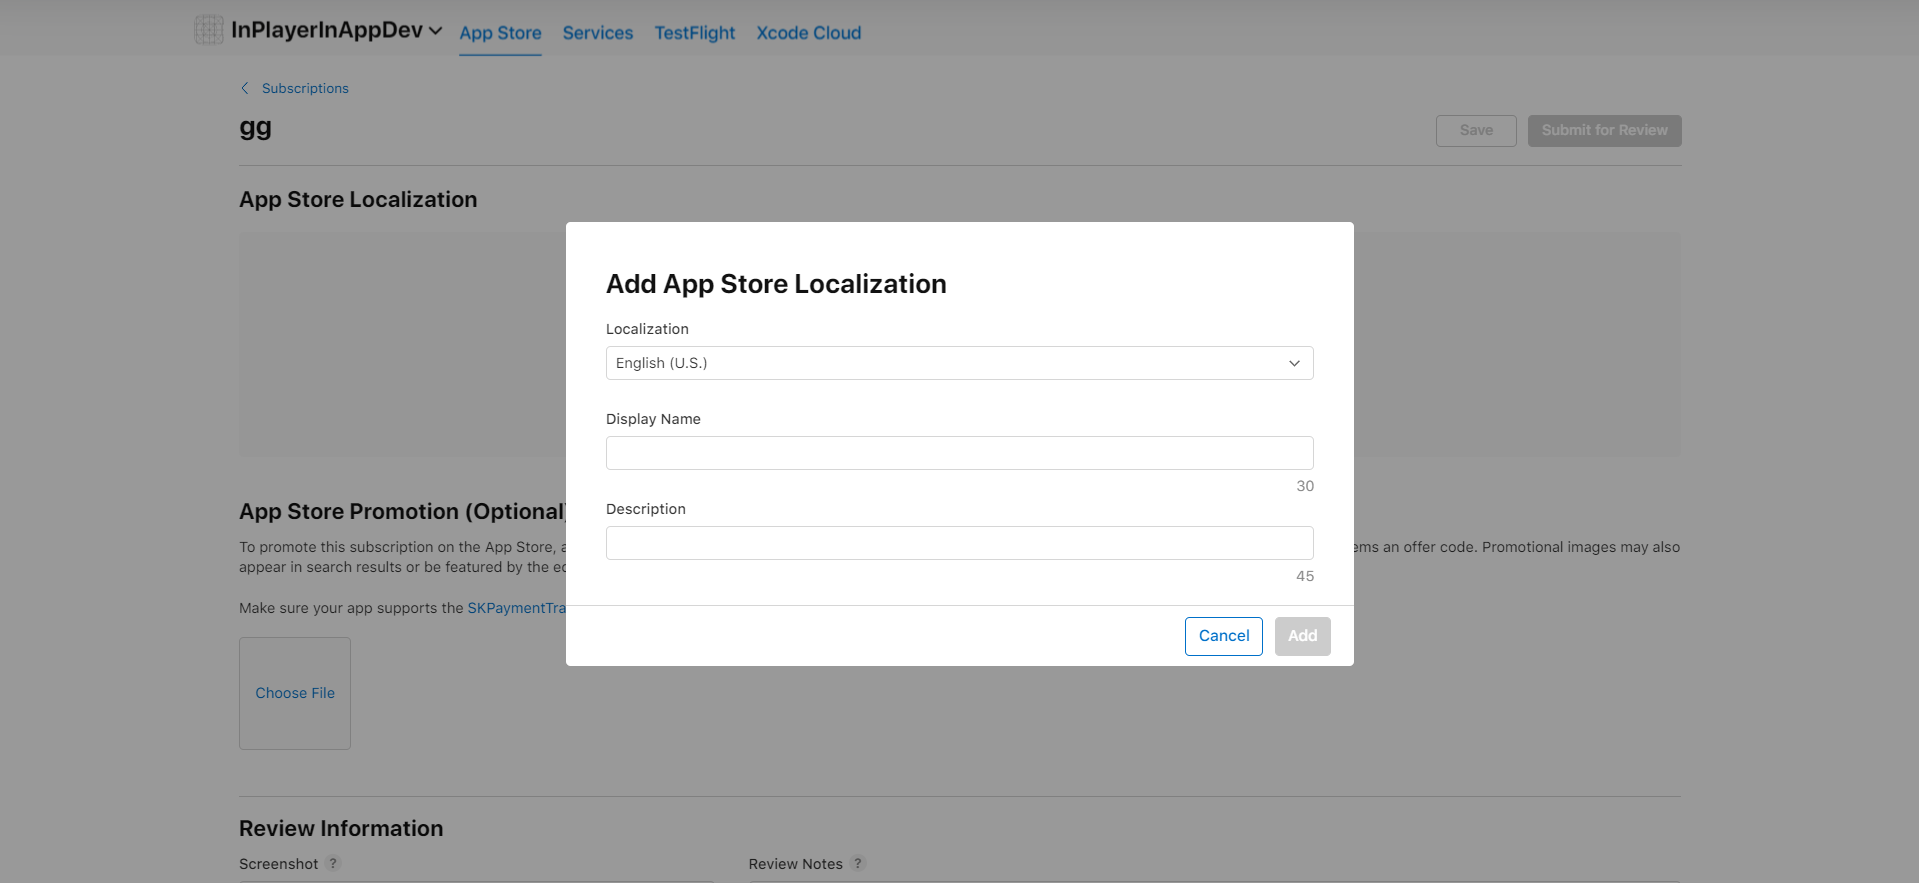
Next, click on Add Localization and then set up the Display Name and Description for the purchase.
Finally, under Review Information, add a screenshot along with your review notes.
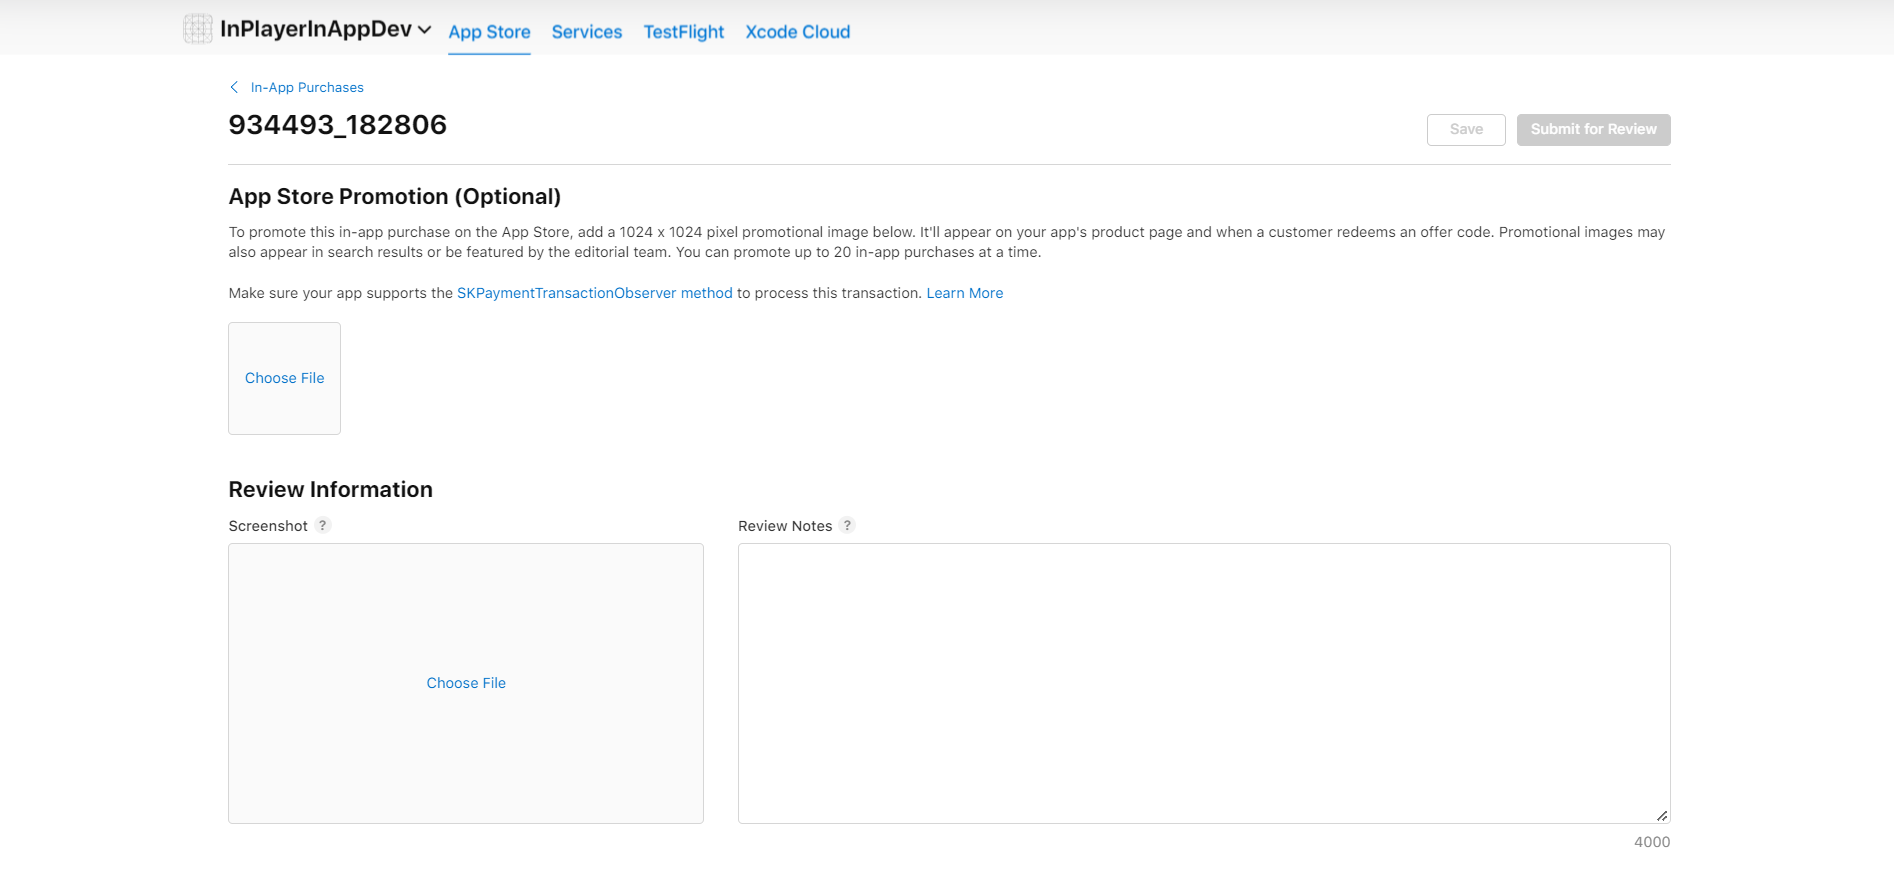
The screenshots requirements are outlined below:
- iOS requires at least 640 x 920 pixels.
- tvOS requires 1920 x1080 pixels.
- macOS requires 1280 x 800 pixels.
When you finish with everything, review your work, and click Save.
And with that, you are done.
Creating a subscription purchase
First, log into your App Store Connect account.
Click on My Apps.
Click on the app you are using for InPlayer purchases.
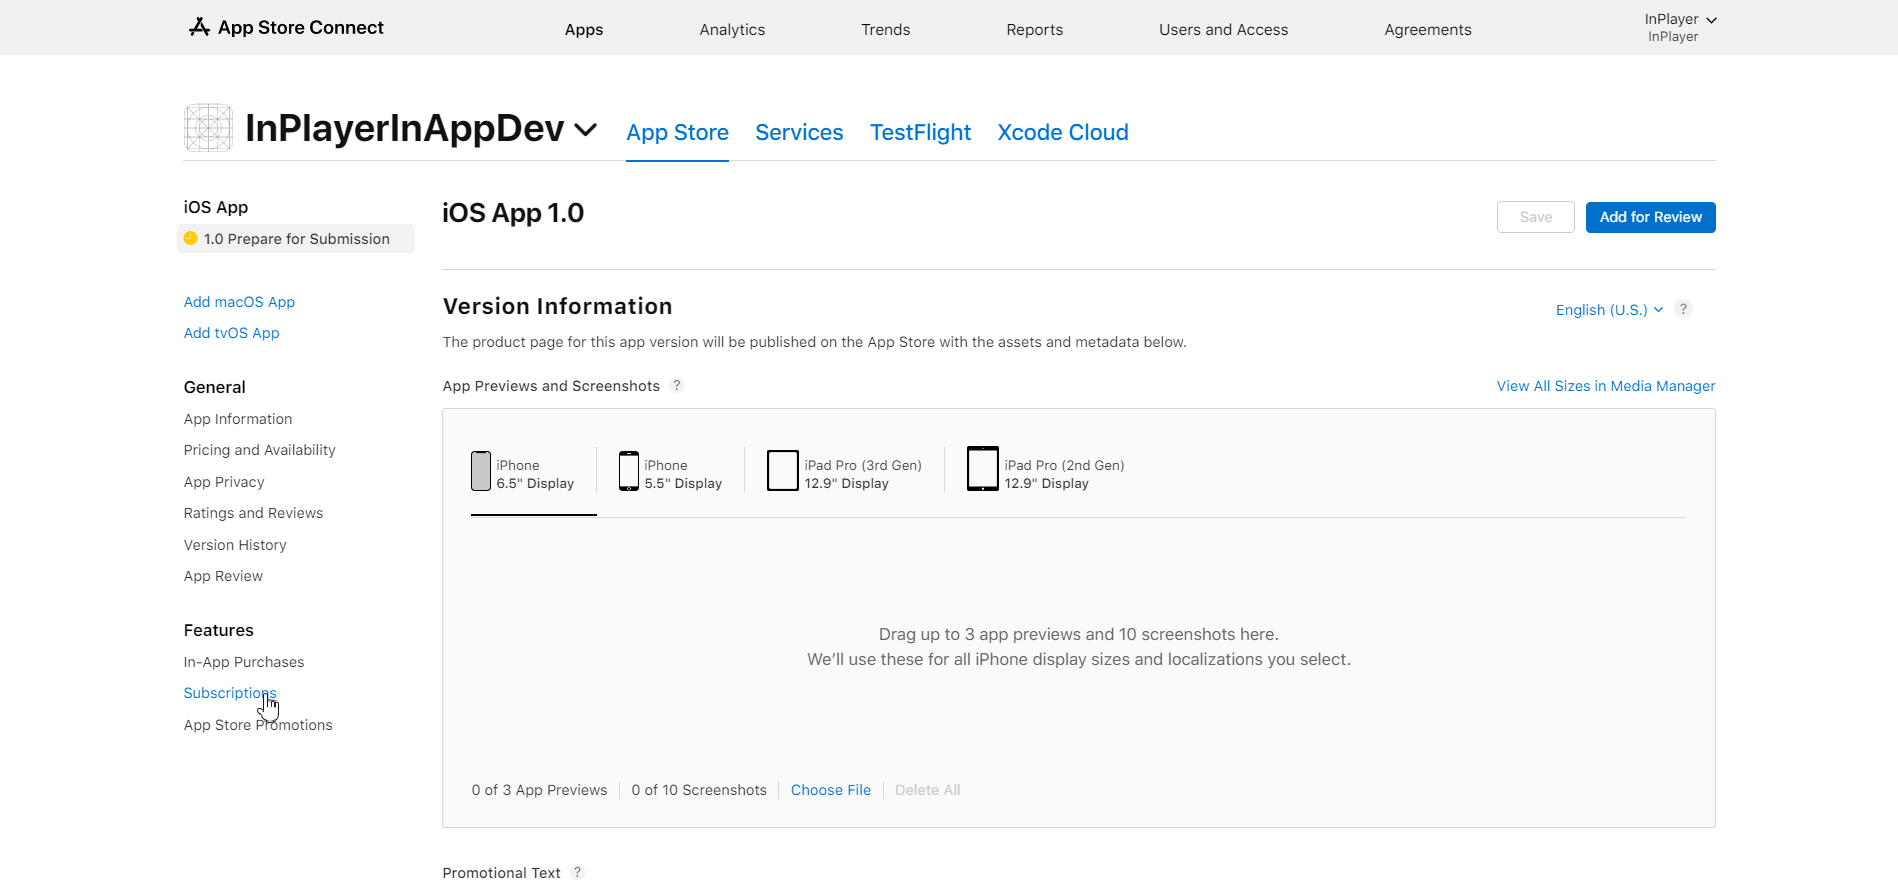
In the left-hand menu, under Features, click on Subscriptions. We will first be creating the Subscription Group.
In the Subscription Groups section, create a new group purchase by clicking on ![]() .
.

Next, in the pop-up window that appears, enter the Reference Name.
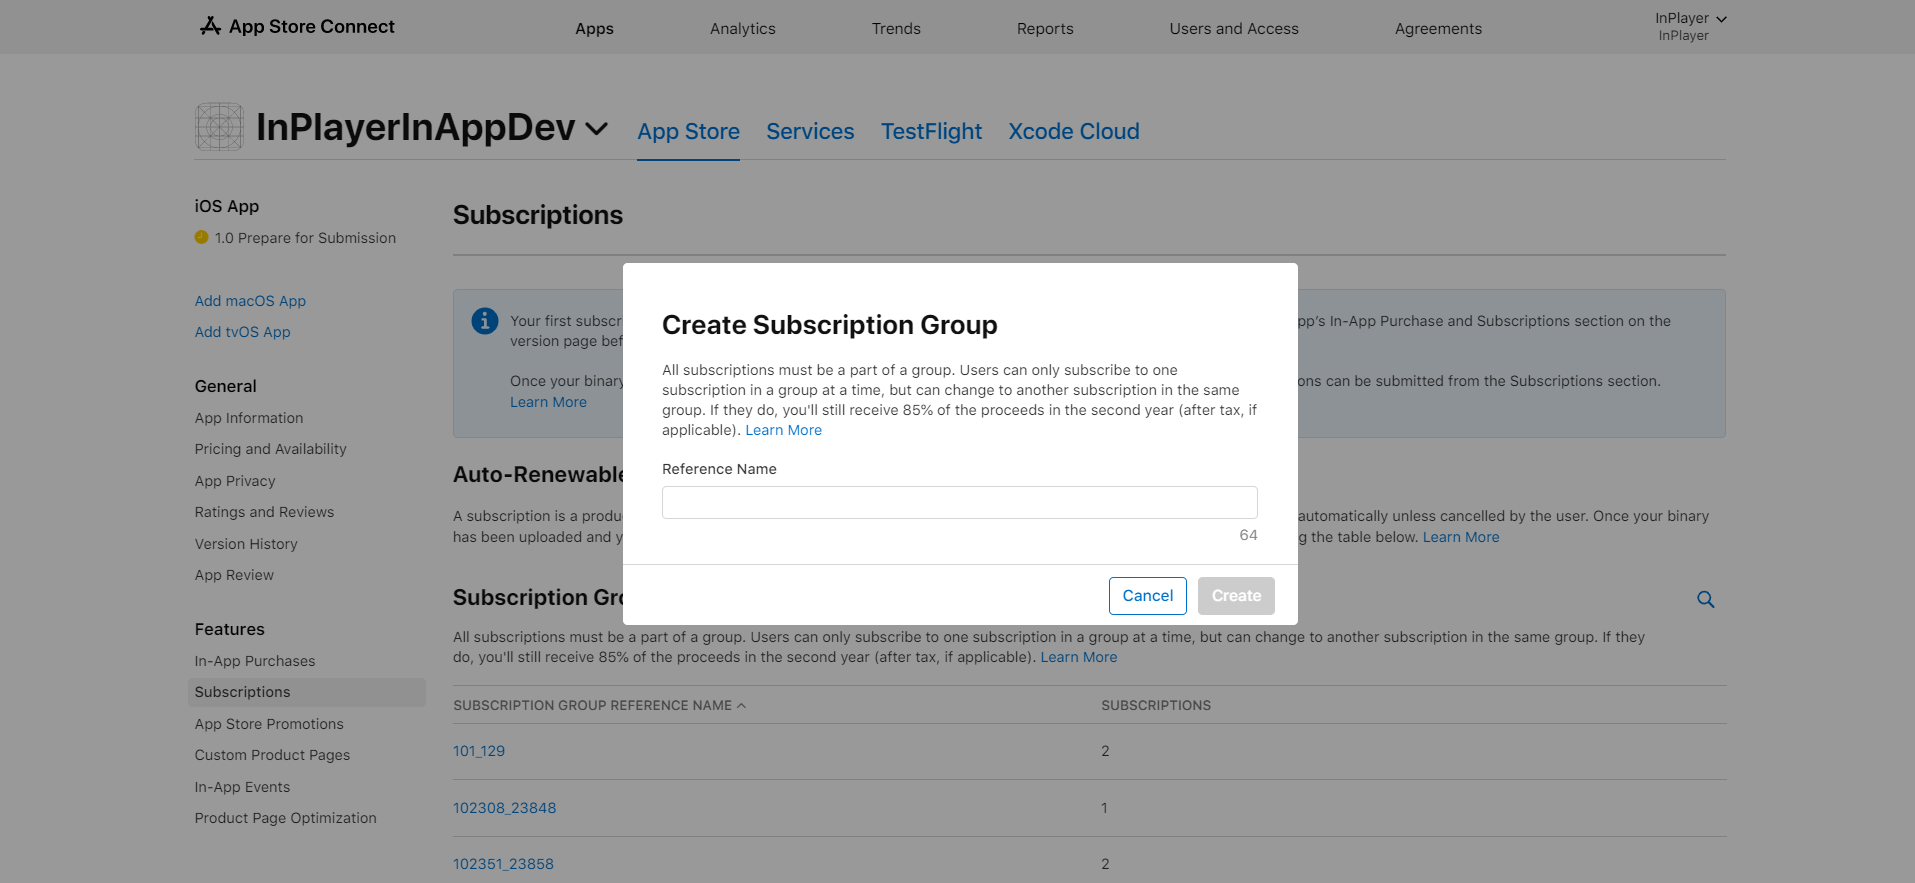
Click Create.
Next, in the Subscriptions section, click on Create.
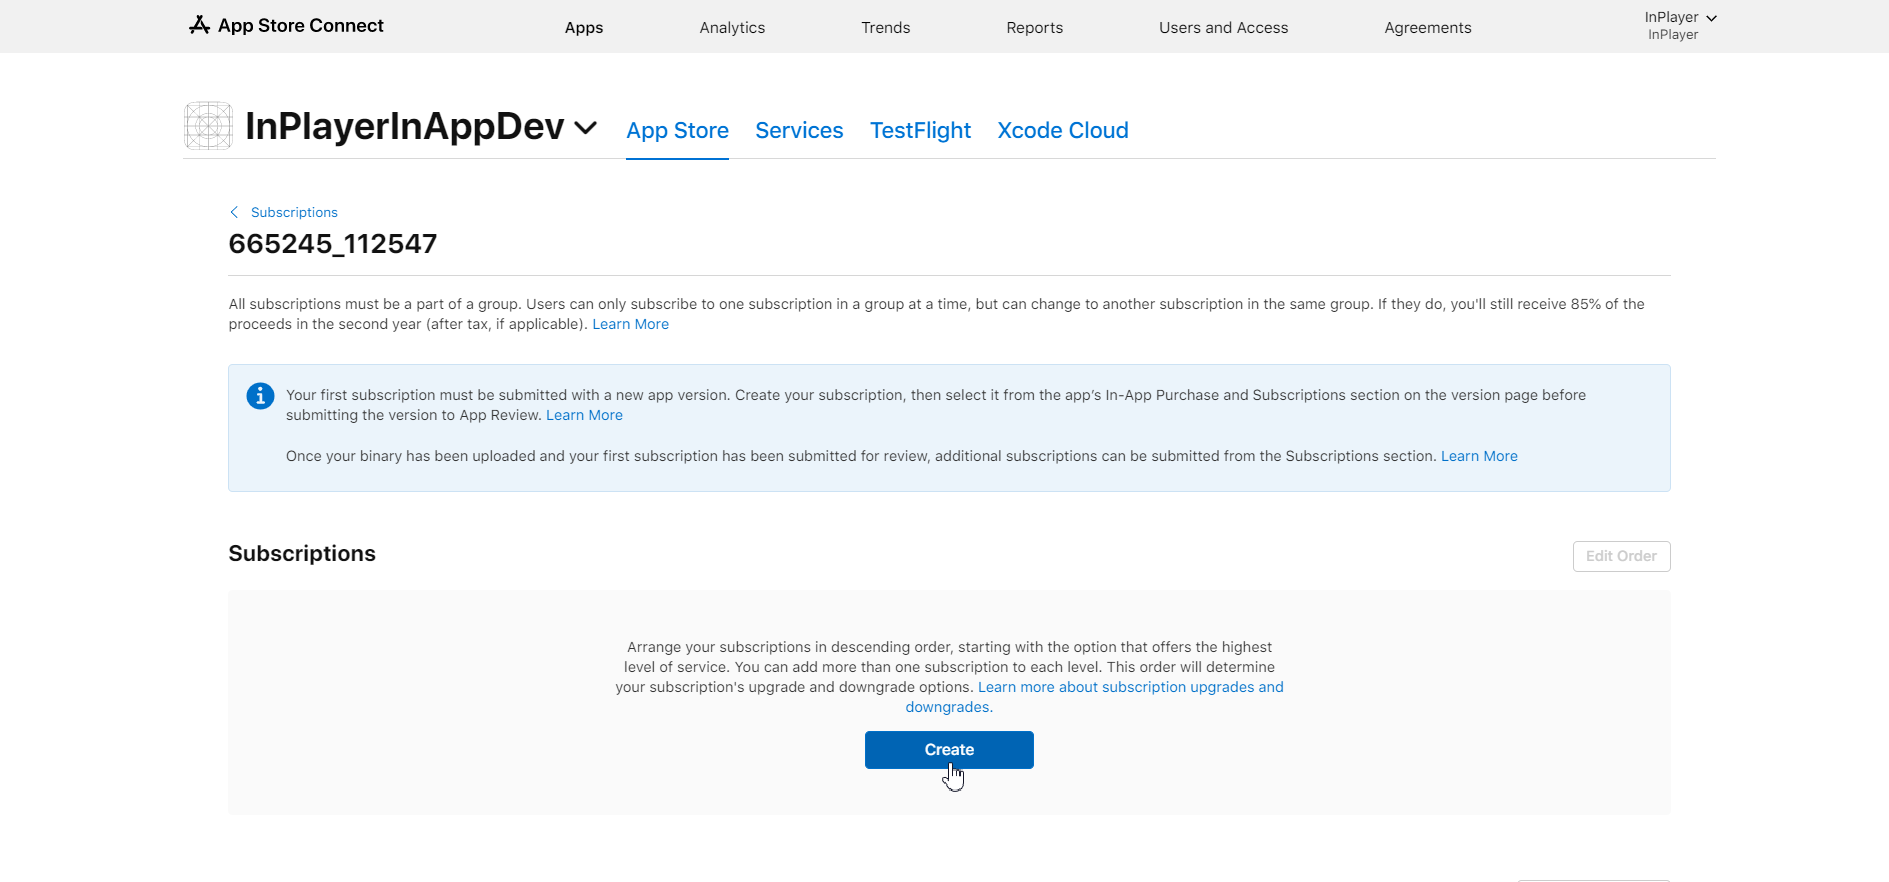
Do note that you can only have a single in-app purchase (i.e. price option) for each individual subscription group.
The reason for having only a single in-app purchase for each individual subscription group is to avoid viewers upgrading and downgrading their plan within the same subscription group, since this functionality is not yet supported for iOS.
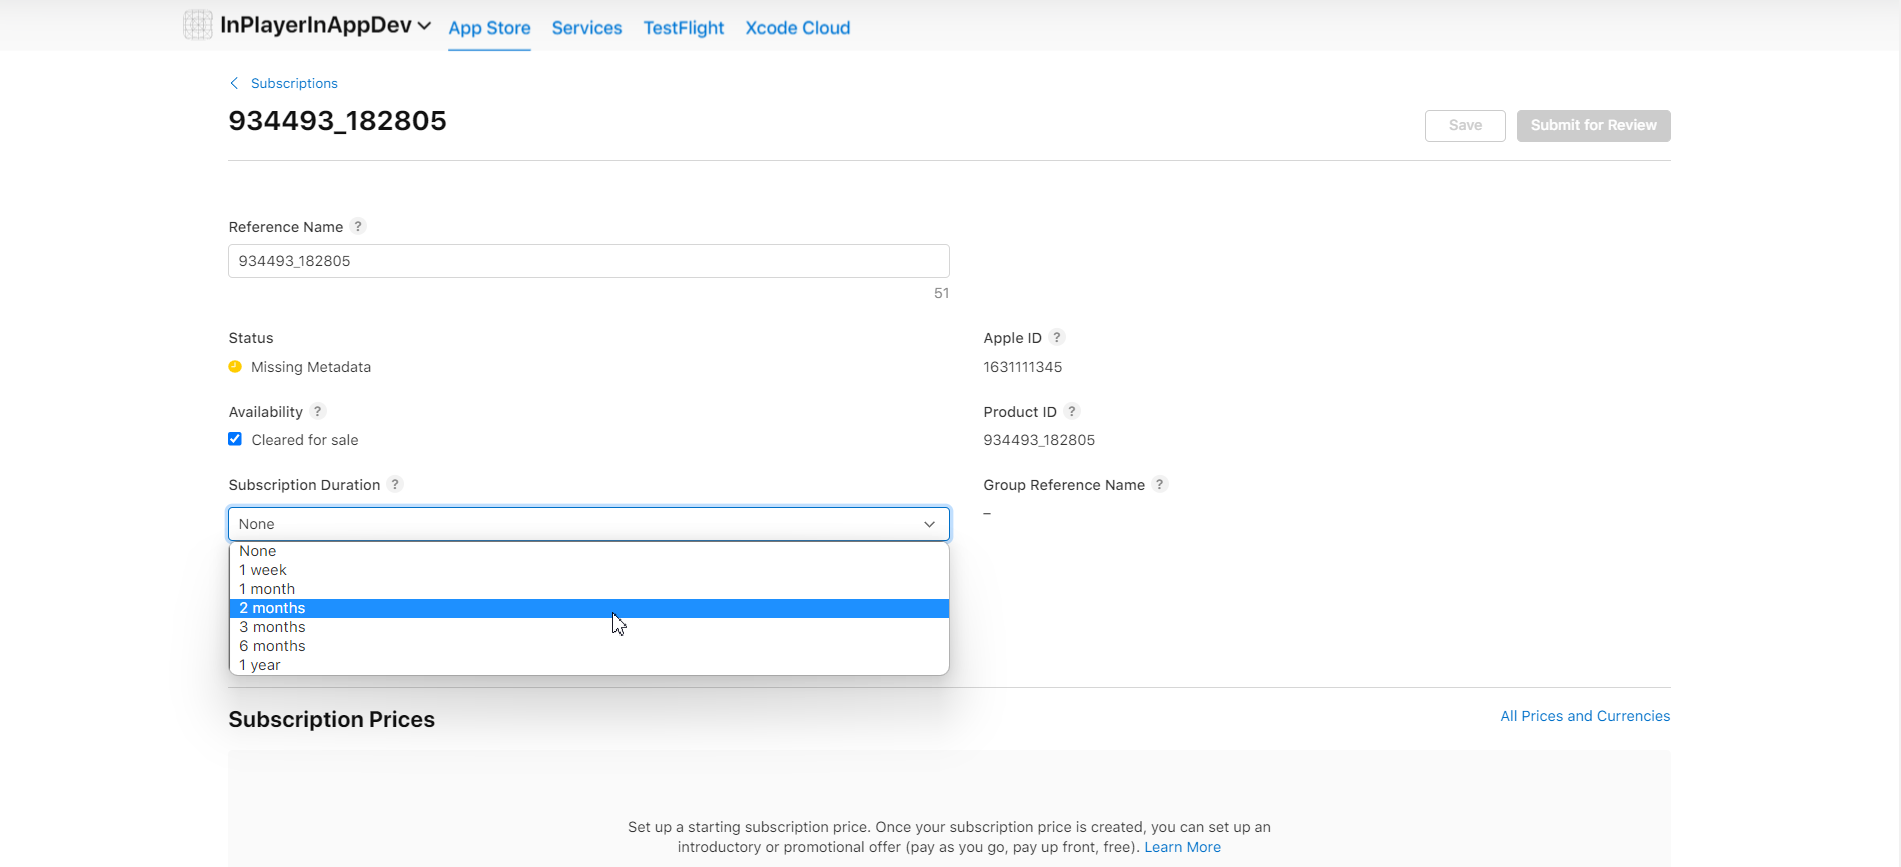
In the pop-up window that appears, enter the same Reference Name from the previous step and the Product ID.
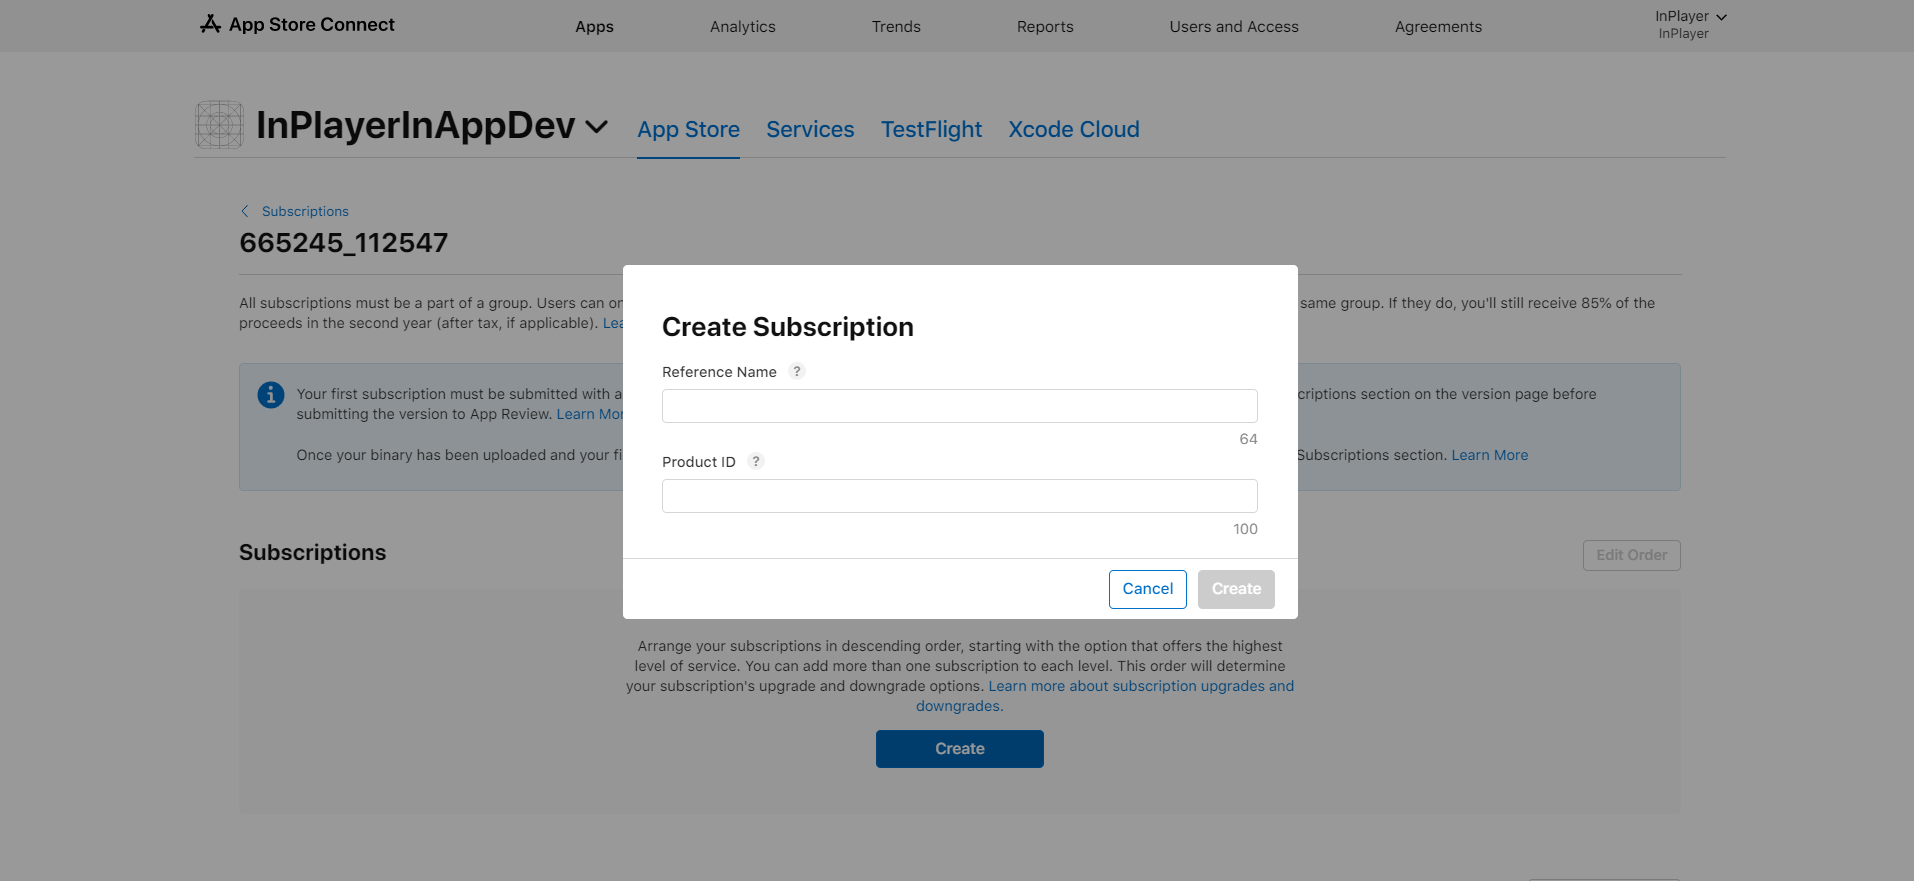
Both fields need to be filled out with the same value.
To get the Product ID, go to the Assets tab of your InPlayer dashboard and open the asset you wish to use.
Go to Price Options, open the price option for which you are creating the in-app purchase, and click the Copy in-app product ID button. That value is both the Product ID and Reference number.
Click Create.
Next, we will fill in the Subscription Duration option. Select the same access period as the one you’ve set up in the InPlayer Dashboard for the price option you are setting up.
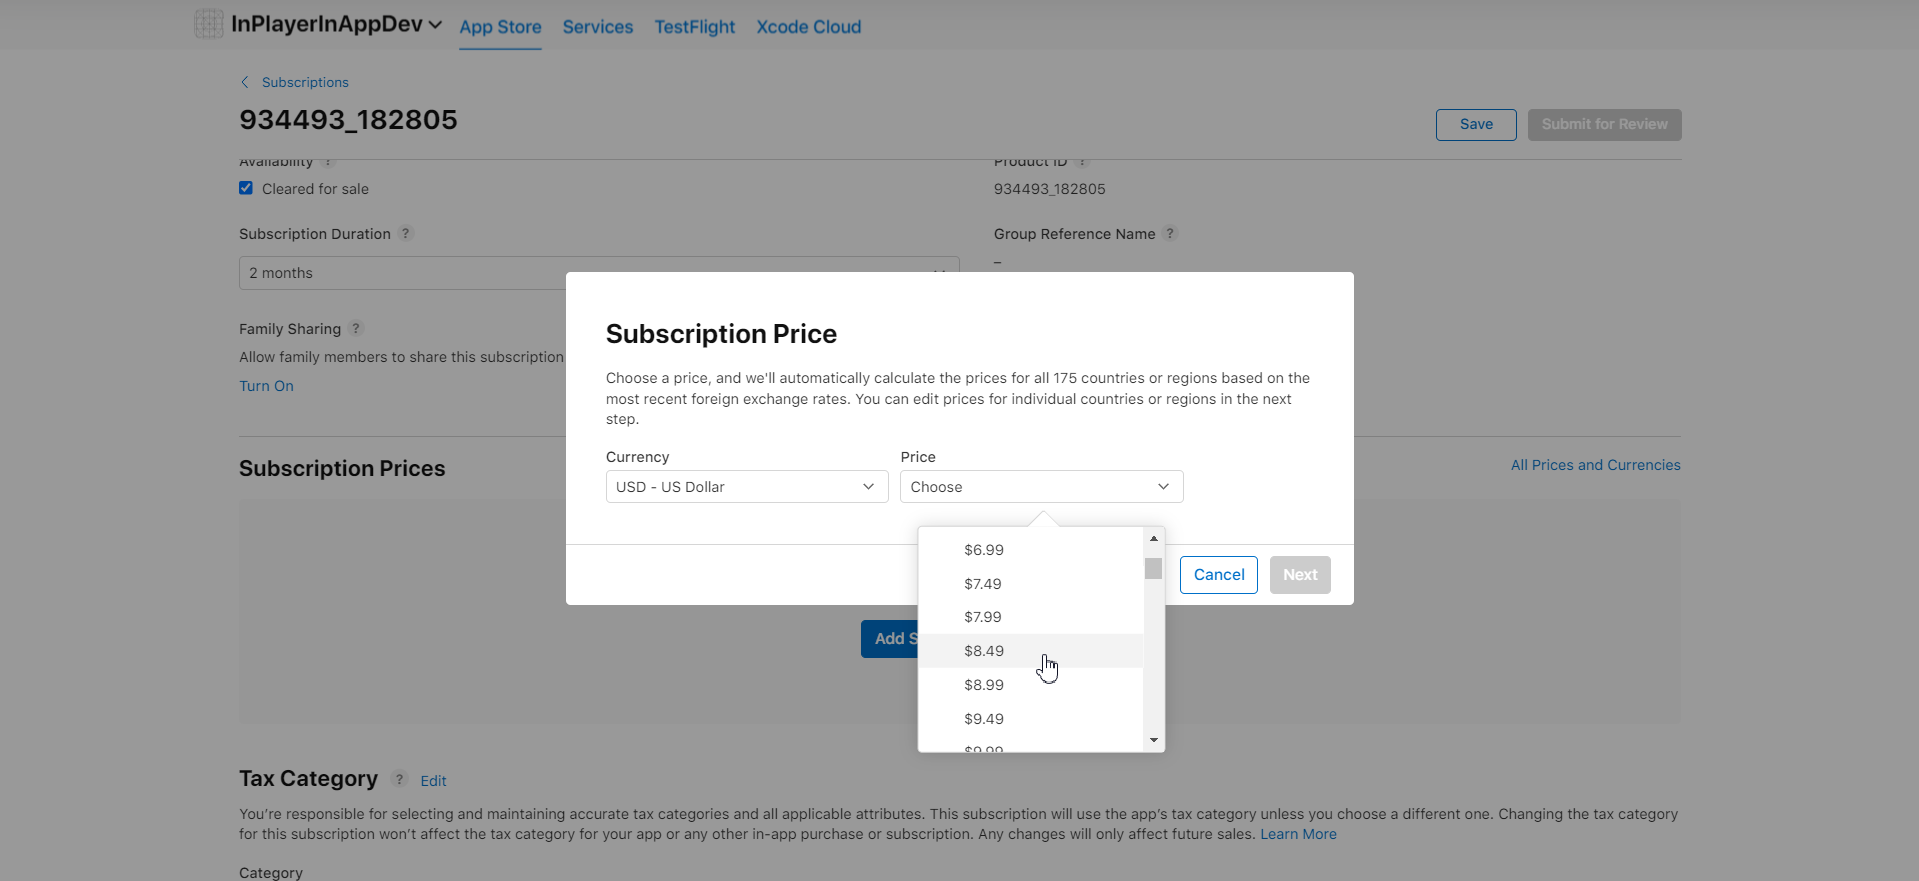
Next, add a price by clicking on Add Subscription Price.

To add a free trial, you can create an introductory offer as explained in this guide. If you set up an introductory offer in the Apple dashboard, make sure to also enable the “Free trial” option in the “Additional info” of the price option of your InPlayer asset. Creating the InPlayer asset is explained further down this article.
Note that if you have created an introductory offer with an expiry date, on the date of expiry, you will need to uncheck the “Free trial” option in your InPlayer Dashboard manually. This will not happen automatically. Having this option checked in your InPlayer asset will not grant a free trial if there is not a valid introductory offer in your Apple dashboard, but is highly recommended that the two options mirror each other, in order to avoid viewer confusion.
Select a price from the list and click Next. Note that the available prices in the App Store are all in decimal numbers (ex. $14.99 as opposed to $15), so make sure to either set up the same price in the InPlayer Dashboard, or pick the closest one in the App Store.
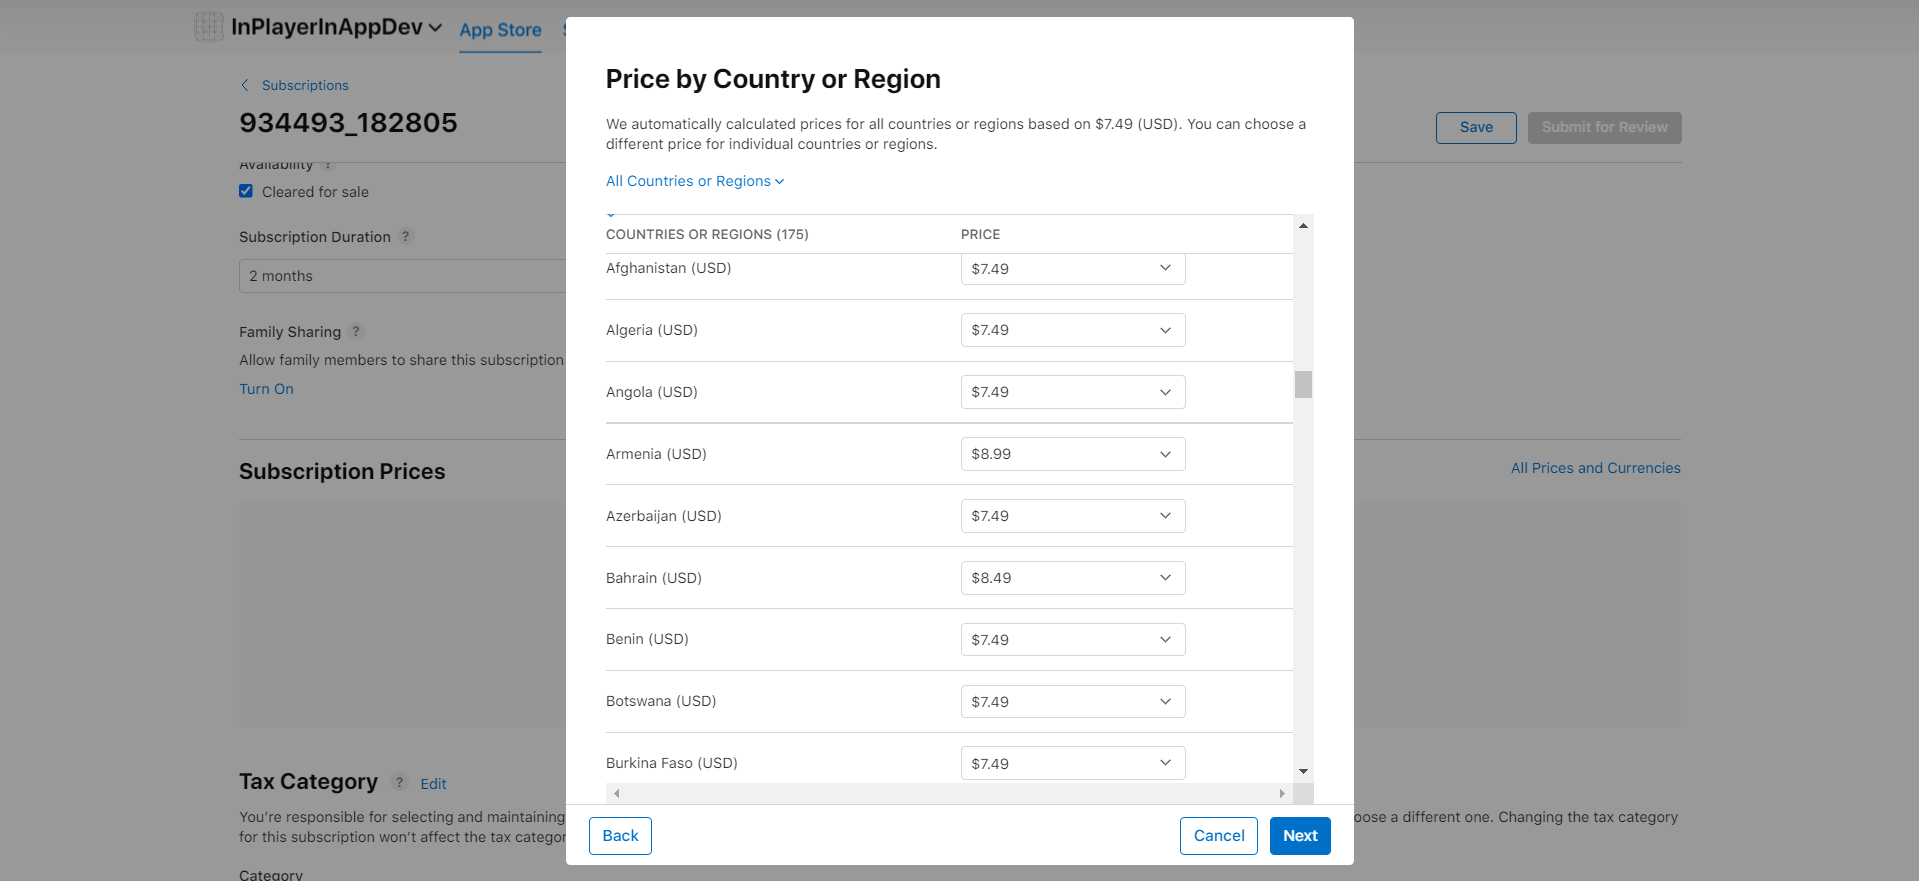
You will then see a pop-up window showing all the regional prices converted to the viewer’s local currency. If you wish, you can also modify these converted prices as well. Once you make the adjustments if any, click Next and then Confirm.
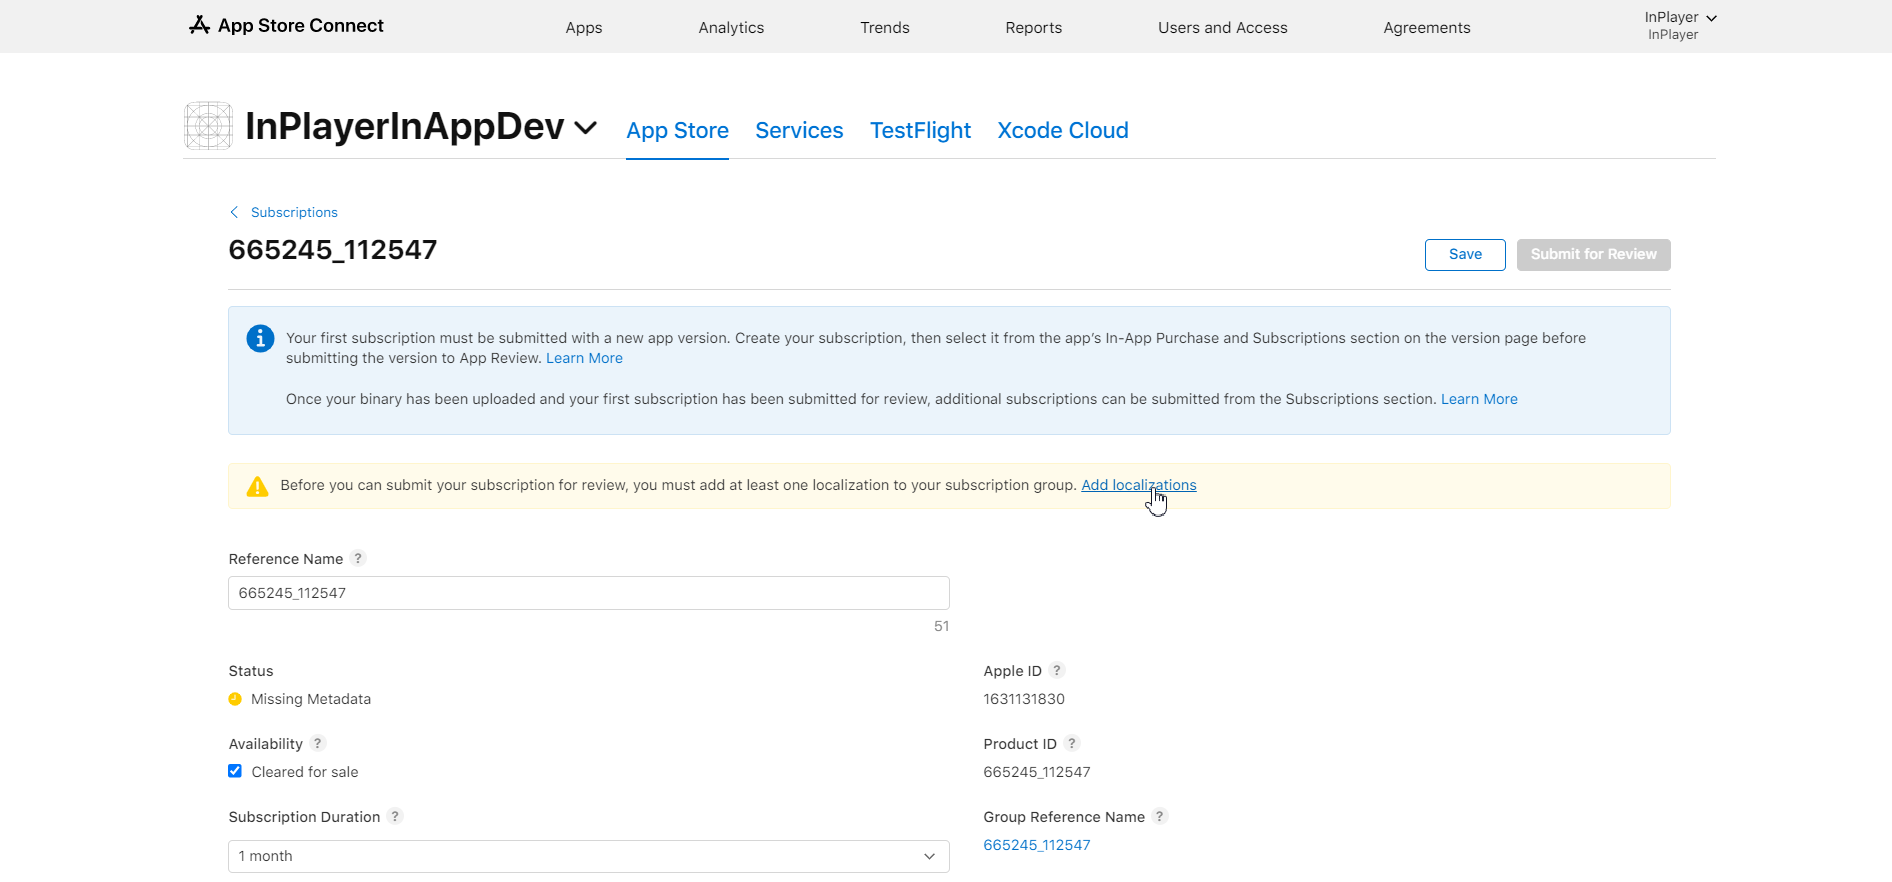
Next, in the App Store Localization section, click on Create and Save the changes.
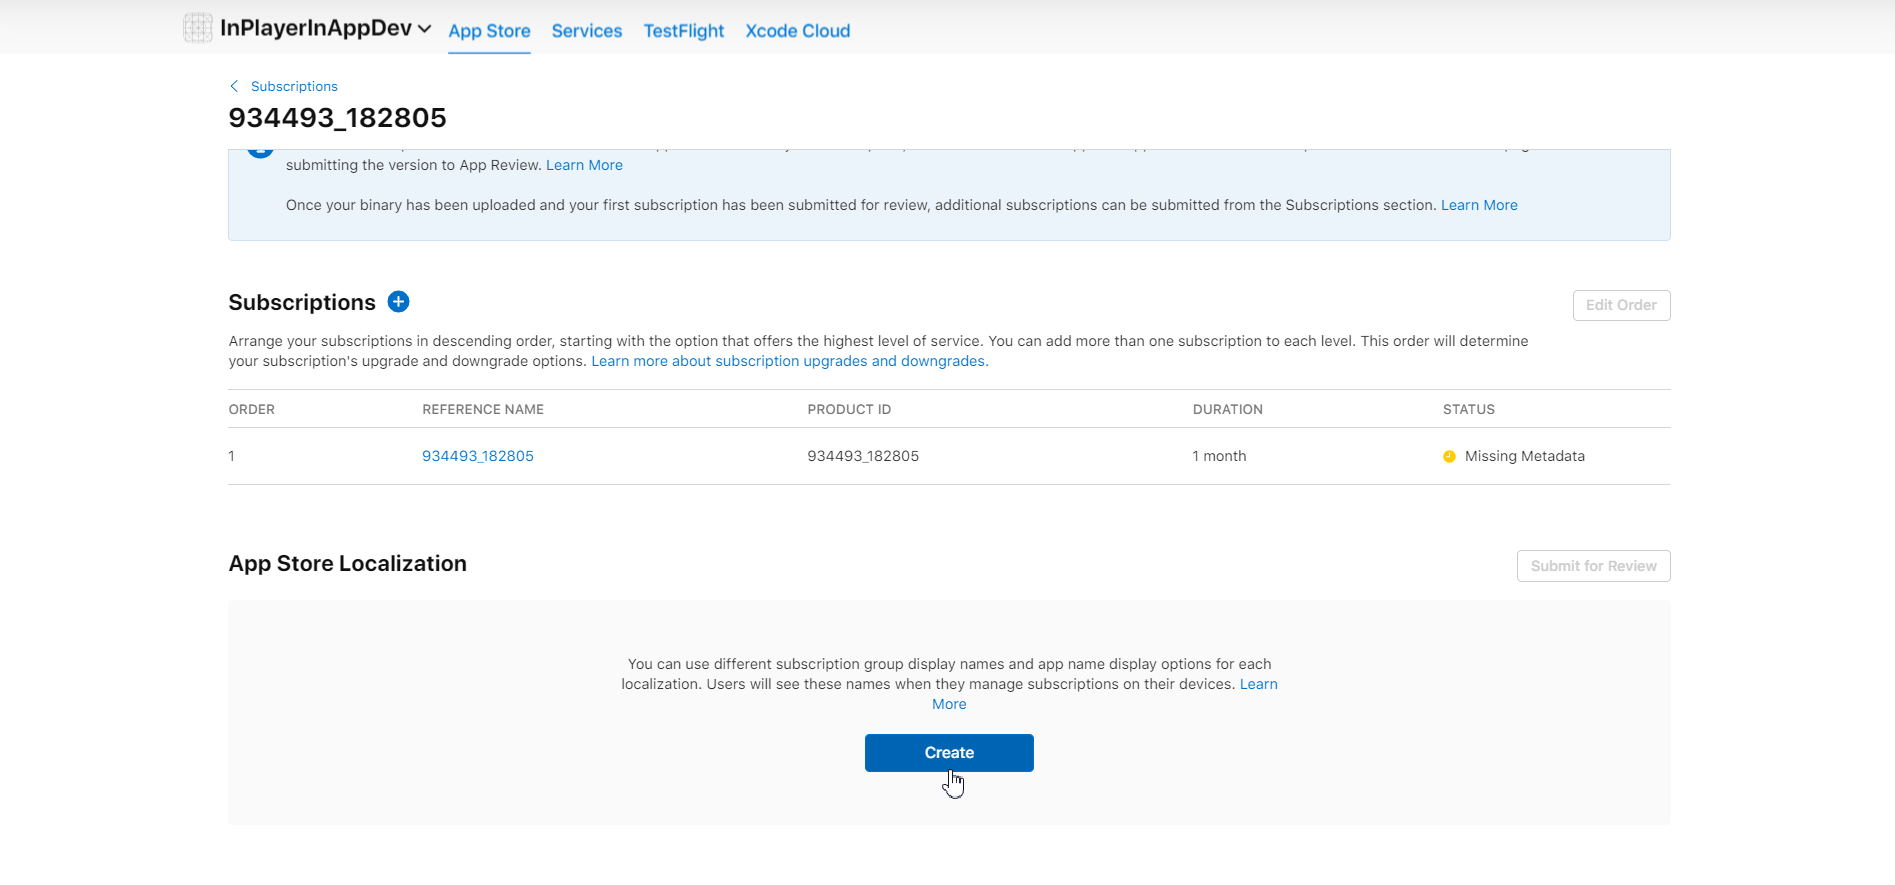
In the pop-up window that appears, add localization and set up the Display Name and Description for the purchase, and click Add.
Note that you can also enable voucher payments by adding an Introductory offer to the subscription. Read our In-app introductory offers guide for more on this.
Note that you will also need to add another localization by clicking Add localizations on the banner at the top of the window.
Finally, under Review Information, add a screenshot and your review notes.
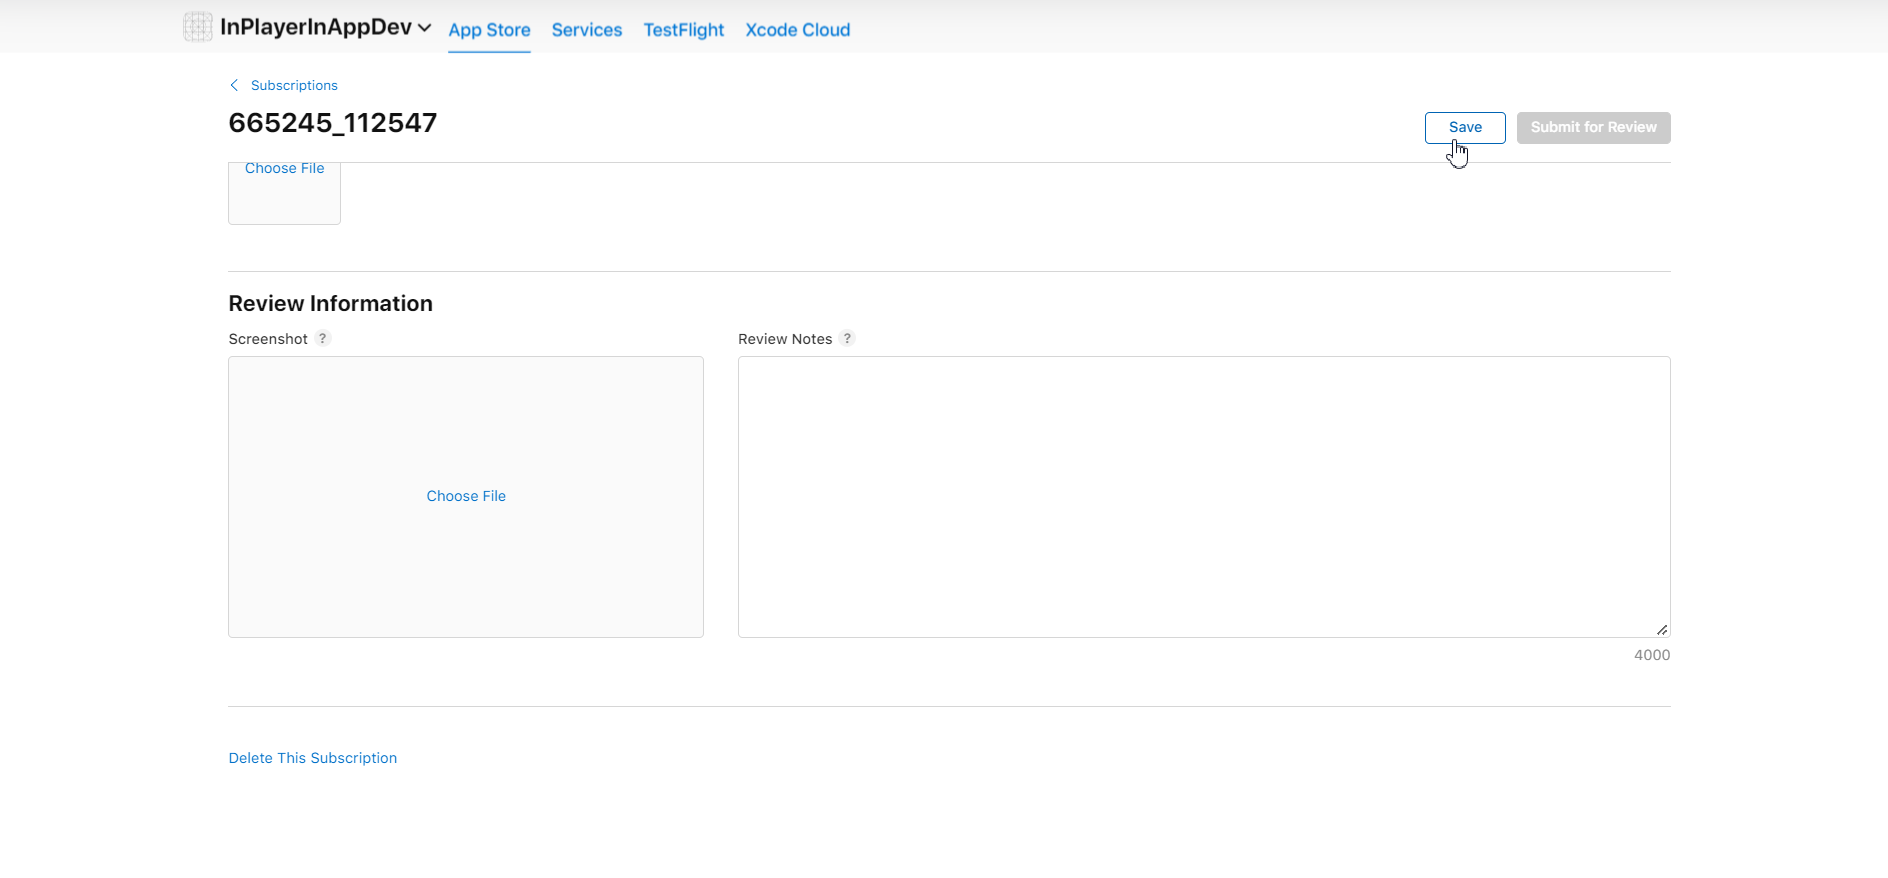
The screenshots requirements are outlined below:
- iOS requires at least 640 x 920 pixels.
- tvOS requires 1920 x1080 pixels.
- macOS requires 1280 x 800 pixels.
When you finish with everything, review your work, and click Save.
And with that, you are done.
Using an existing Apple PPV purchase or subscription
If you are using an existing Apple PPV purchase or subscription, before you proceed with the steps below, always make sure that all the pricing and access type and duration details are the same in both the Apple PPV purchase or subscription and the InPlayer asset. Once you do this, proceed with the step below.
Log into your App Store Connect account.
Click on My Apps.
Click on the app you are using for InPlayer purchases.
In the left-hand menu, under Features, click on either Purchases or Subscriptions depending on what you are setting up.
From the list of exsiting Purchases or Subscrptions, get the Product ID for the one you wish to use.
Go to the InPlayer Dashboard and open the asset to which you wish to connect your Apple product.
Go to Price Options and open the price option you wish to connect to your existing Apple product.
Go to Additional Info.
Check Use external In-App IDs.
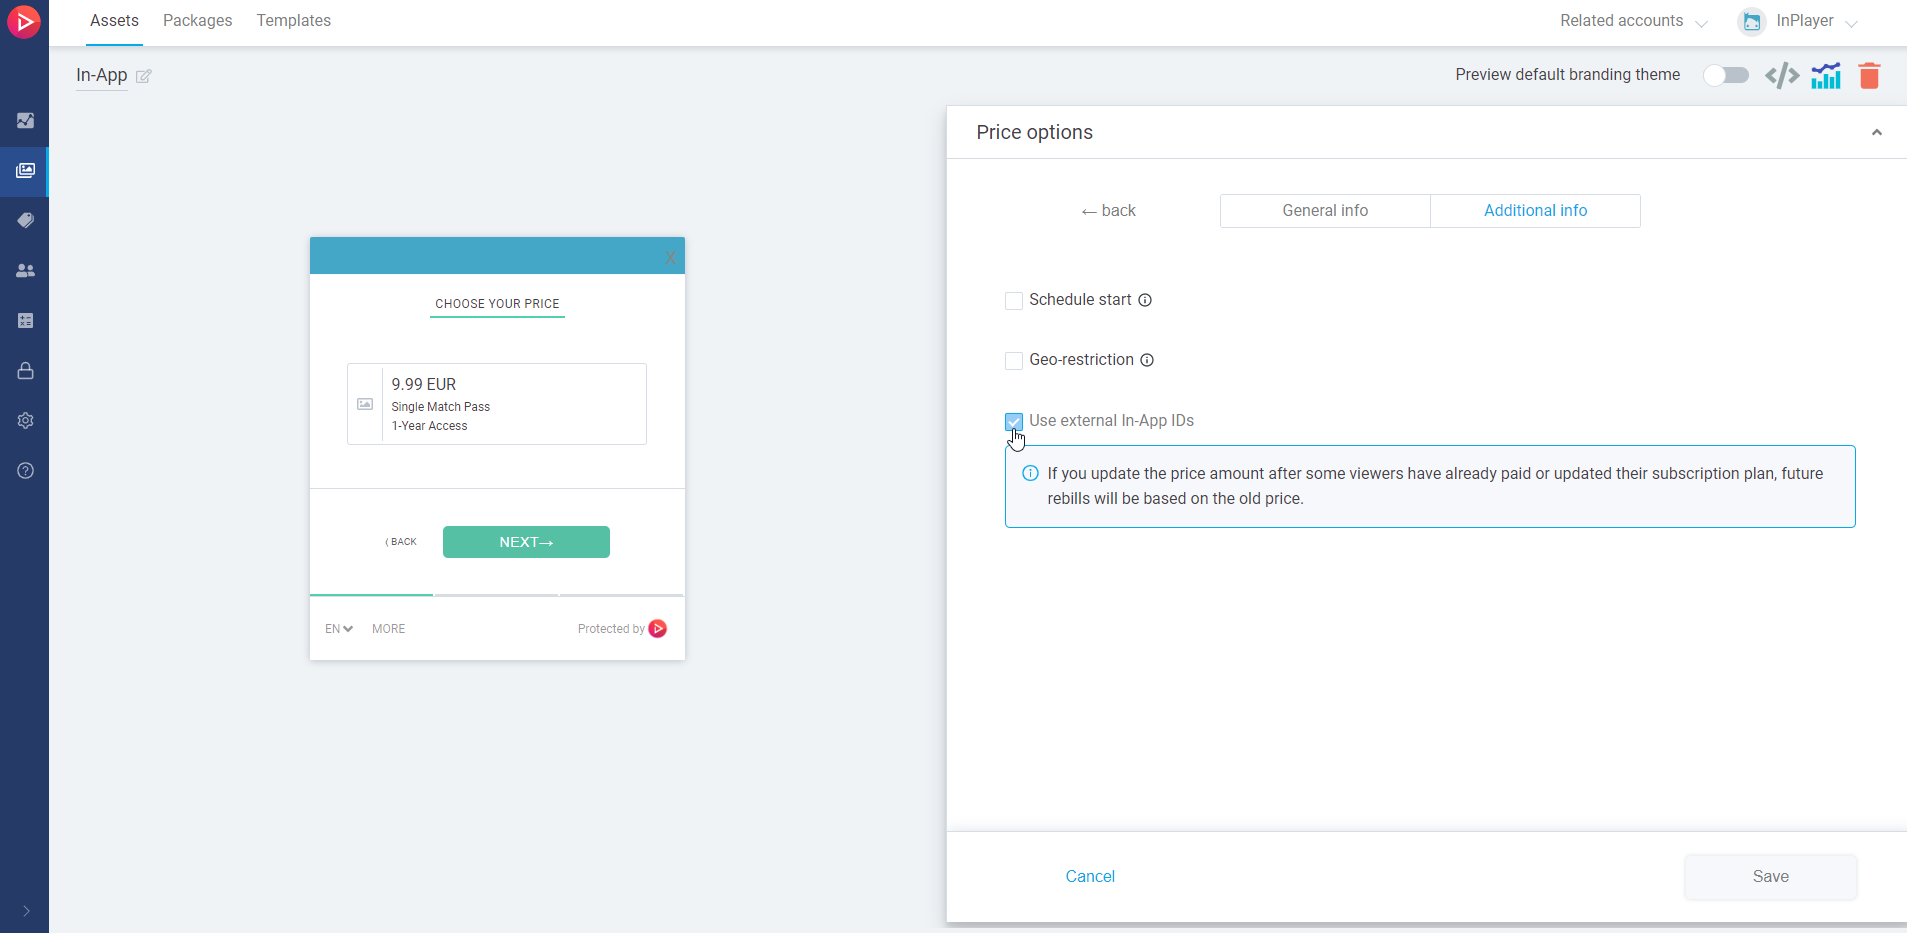
Paste the Product ID from Apple.
You can only have a single in-app purchase (i.e. price option) for each individual subscription.
Click Save to save the changes.
And with that, you are done.
If you have any questions in regards to any of this, don’t hesitate to contact us at clients@inplayer.com.
You can also visit Apple’s In-app purchase information page for more information.