With Segmentation, you can see lists and create audience reports based upon various characteristics. This way of segmenting viewers is mainly aimed at providing useful data for reducing churn and increasing retention, thereby eliminating the need for creating reports for this purpose manually.
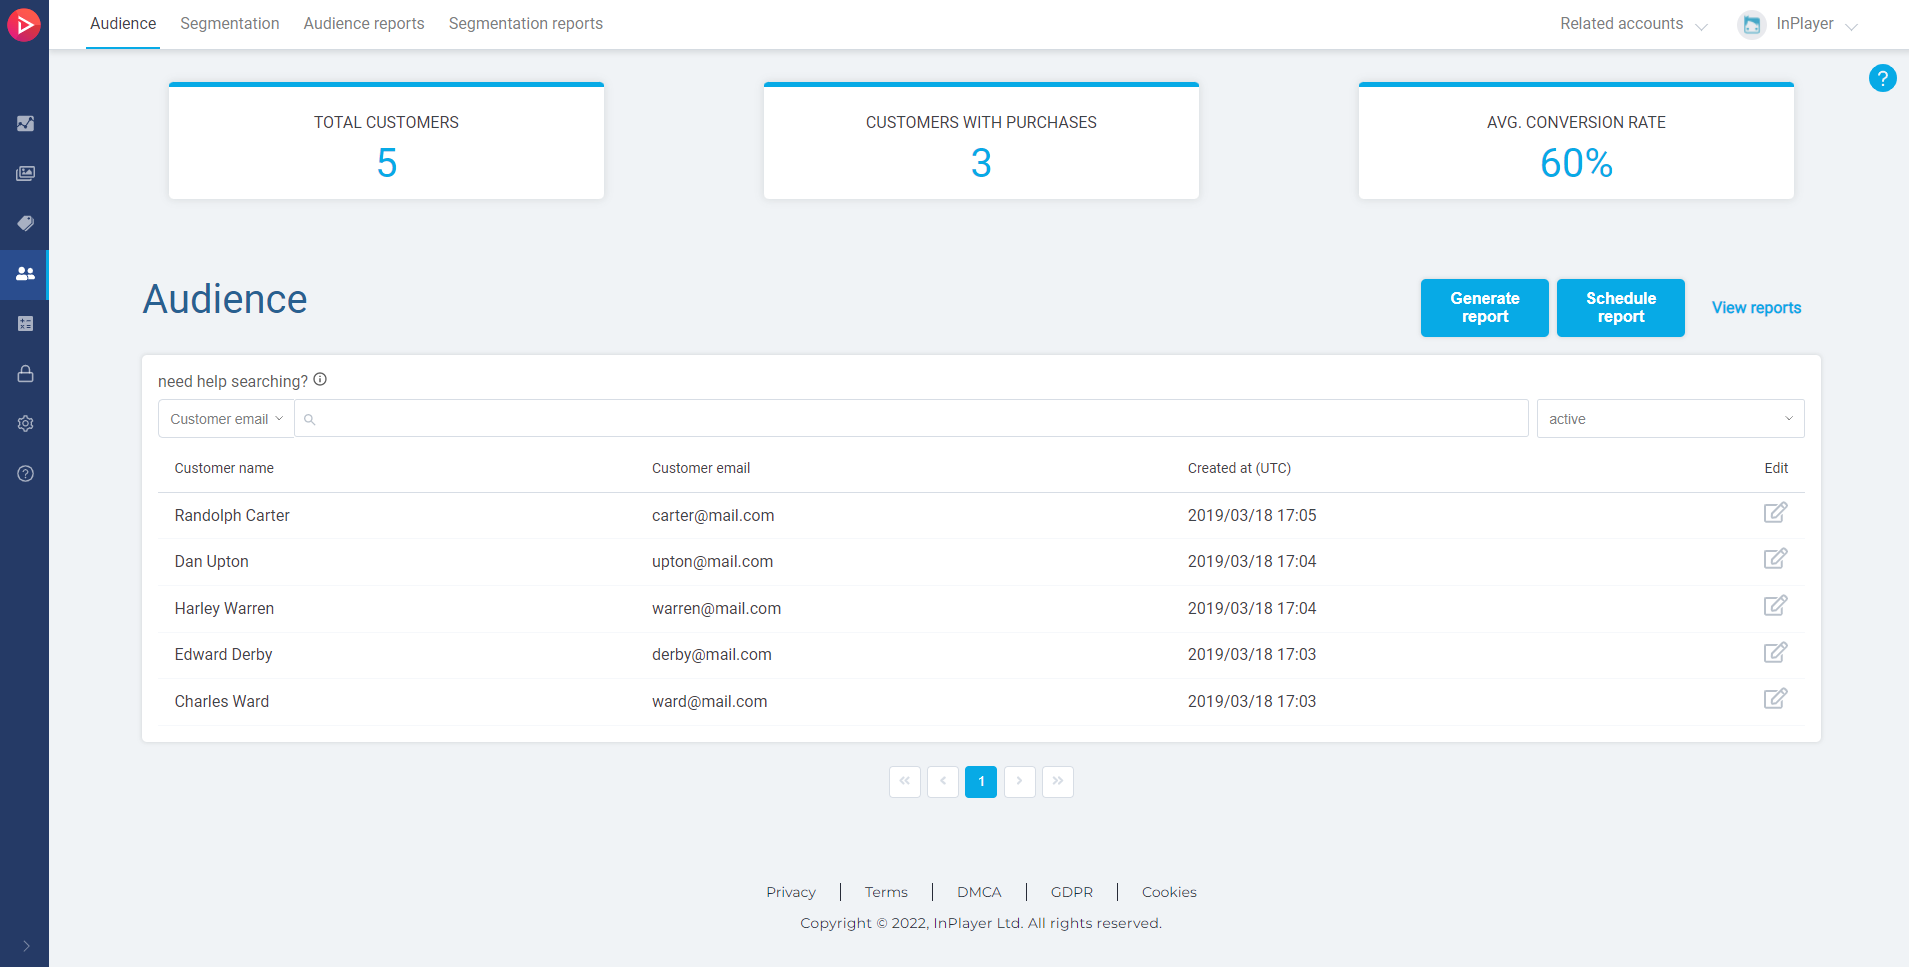
You will find the Segmentation tab in the Audience section of the InPlayer Dashboard.
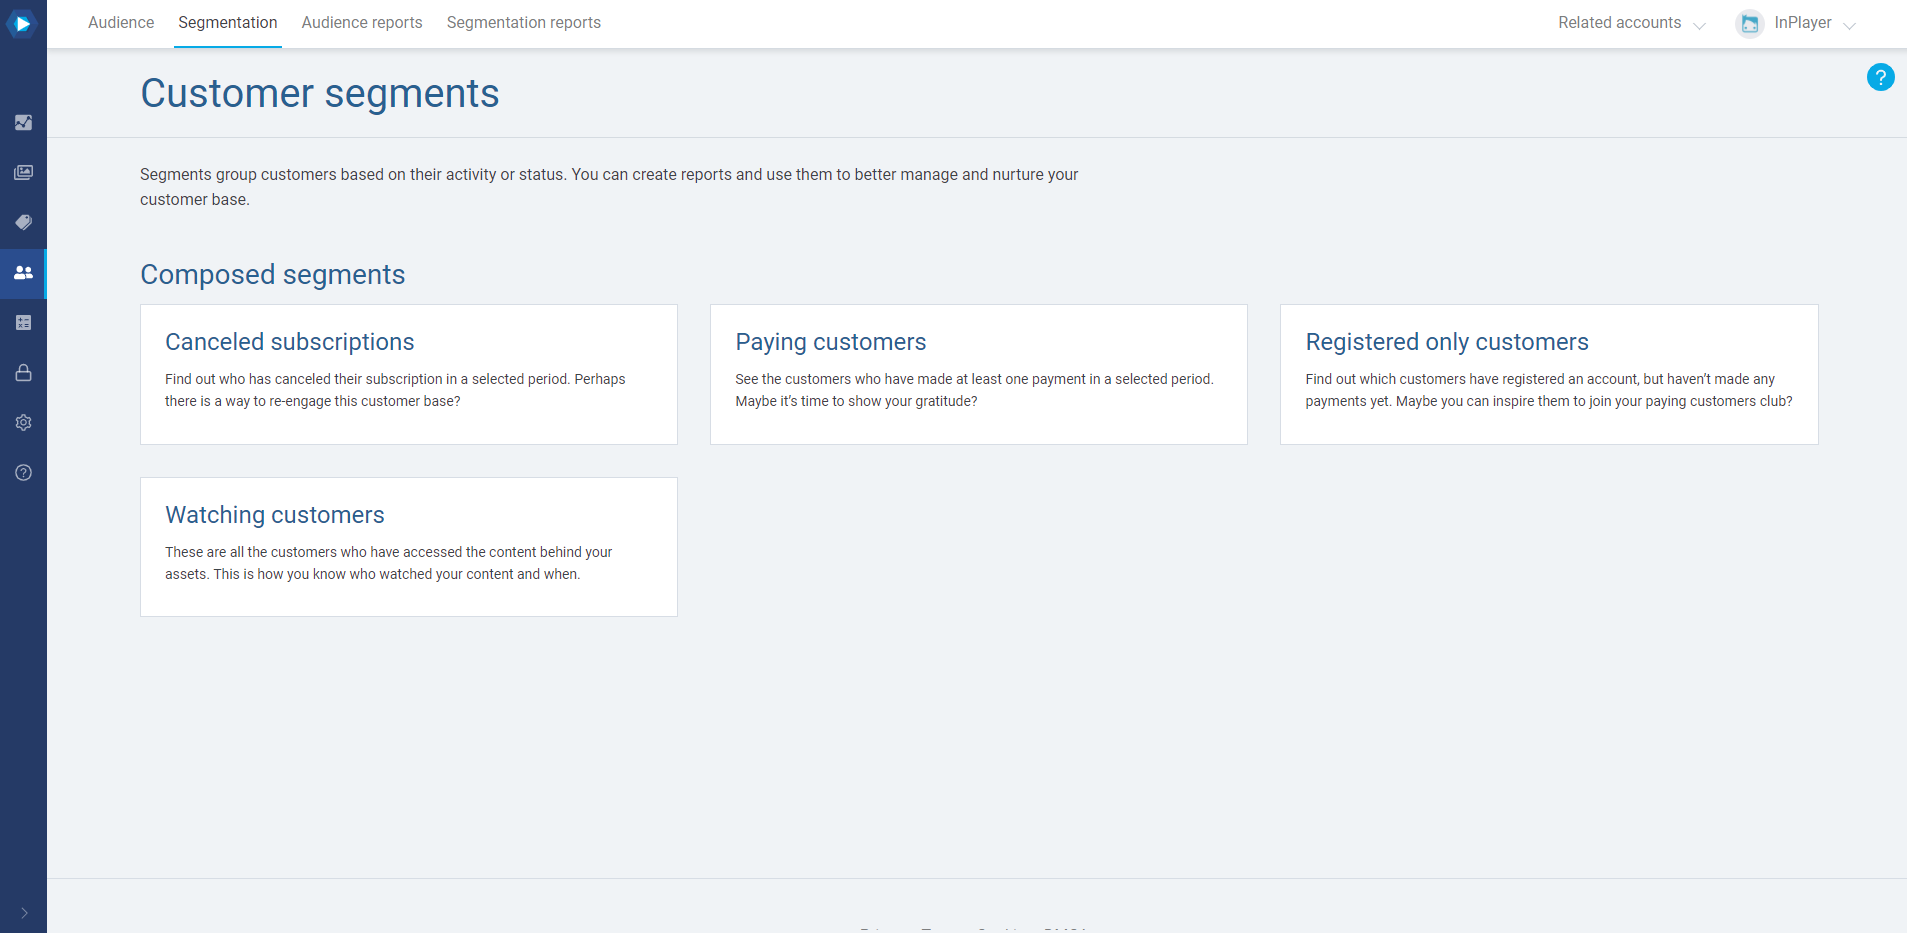
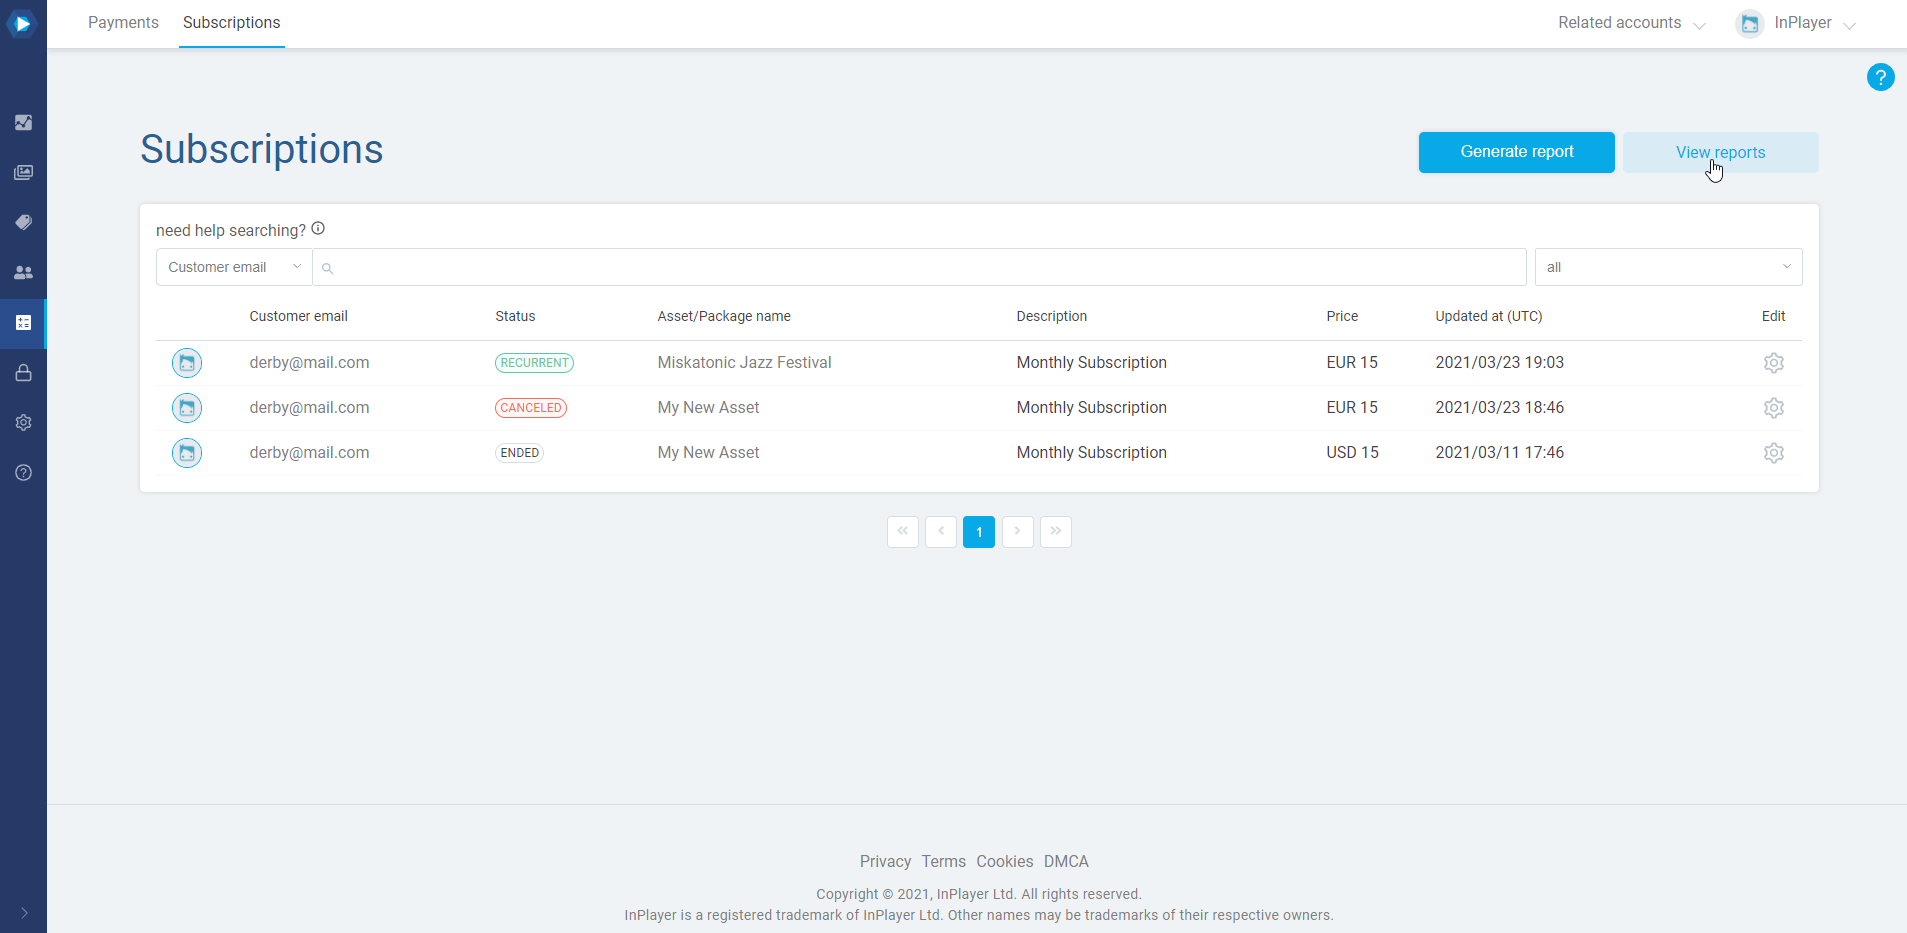
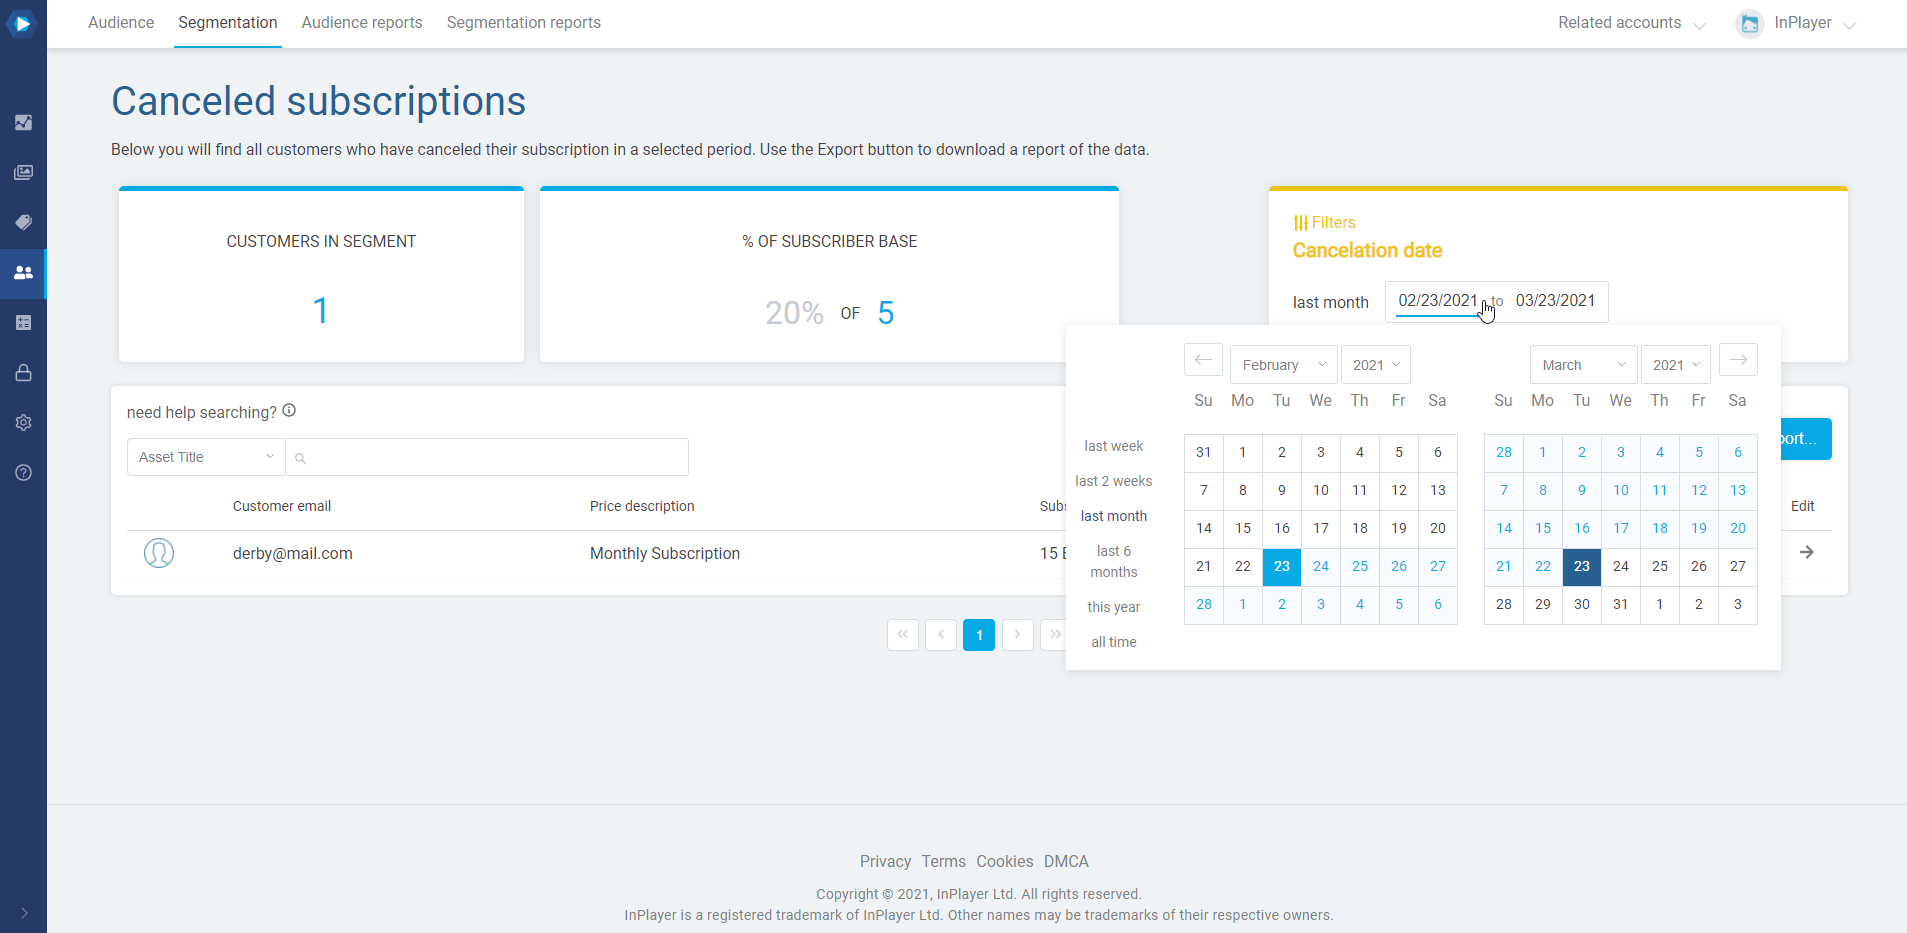
Canceled subscriptions
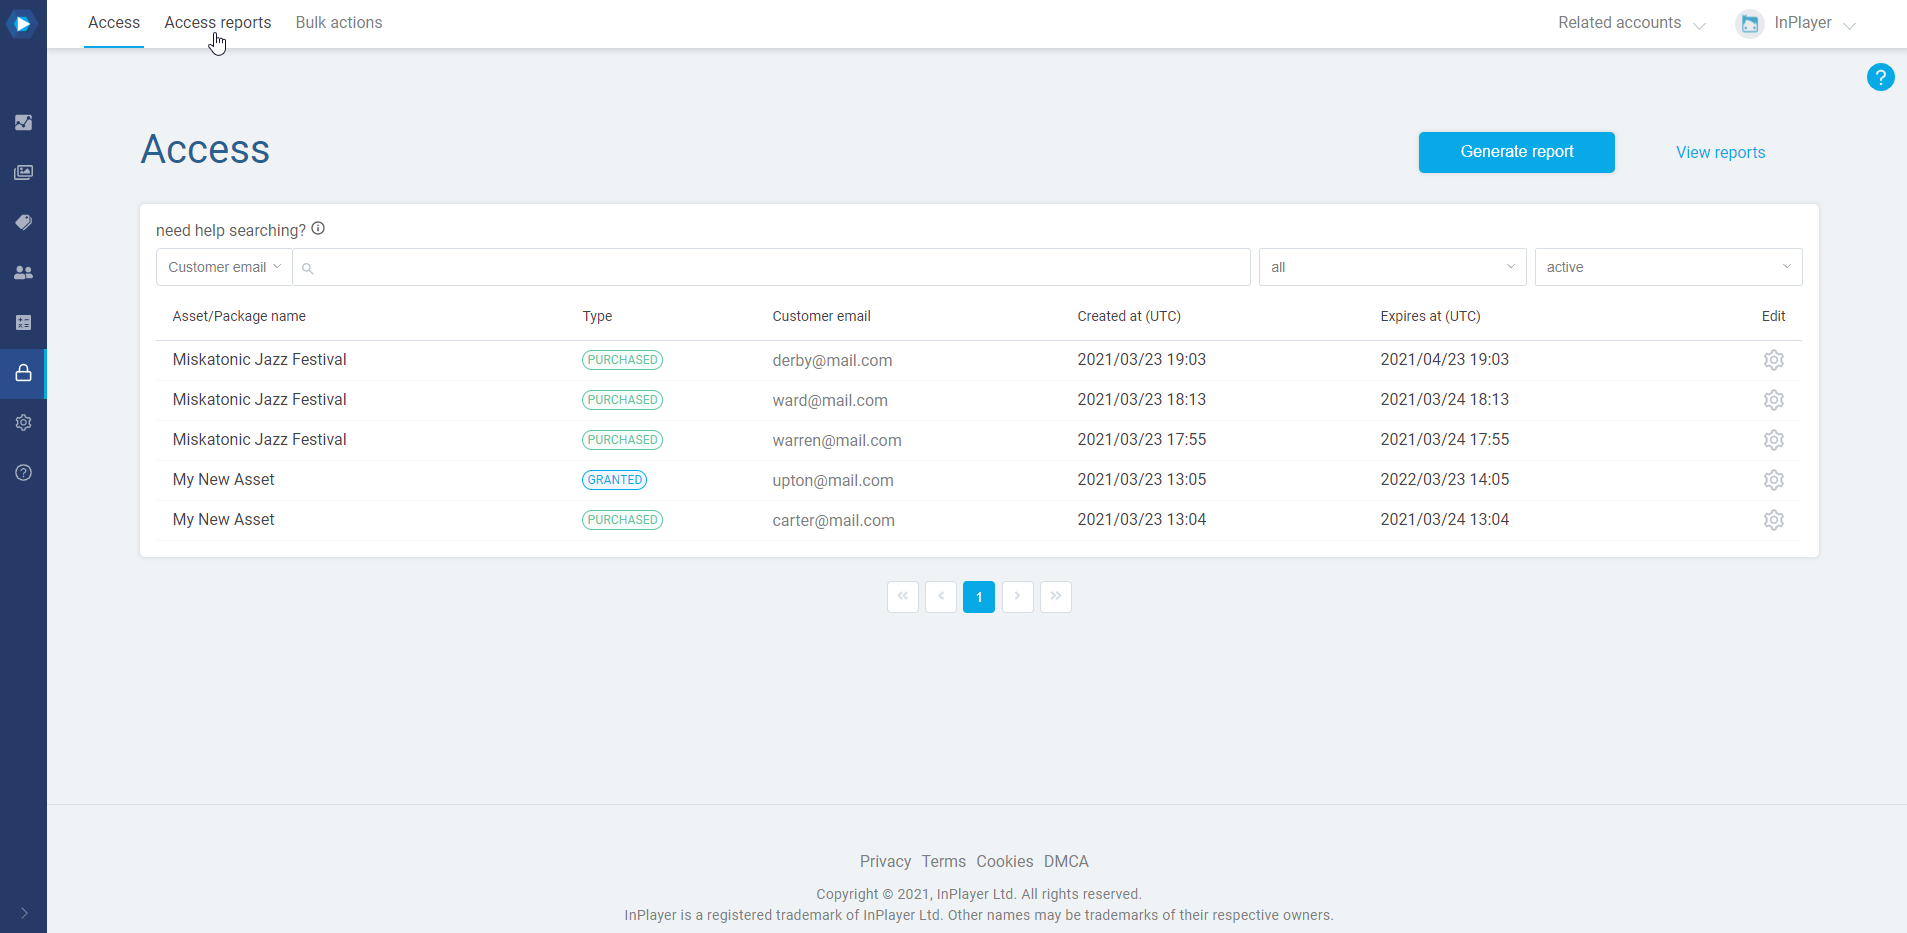
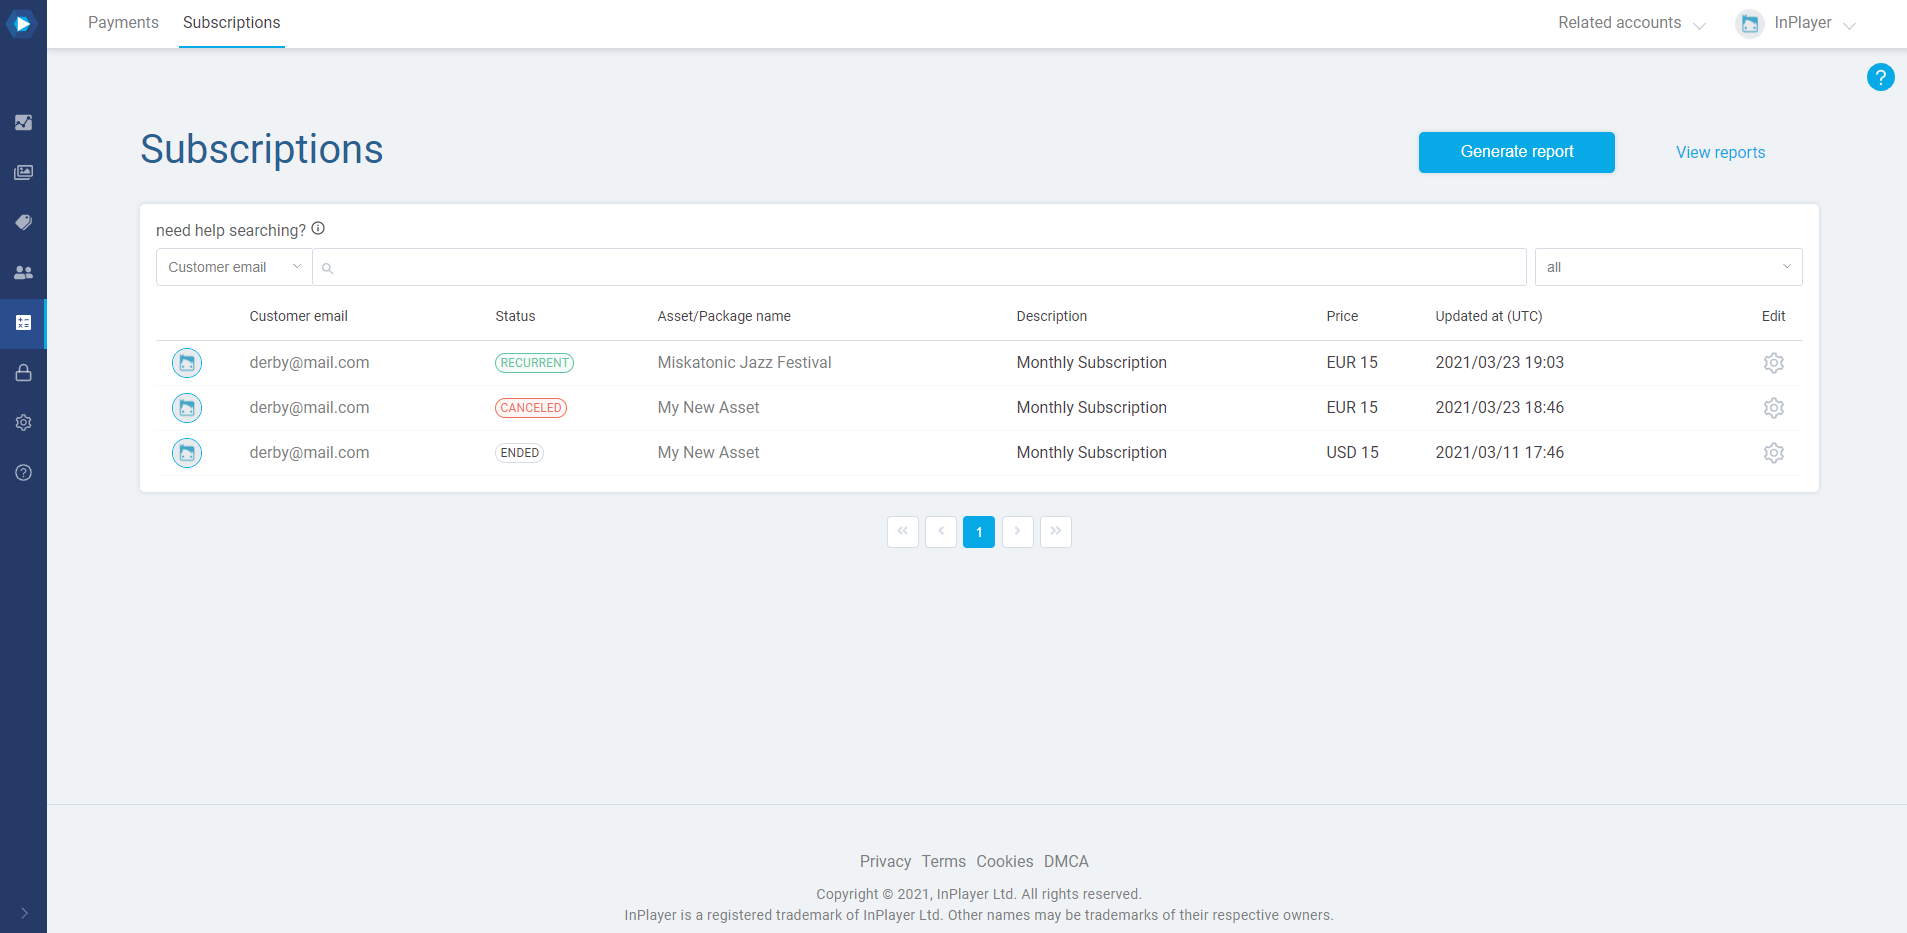
The Canceled subscriptions segment provides insight into how many and which viewers have canceled their subscriptions in a given time period.

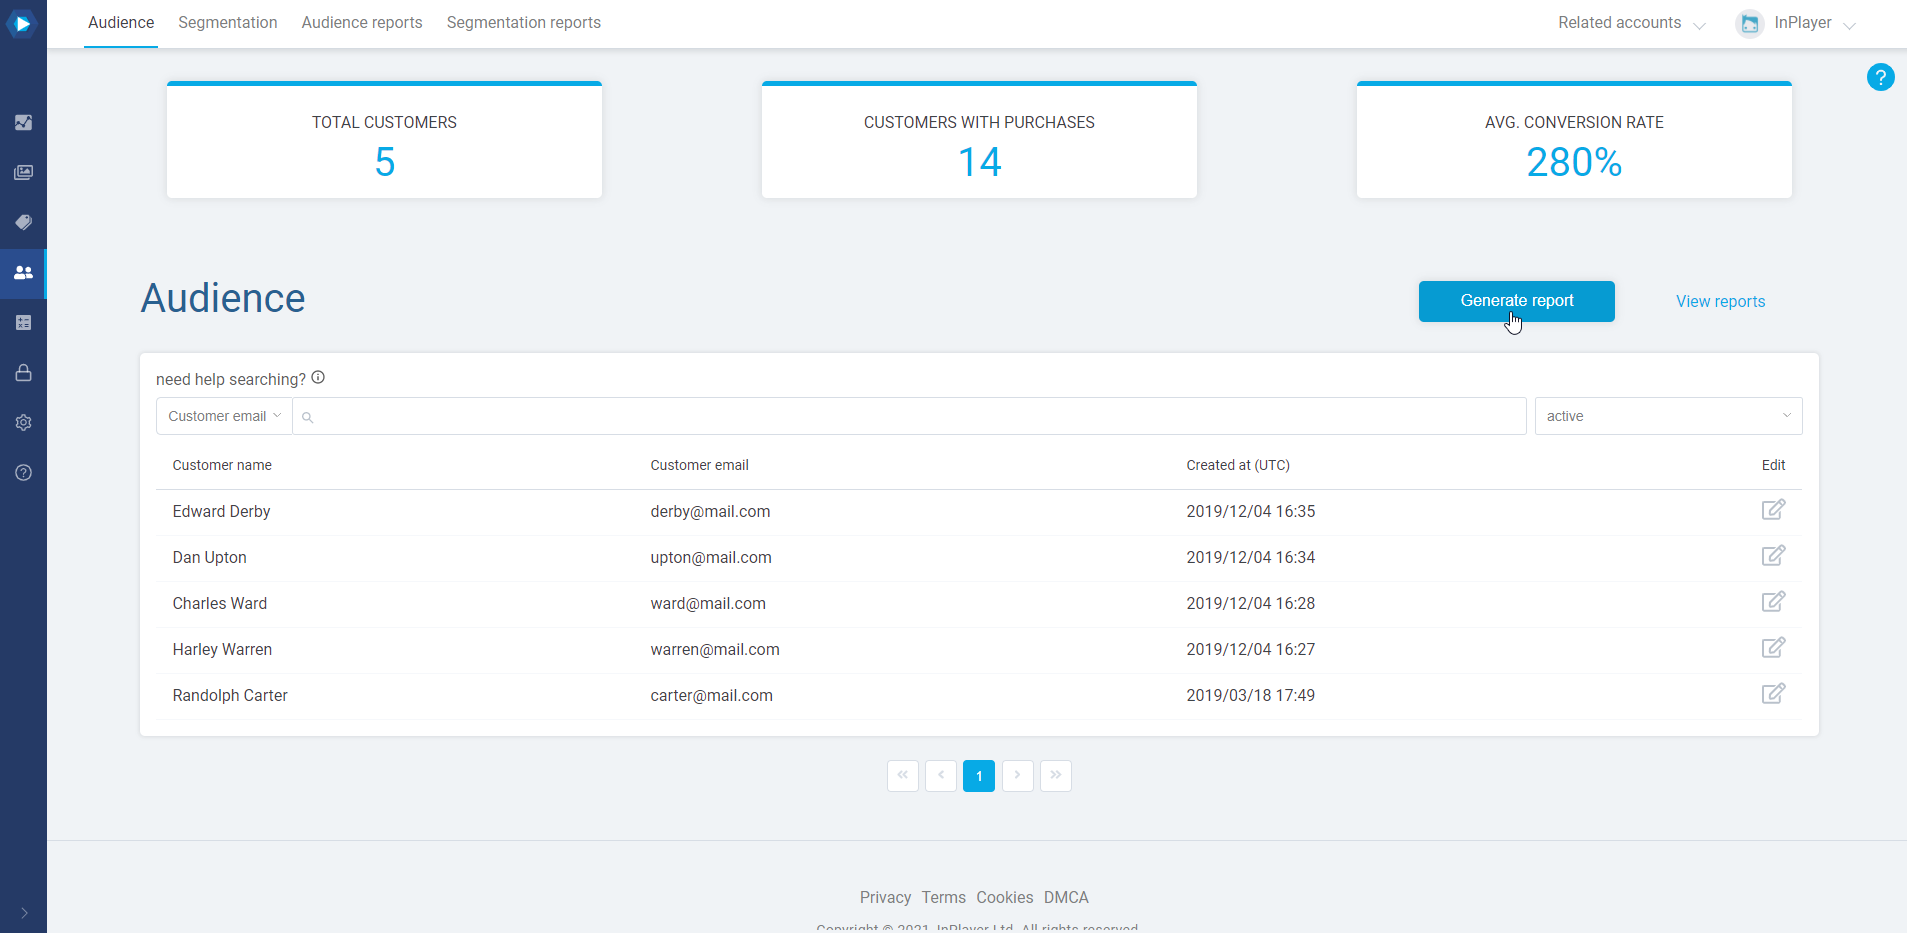
To see a list of viewers who have canceled their subscriptions in a particular time period, just select the period in the filters section.
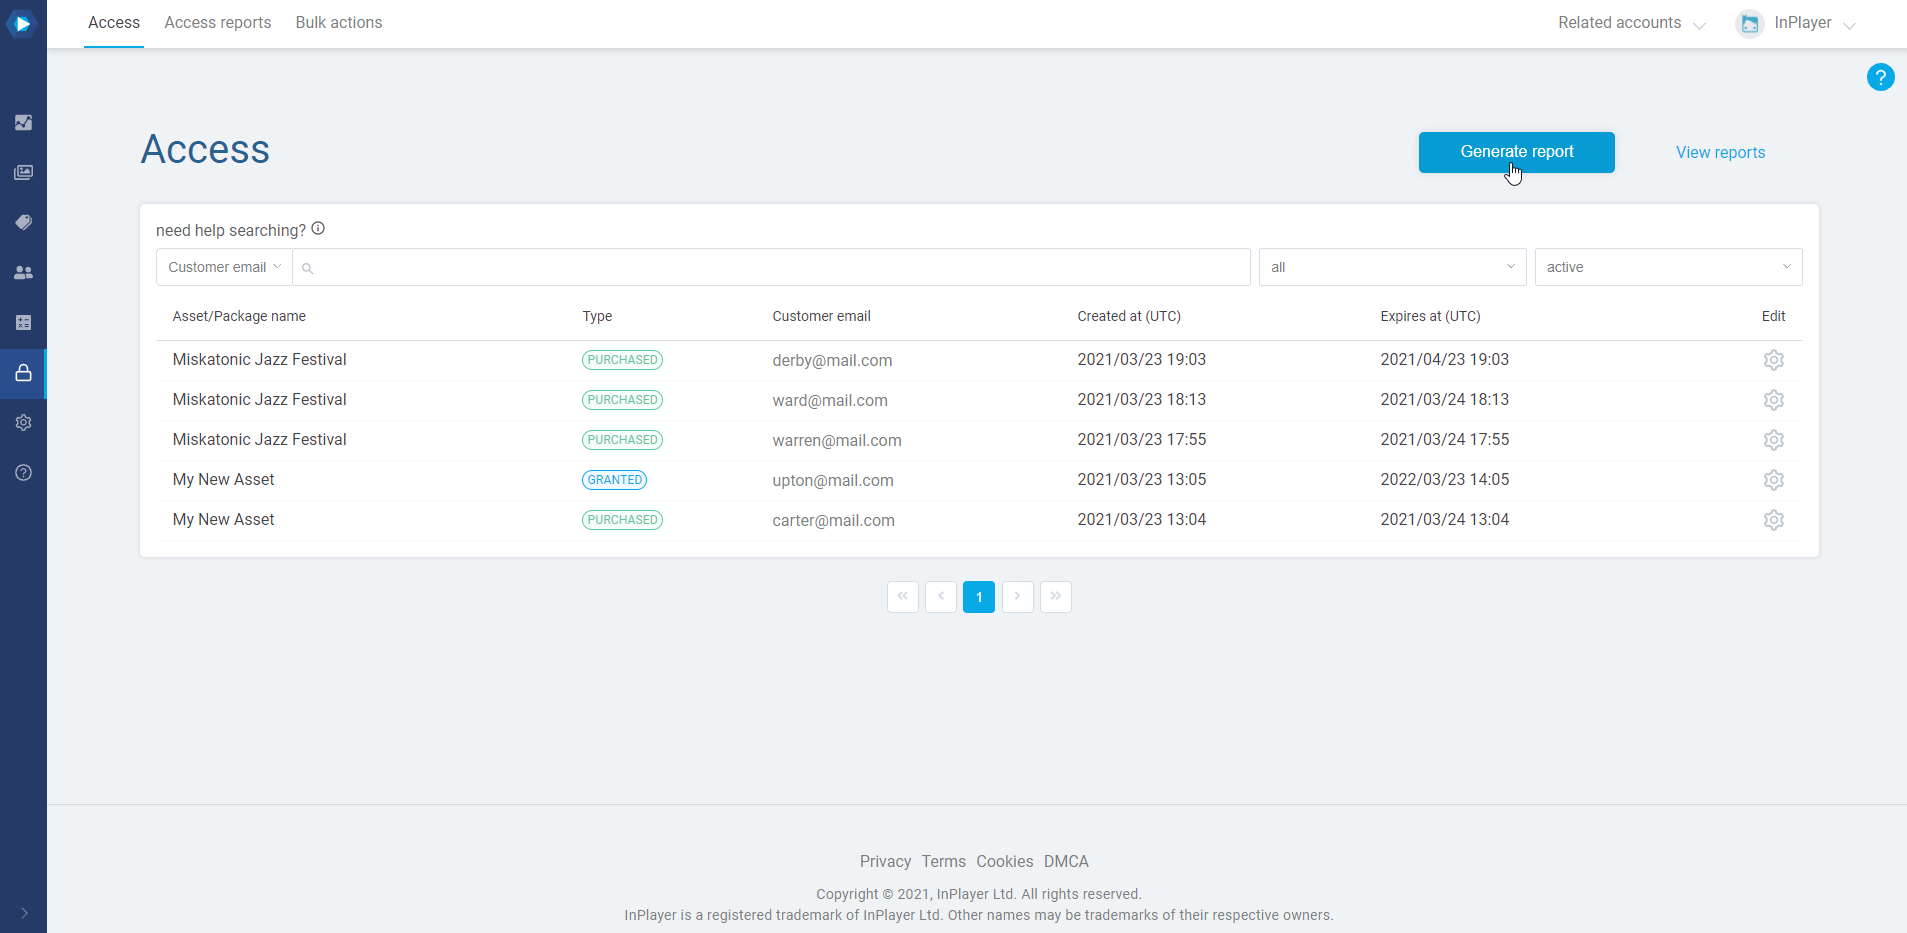
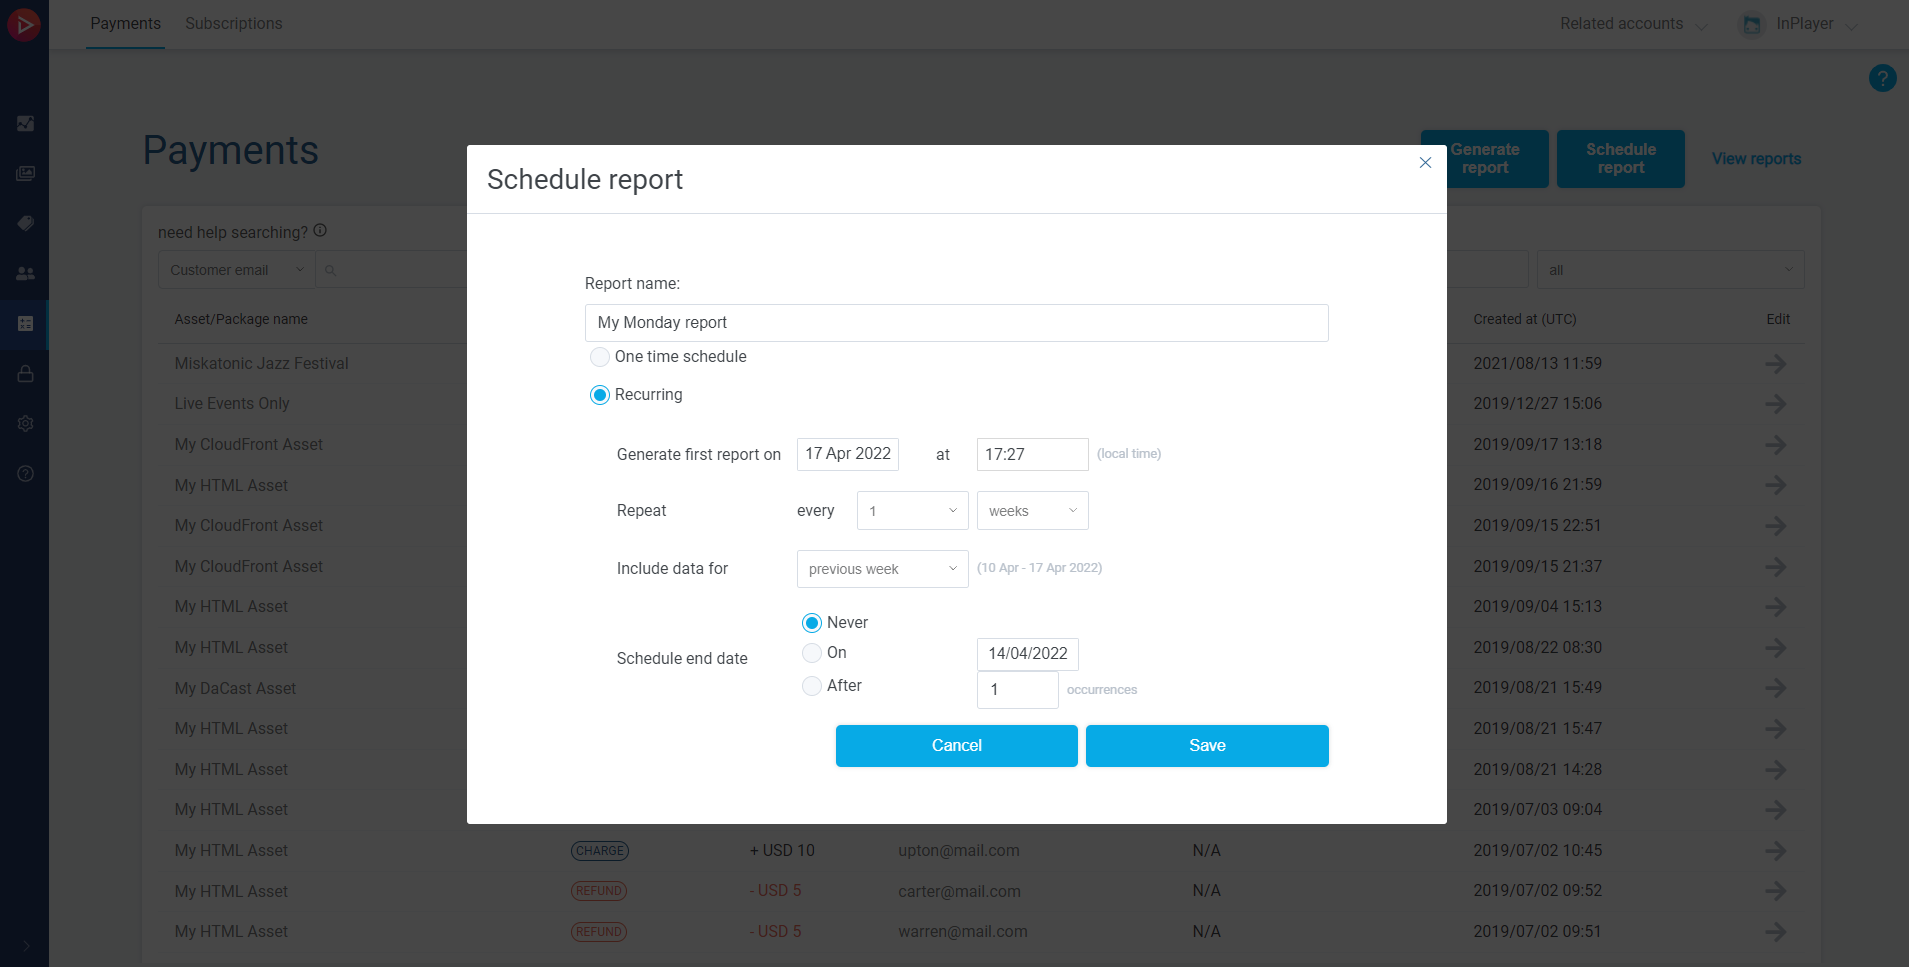
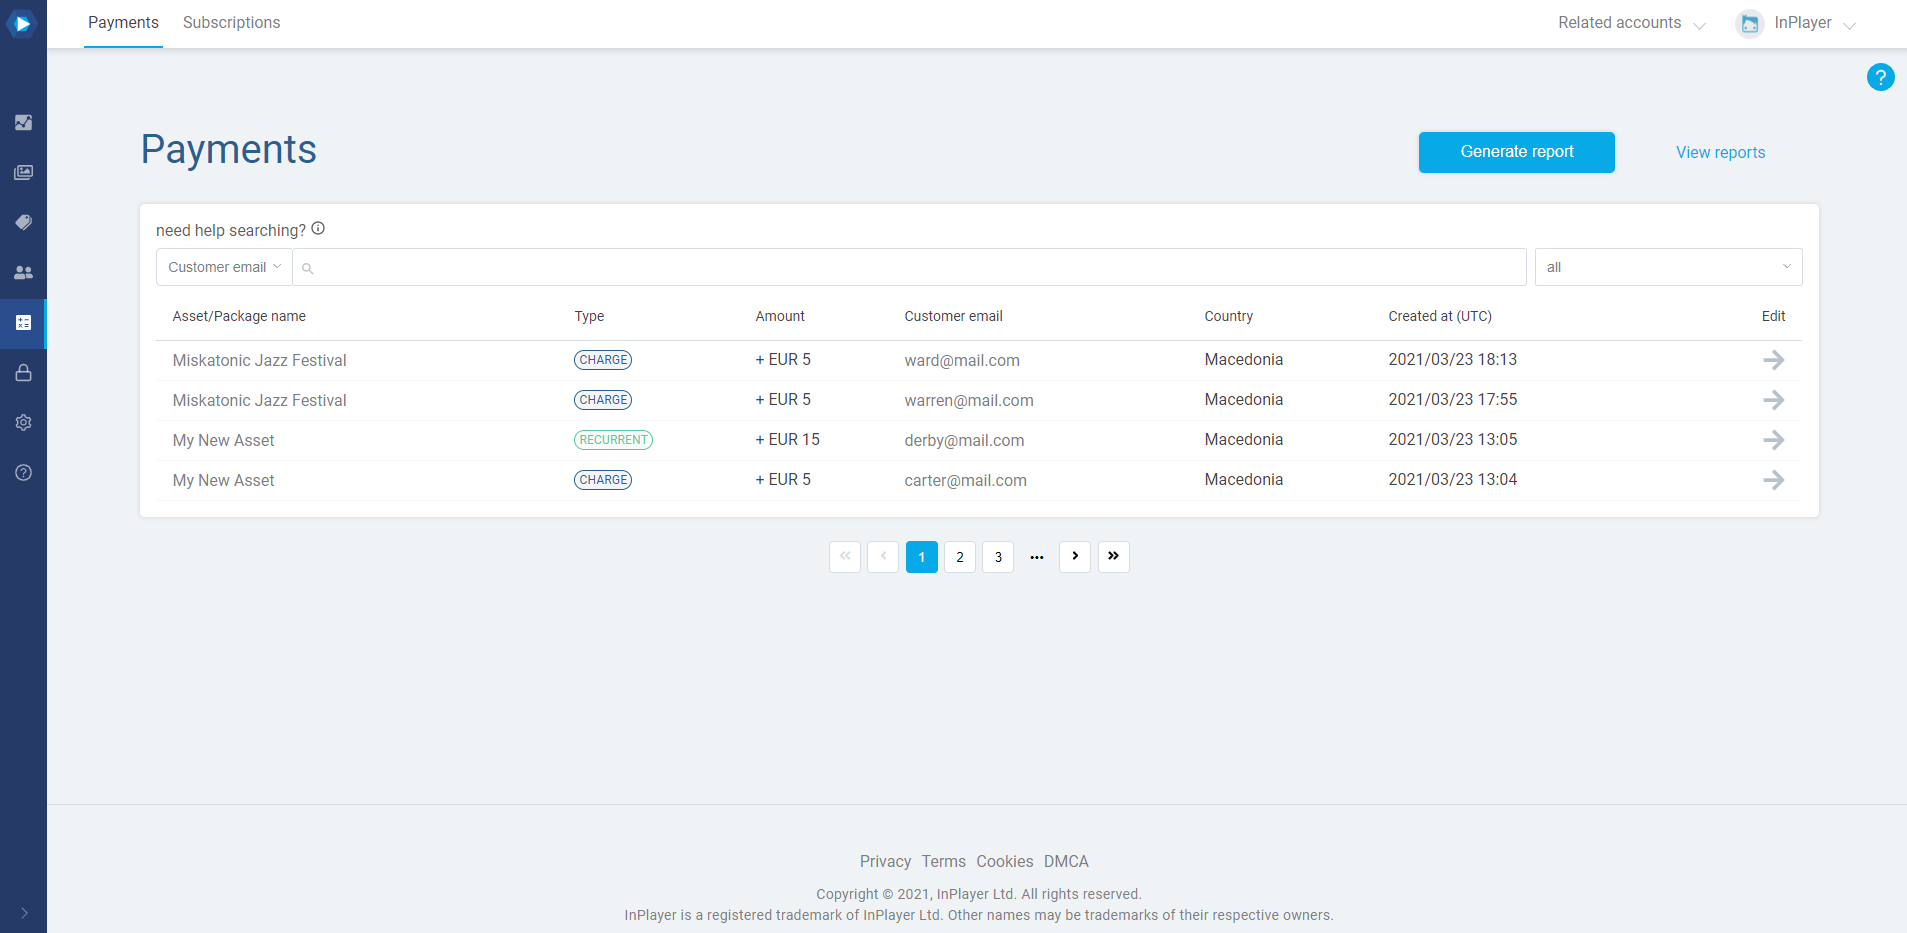
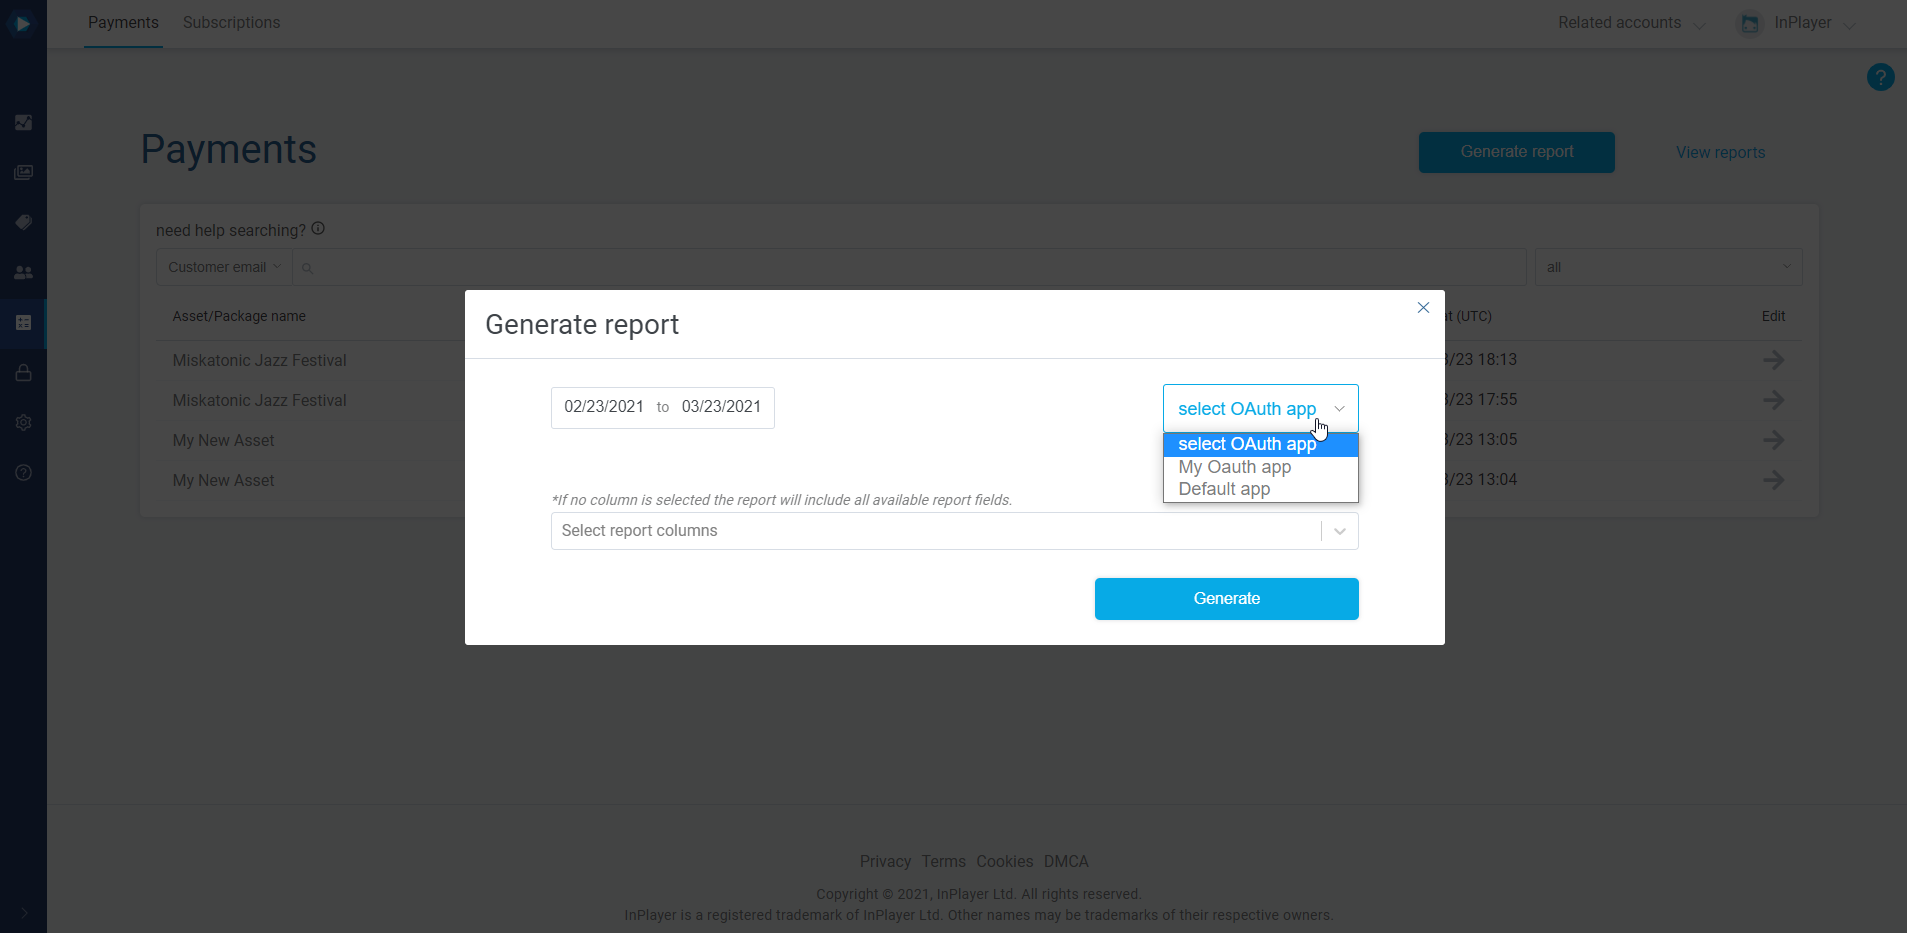
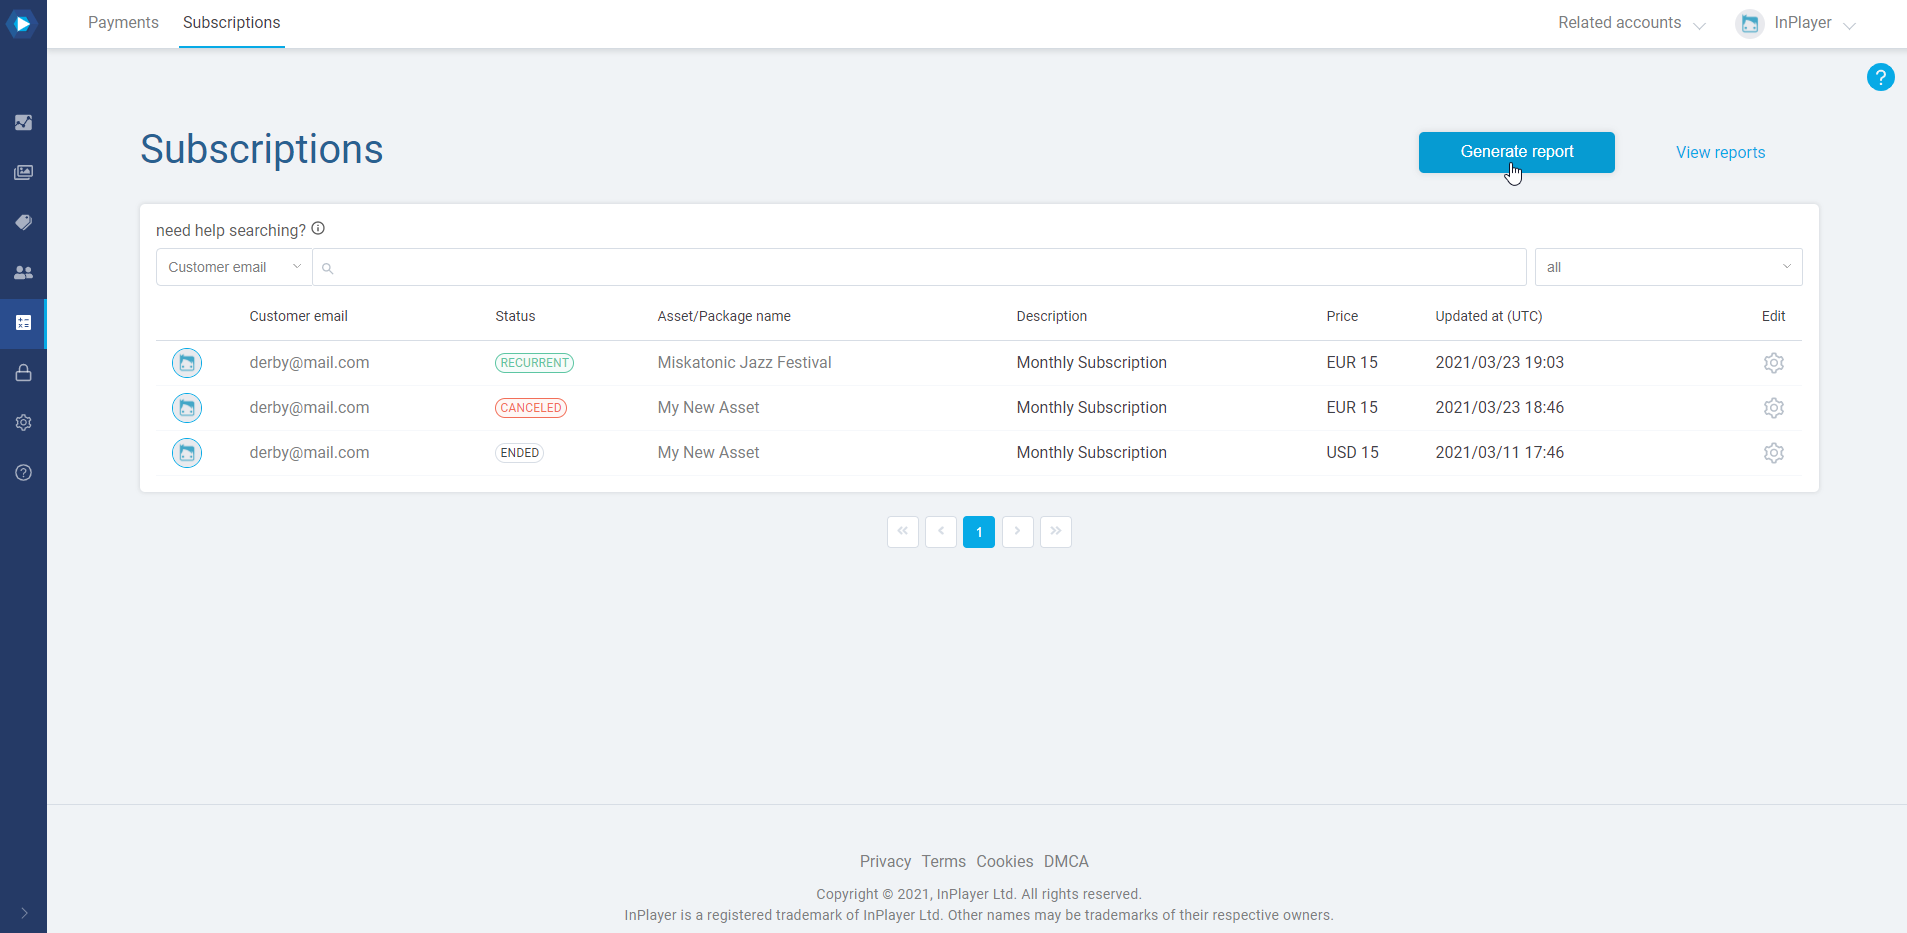
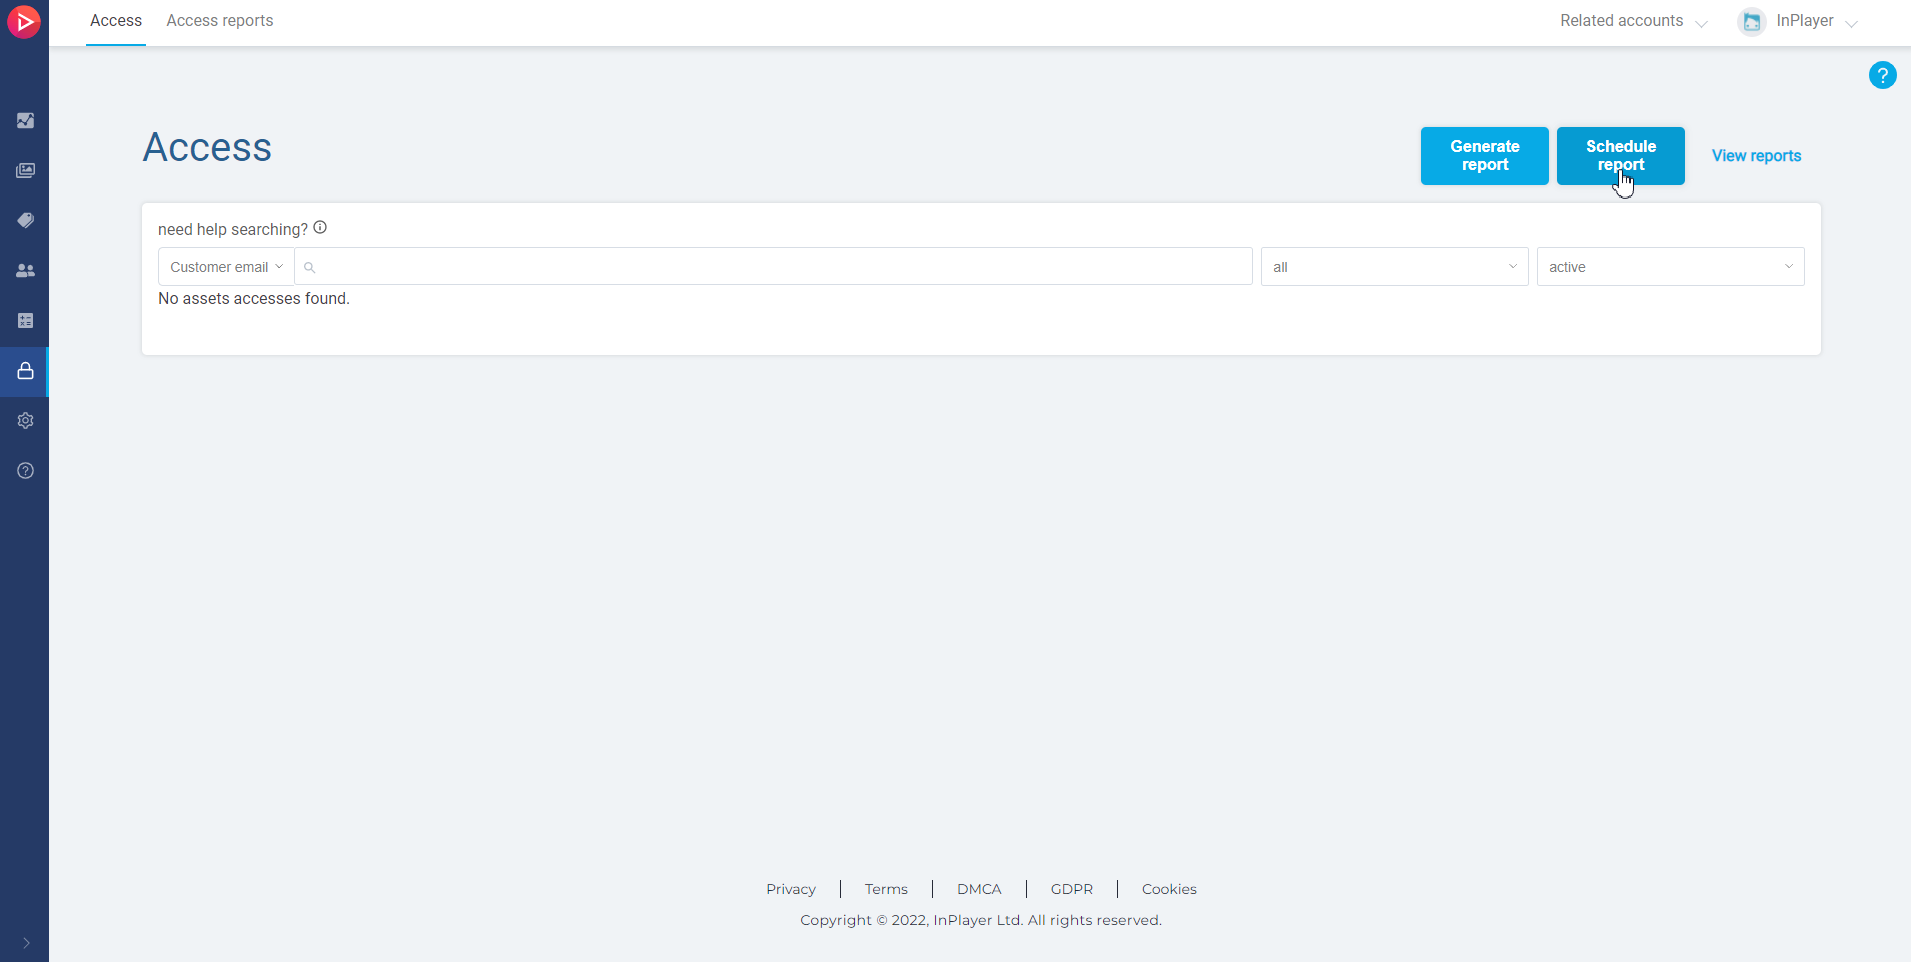
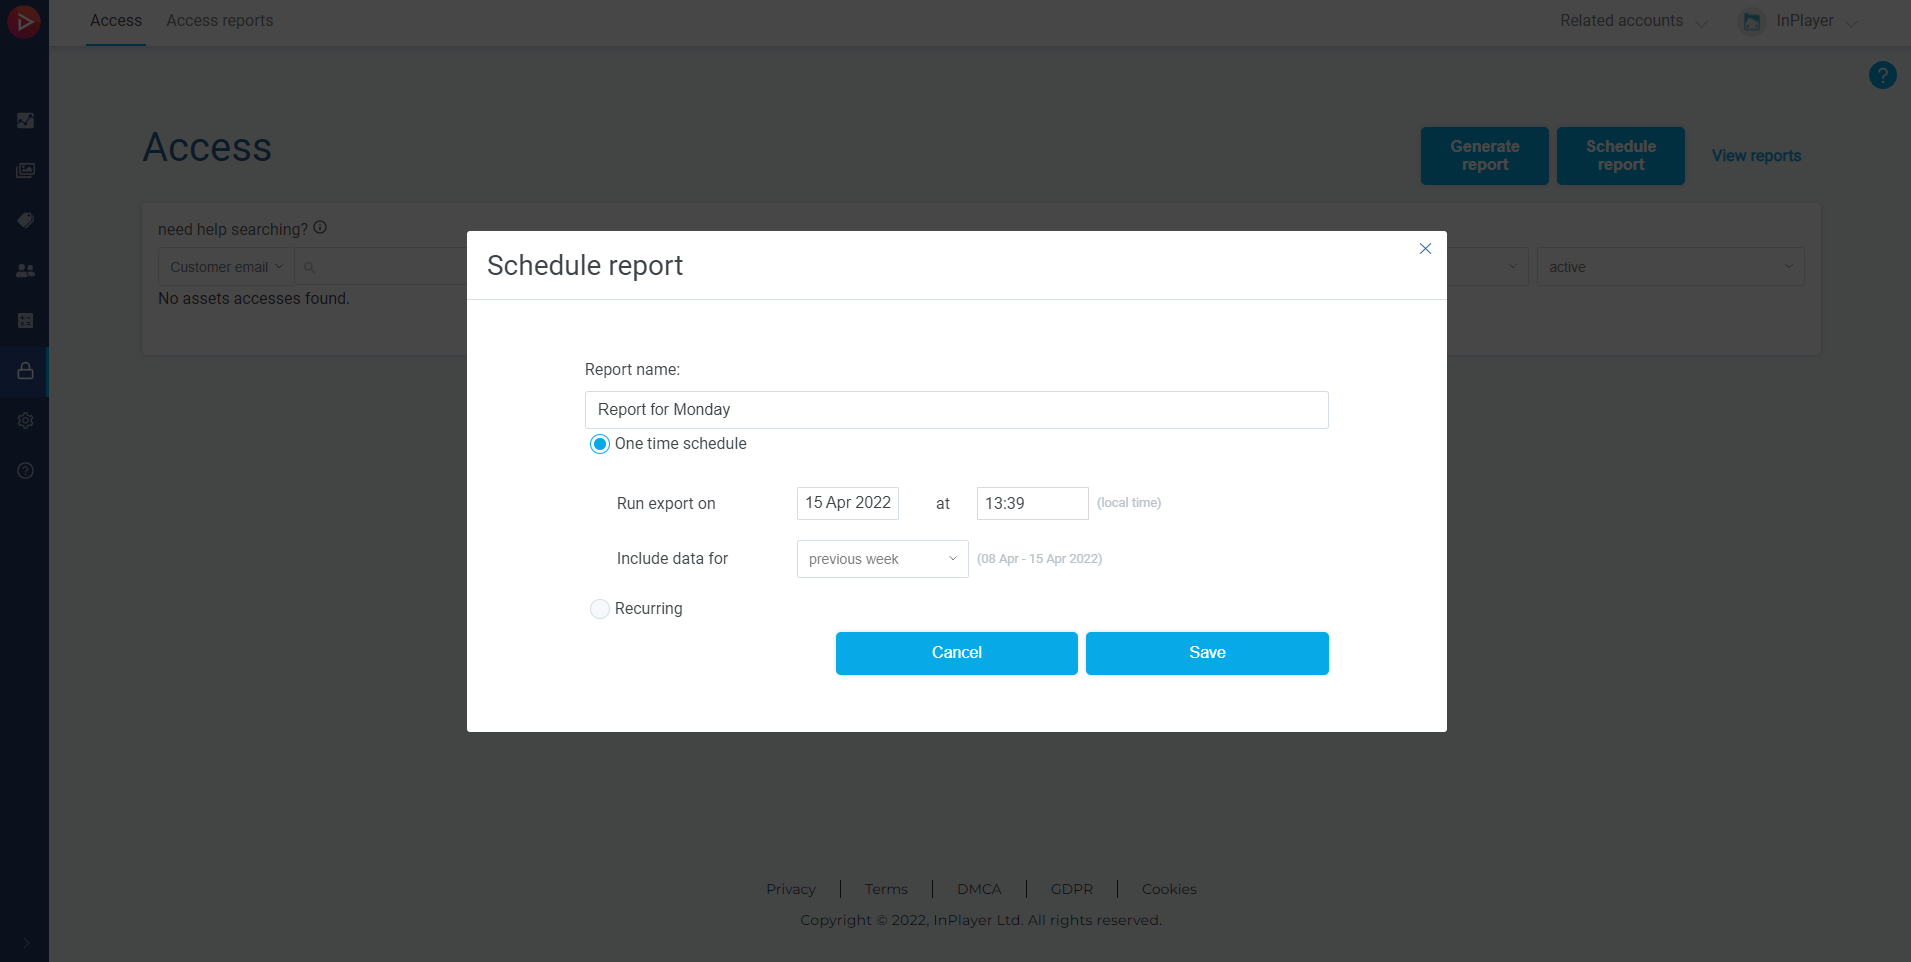
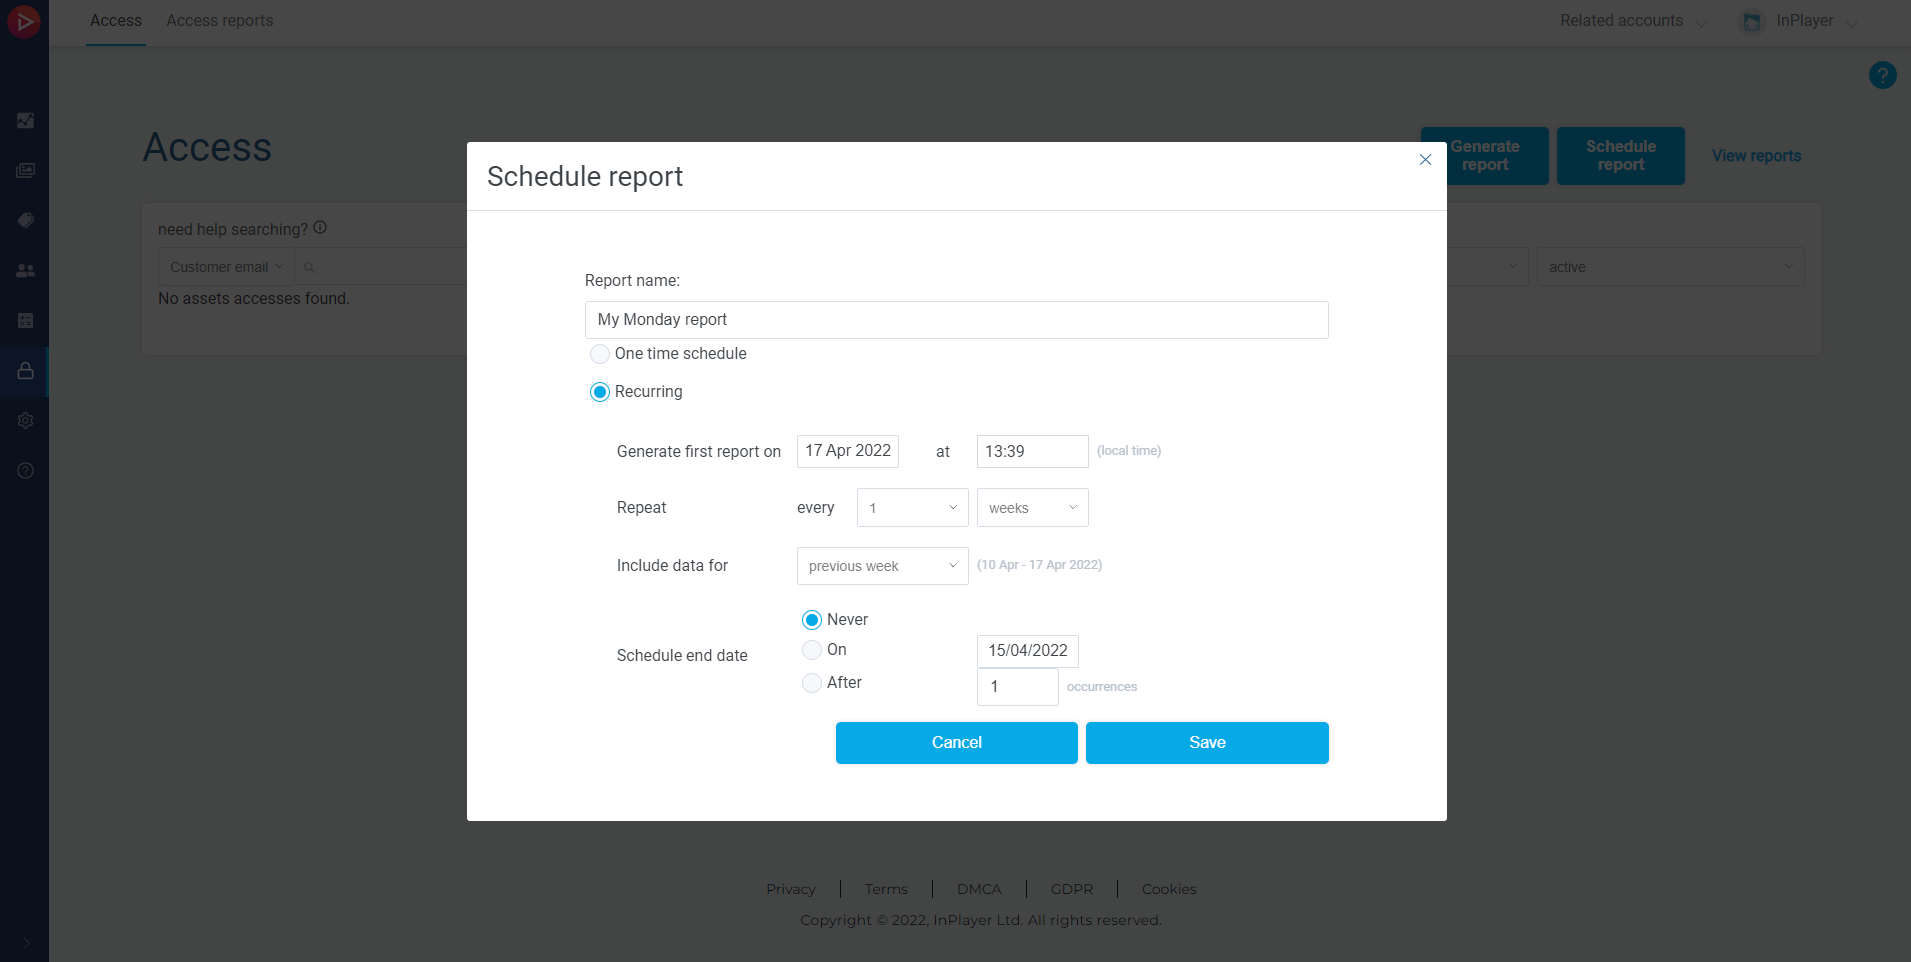
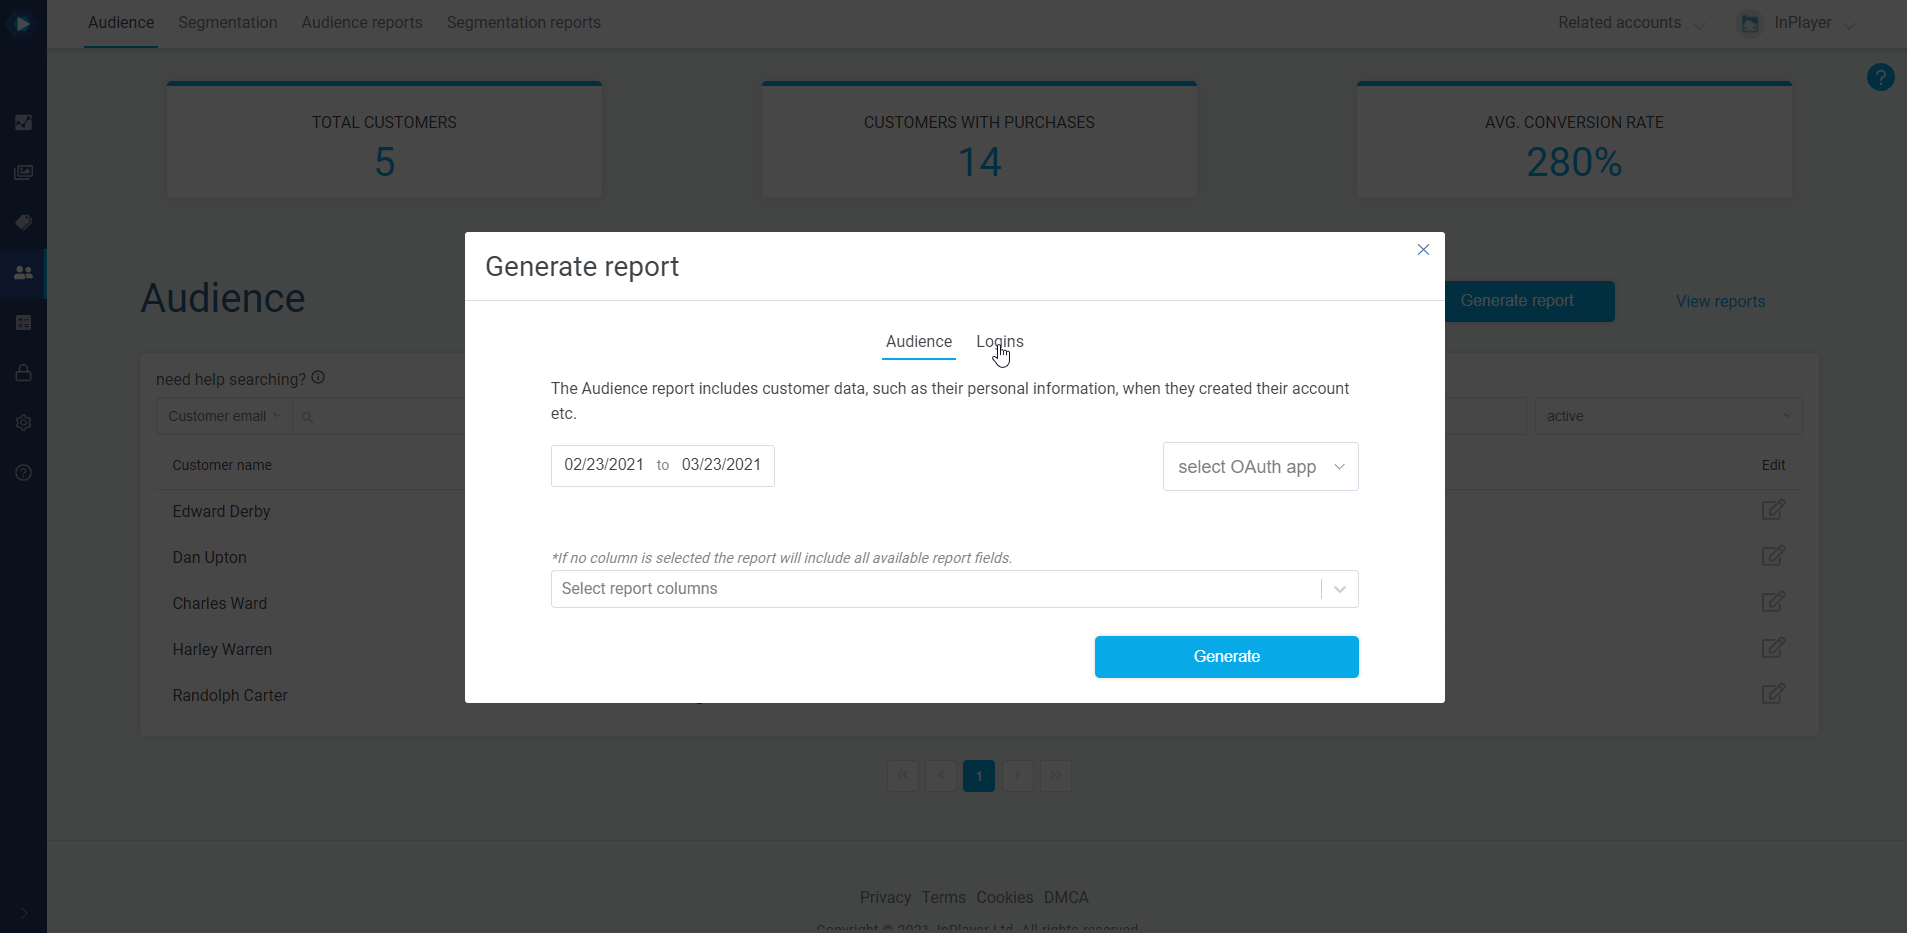
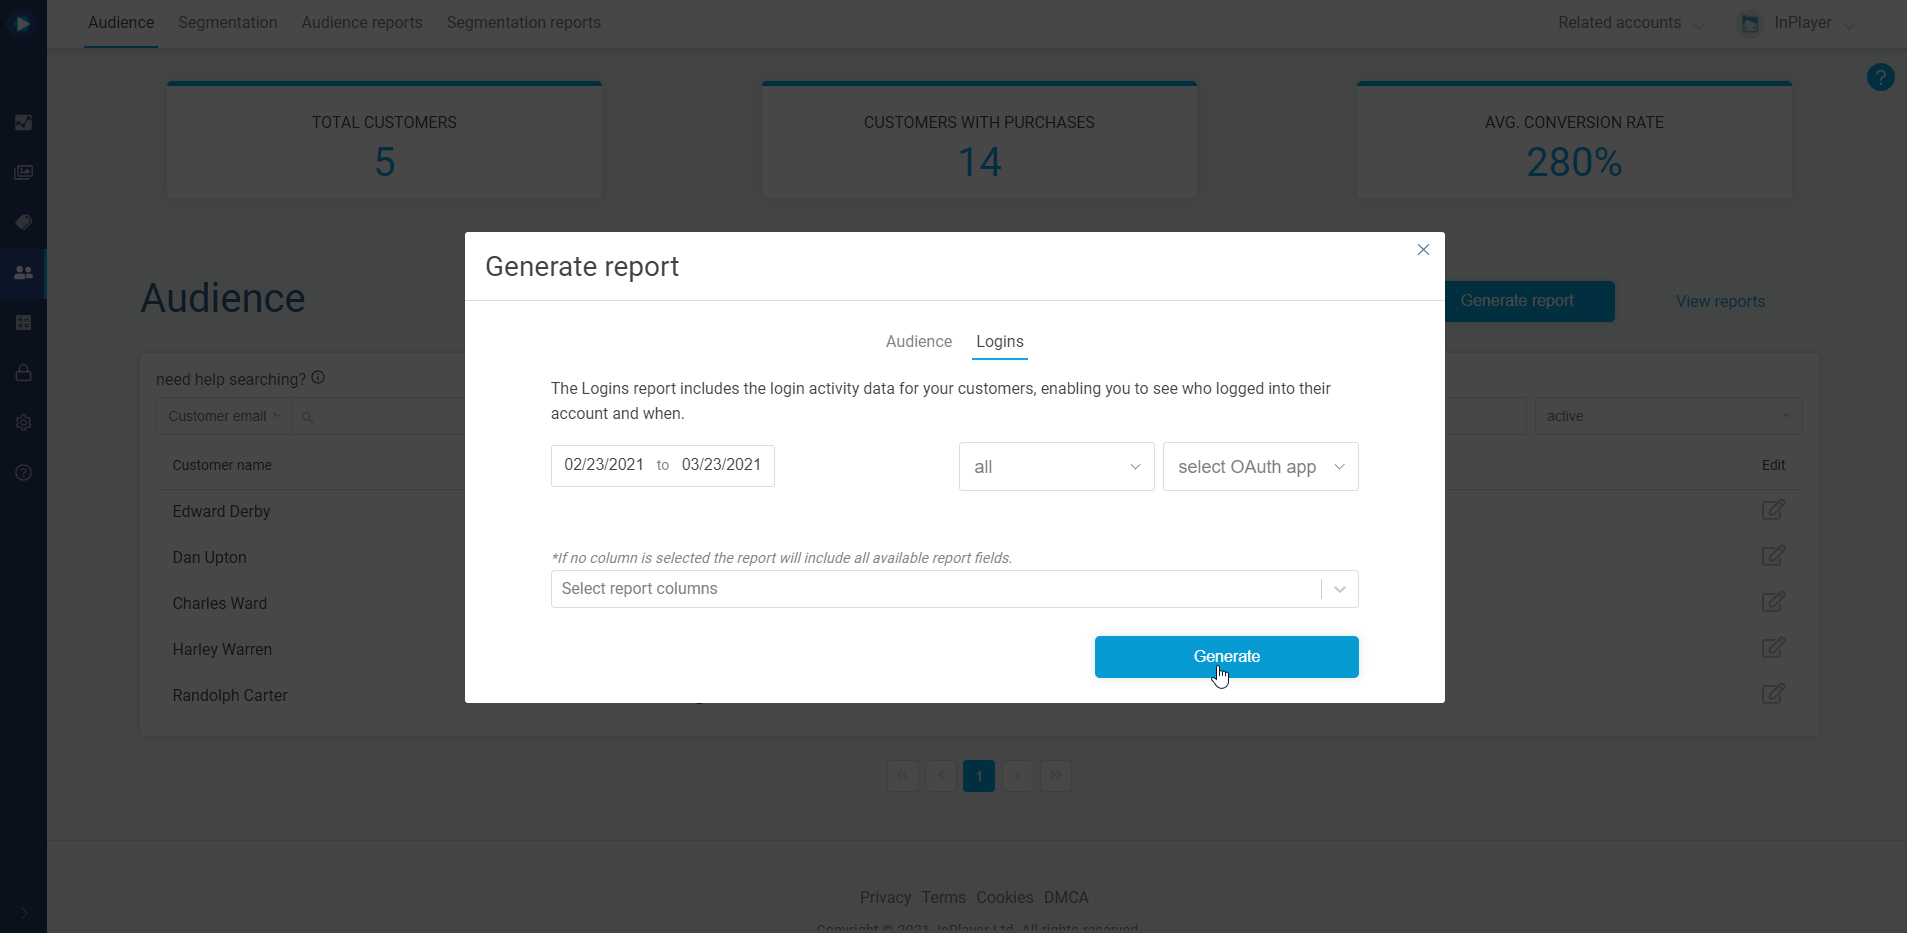
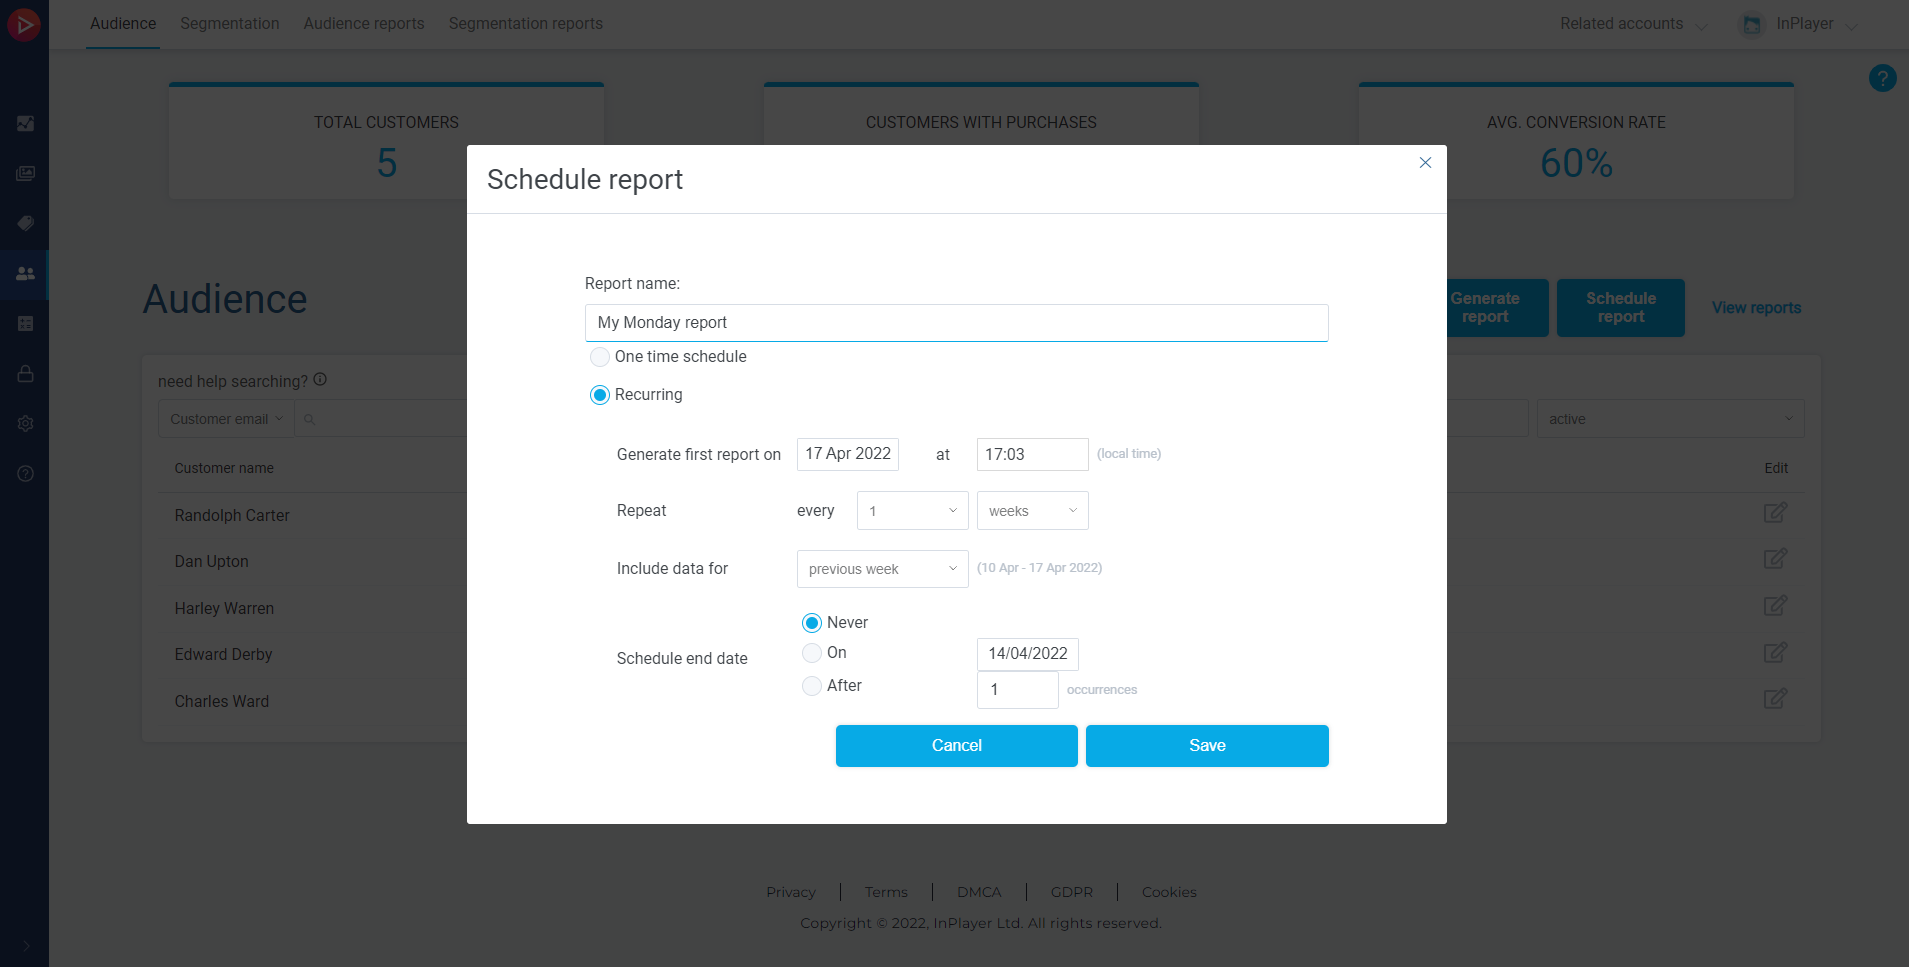
You can also export a list as a CSV file. To do so, click the Export button.

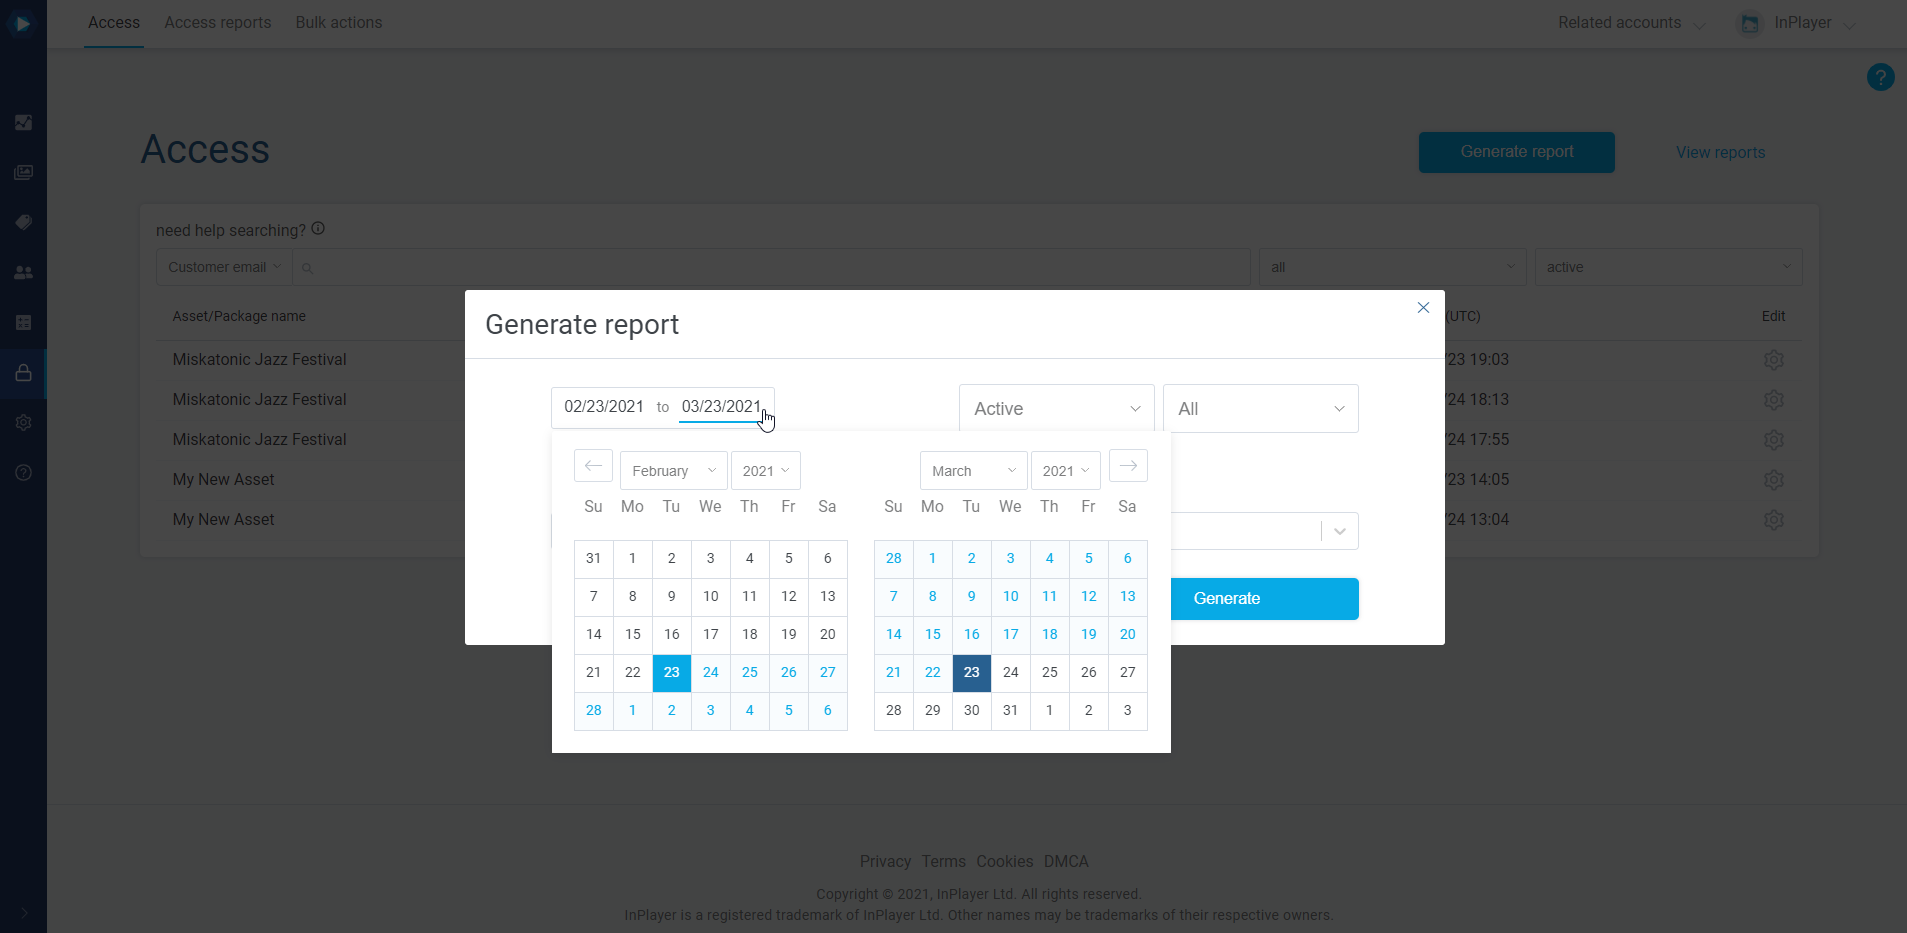
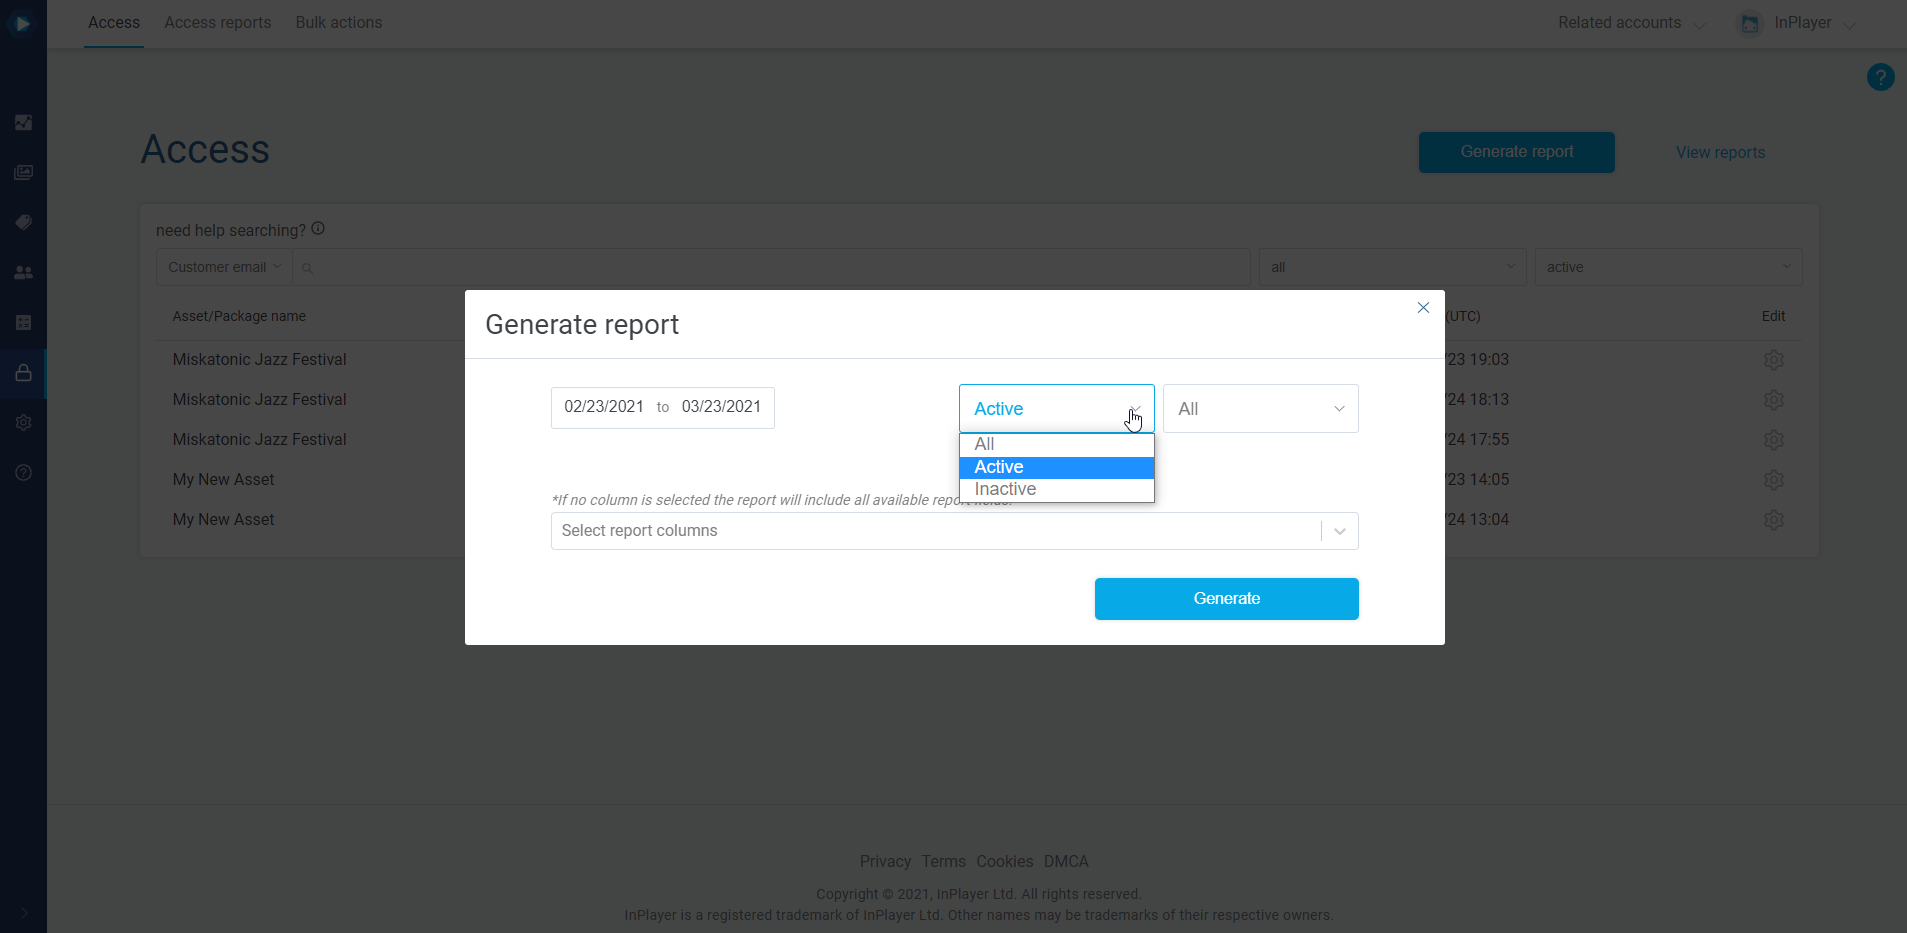
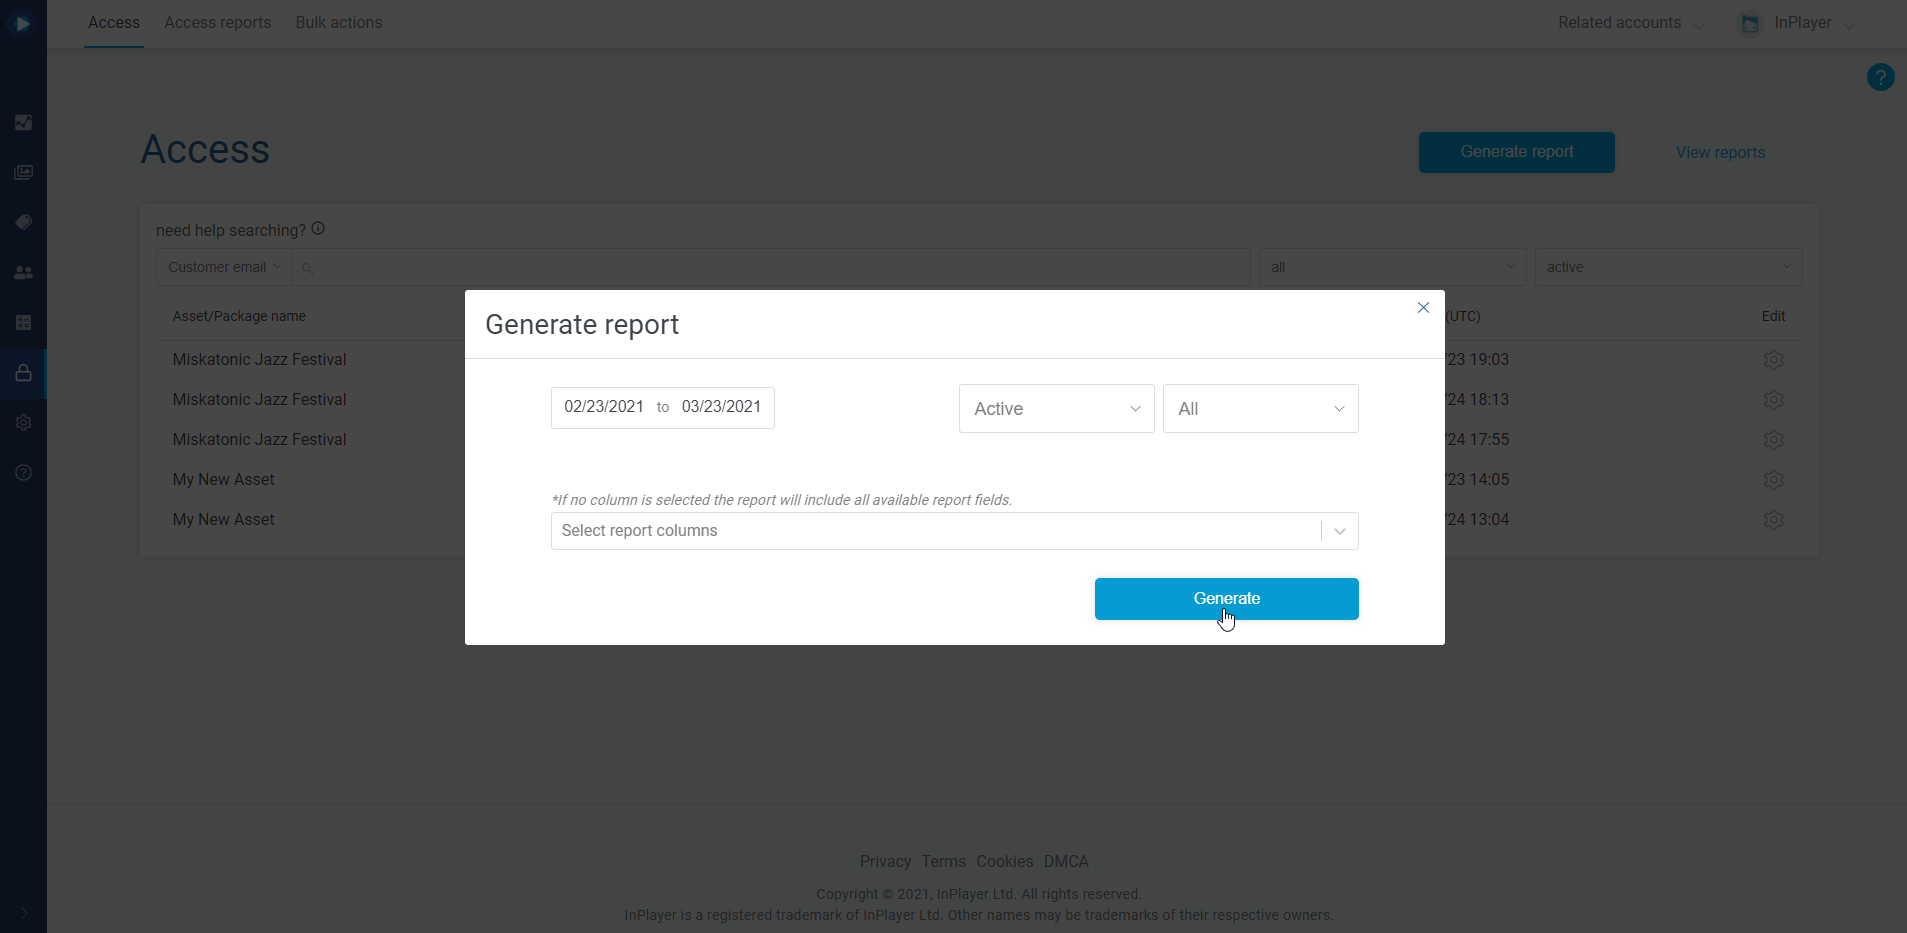
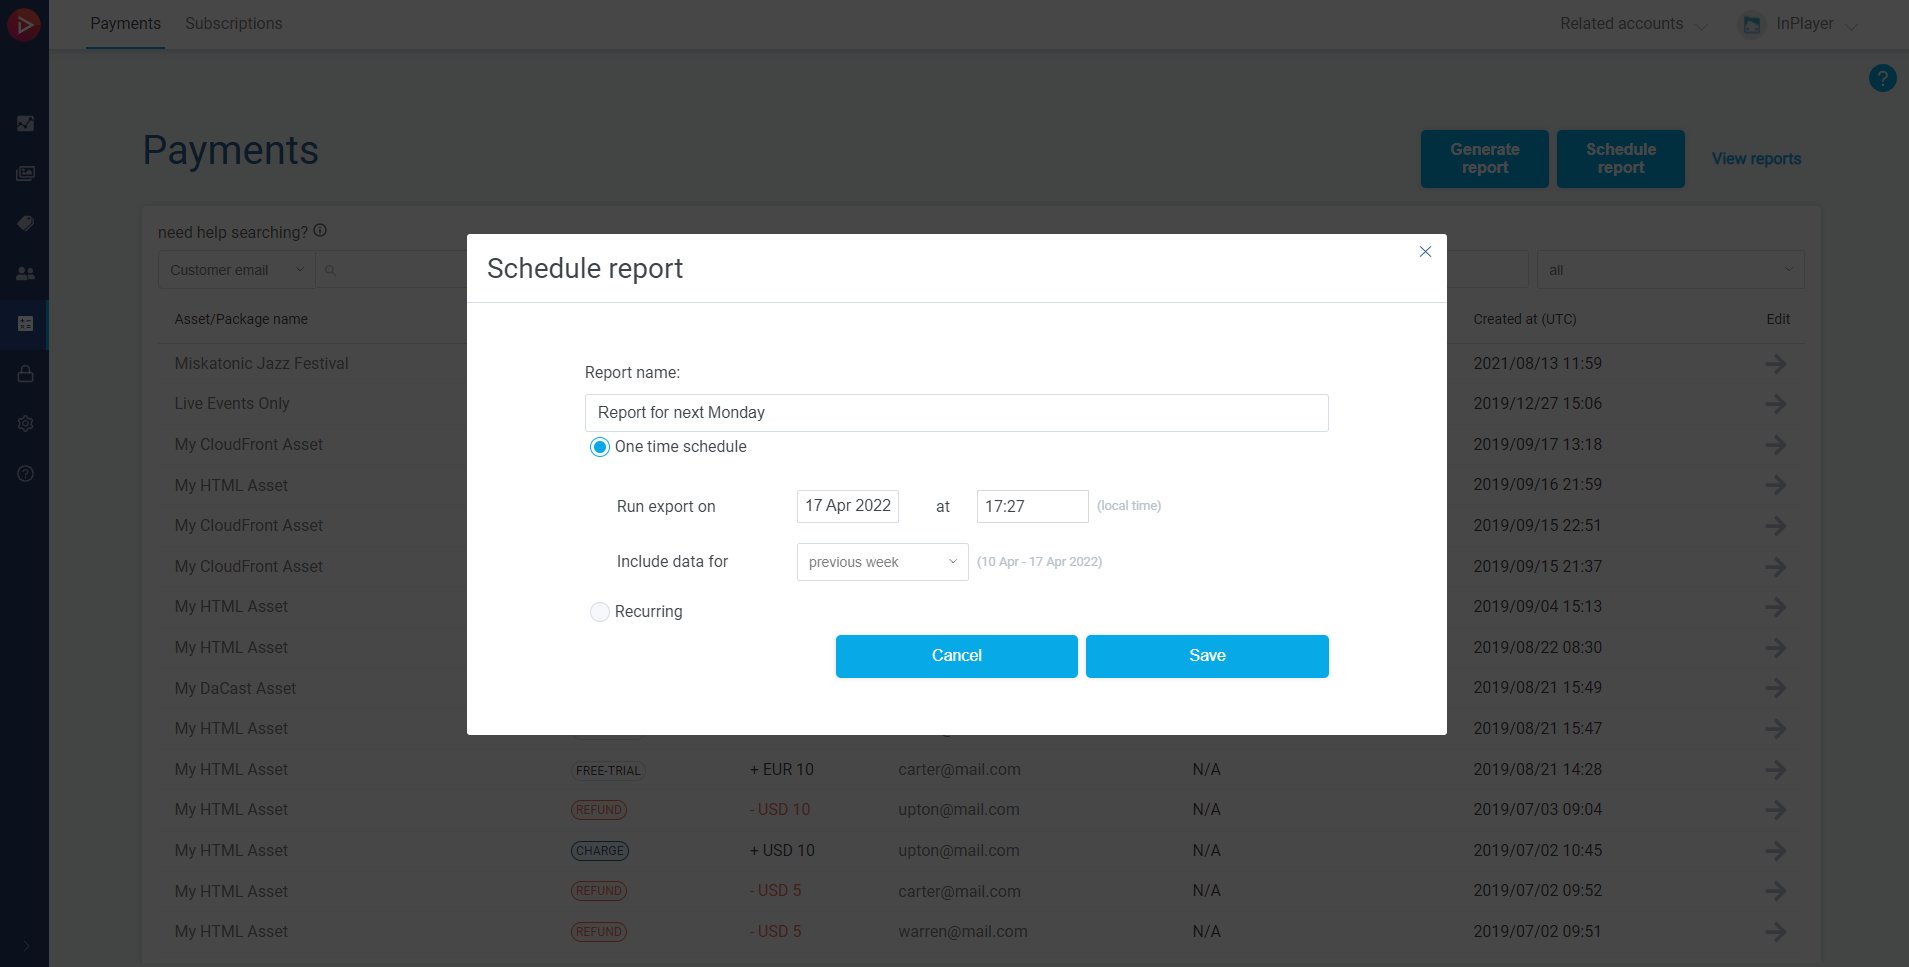
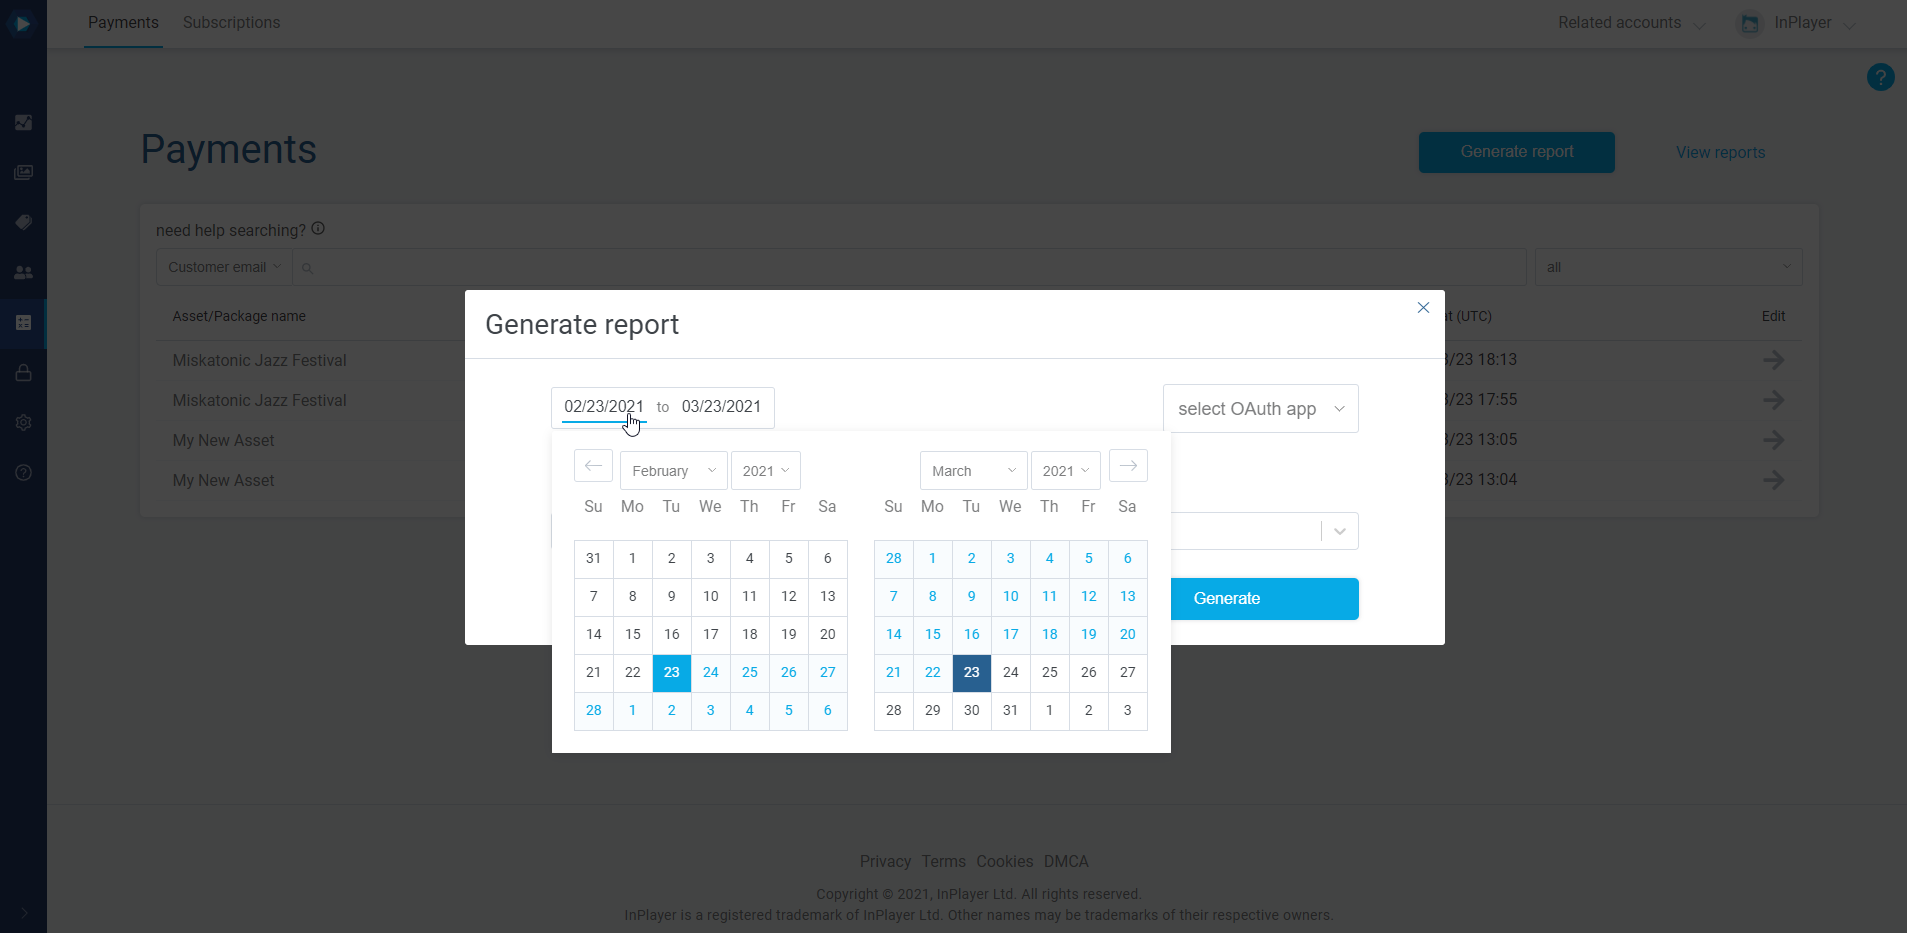
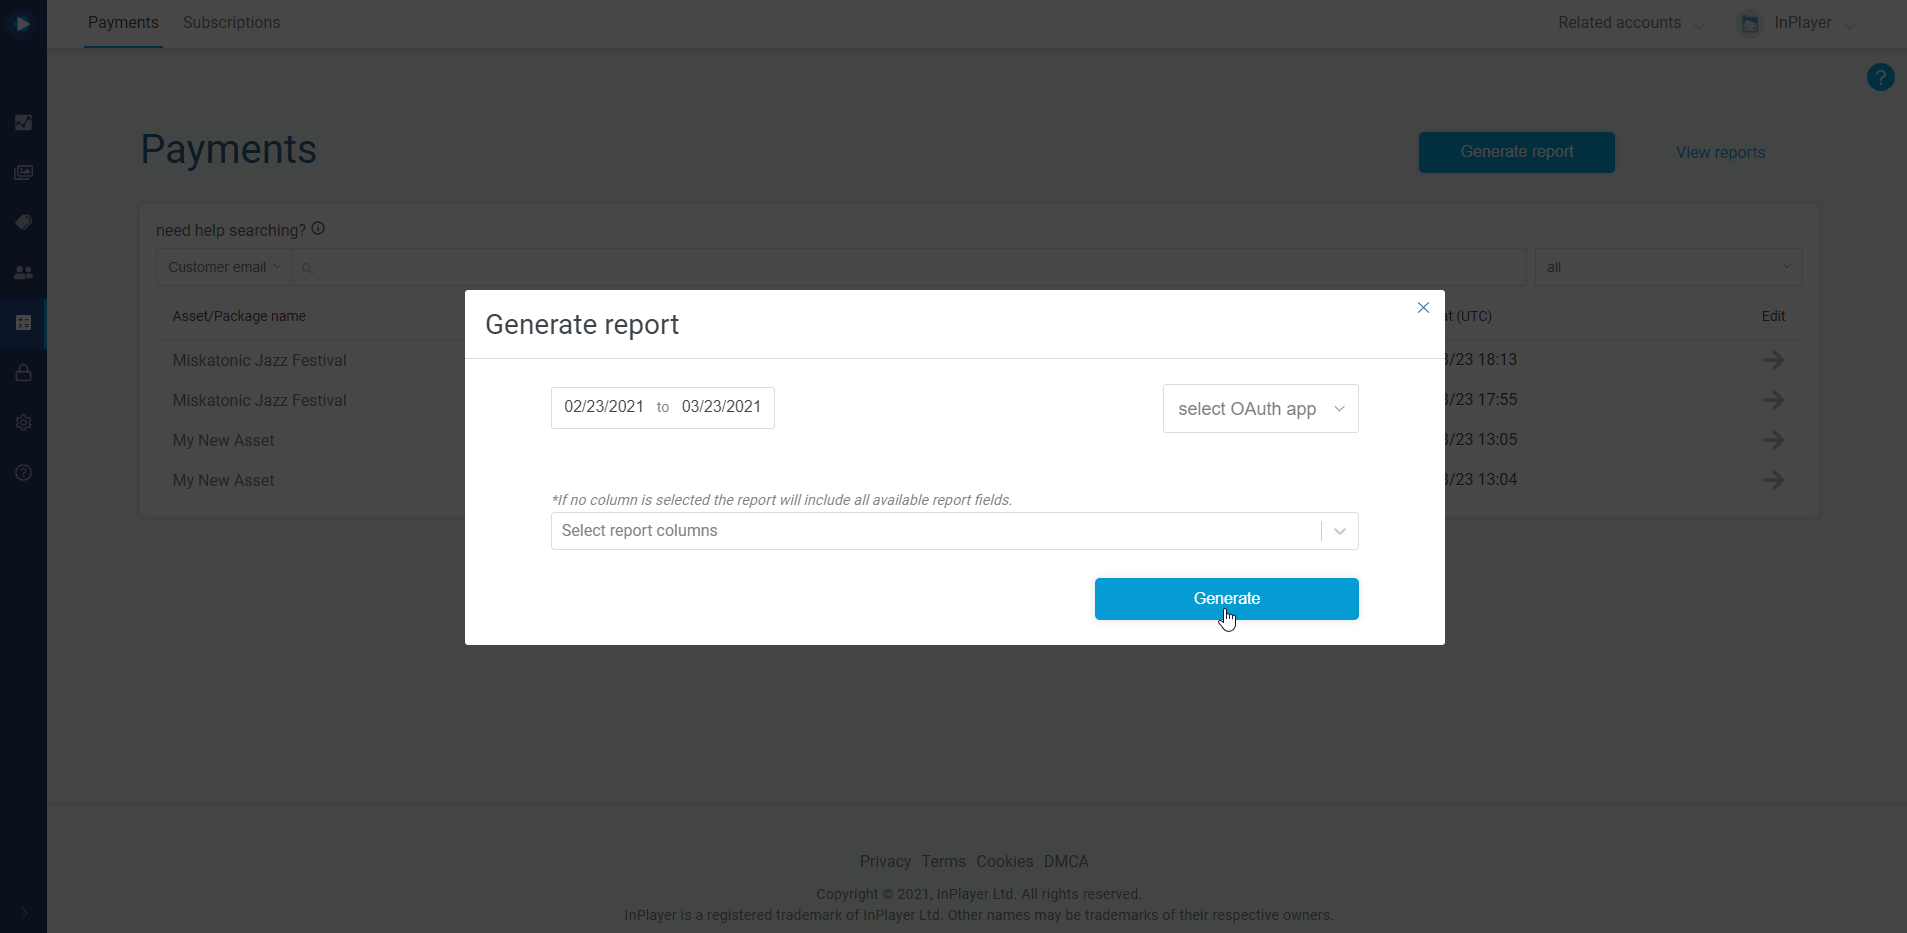
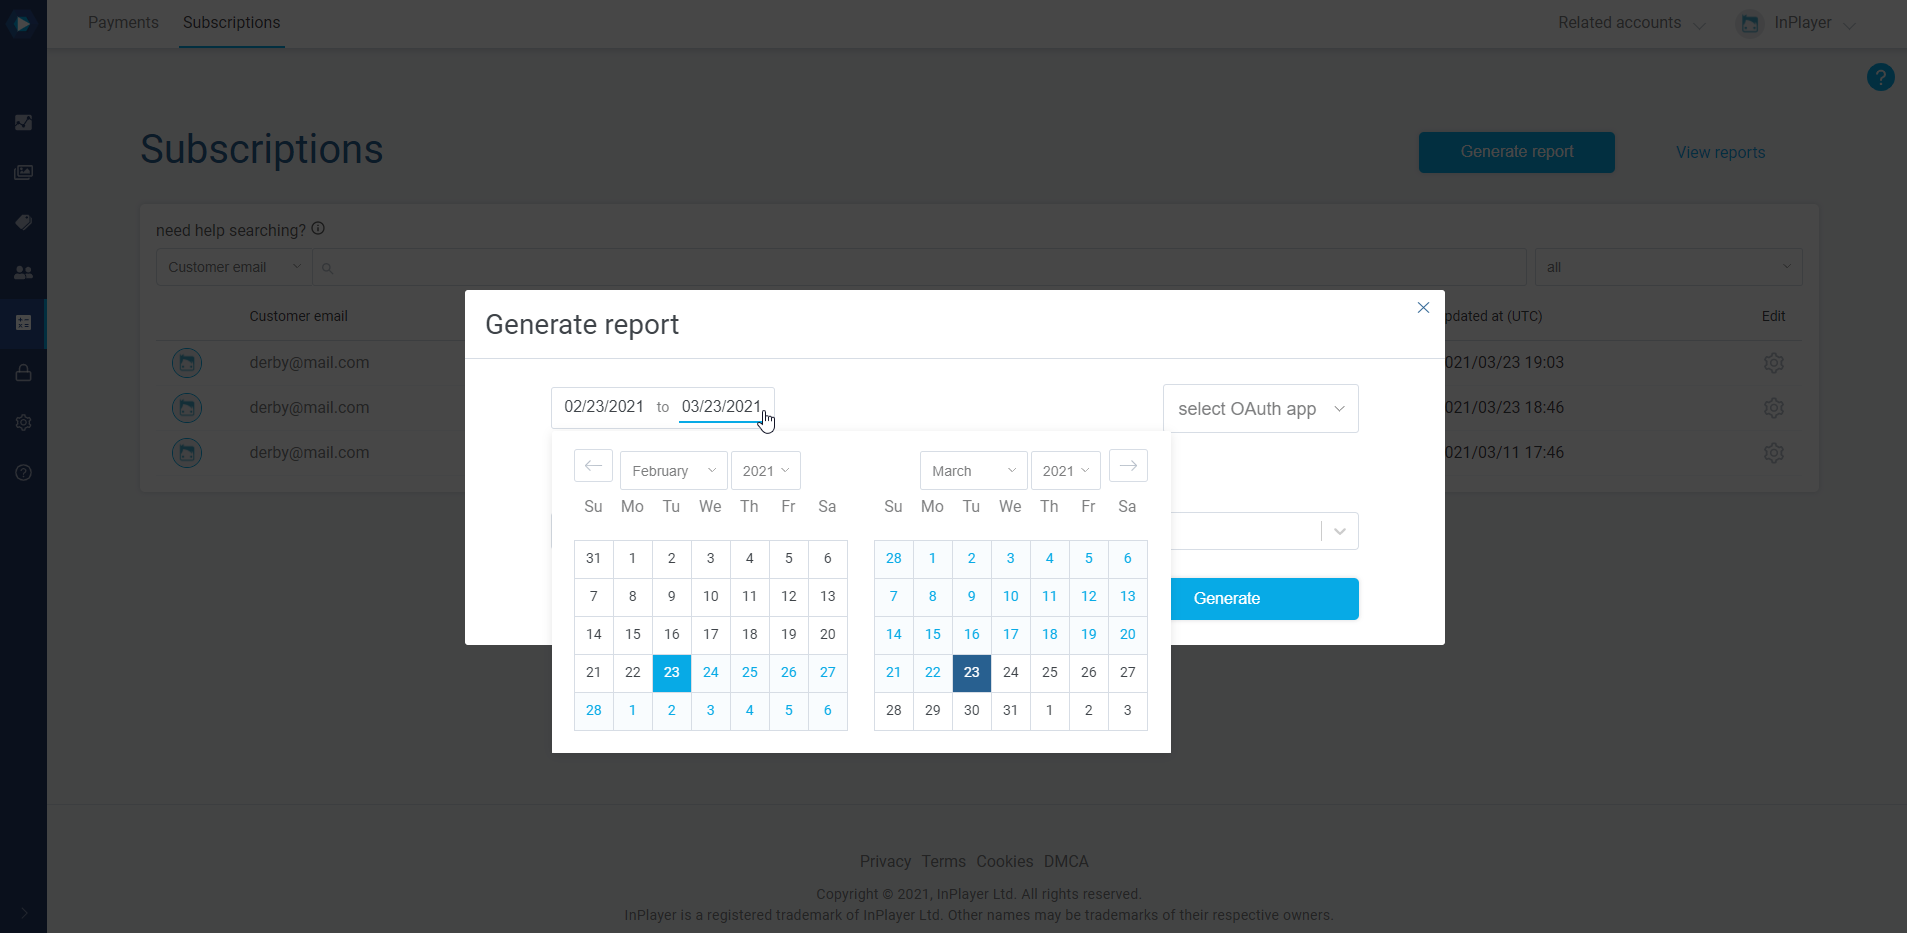
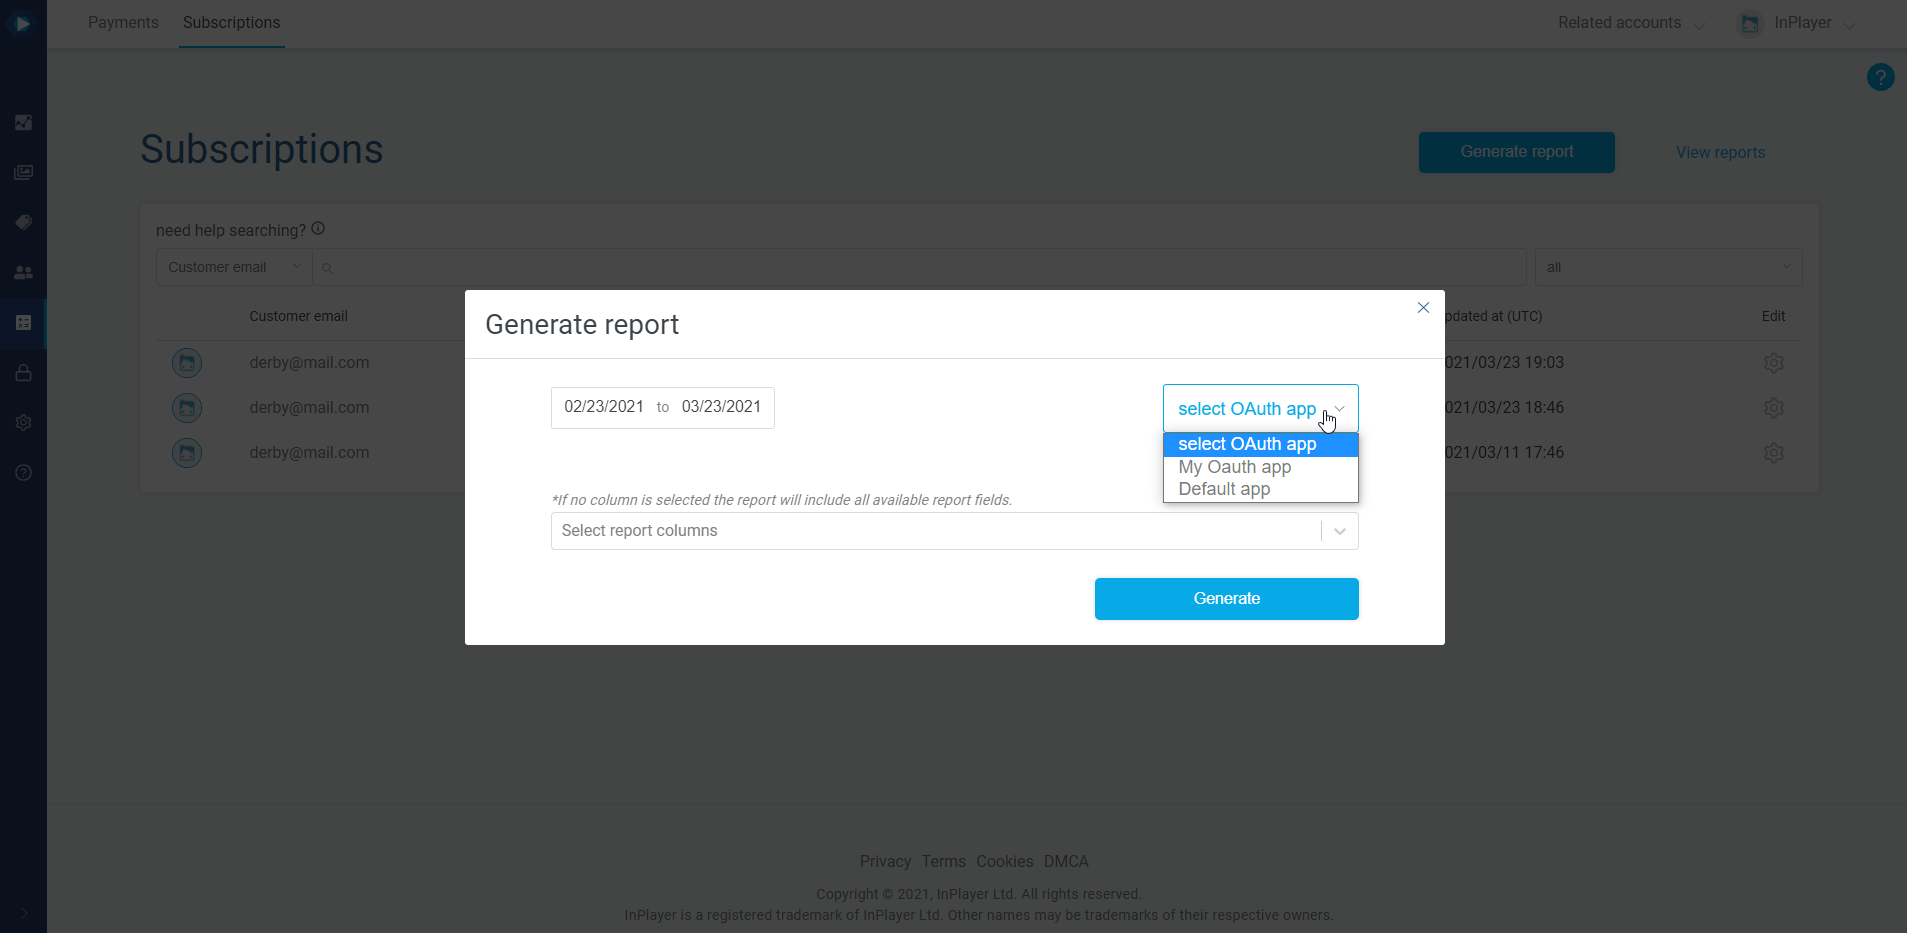
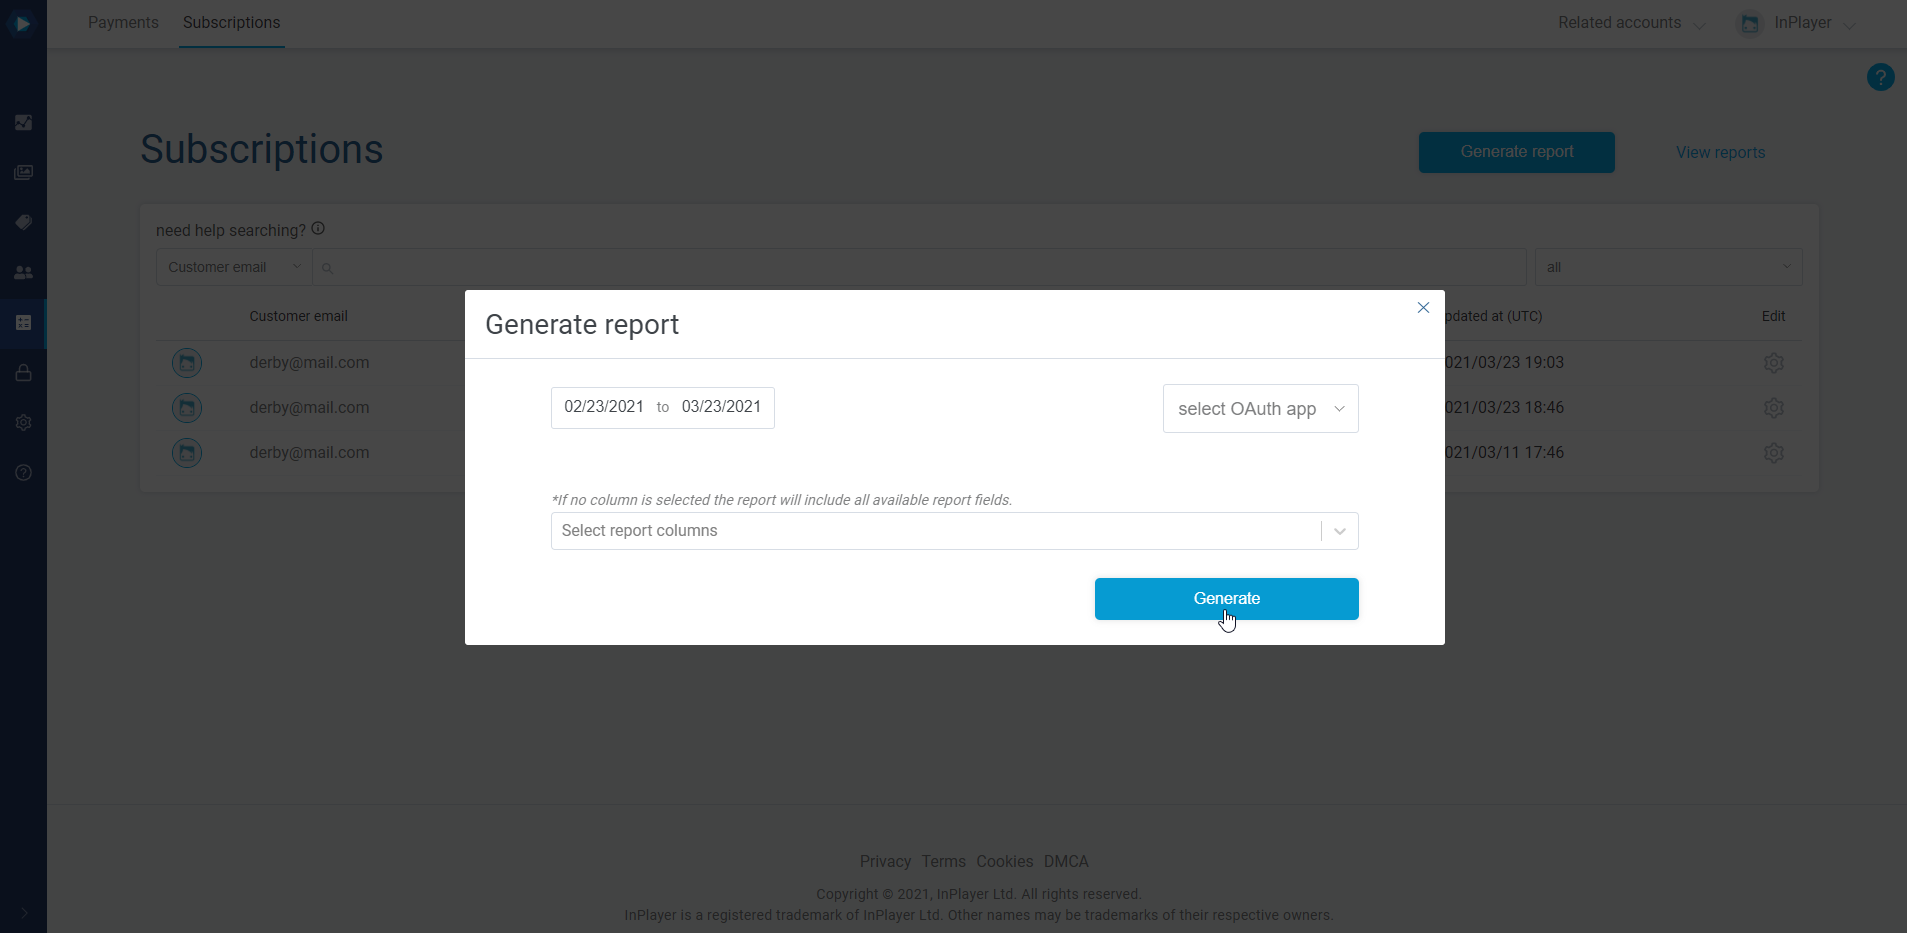
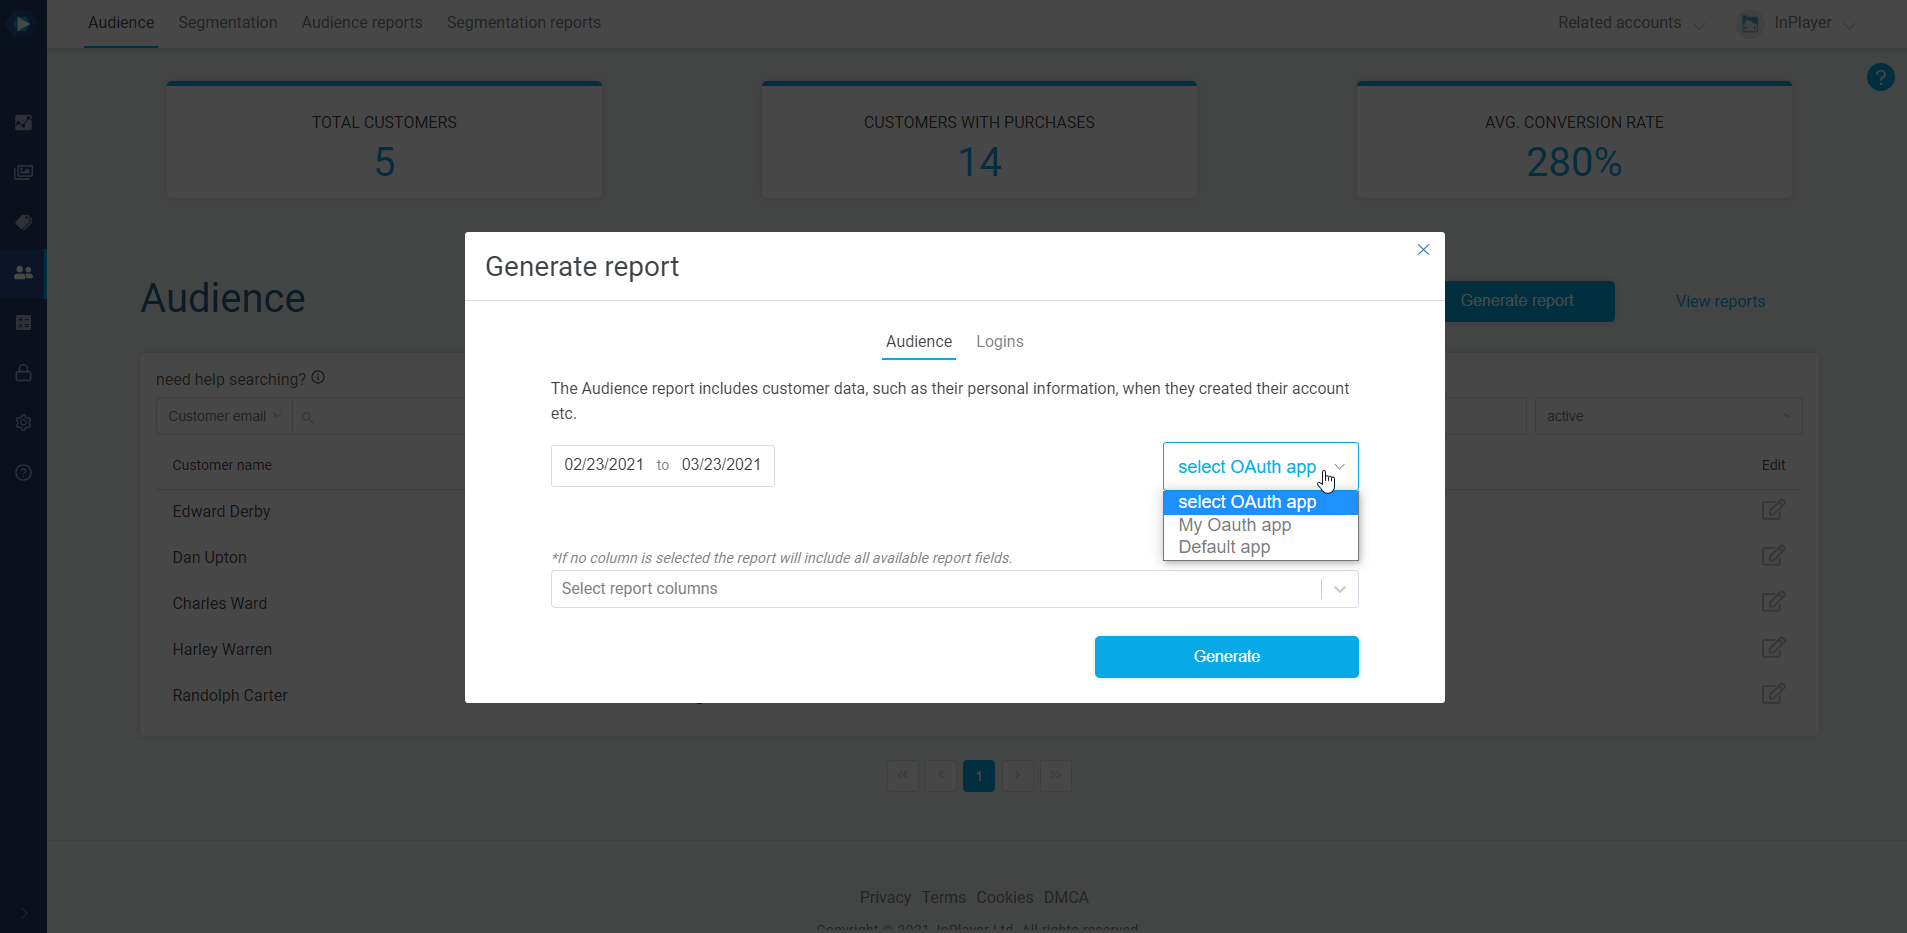
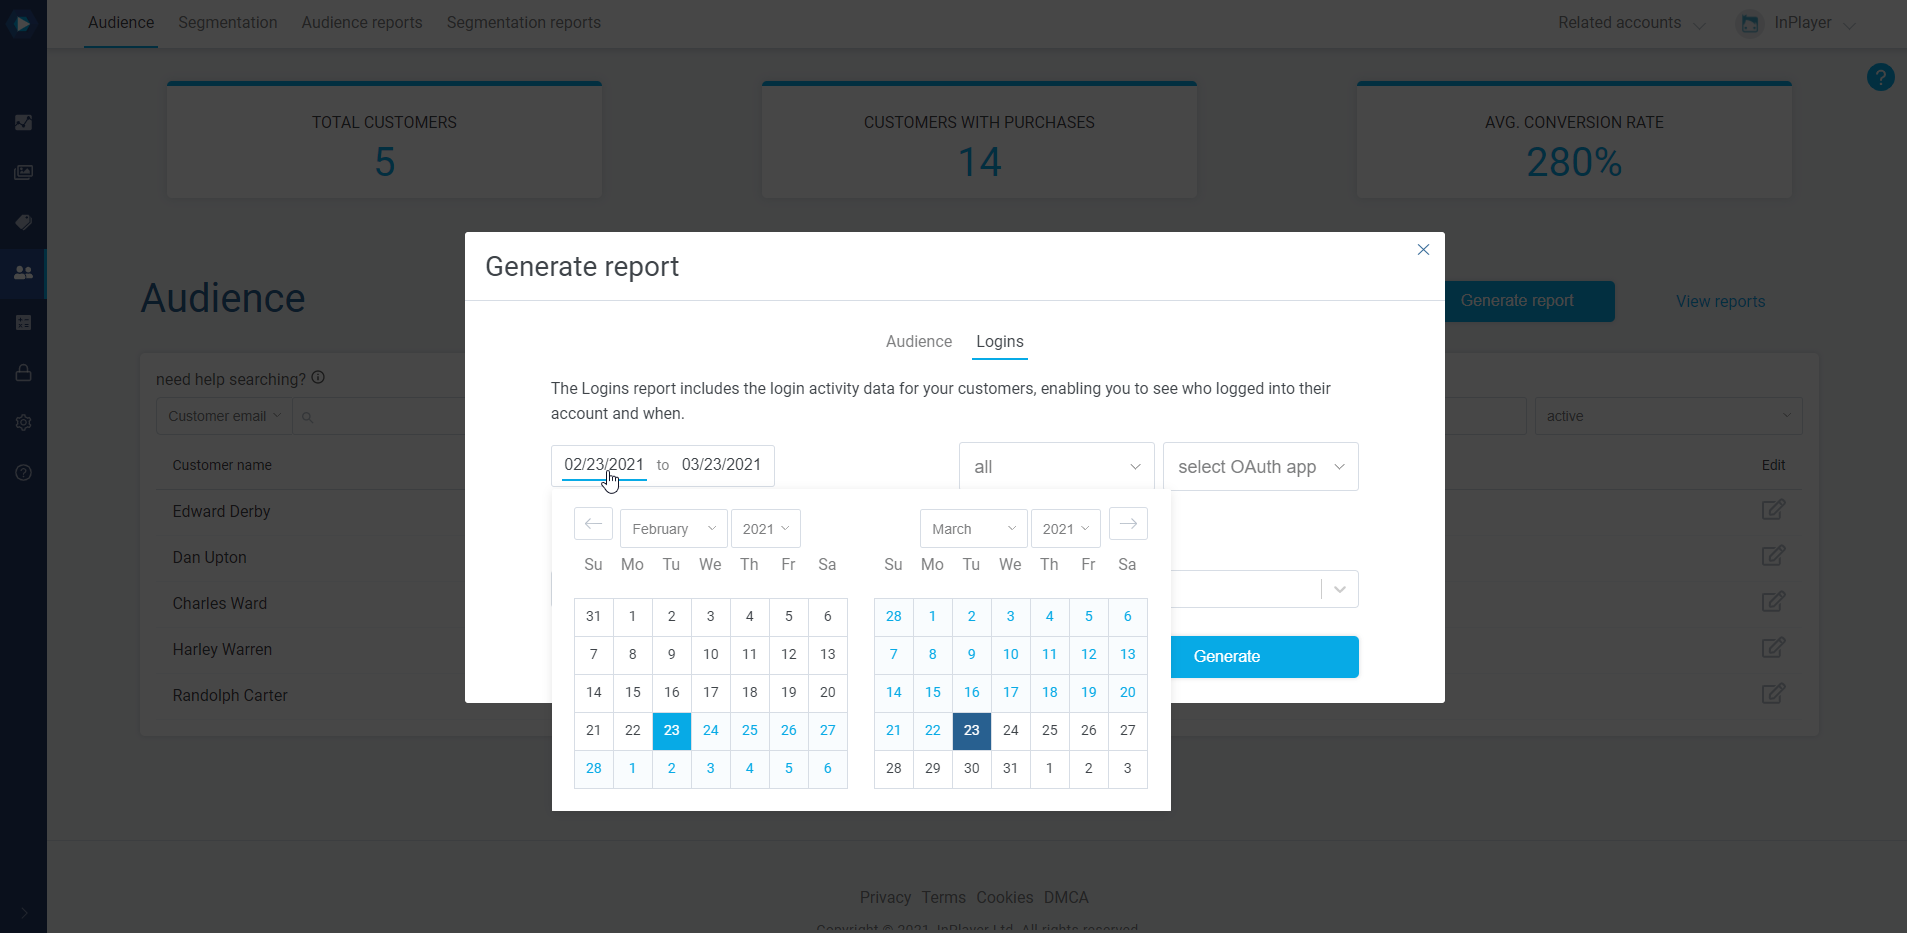
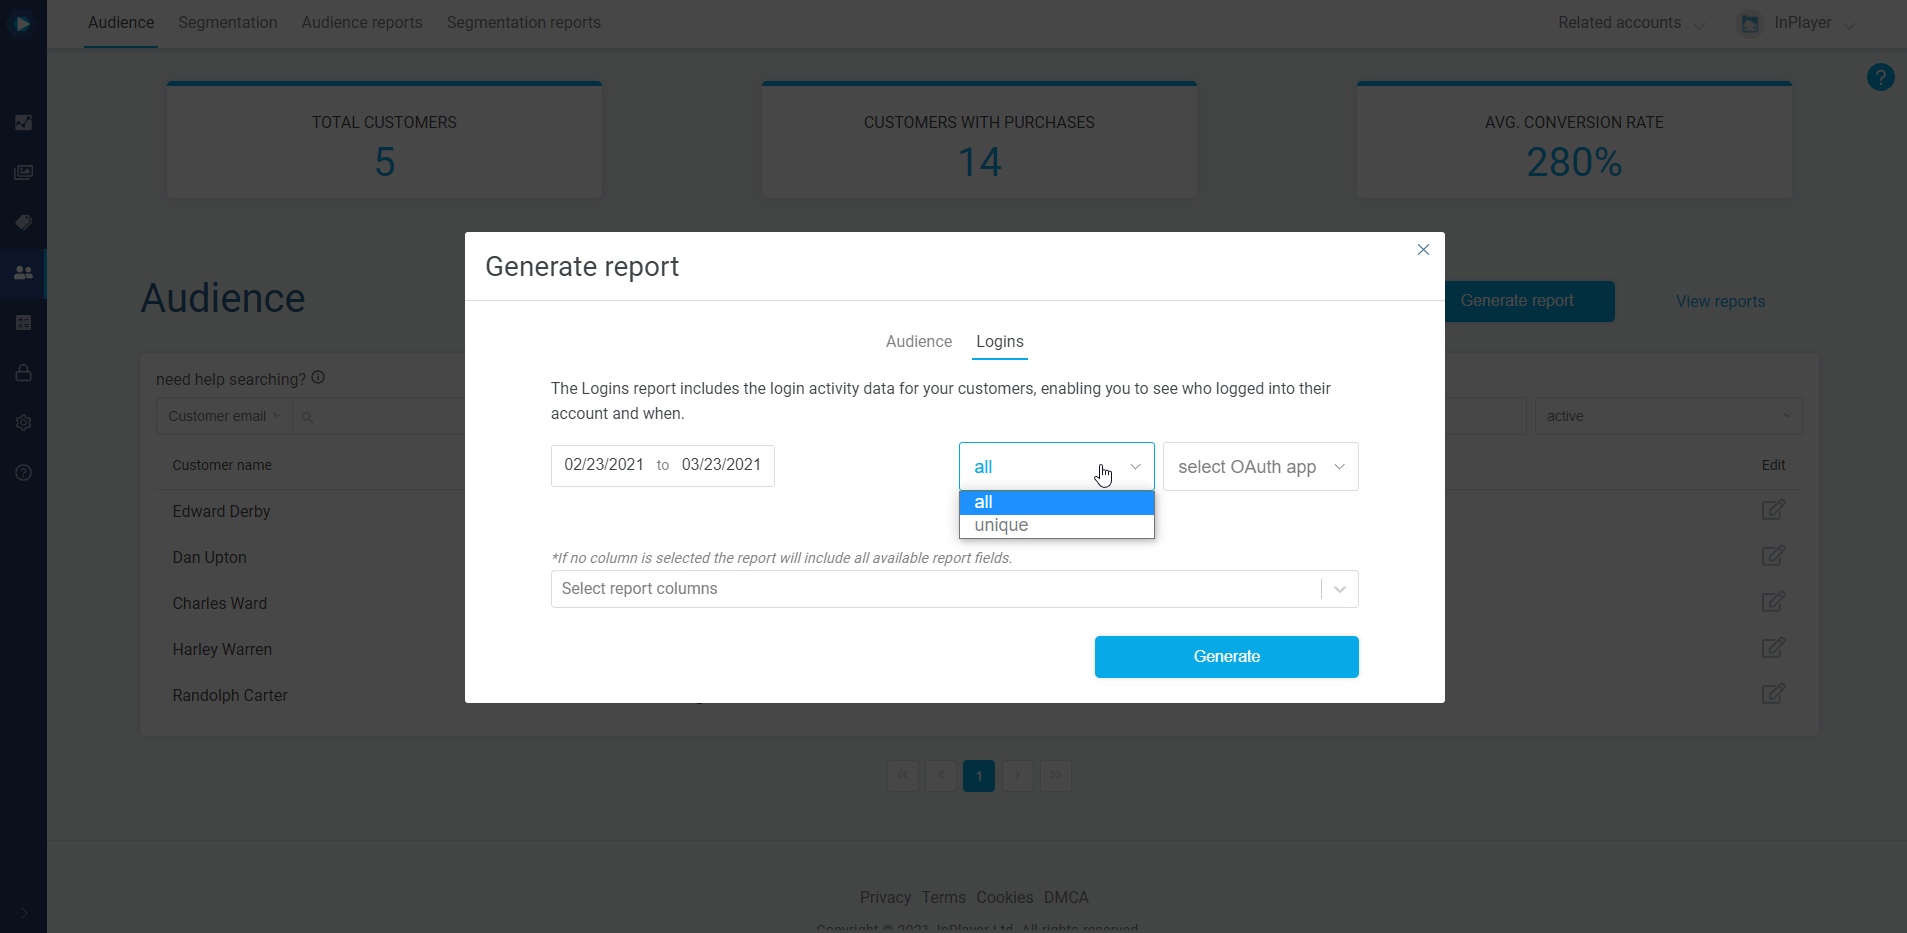
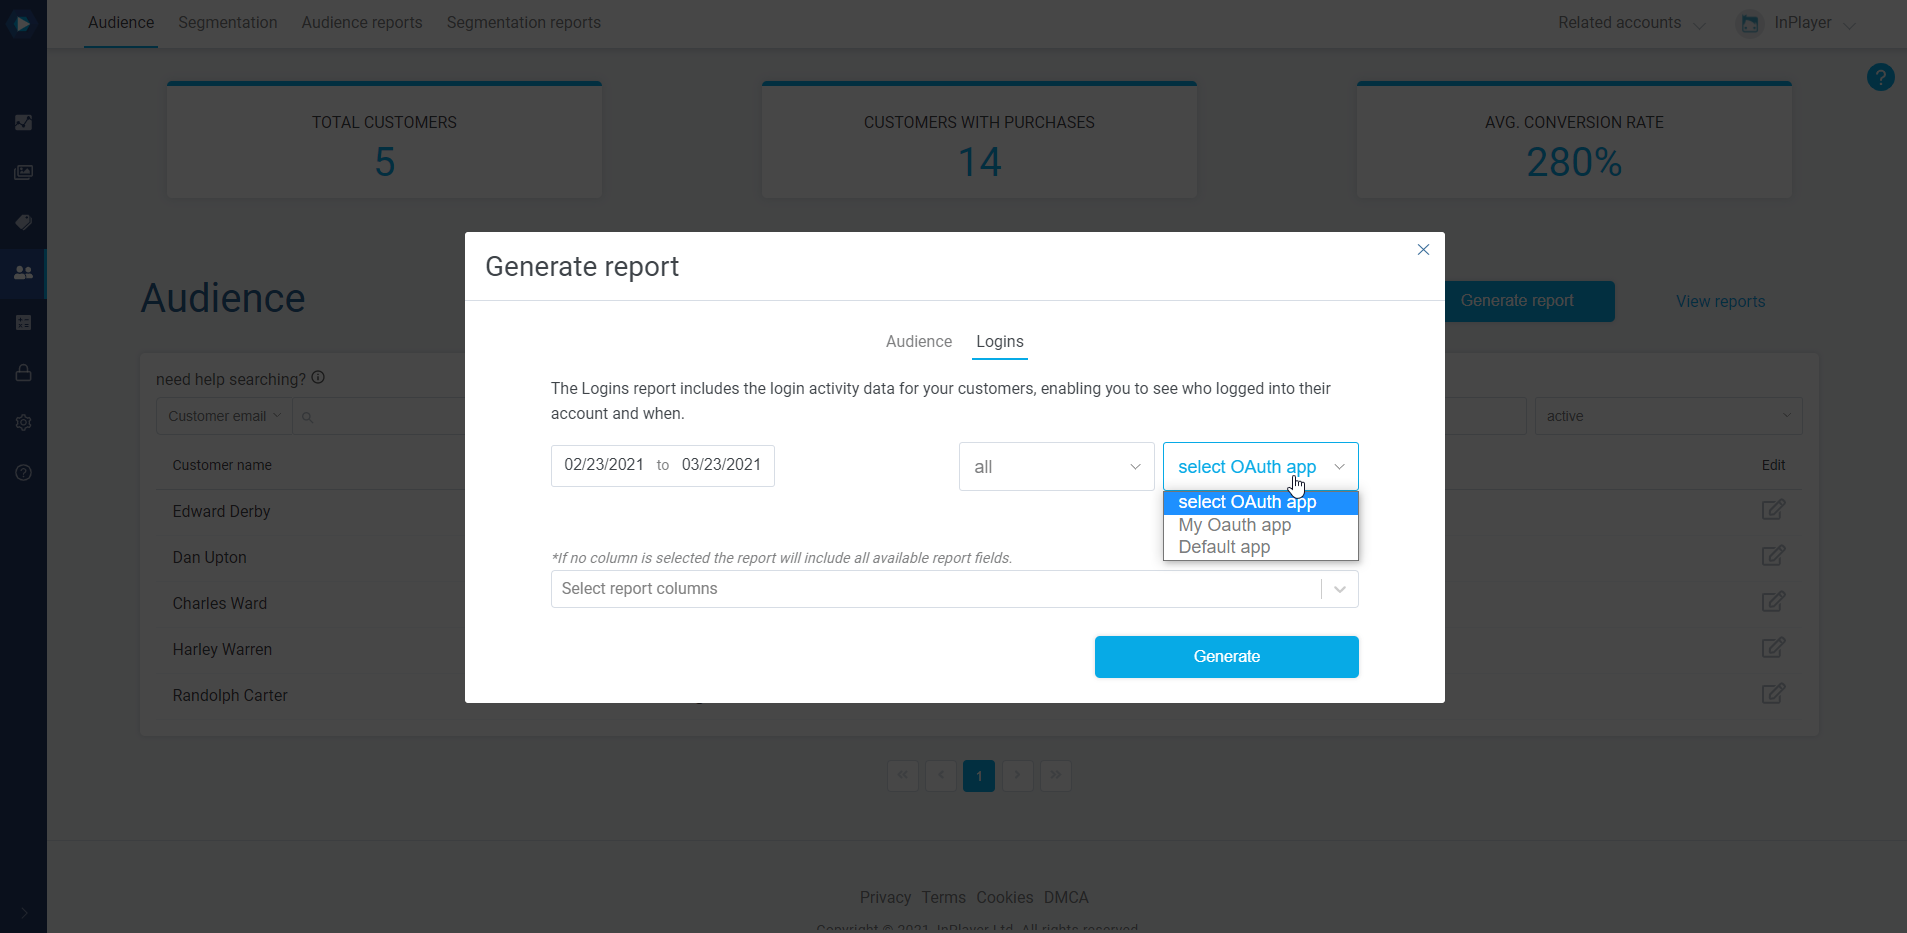
Then, select the period and click Generate.

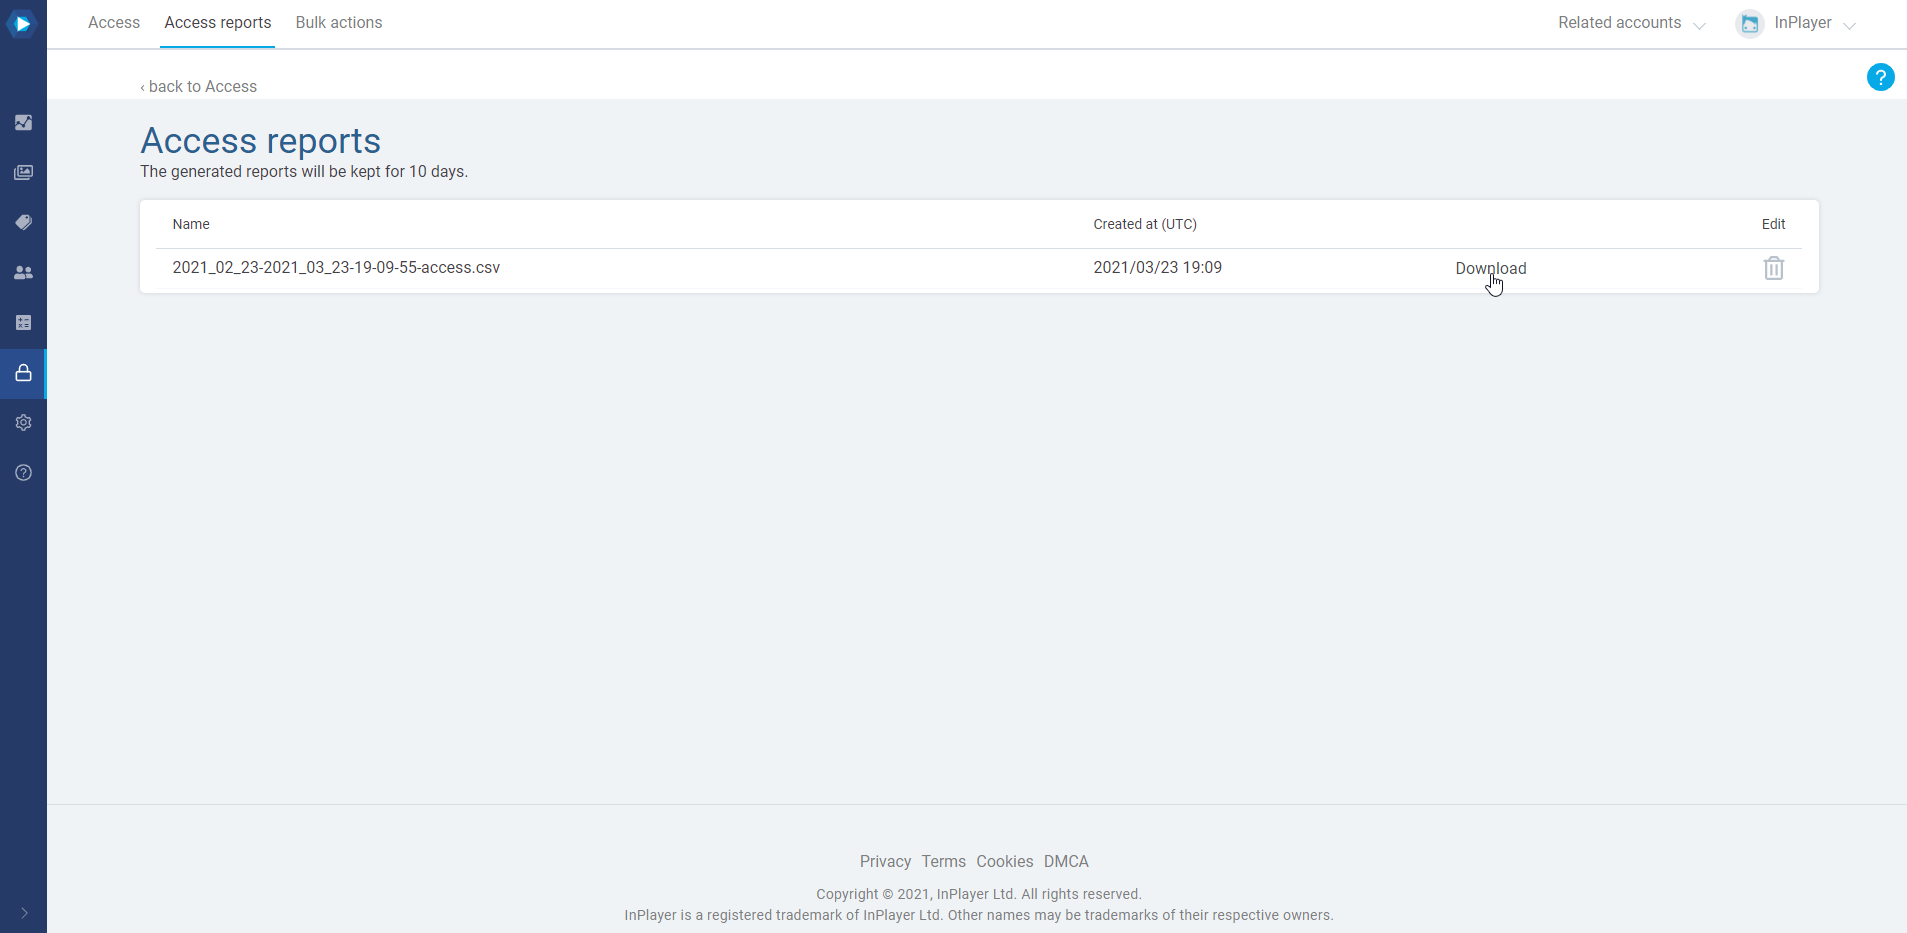
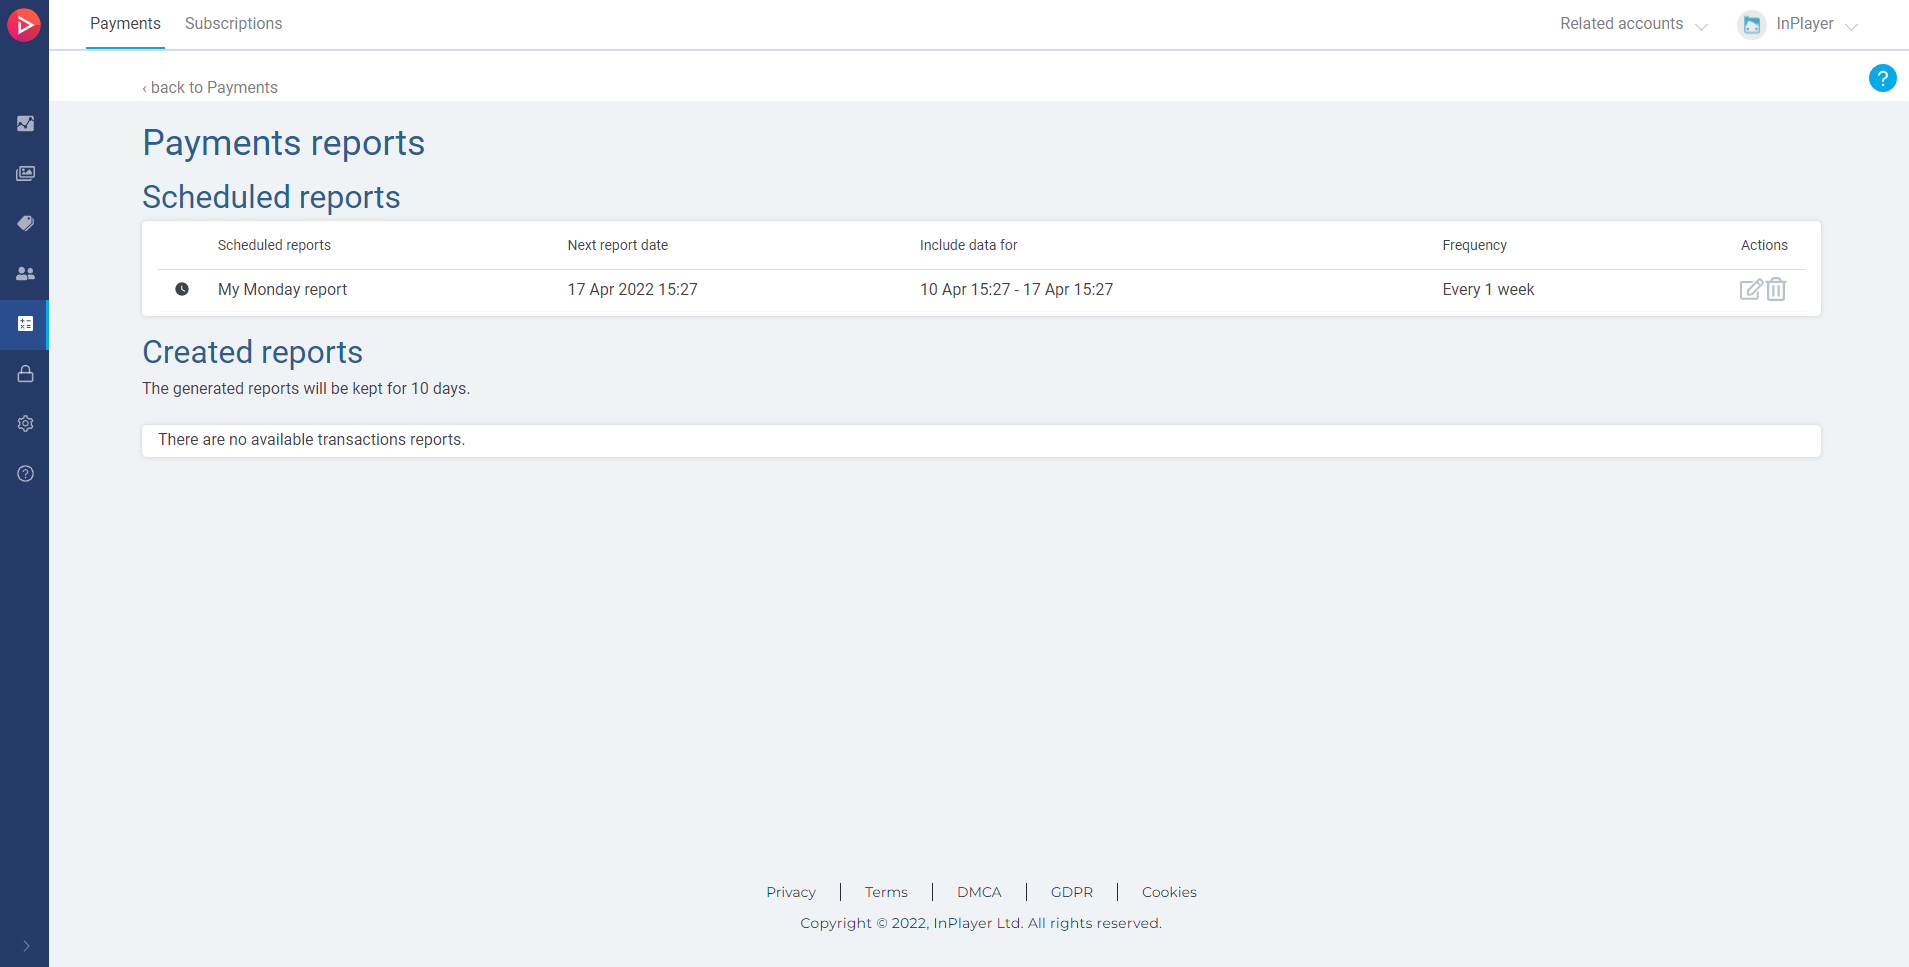
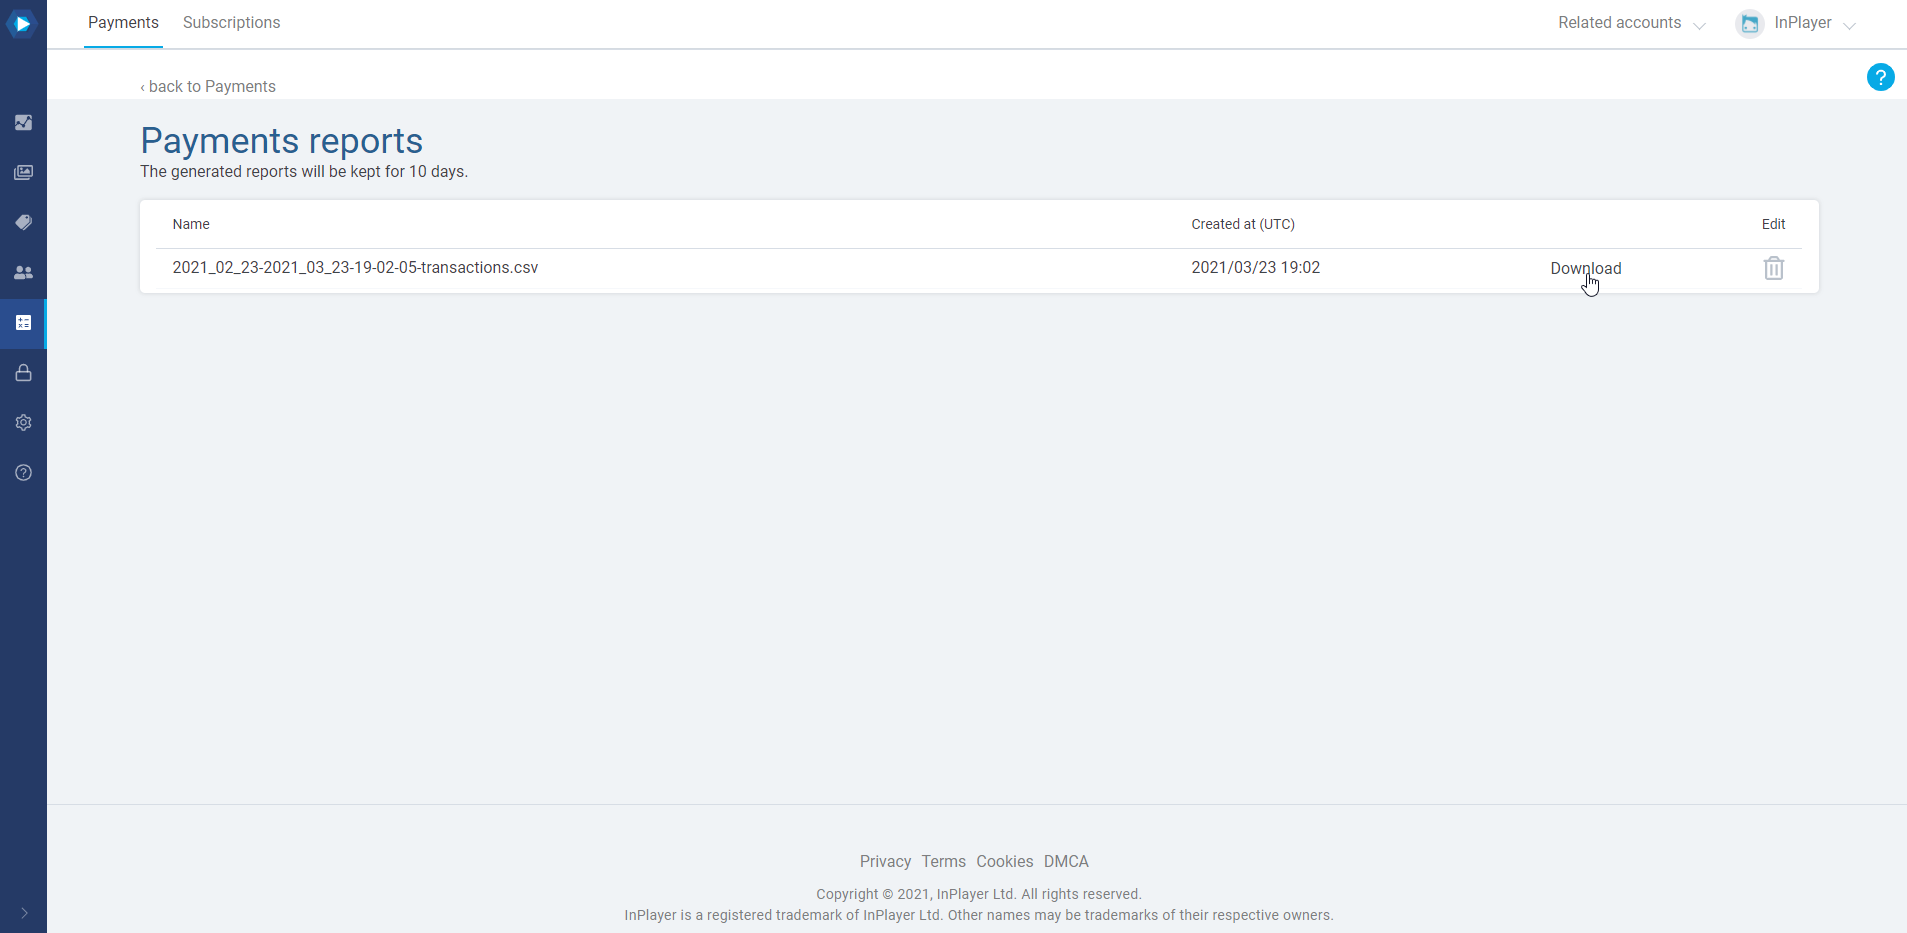
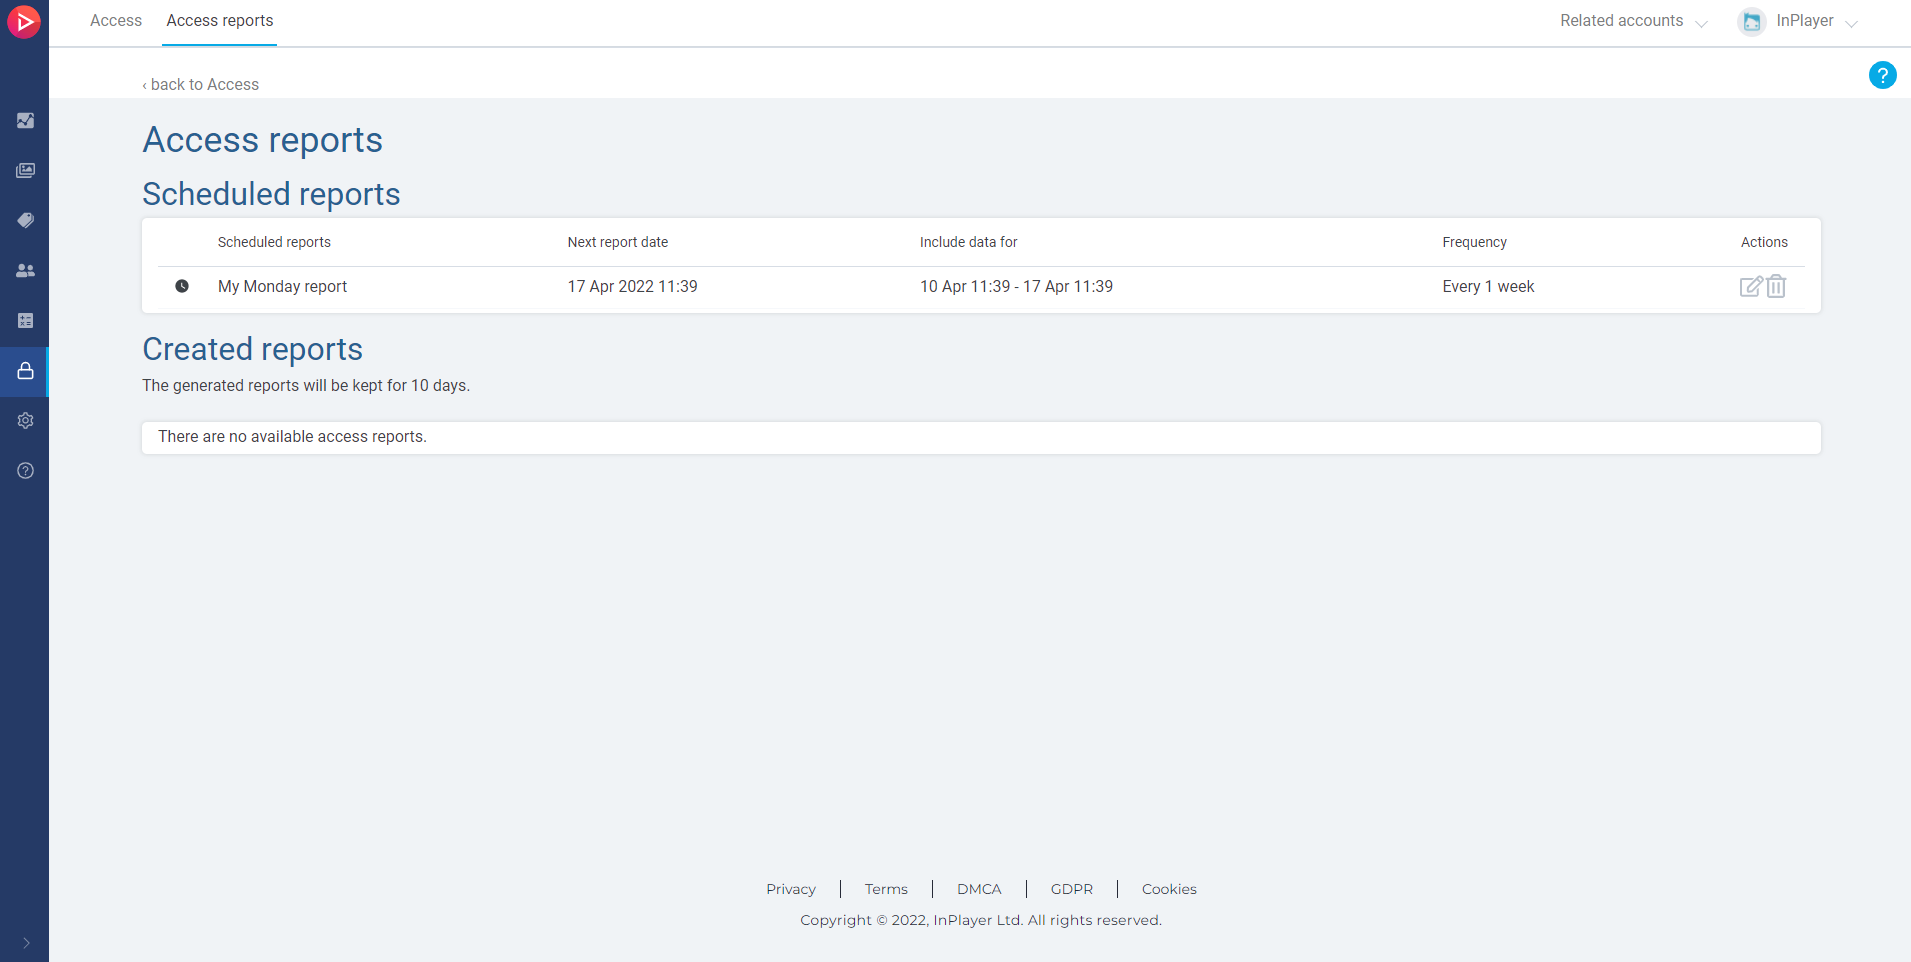
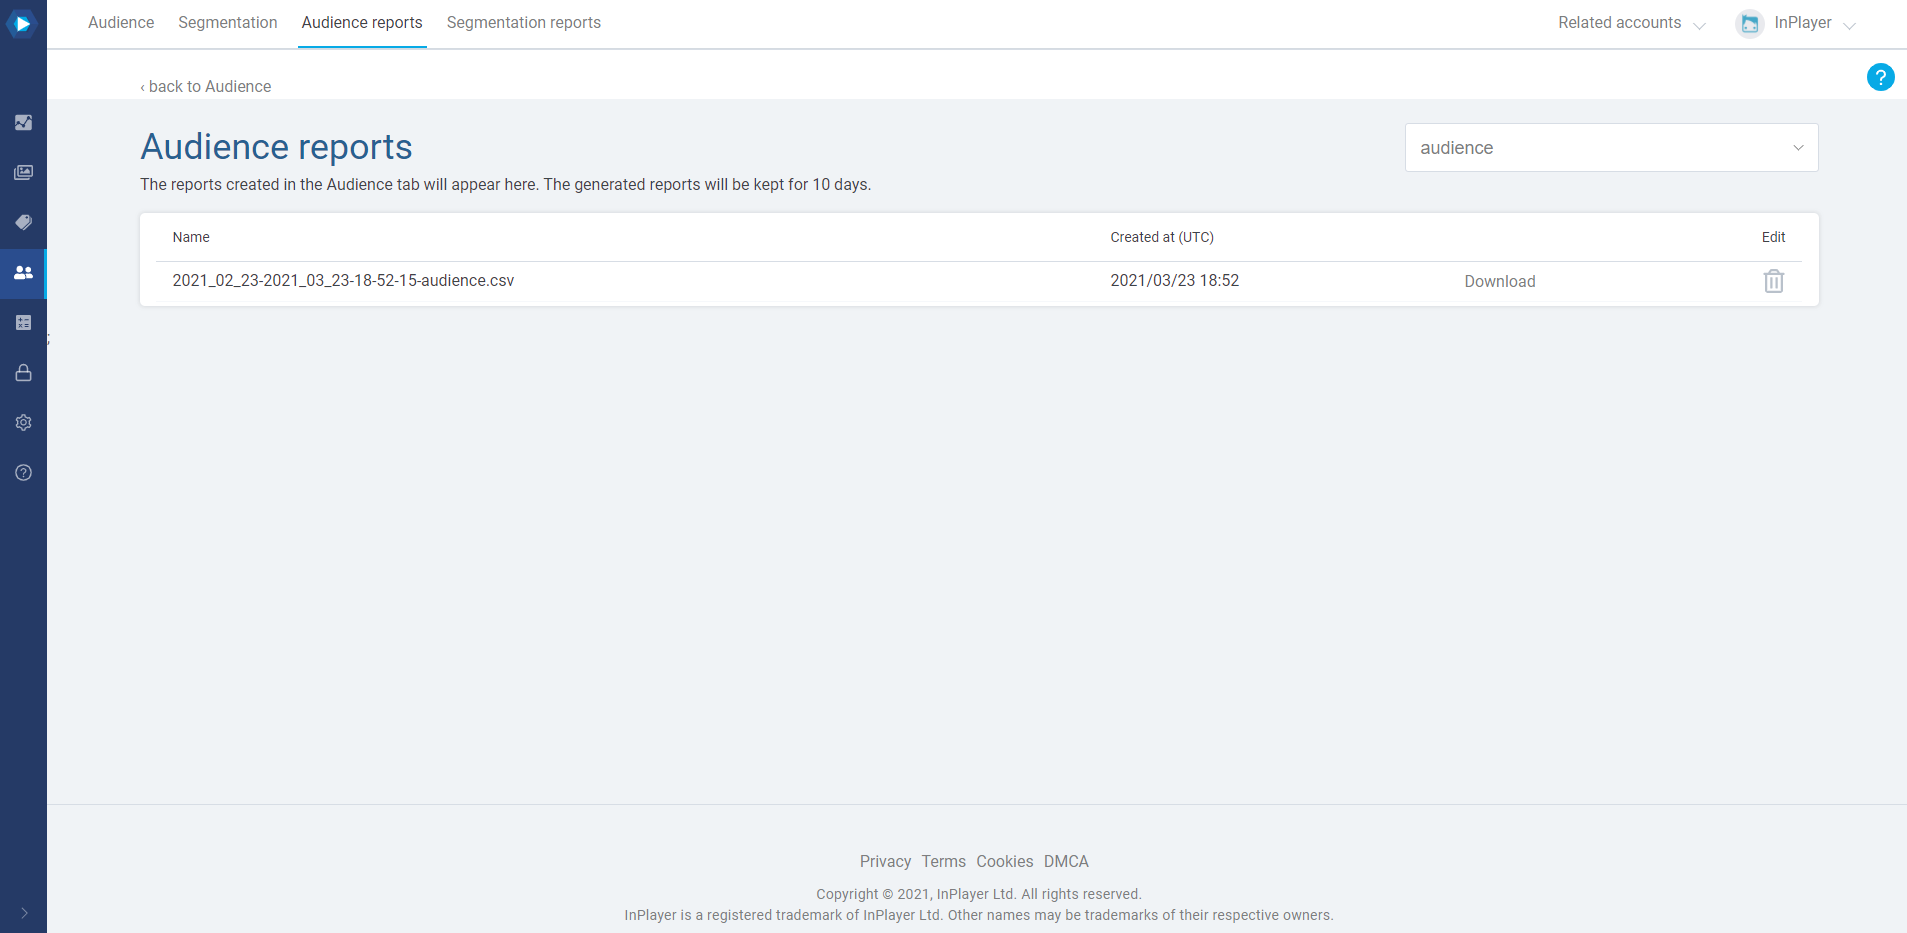
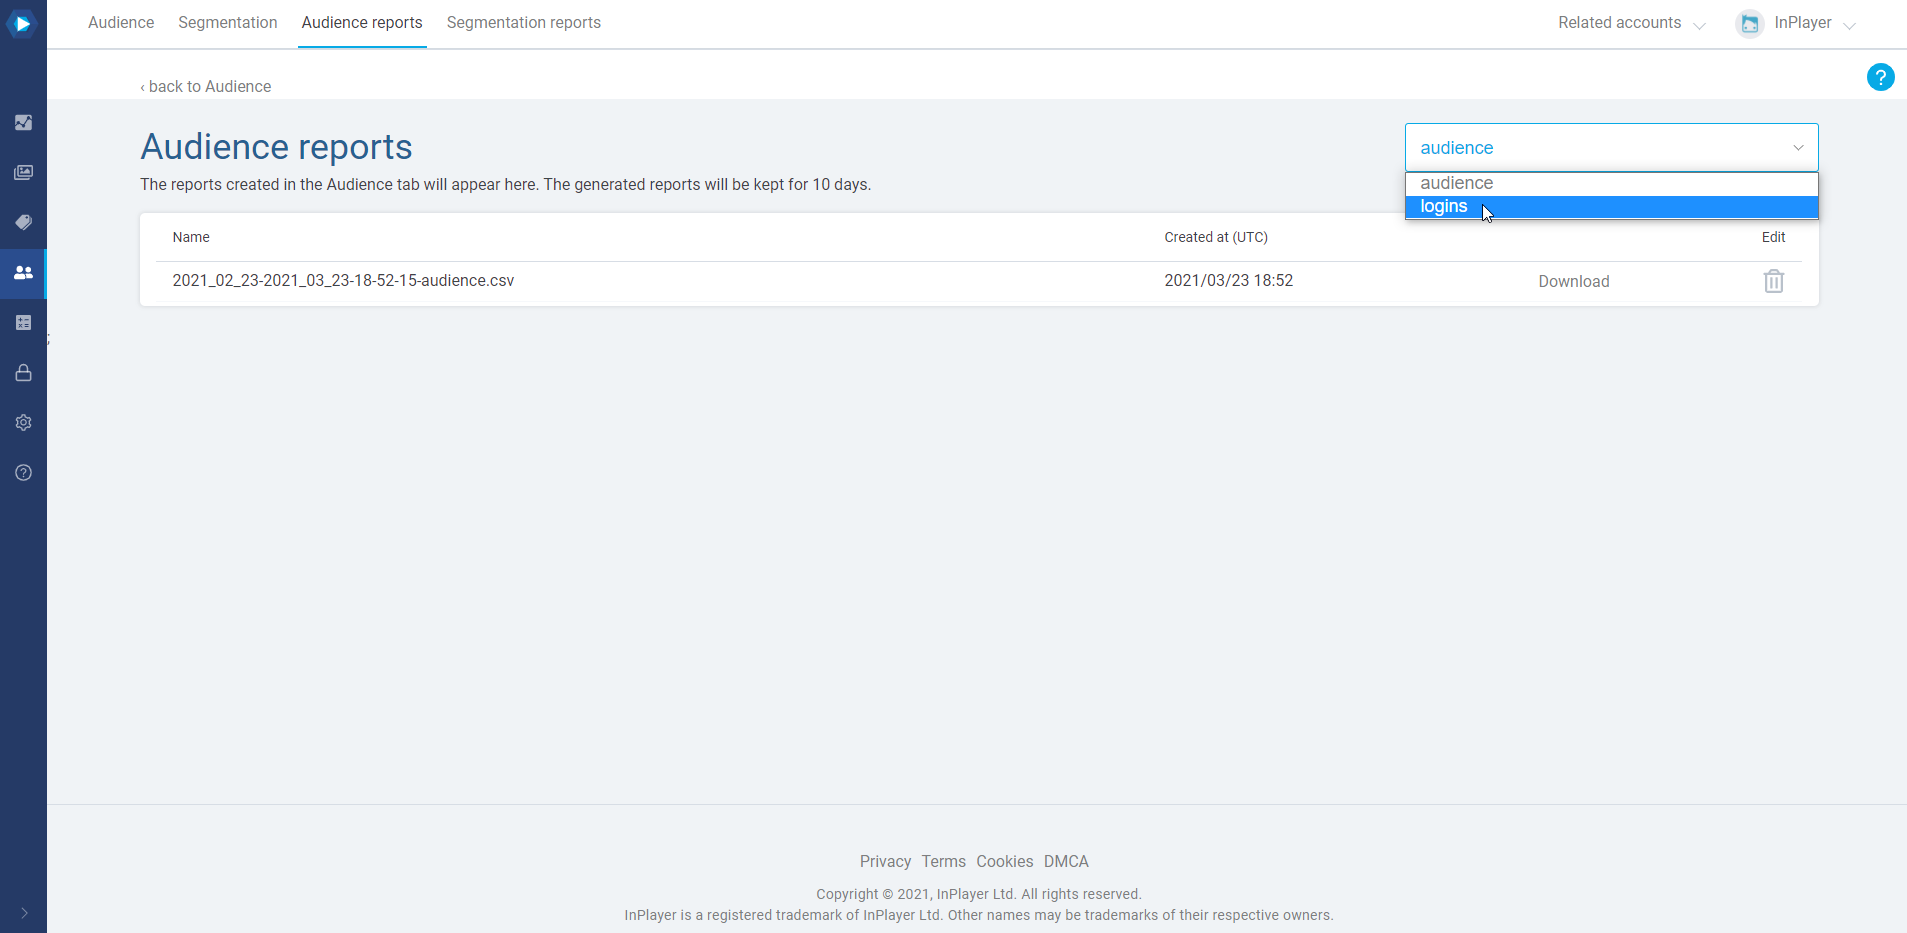
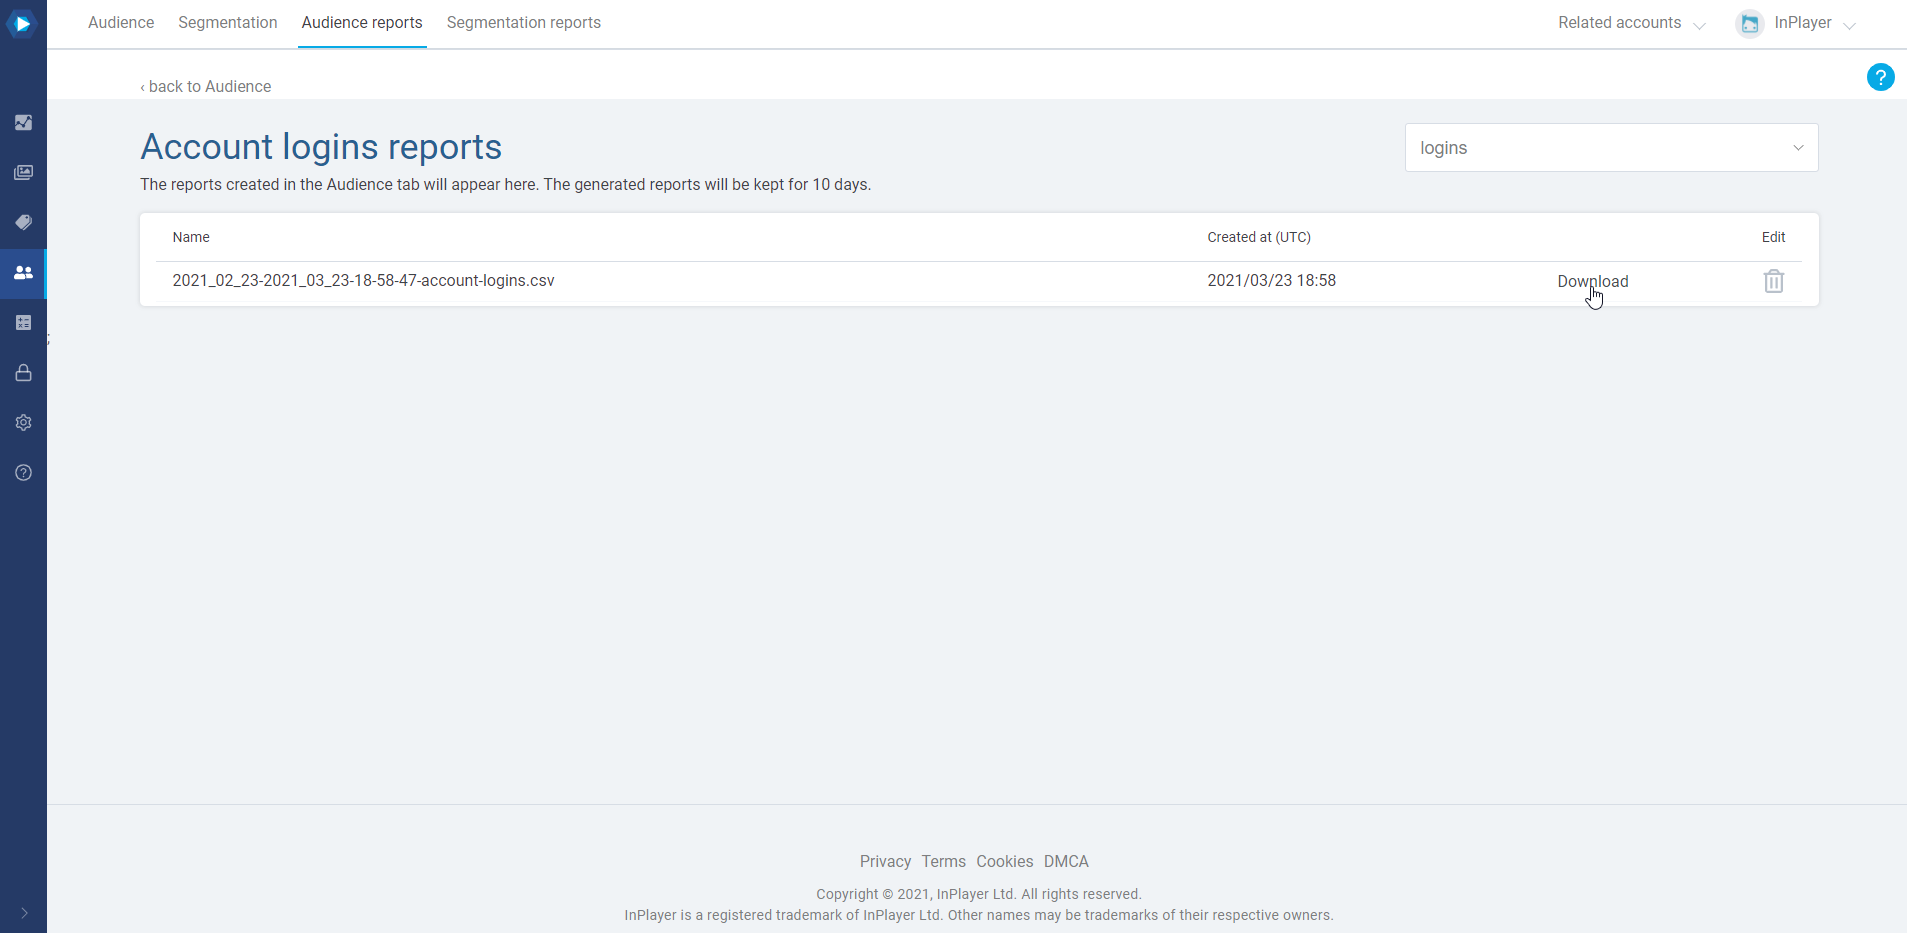
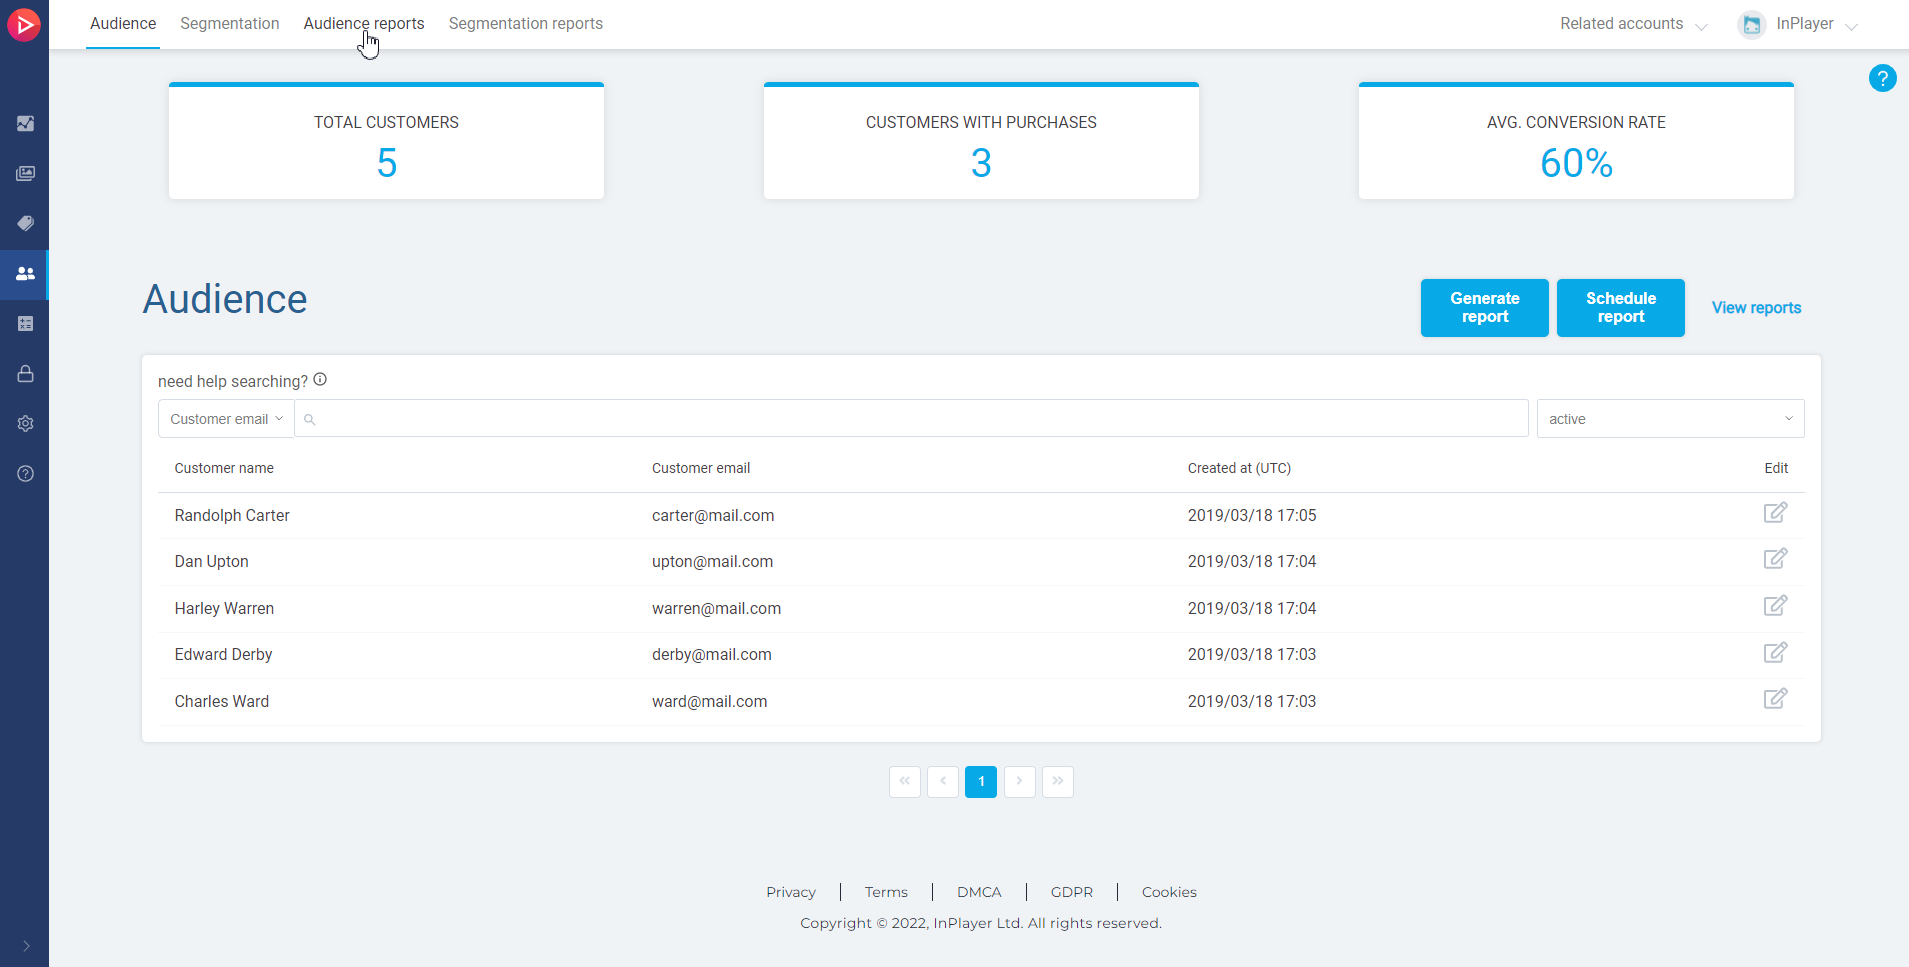
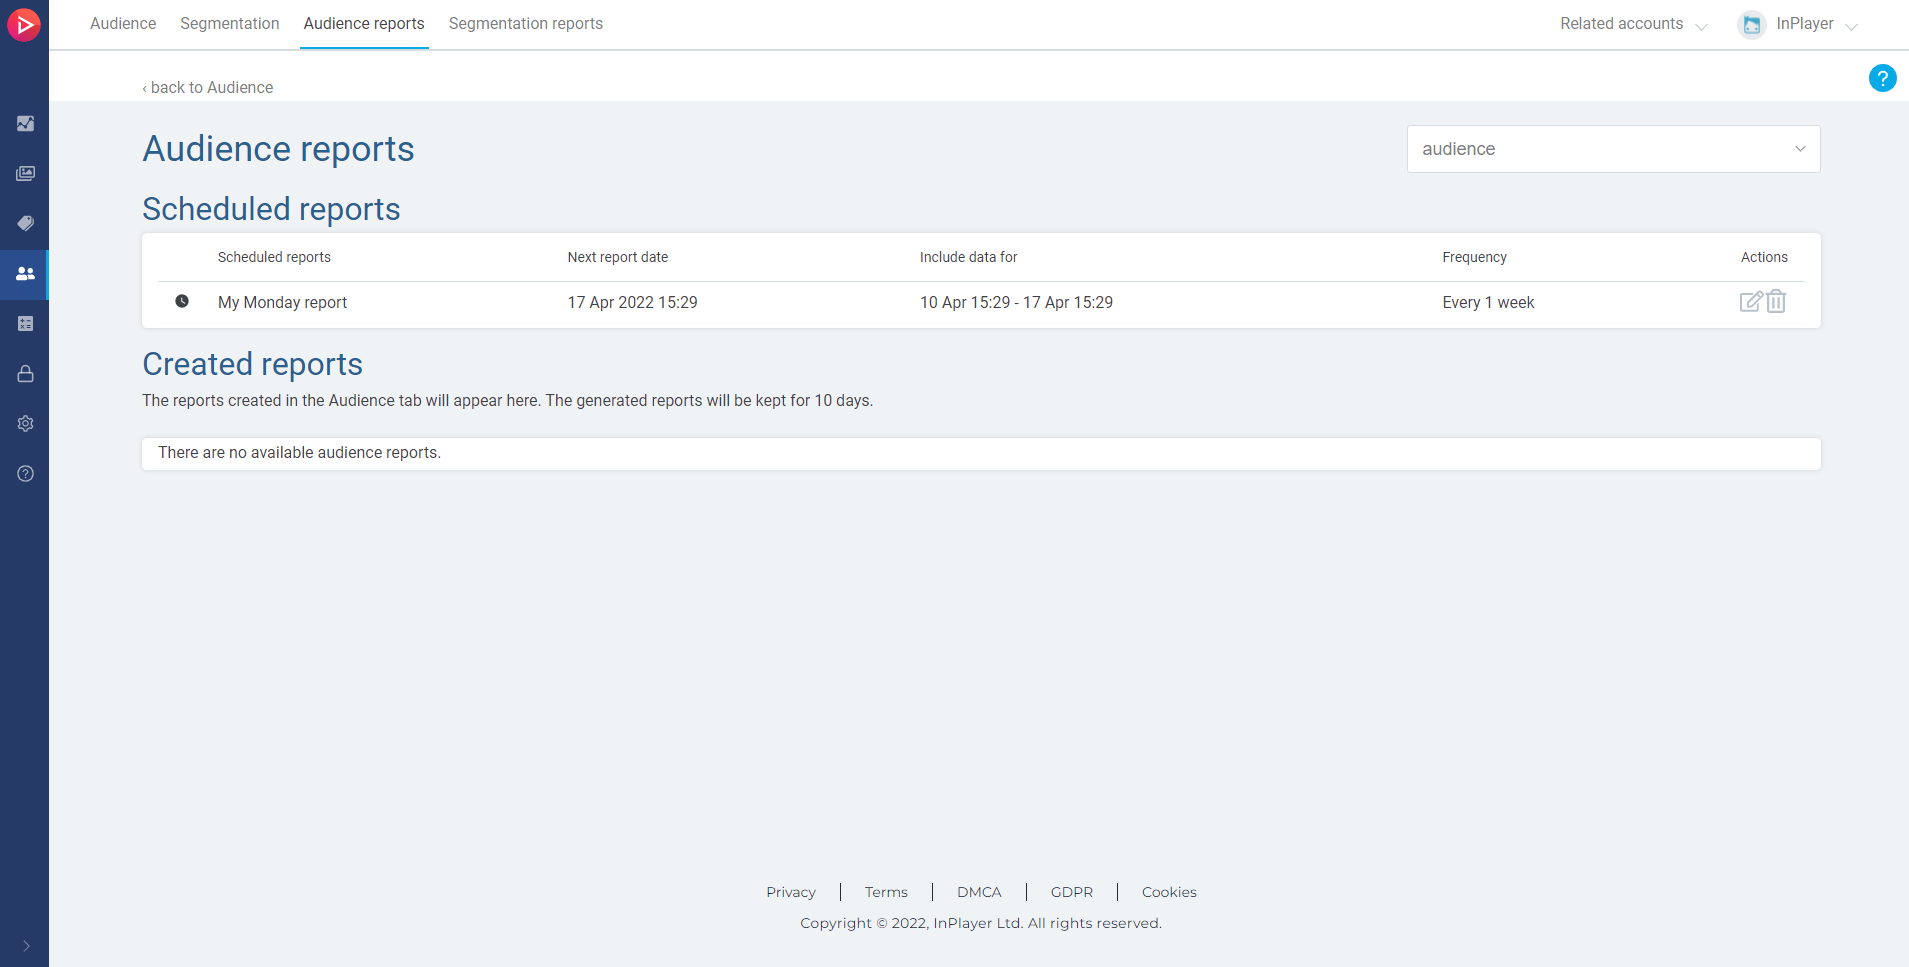
To download the generated report, just go to the Segmentation reports tab, and select the segment from the dropdown menu.

Paying customers
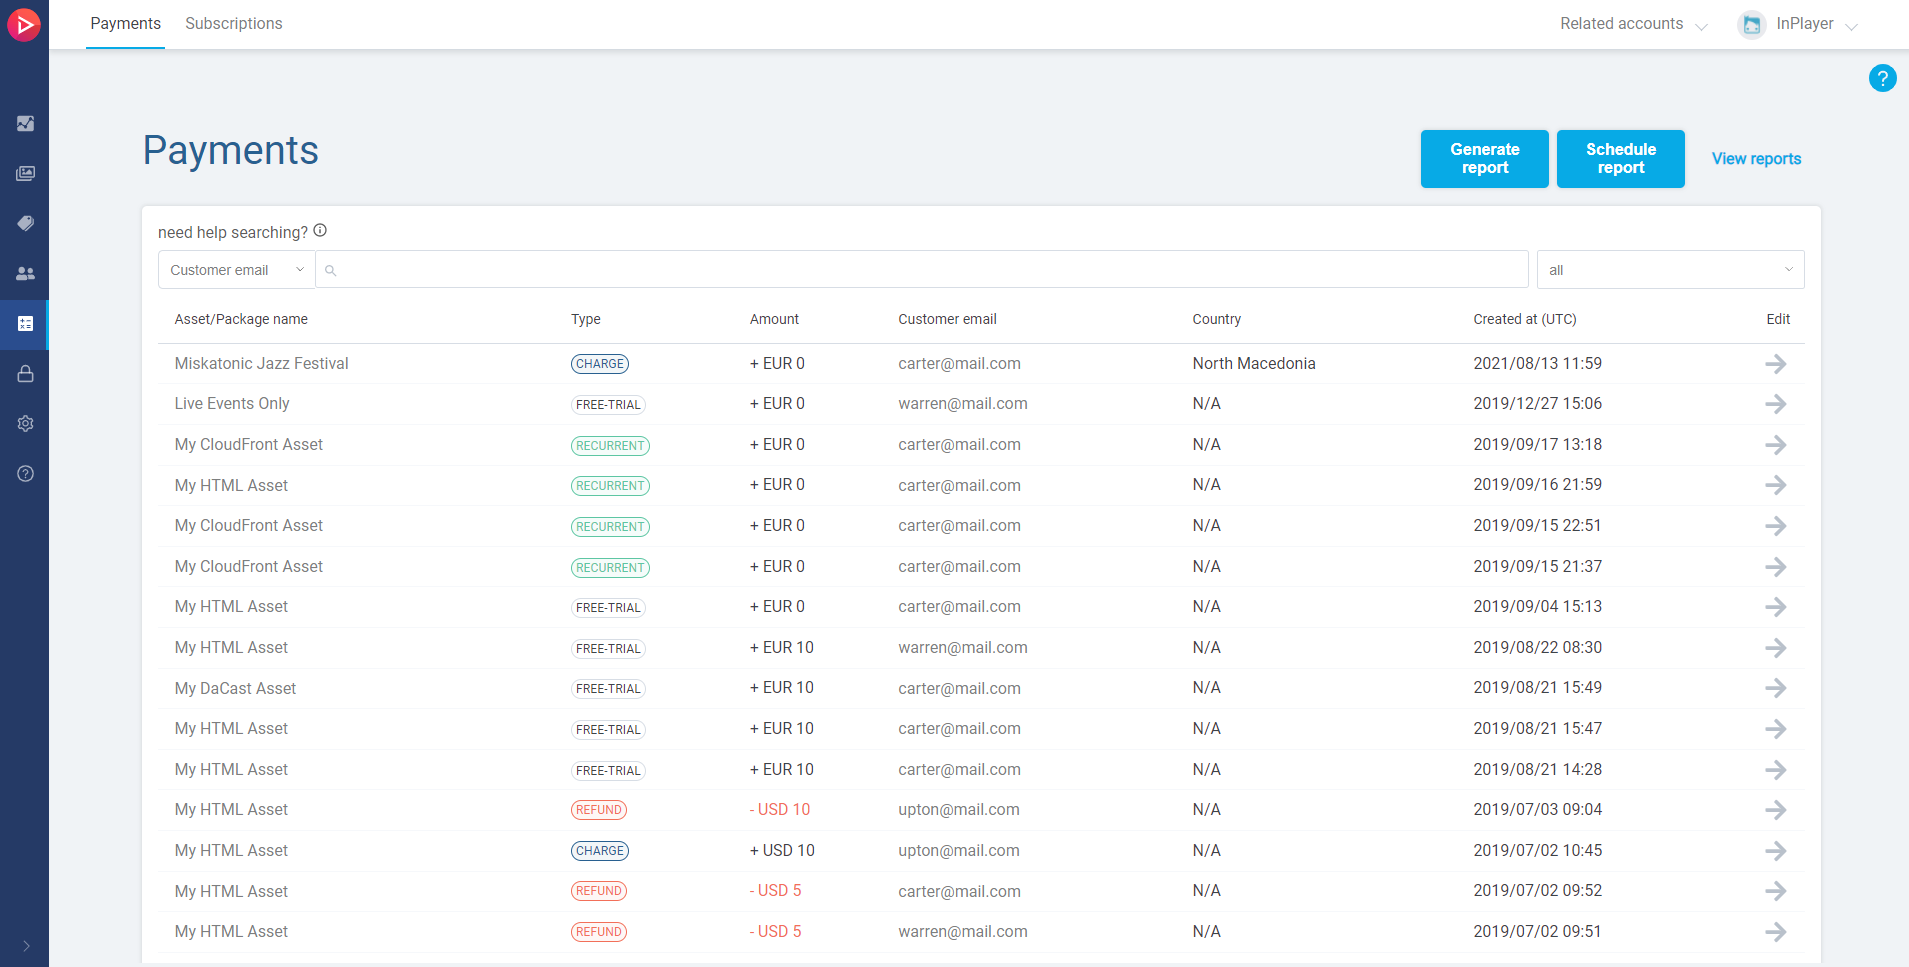
The Paying customers segment provides insight into how many and which viewers have made a payment in a given time period.
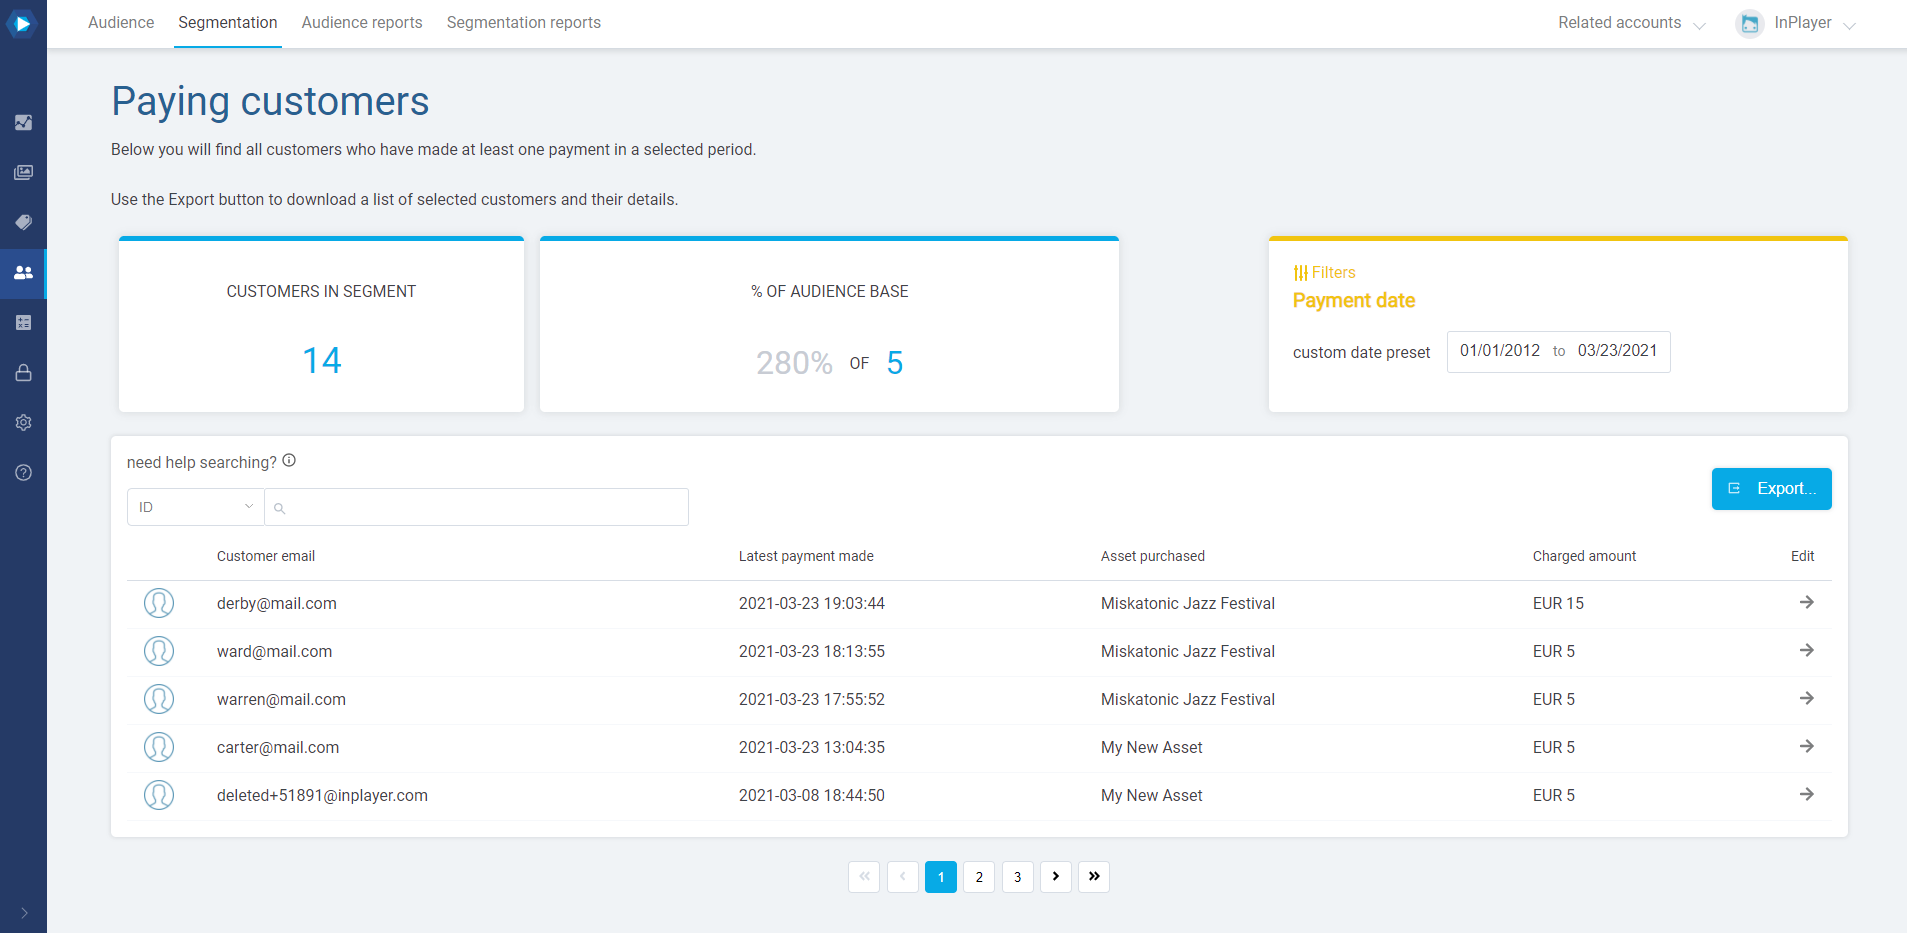
It works exactly the same as the Canceled subscriptions segment, i.e. you can either view the info by selecting the period in the filters section, or generate a report via the Export button which you can then download in the Segmentation reports tab.
Registered only customers
The Registered only customers segment provides insight into how many and which viewers have registered an account, but haven’t made a payment yet.
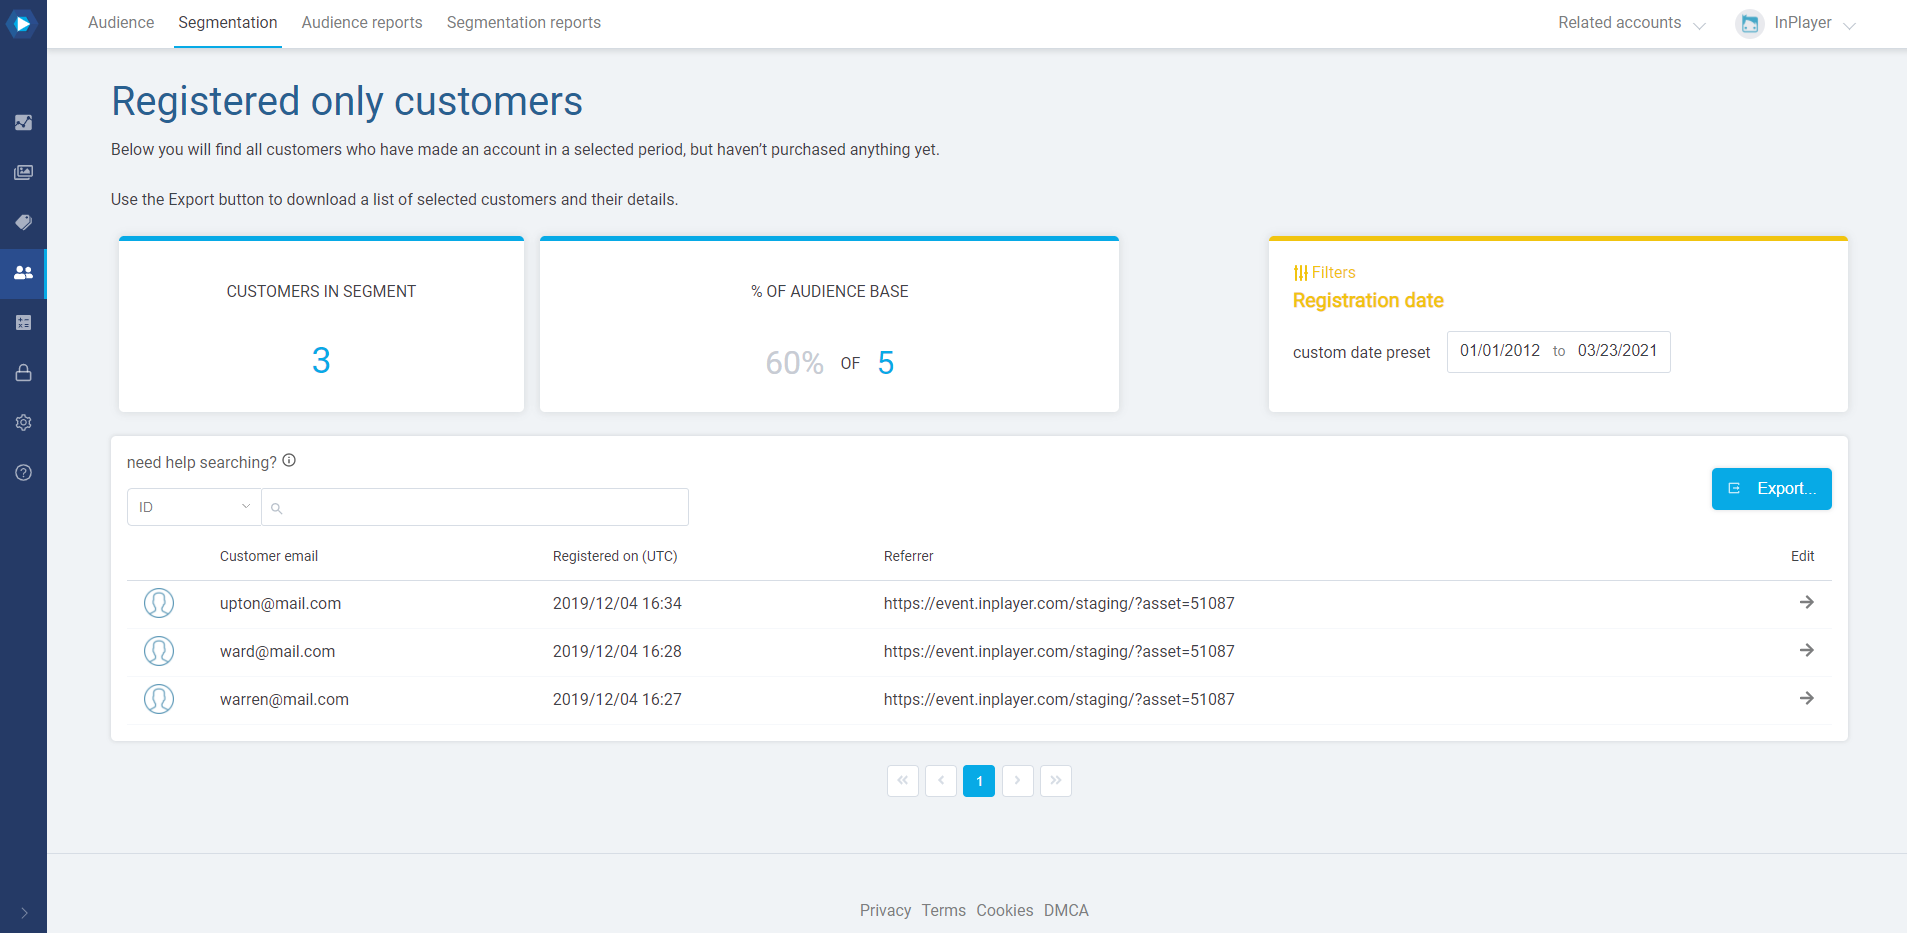
It works exactly the same as the other segments, i.e. you can either view the info by selecting the period in the filters section, or generate a report via the Export button which you can then download in the Segmentation reports tab.
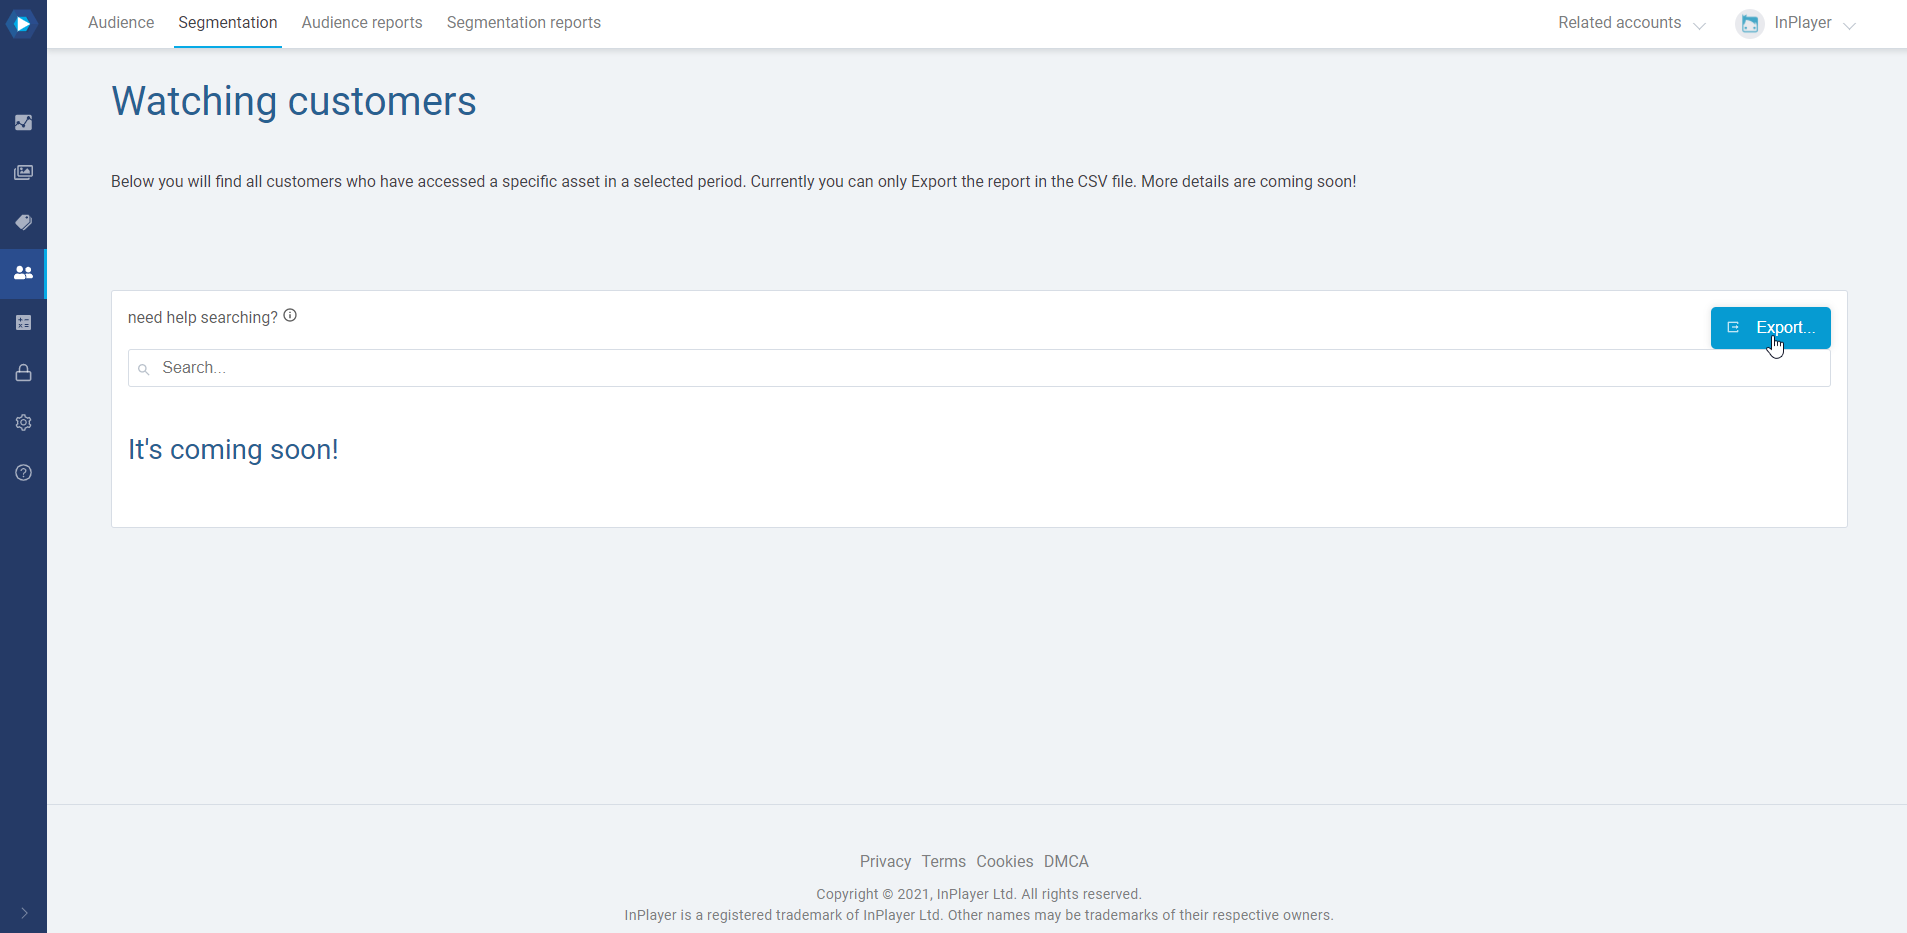
Watching customers
The Watching customers segment provides insight into how many and which viewers have accessed a particular asset, in a given time period.
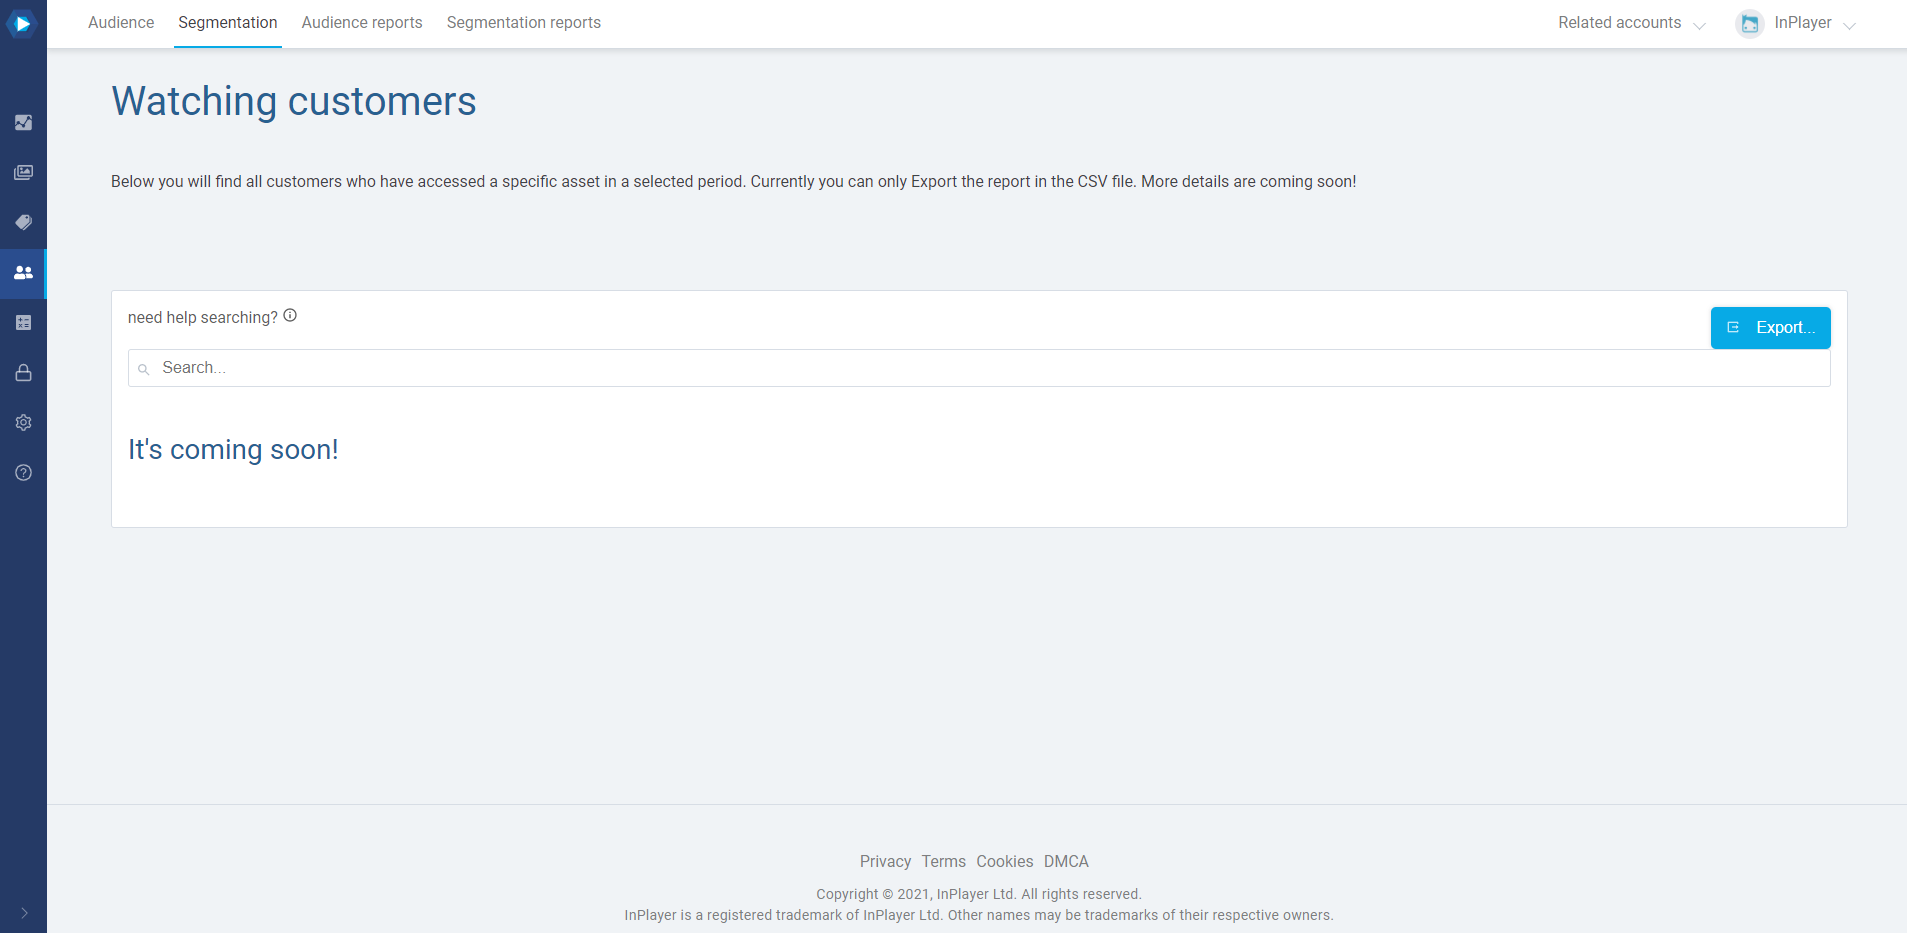
To get the report, just click on Export.
In the new screen, select the time period, and in the search field on the right enter the asset ID of the asset for which you wish to get the access info.
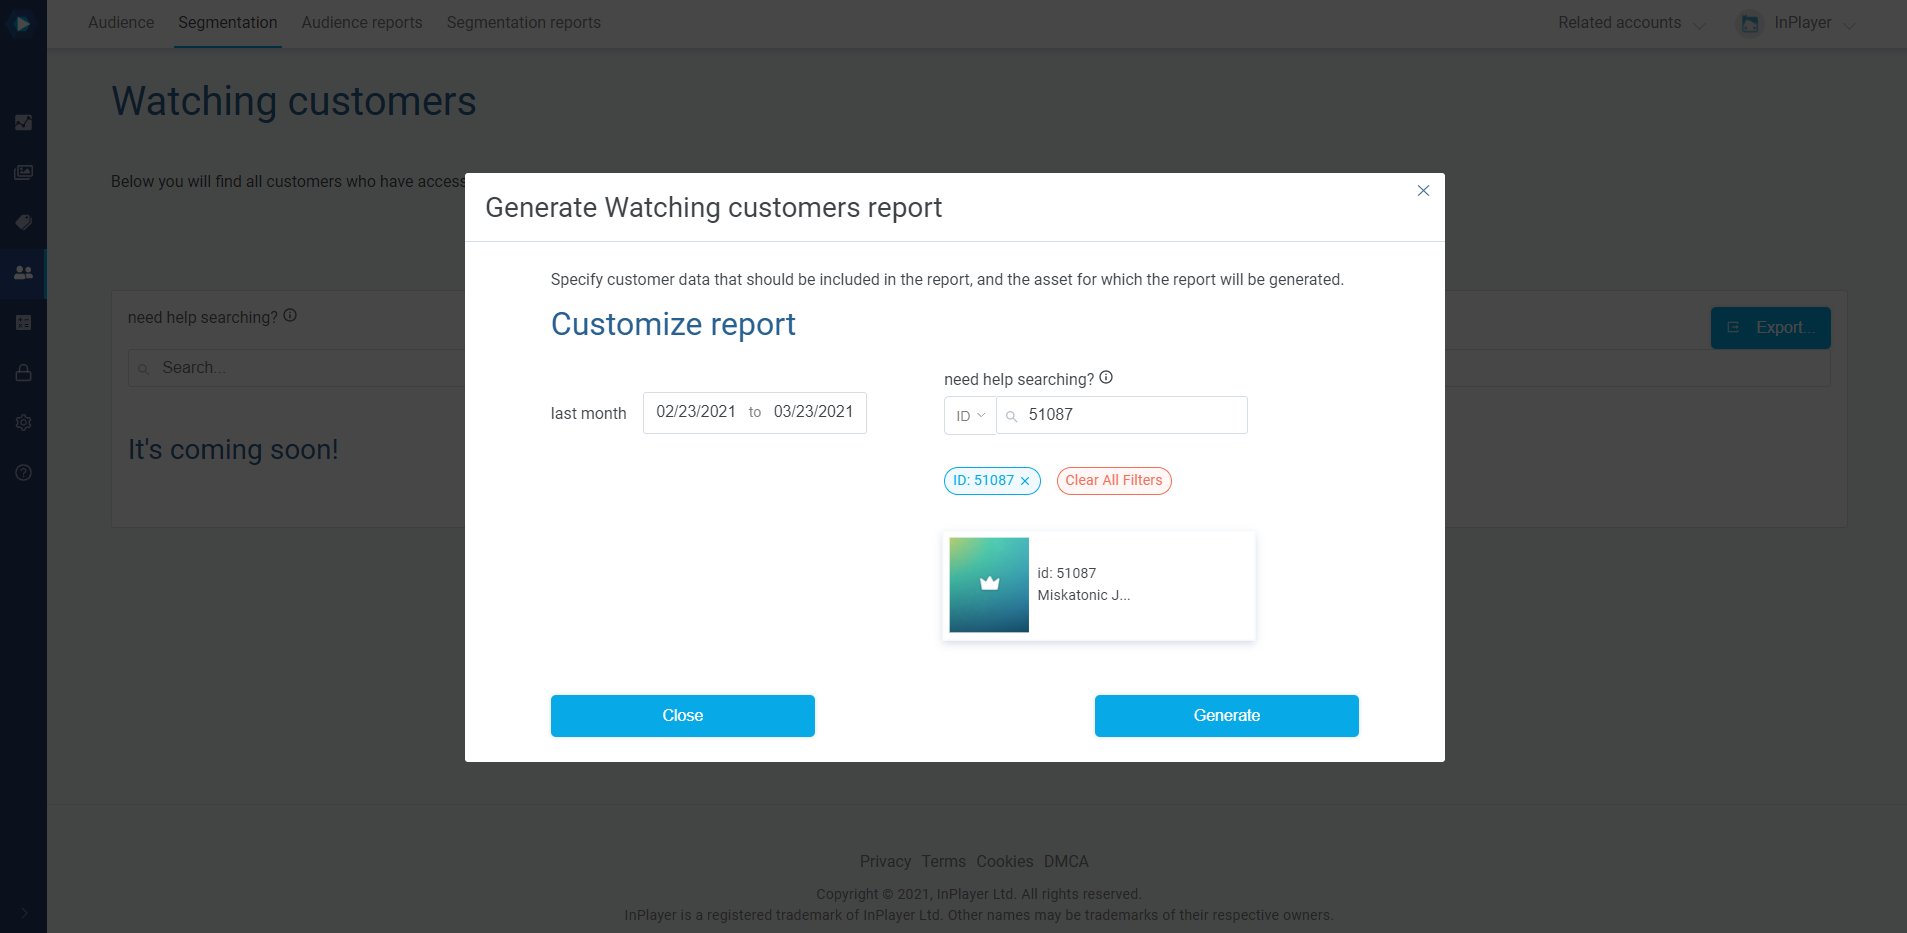
Note that when you insert the asset ID in the field, you need to press Enter, and then click on the asset.
Finally, click Generate.
To download the generated report, just go to the Segmentation reports tab, and select the segment from the dropdown menu.
This concludes our guide.
If you have any questions, don’t hesitate to contact us at clients@inplayer.com.