Settings
Learn about content restrictions, social login, OAuth, and much more.
OAuth & SSO
OAuth and SSO are two features of our platform that can be very useful if you have content across multiple domains.
With OAuth, you can group the viewers into separate user groups (called OAuth apps or applications), based on on which asset they have registered their account or made their purchase.
This can be very useful when making reports because you will have an easy way of separating registrations and payments into groups (OAuth apps).
With SSO (Single-Sign-On), you can make it so whenever a viewer logs in to one of the websites you’ve specified, they will automatically be logged into the other websites as well, and will not have to log in again if they go there.
This greatly streamlines the viewer experience.
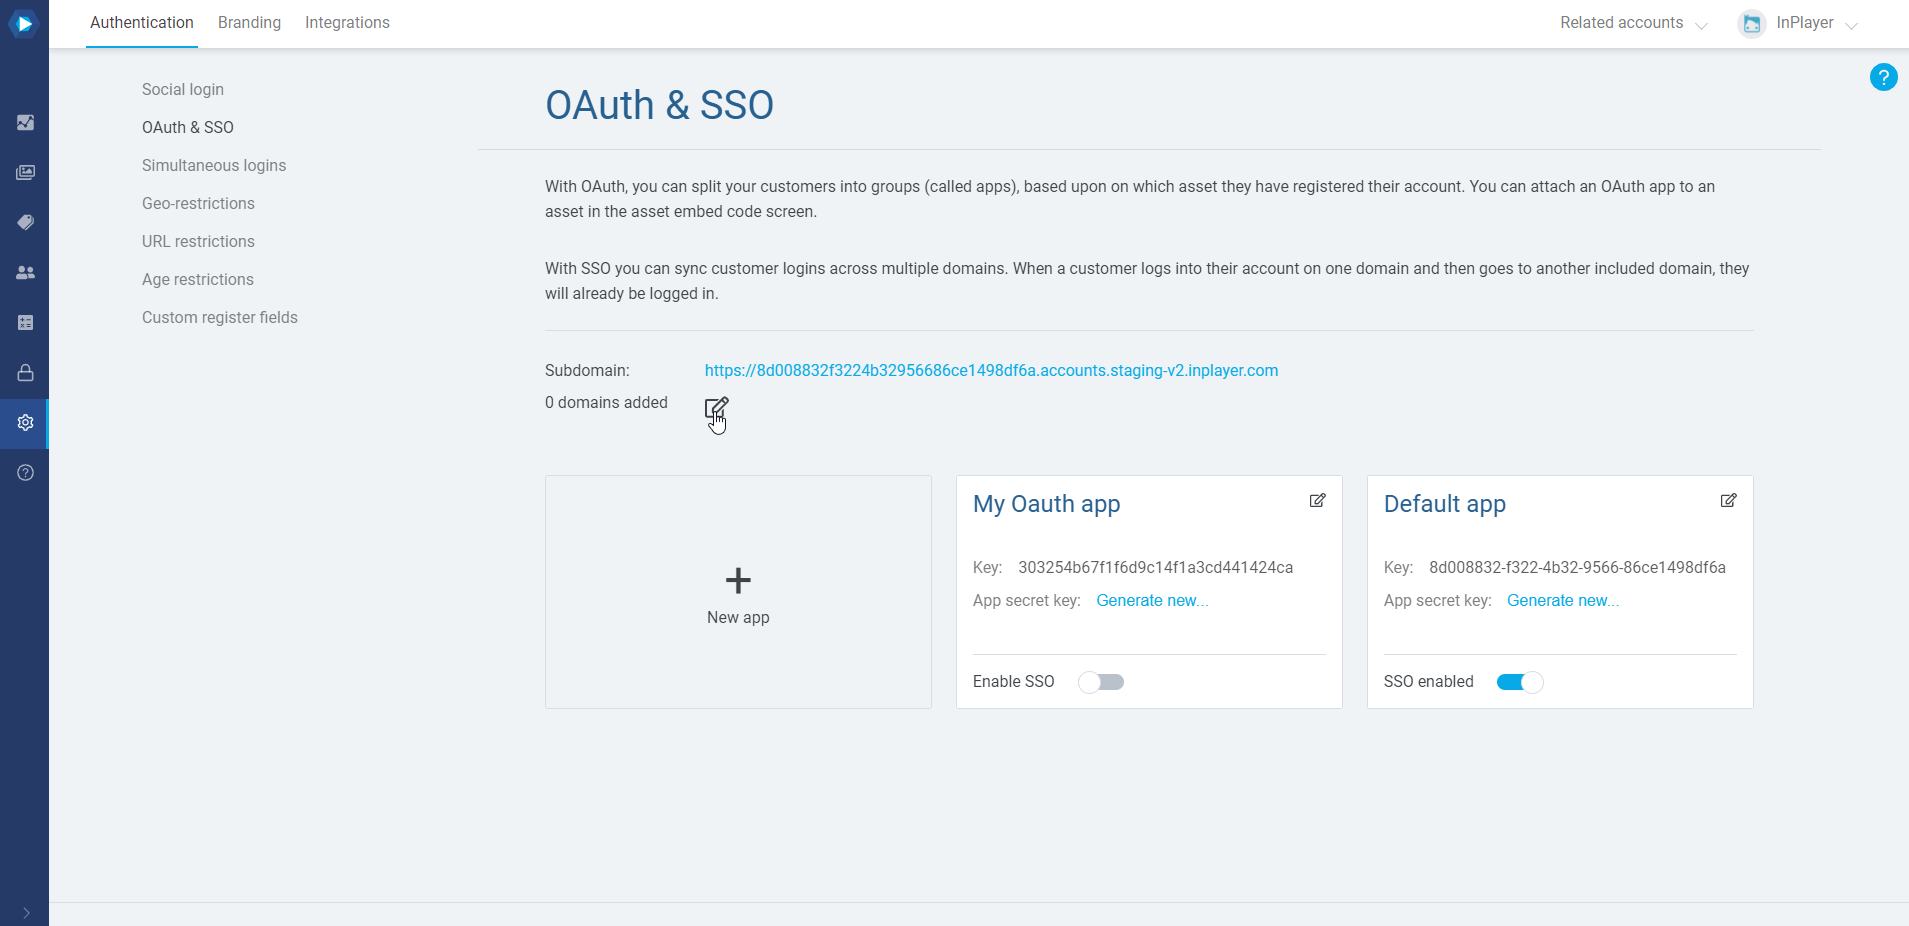
You will find the OAuth & SSO features in the Authentication tab of the Dashboard settings.
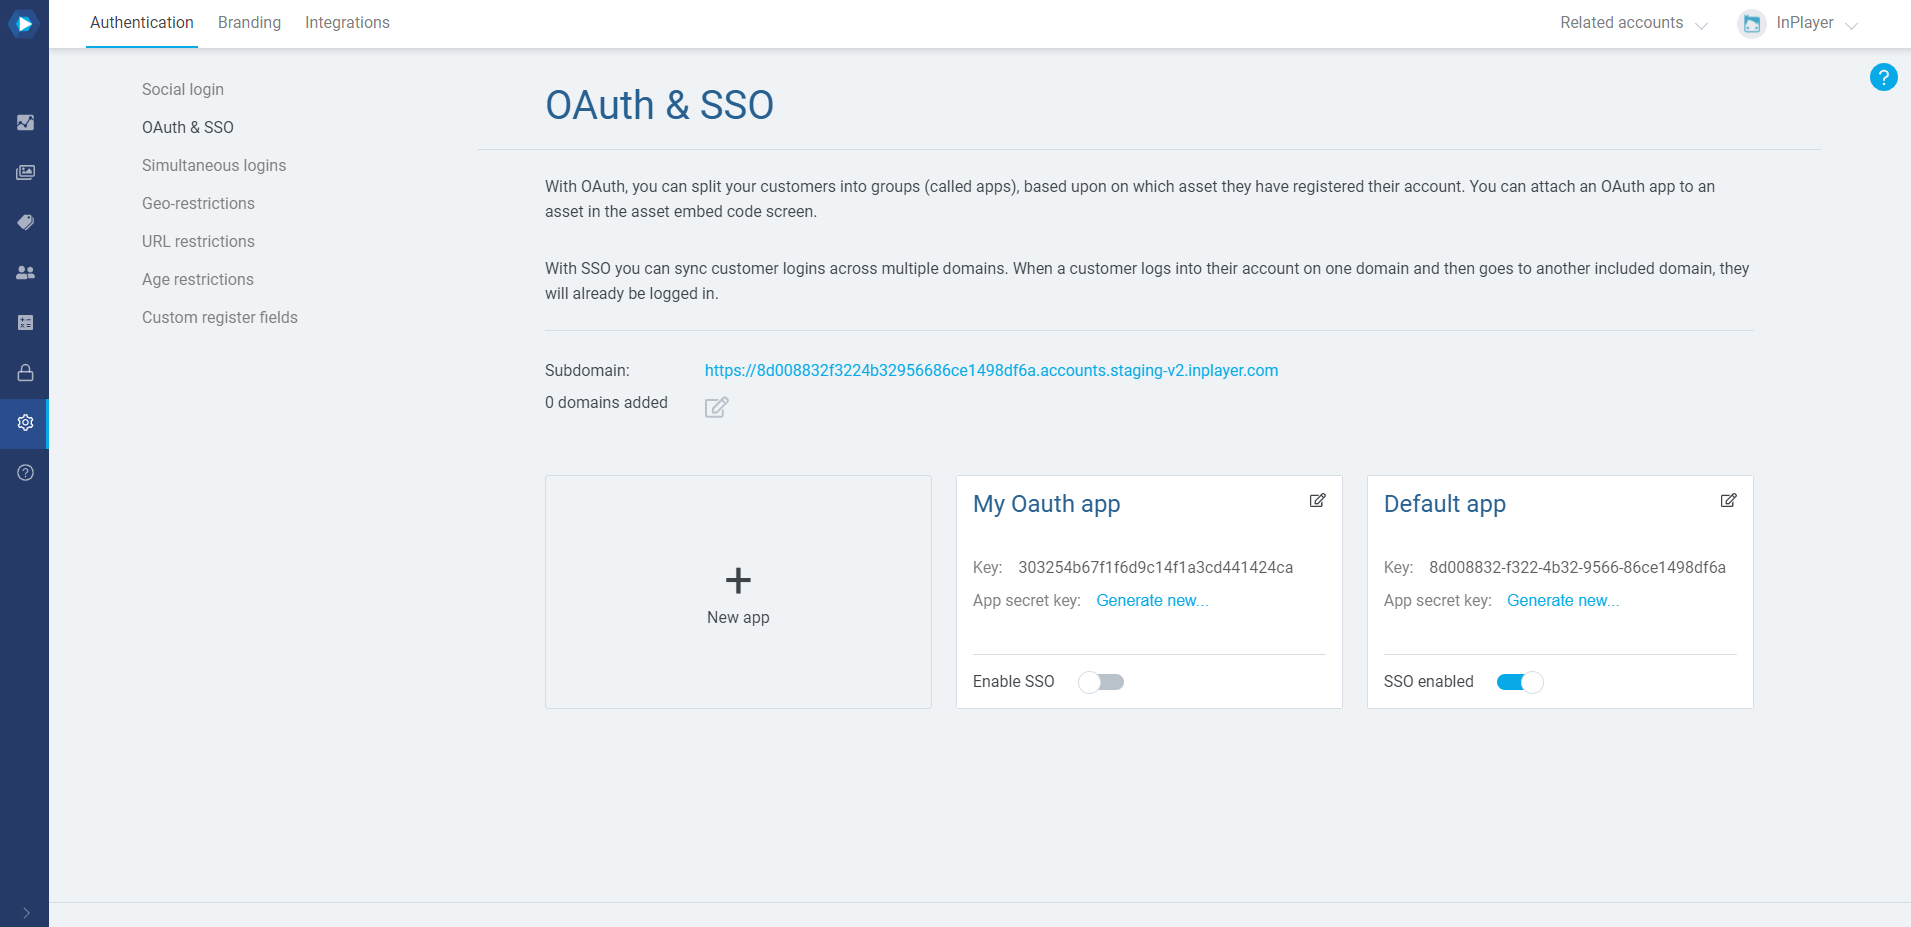
OAuth
To use the OAuth feature, you first need to create the user groups into which your viewers will be divided. We call these user groups OAuth apps.
You can then attach an OAuth app to each of your assets, so whenever a viewer registers an account on that asset, they would become a part of that user group.
You will notice that you already have one OAuth app, i.e. the Default app. This is the default group to which all the viewer registrations and login records will go to.
Creating a new OAuth app
To create a new OAuth app, click on the New app box.

Give your new app a name (you can use the name of your website for example), and click Create.

You can add as many OAuth apps as you want.
Using the OAuth feature
Using the OAuth feature is very simple. All you have to do is choose the OAuth app you want to use for an asset, while you are getting the embed code for that asset.
In the Assets tab of your InPlayer Dashboard, go to the asset to which you wish to attach an OAuth app, and open it by clicking ![]() .
.
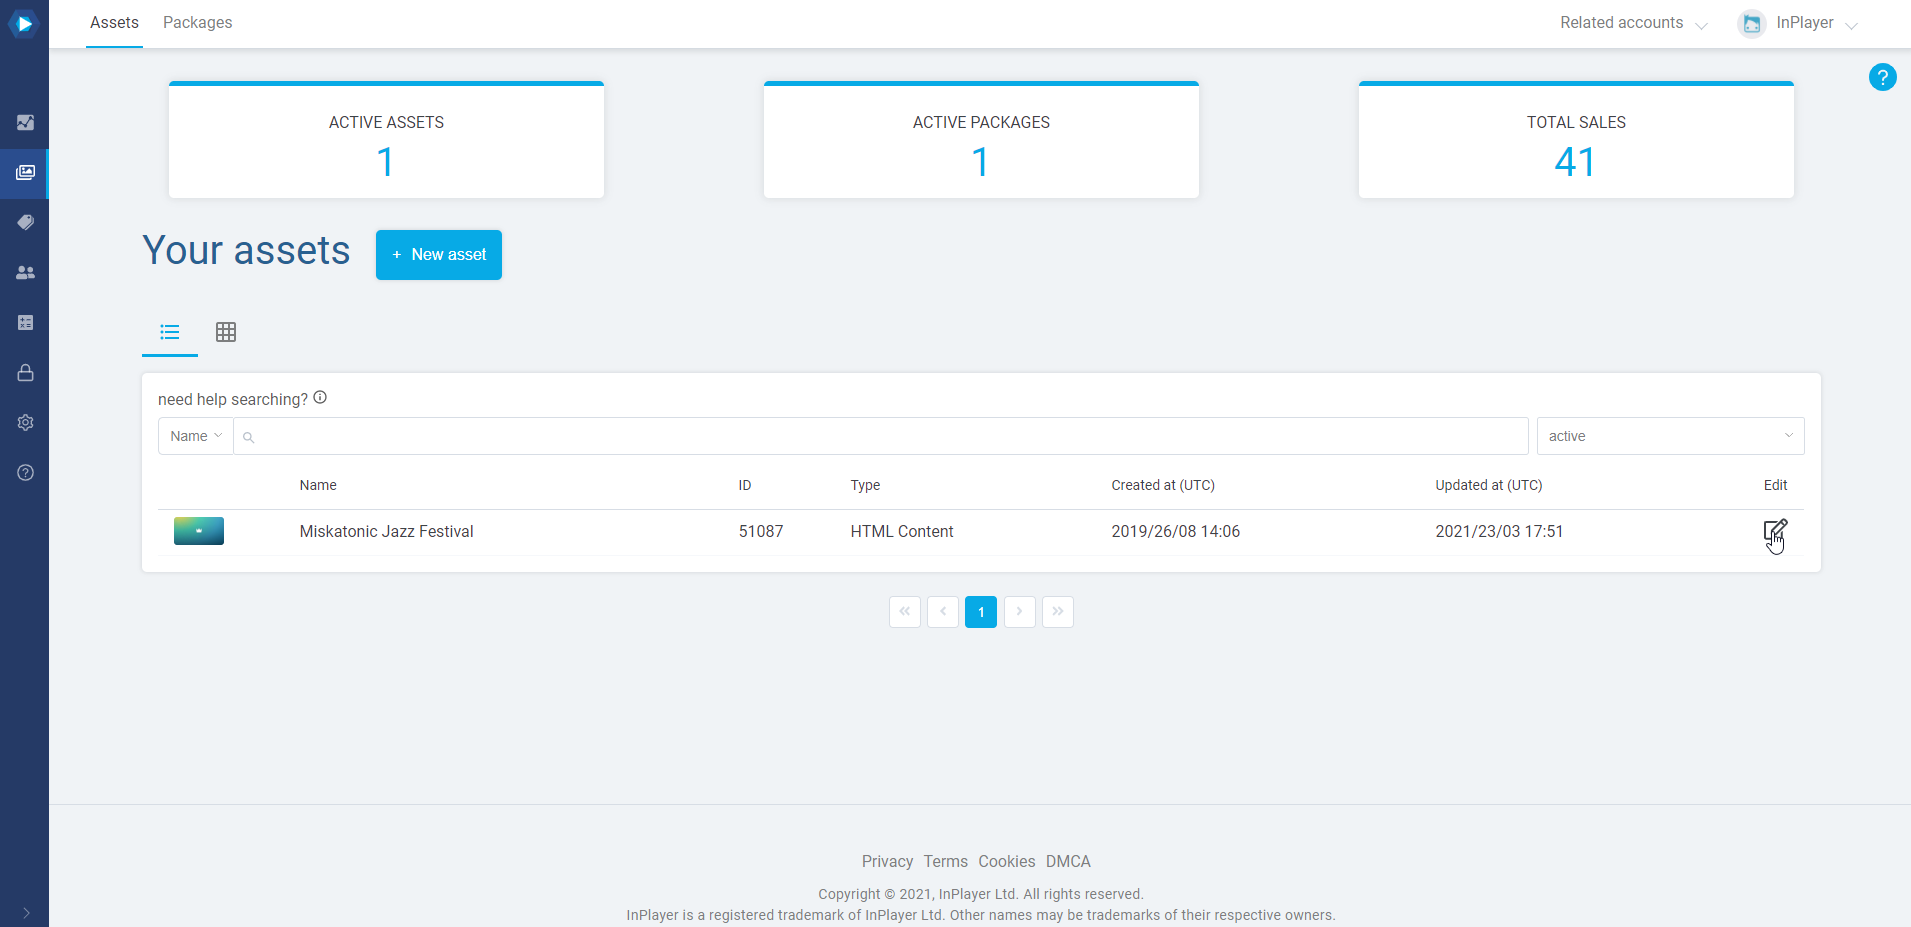
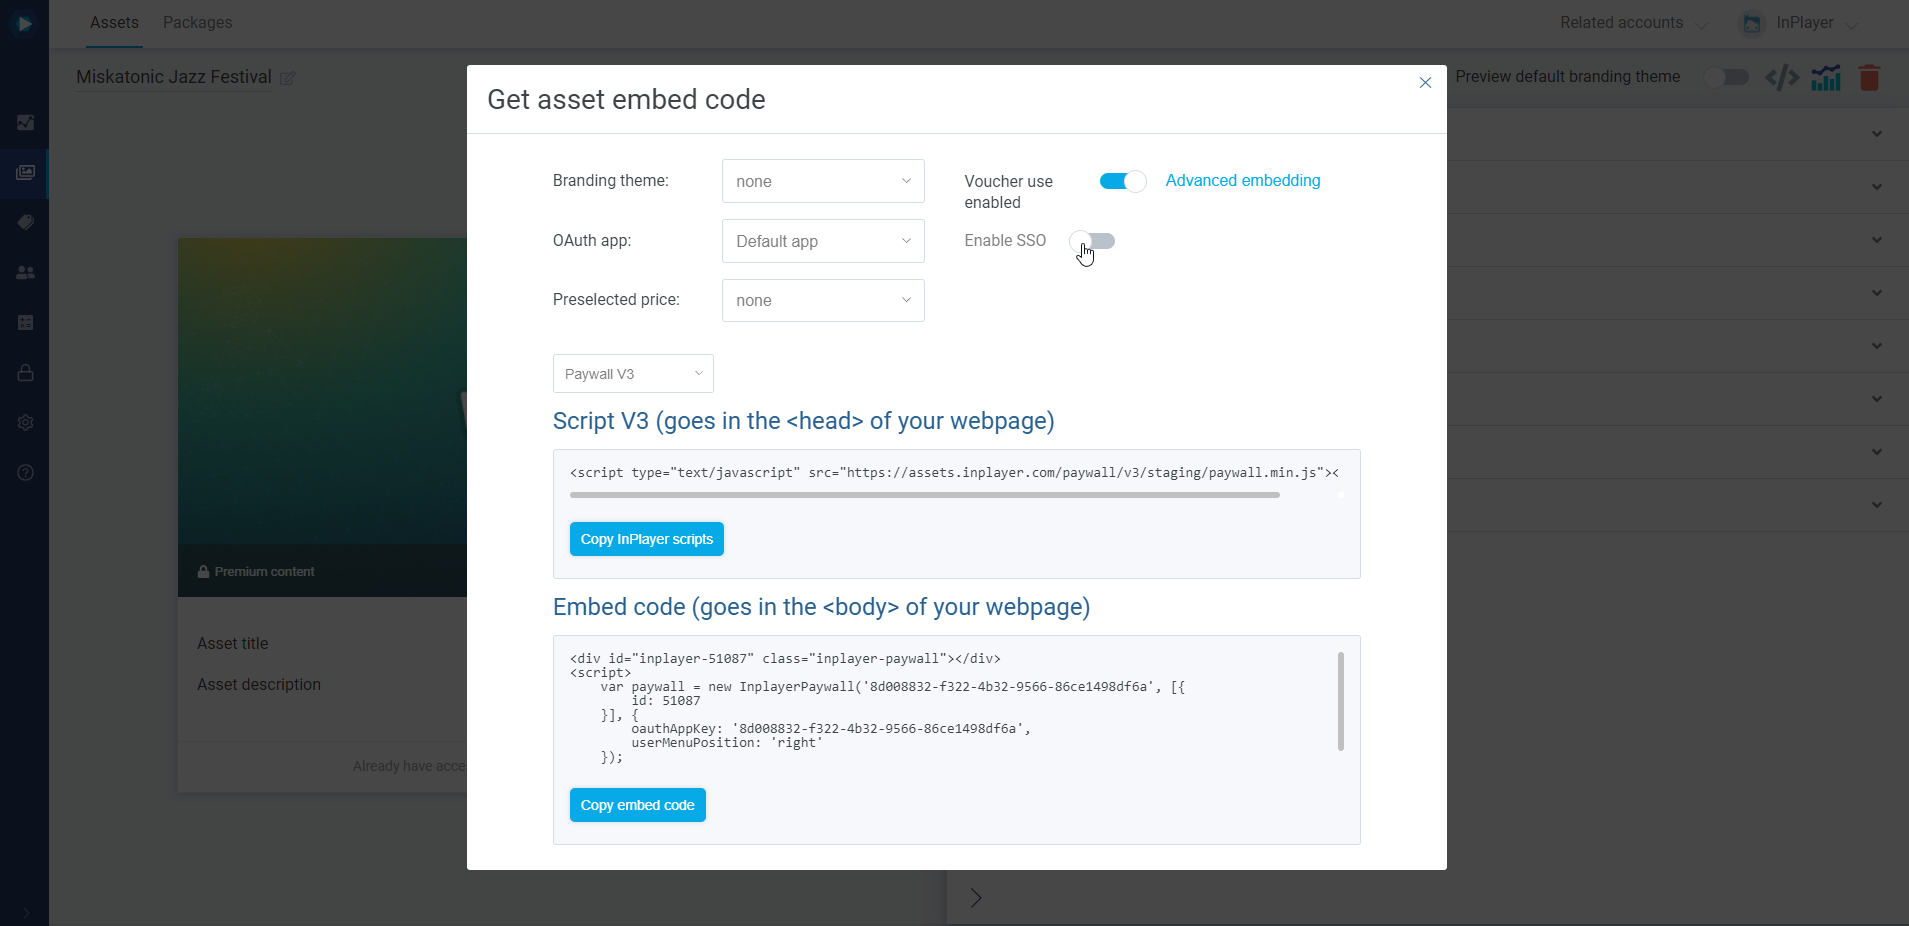
Click on the Get asset embed code button at the top right.
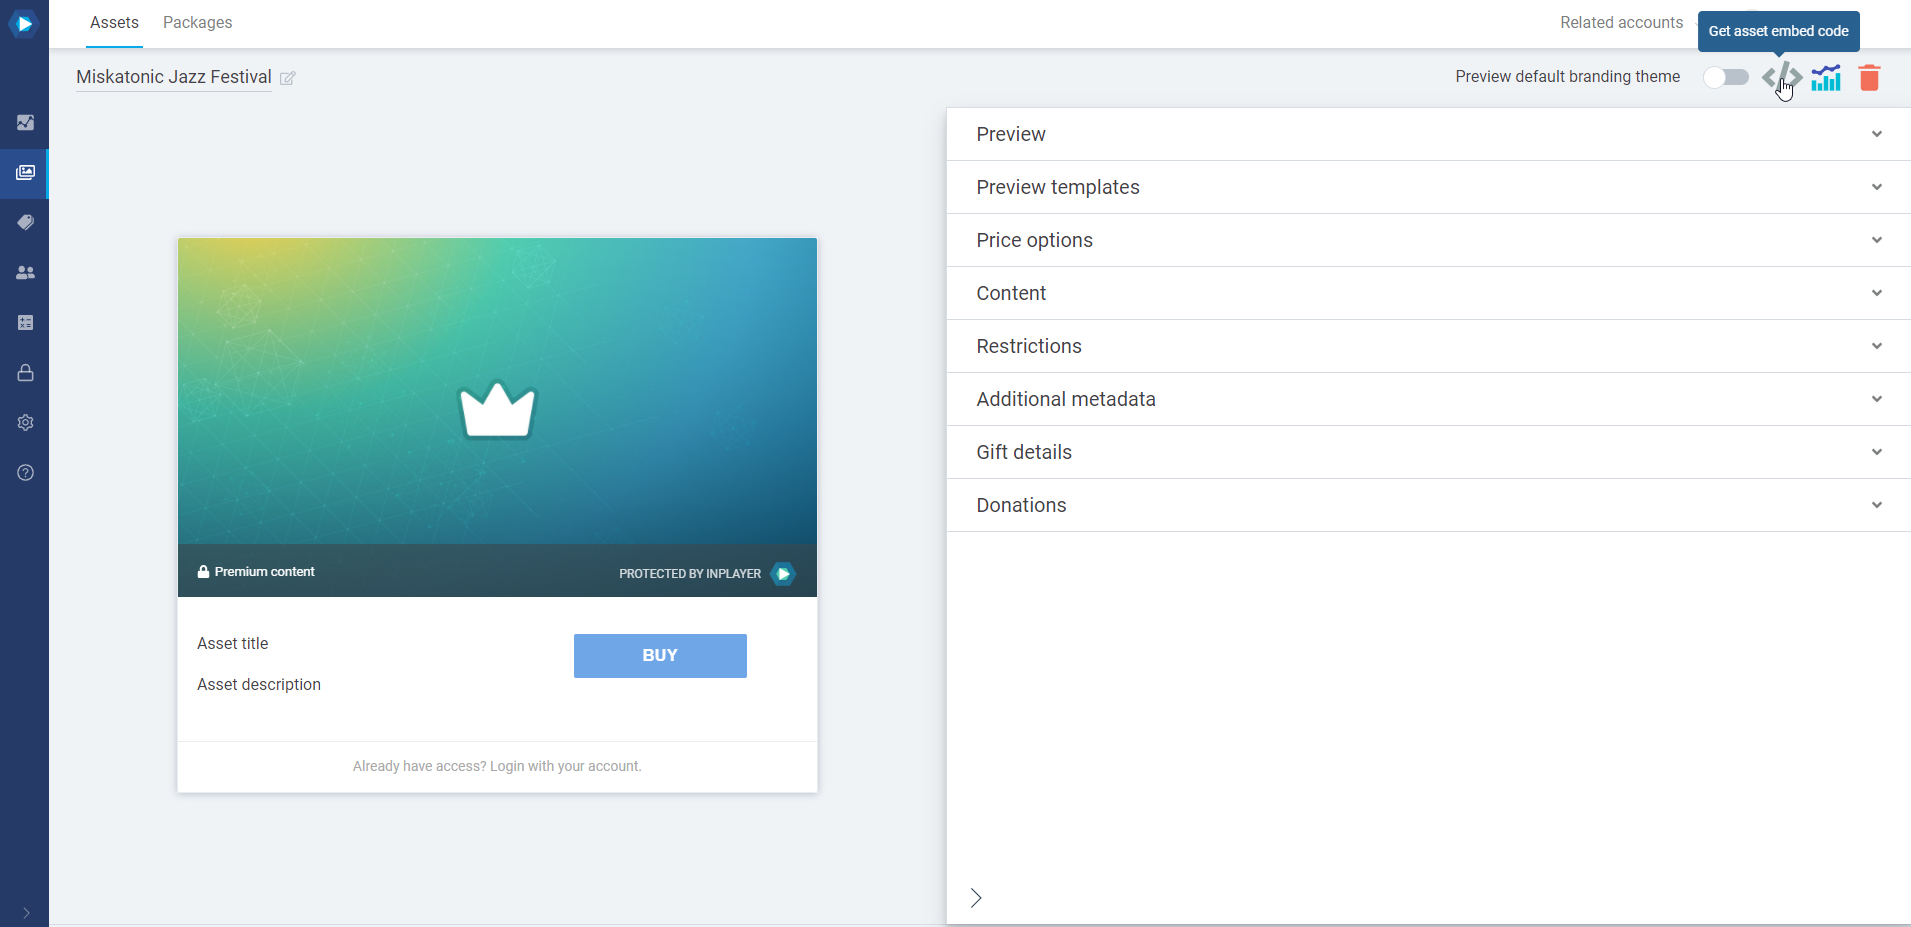
Select the OAuth app you wish to use.
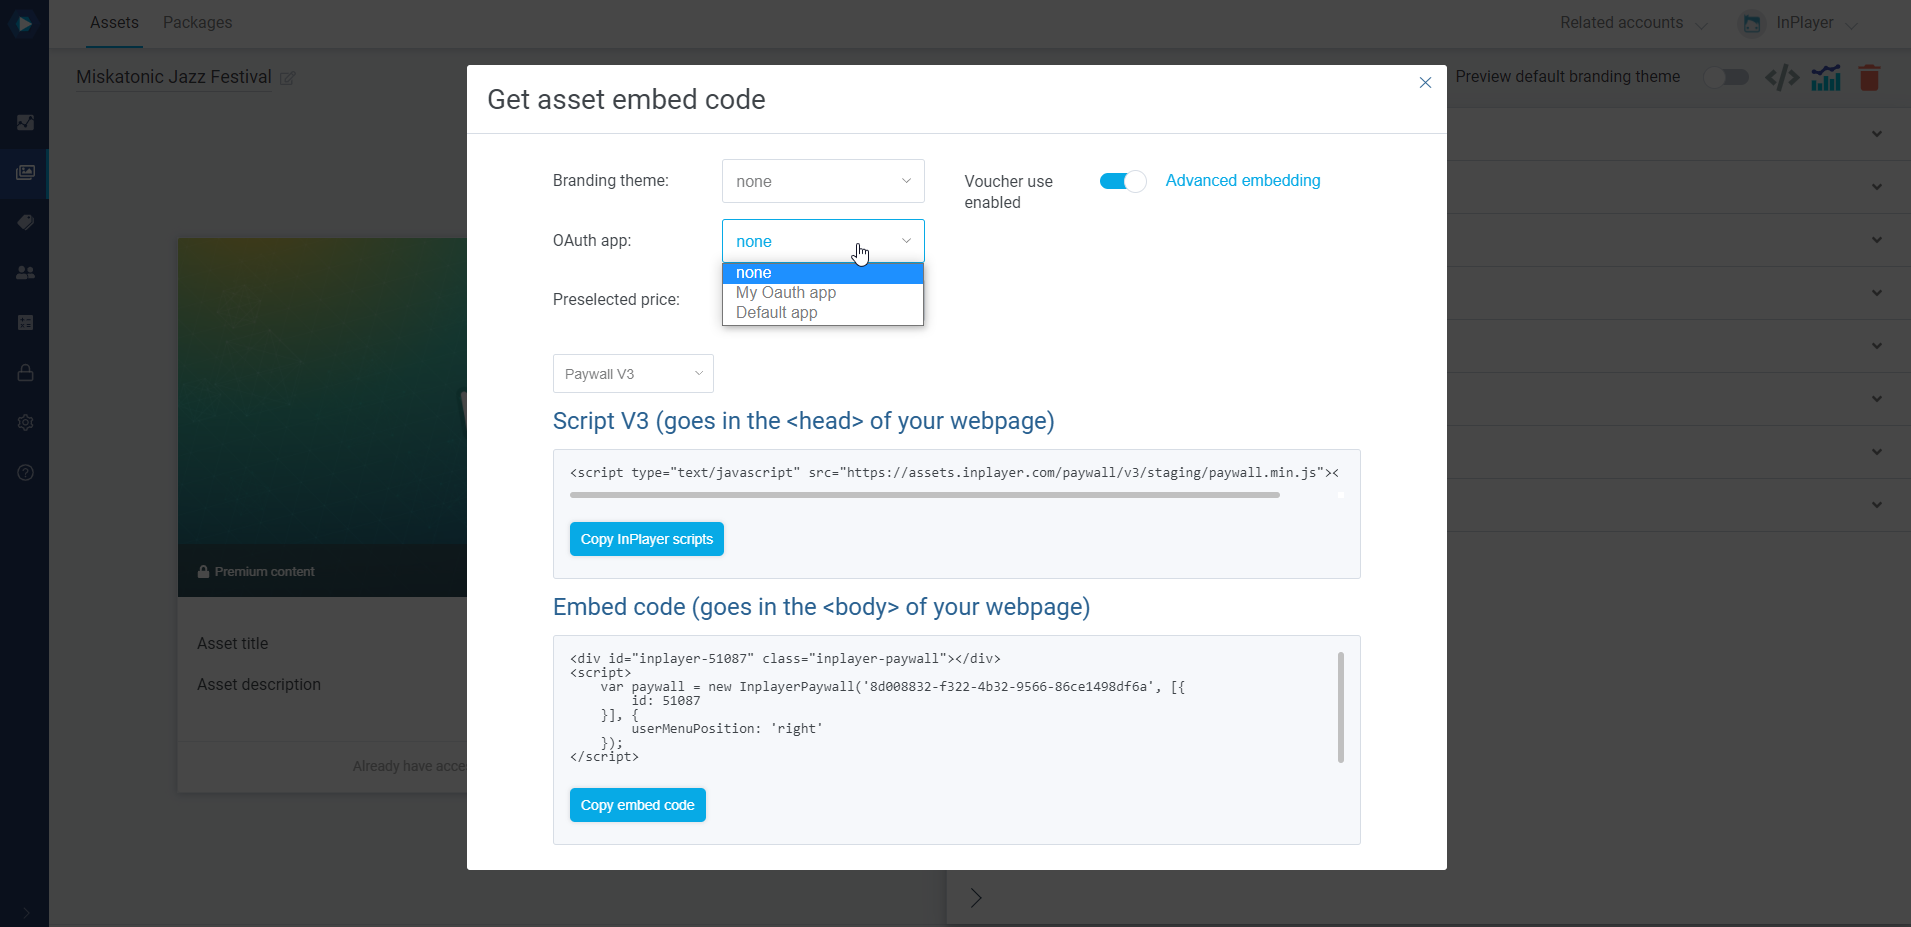
Get the embed codes for the asset and put it up on your webpage like you normally would.
With that, every time a viewer registers their account on that asset, they will be grouped into the user group of the selected OAuth app.
SSO
The SSO works as an extension of the OAuth feature, which means you have to attach an OAuth group on an asset to be able to use the SSO for it as well.
Note that the SSO only works within the OAuth app that has been selected for that group of assets, and not with assets that have been set up with different OAuth apps.
Enabling the SSO feature
To enable the SSO feature, first click on SSO Enable.

You can now enable the SSO feature for all your OAuth apps.

To do this, just click the Enable SSO toggle on the OAuth app.
With that, the SSO is activated for that OAuth app.
Every time you set up an asset to use that OAuth app, you will have the option to enable the SSO feature for it as well.
We will see how to do this further down in this article.
But first, you need to add the domains on which your viewers will be automatically logged in as soon as they log into just one.
To do that, click on the ![]() button.
button.
Click on Add domain, type in your domain and click Save.
Make sure you do not add a / at the end of the domain, nor any other special characters.
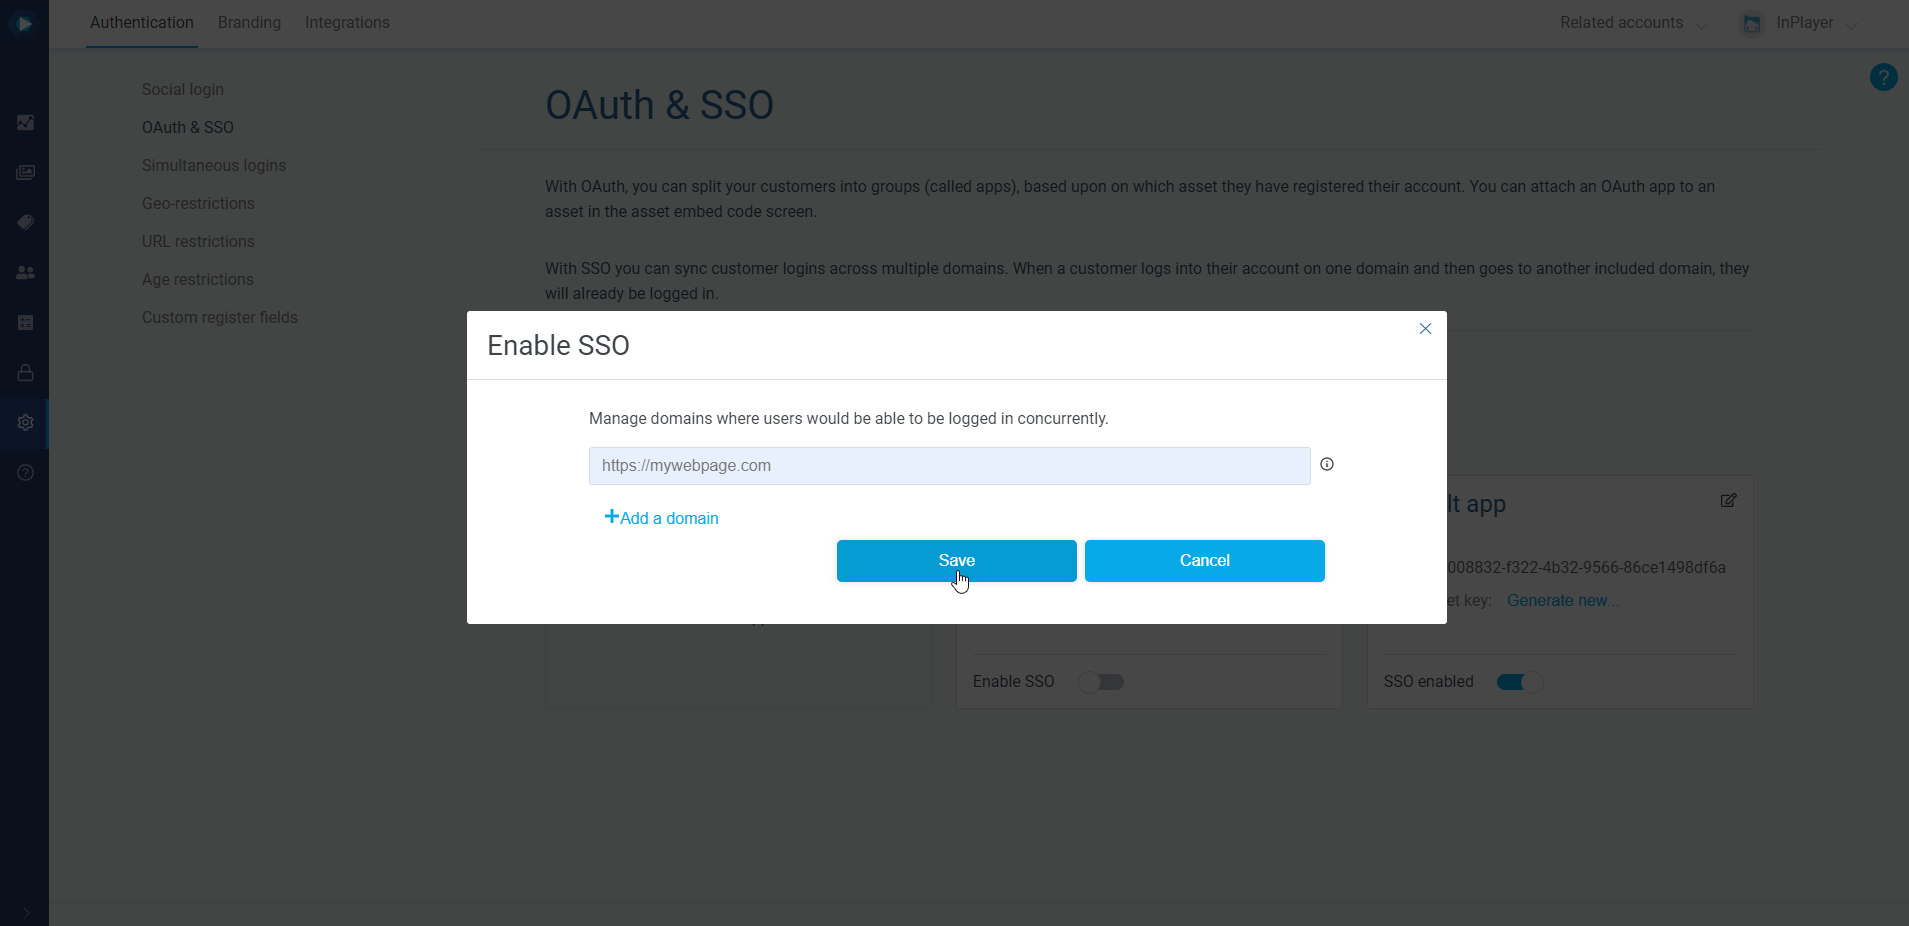
You can add as many domains as you wish.
If you ever wish to remove a domain, just click the ![]() button next to it.
button next to it.
Using the SSO feature
Using the SSO feature is very simple. All you have to do is enable it in an asset when you are getting the embed code for it.
In the Assets tab of your InPlayer Dashboard, go to the asset to which you wish to attach an OAuth app, and open it by clicking ![]() .
.
Click on the Get asset embed code button at the top right.
Select the OAuth app you wish to use.
Once you select the OAuth app, you will see an Enable SSO toggle right next to it.
To enable or disable the SSO, just click on the toggle.
If you don’t see the toggle, go back to the OAuth & SSO tab and make sure the SSO feature for the OAuth you are using is enabled.
With that, every time a viewer registers or logs into that asset, they will be logged into all domains (websites) that you’ve added in the SSO settings.
Once you set up the SSO, you can embed the asset on your webpage like you normally would.
You can disable the SSO feature at any time by going to the OAuth & SSO tab and clicking on the SSO toggle.
This concludes our guide.
If you have any questions, don’t hesitate to contact us at clients@inplayer.com.