|Customer Success Corner
  • Dashboard
  • Developers
  • Submit a ticket

Tag: organization

Organization

Posted on November 6, 2020June 1, 2022 by inplayer_support
Organization

With Organization you can create multiple logins that can have different types of access permissions on your dashboard.
This is a great way of organizing who has access to what.

Activating the Organization feature

To activate this feature, contact your account manager or send us an email at clients@inplayer.com.
Once you get a confirmation that the feature has been activated, you can start setting things up.

Creating your organization

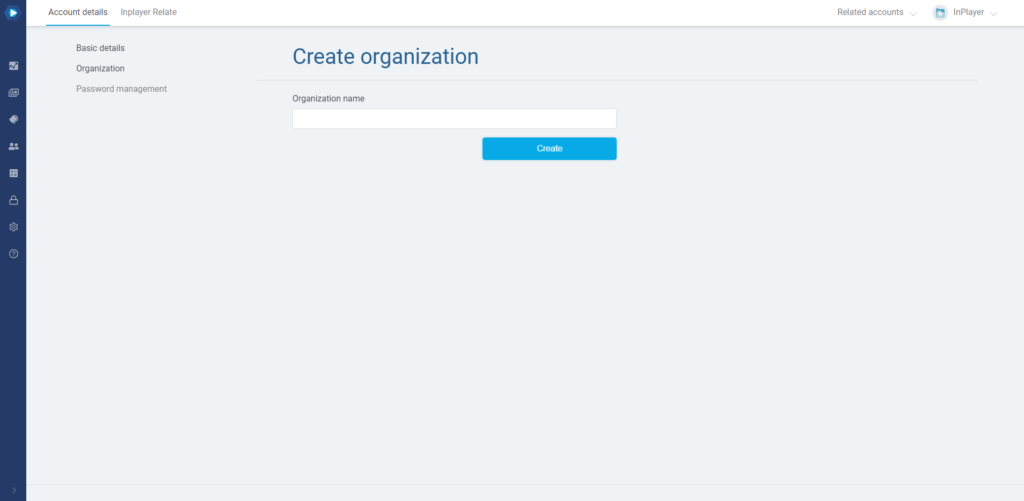
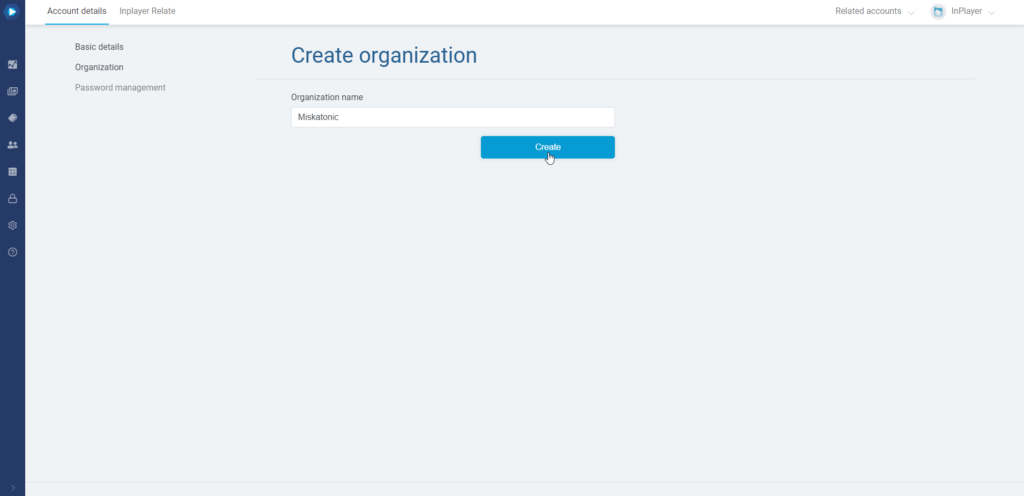
First, you need to create your organization.

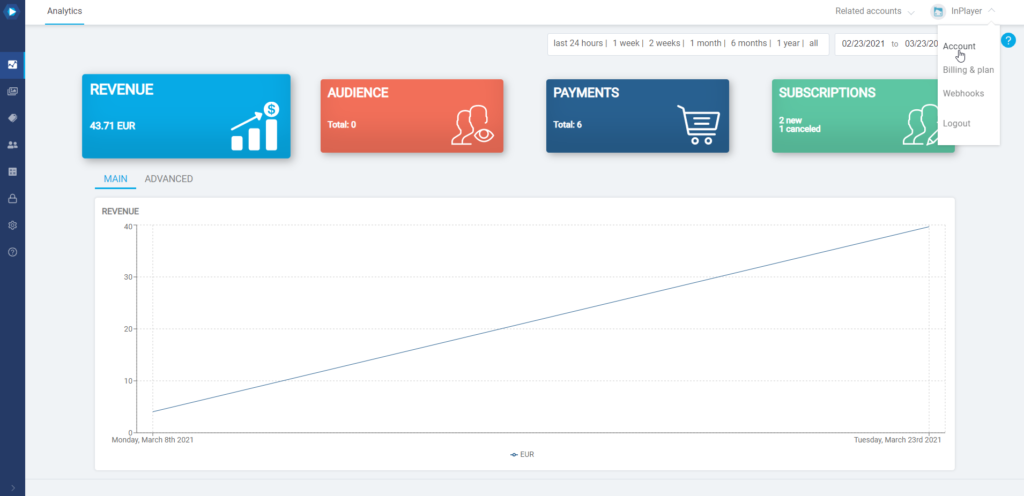
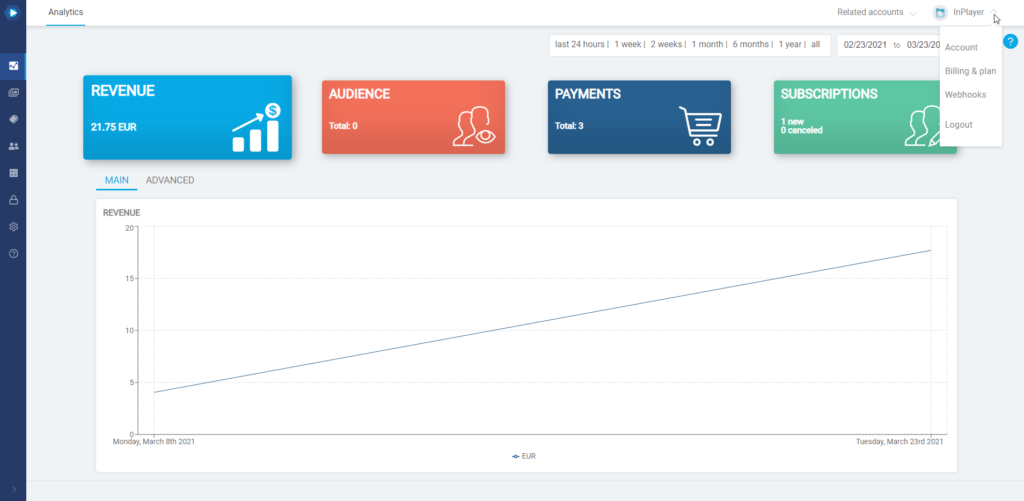
Log into your InPlayer Dashboard, go to your account menu in the top right corner, and click on Account.
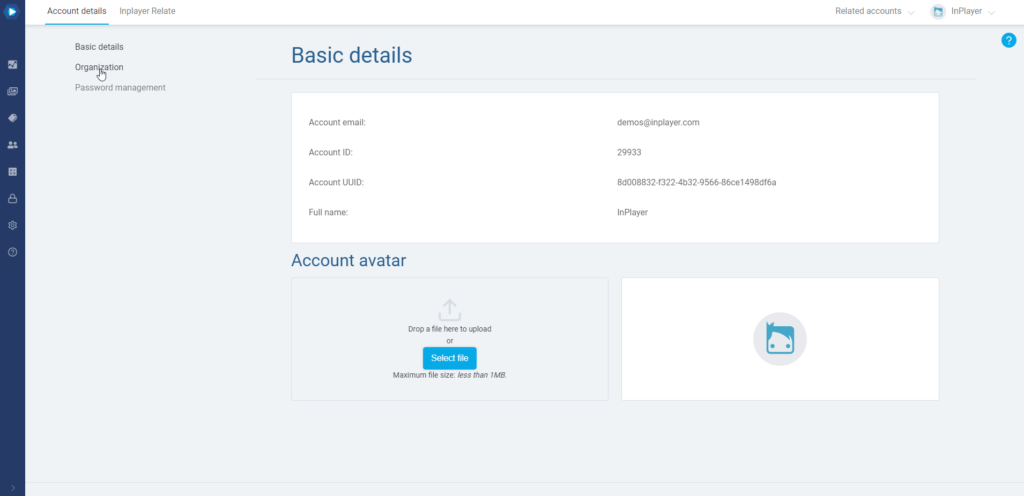
Go to Organization.
Give your organization a name and click Create.
Adding members to your organization

Next, you can start adding members. These will be the accounts that will have various access rights to your dashboard.

Note that an email can be a member of only one organization at a time.
If a member isn’t able to log into their account, it might point to them being a part of another organization. If so, they need to be removed from there so they can log in successfully.


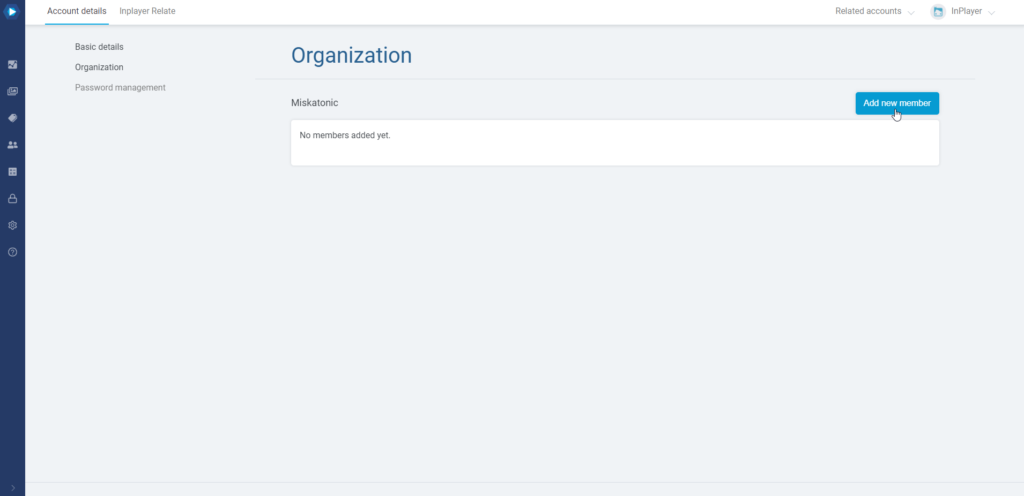
To add a new member, click on Add new member.
Enter their email. Make sure it is a valid email address.

Note that the same email address cannot be a member of two different InPlayer merchant accounts.
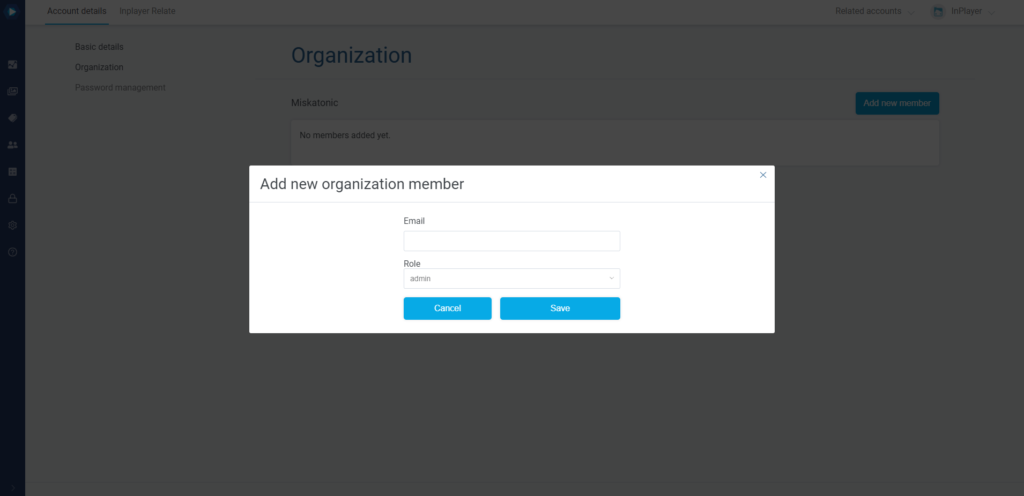

Select the role this member will have. This will determine which parts of the dashboard they will be able to see.

The following roles are available:

  • Admin
  • Analyst
  • Content manager
  • Customer support

The Admin role

The Admin role has no restrictions. They can access everything on the dashboard.

The Analyst role

The Analyst role is for members whose job is related to viewing and generating analytics and reports. The following permissions will be denied to analysts:

  • Settings section
  • Assets section
  • Audience management
    • reset password 
    • edit viewer details
    • edit viewer metadata
    • clear viewer metadata
    • deactivate viewers
    • delete viewers
    • access management – grant, revoke, extend
    • subscription cancellation
  • Transaction section
    • Subscriptions tab – subscription cancellation
  • Assets access section
    • access management – grant, revoke, extend
  • InPlayer Relate
  • Billing & Plan
  • Webhooks

The Content manager role

The Content manager role is for members who will create and manage the assets, packages, vouchers, applications, branding, and everything else related to the content. The following permissions will be denied to content managers:

  • Transactions section
  • Audience section
  • Assets access section
  • Analytics section
  • InPlayer Relate
  • Billing & Plan
  • Webhooks

The Customer support role

The Customer support role is for members who will handle customer support requests. Their daily tasks usually include granting access, revoking access, granting vouchers, and everything else related to handling viewer-related issues. The following permissions will be denied:

  • Analytics section
  • Assets section (below features only)
    • Add new asset
    • Assets sub-section top bar not visible
    • Asset details actions:
      • “Save asset name” button
      • “Delete asset” button
      • Assets sections in read-only mode
      • Price details in read-only mode
    • Package details actions:
      • “Create new package” button
      • “Delete package” button
      • Assets sections in read-only mode
      • Price details in read-only mode
    • Vouchers sub-section top bar not visible
    • Voucher details actions:
      • “Add new voucher” button
      • Voucher details view in read-only mode
  • Audience section (below features only)
    • Audience sub-section top bar not visible
    • “Generate” & “View reports” buttons
    • “Delete customer” button
    • Segmentation sub-section
    • Reports sub-section
  • Transactions section (below features only)
    • Payments sub-section “Generate” & “View reports” buttons
    • Subscription sub-section “Generate” & “View reports” buttons
  • Assets access section (below features only)
    • “Generate” & “View reports” buttons
  • Settings section (below features only)
    • Auth sub-section (below features only)
      • Social auth ready-only mode
      • Oauth & SSO ready-only mode
      • Concurrent sessions ready-only mode
      • Geo Restrictions tab (below features only)
        • “Create new set” button
        • country set edit modal in ready-only mode
        • country set “delete” action
        • country set “remove default“
        • country set “duplicate” action
      • Domain Restrictions tab in ready-only mode
      • Custom Fields in ready-only mode
      • Age Restriction tab in ready-only mode
    • Branding sub-section (below features only)
      • “Create new branding theme” button
      • Single branding theme in ready-only mode
    • Integration sub-section – all separate integrations are read-only
  • Billing & Plan
  • InPlayer Relate

Finishing the member account setup

Once the member account has been created, an email with a reset password link will be sent to the member.

The member will need to click the link, and proceed to set up their password.

Once they do so, the setup is complete and they can log into the dashboard.

Logging in as a member

The member log in steps are exactly the same as with the regular log in.

You go to the InPlayer Dashboard page and log in using your email and password.

When inside, you will only be able to see and manage the parts of the dashboard determined by your organization role.

This concludes our guide.

If you have any questions, don’t hesitate to contact us at clients@inplayer.com.
Posted in Account managementTagged roles, support, owner, admin, analyst, organisation, content, organization

Account management

Posted on November 6, 2020September 28, 2022 by inplayer_support
Account management

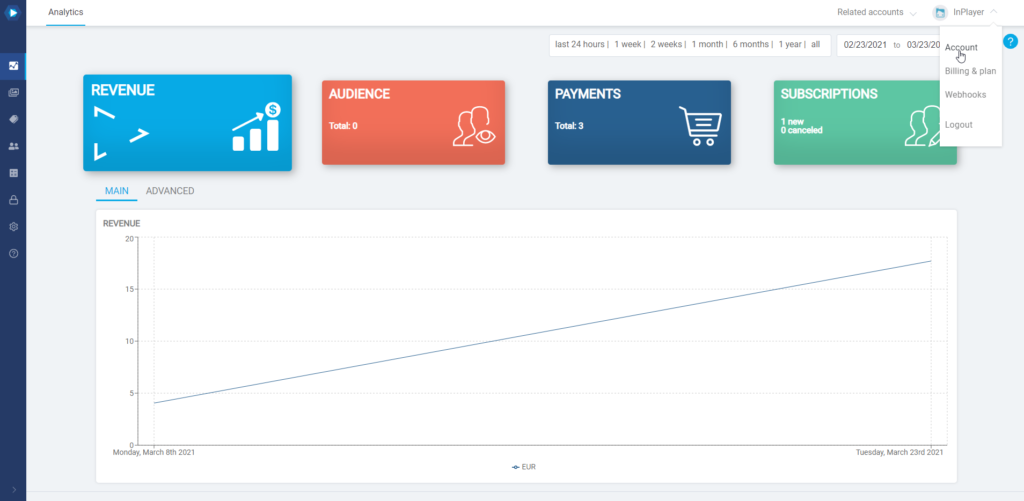
At the top right corner of the Dashboard, you will find the Account management menu.

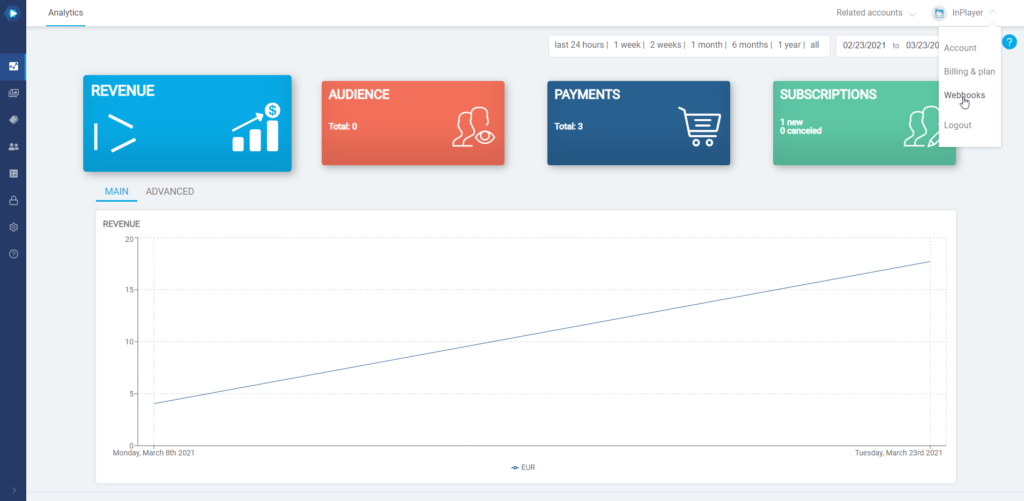
The menu contains three sections: Account, Billing & plan, and Webhooks.

Account

To access your account details, click on the avatar at the top right and then on Account.

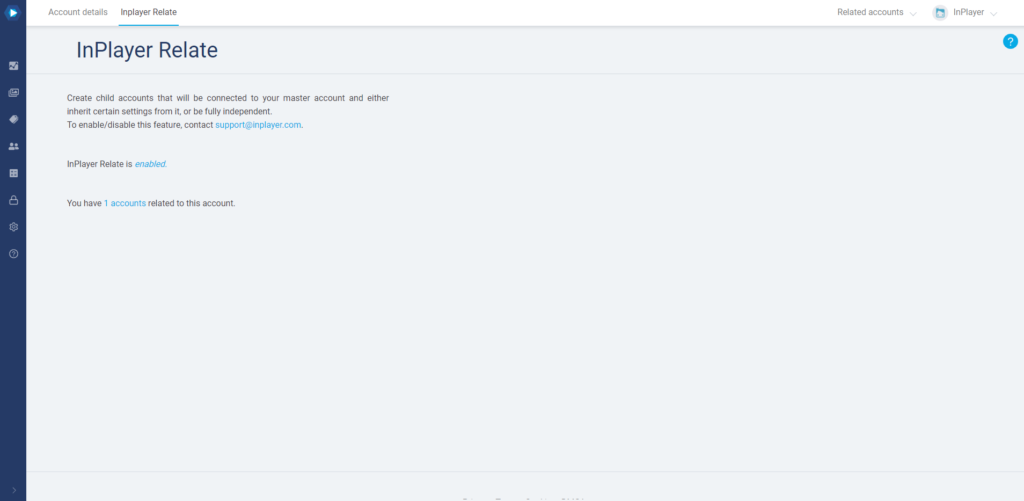
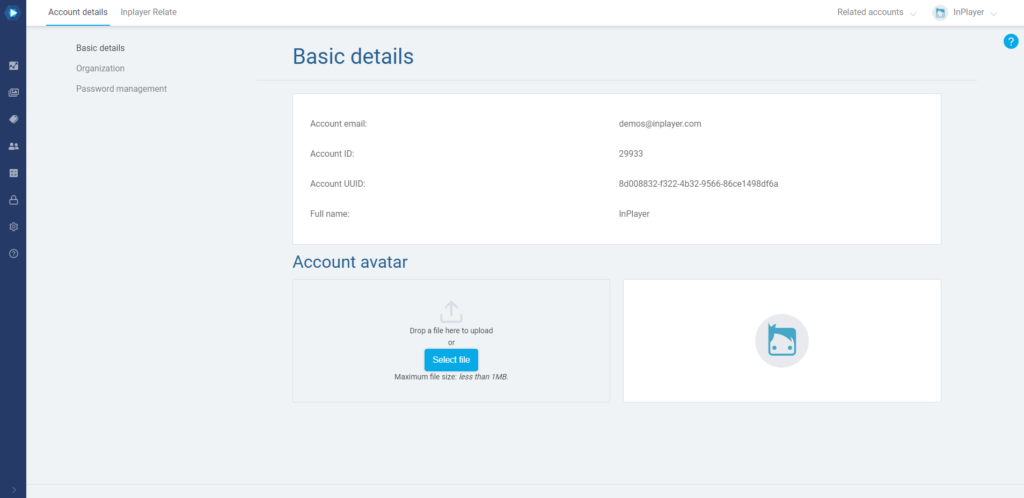
The Account section is divided into two tabs: Account details and InPlayer Relate.

Account details

Basic details

Here, you can find your account’s basic details like the email, account ID, account UUID and your name.

Organization

The Organization feature is a powerful tool that lets you set up multiple logins to your account, each having different access permissions to your dashboard.

This is a great way of organizing who has access to what.

To learn all about the Organization feature, click here.

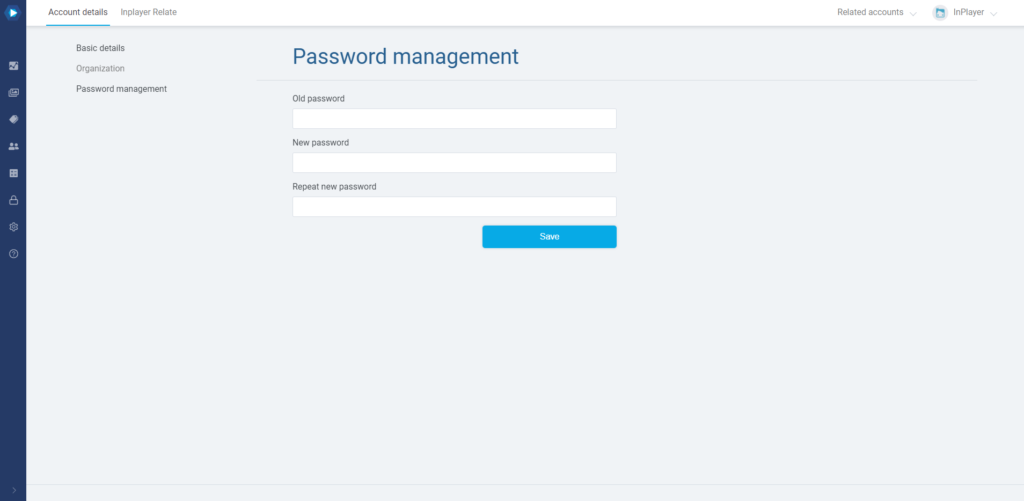
Password management

Here, you can change your account’s password.

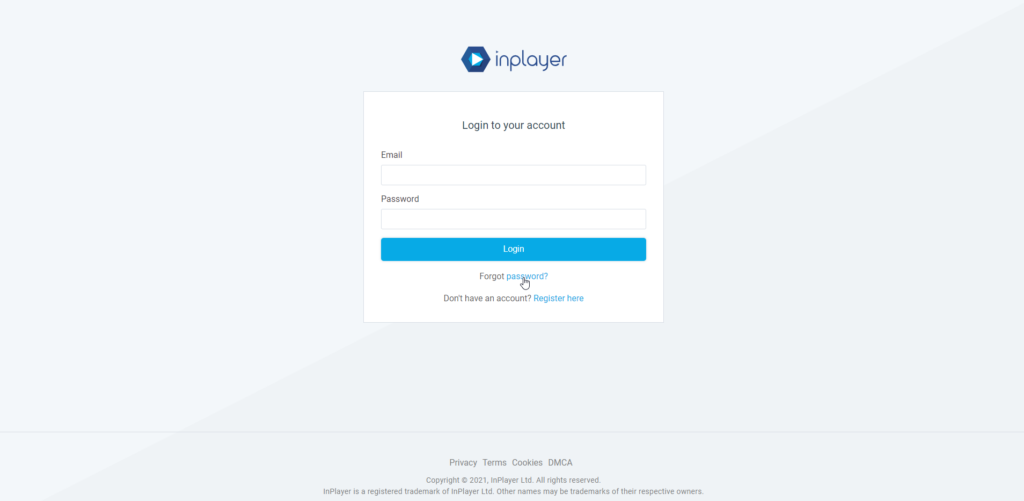
Another way of changing your password is via the InPlayer dashboard’s login page.

This is for cases where you can’t remember your old password.
Just click on Forgot password, enter your email and click Submit.

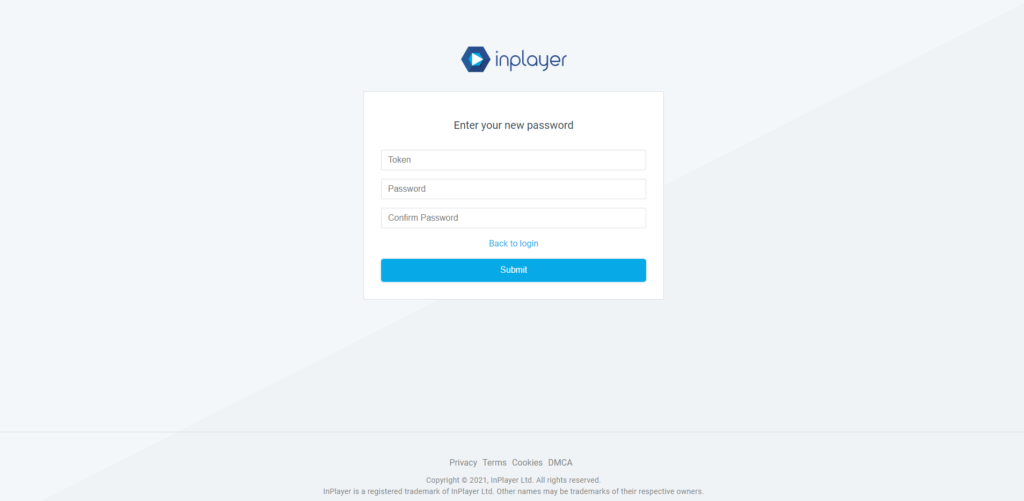
An email with a password reset token will arrive in your Inbox. You might need to check your Spam and Trash folders as well.

Just copy and paste the token from the email into the Token field of the password reset form, and enter your new password.

Finally, click Submit and your password will be changed.

InPlayer Relate

InPlayer Relate is another powerful feature that lets you create child accounts to your main InPlayer account.

You will be able to access the child accounts straight from your master account, without requiring a password for them, as well as mirror some of the settings from the master account to the child accounts, like the payment setup and the branded system emails.

To learn all about InPlayer Relate, click here.

Billing & plan

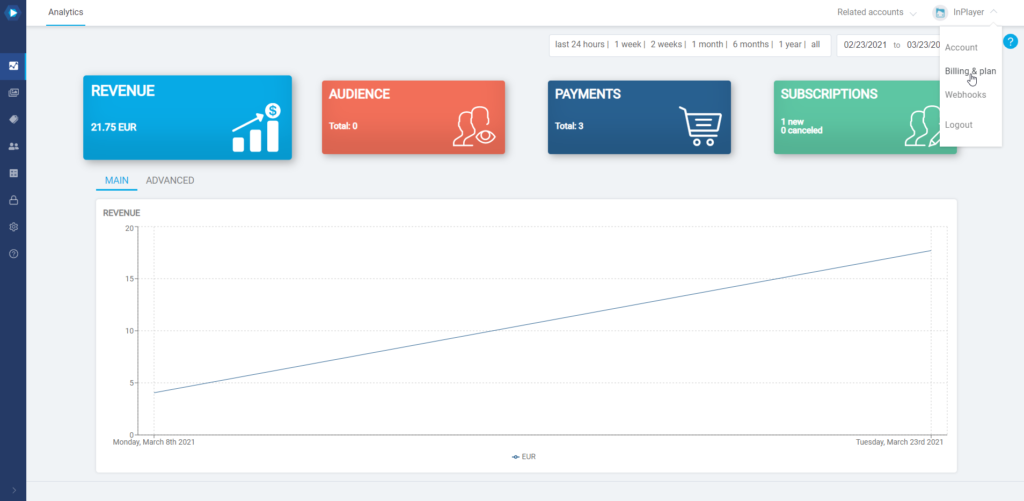
To access the Billing & plan section, click on your avatar at the top right and then on Billing & plan.

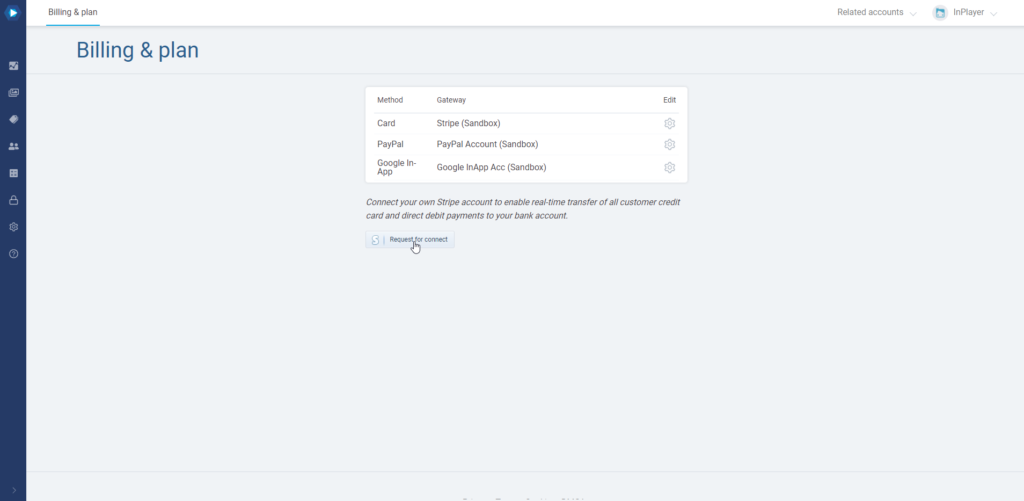
Here, you can see things like the payment processors that have been enabled on your account, as well as the revenue share and transaction fee that we, InPlayer, charge for each transaction, as per your contract with us.

This section is where you will also find one of the most useful features of our platform, Stripe Connect.

Stripe Connect

By default, all viewer credit card payments first go to our own Stripe account.
Then, after our finance team has processed the payments, which usually takes one month, the funds are transferred to you, on the bank or PayPal account of your choosing.

With Stripe Connect, however, you can connect your own Stripe account to the InPlayer dashboard and have all viewer credit card payments immediately transferred to your bank account.
In this case, we would also waive the credit card transaction fee we would normally charge since you yourself will be handling all such fees from your own Stripe Account and we would also lower the revenue share percentage.

Note that the above does not apply to PayPal viewer payments since those are processed via PayPal, which is a separate payment processor. For them, the default payment processing via our finance team still applies.


Stripe Connect is a great way of getting to your earnings and we always encourage all of our clients to use it.

Activating Stripe Connect

To do this, just go to Billing & Plan and click the Request for connect button.

This will send us a notification that you wish to use Stripe Connect.

We will then activate this feature from our end, adjust the transaction fee and revenue share, and let you know about it so you can finish the setup.

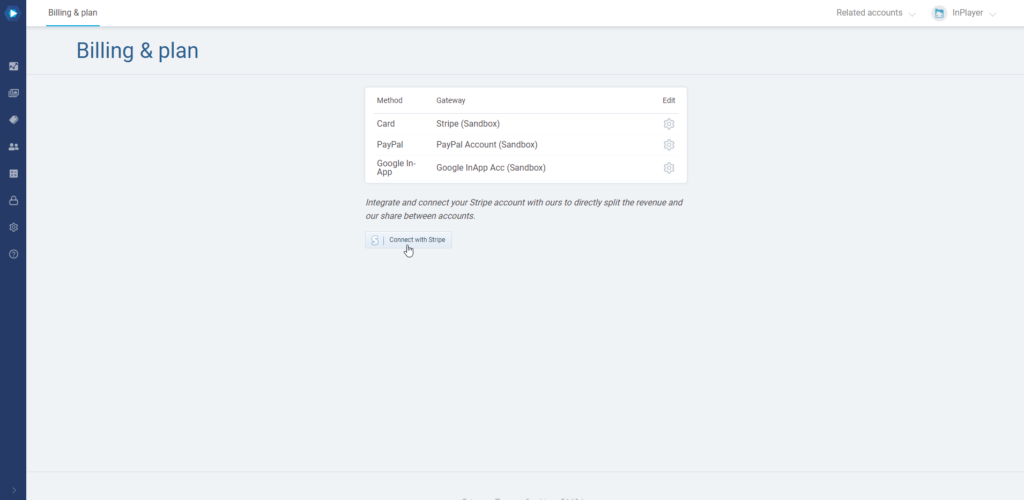
To do that, just go back to Billing & Plan and click the Connect with Stripe button.

The Stripe login form will open in a new tab, and you will be able to connect your Stripe account. To do so, click on Sign in the upper right corner, enter your Stripe account credentials, and select the account profile you want to use, if you have multiple ones.

If you have any questions, don’t hesitate to contact us at clients@inplayer.com.
Webhooks

The last option in the Account Management menu are the Webhooks.

Webhooks are used for creating or updating a platform action/operation tracker, for syncing data between platforms, or for fetching results of backend operations of an application.
In simple terms, it is a way you can set up notifications about various events happening on the InPlayer Platform.
This includes things like receiving a notification whenever a viewer registers an account, completes a payment, cancels a subscription etc, as long as you have an app ready to receive those notifications.

To learn all about using webhooks, click here.

If you have any other questions, don’t hesitate to contact us at clients@inplayer.com.
Posted in The DashboardTagged account, organization, inplayer relate, billing, stripe connect

Recent Posts

  • Asset templating
  • LiveLike chat
  • LiveLike
  • Recommended price
  • Paywall customization

Recent Comments

    Archives

    • January 2022
    • December 2021
    • April 2021
    • March 2021
    • February 2021
    • January 2021
    • November 2020
    • October 2020

    Categories

    • Additional Features & Services
    • Registration required
    • Online Video Platform integrations
    • Website builders embedding
    • Registration not required
    • In-App integrations
    • GETTING STARTED
    • The Dashboard
    • Third-party integrations
    • Packages
    • Assets & Packages
    • Templating
    • Promotions
    • Gifts & Donations
    • Audience management
    • Audience engagement
    • Reporting
    • Settings
    • In-App purchases
    • Branding
    • Account management
    • Payment processing

    Meta

    • Log in
    • Entries feed
    • Comments feed
    • WordPress.org

    Why InPlayer

    InPlayer Benefits Partners Case Studies Support

    Products

    Plug and Play Paywall InPlayer OTT InPlayer Live InPlayer Identity & Payments InPlayer PPV & Subscription InPlayer Moment InPlayer Smart Data InPlayer Landing Page InPlayer Relate InPlayer Voucher Code InPlayer Syndication

    Industries

    Sports Education OTT/Media Entertainment Conferences Podcasts Corporate Gaming and HTML Games Artists/Music Spiritual Live Events

    Resources

    About Us Careers Knowledge Base Developer/API FAQ Client Events

    Blog

    Privacy Terms DMCA GDPR Cookies

    Copyright © 2025, JW Player All rights reserved.