Account management
Create child accounts, or logins with limited access to your dashboard.
Organization
With Organization you can create multiple logins that can have different types of access permissions on your dashboard.
This is a great way of organizing who has access to what.
Activating the Organization feature
To activate this feature, contact your account manager or send us an email at clients@inplayer.com.
Once you get a confirmation that the feature has been activated, you can start setting things up.
Creating your organization
First, you need to create your organization.
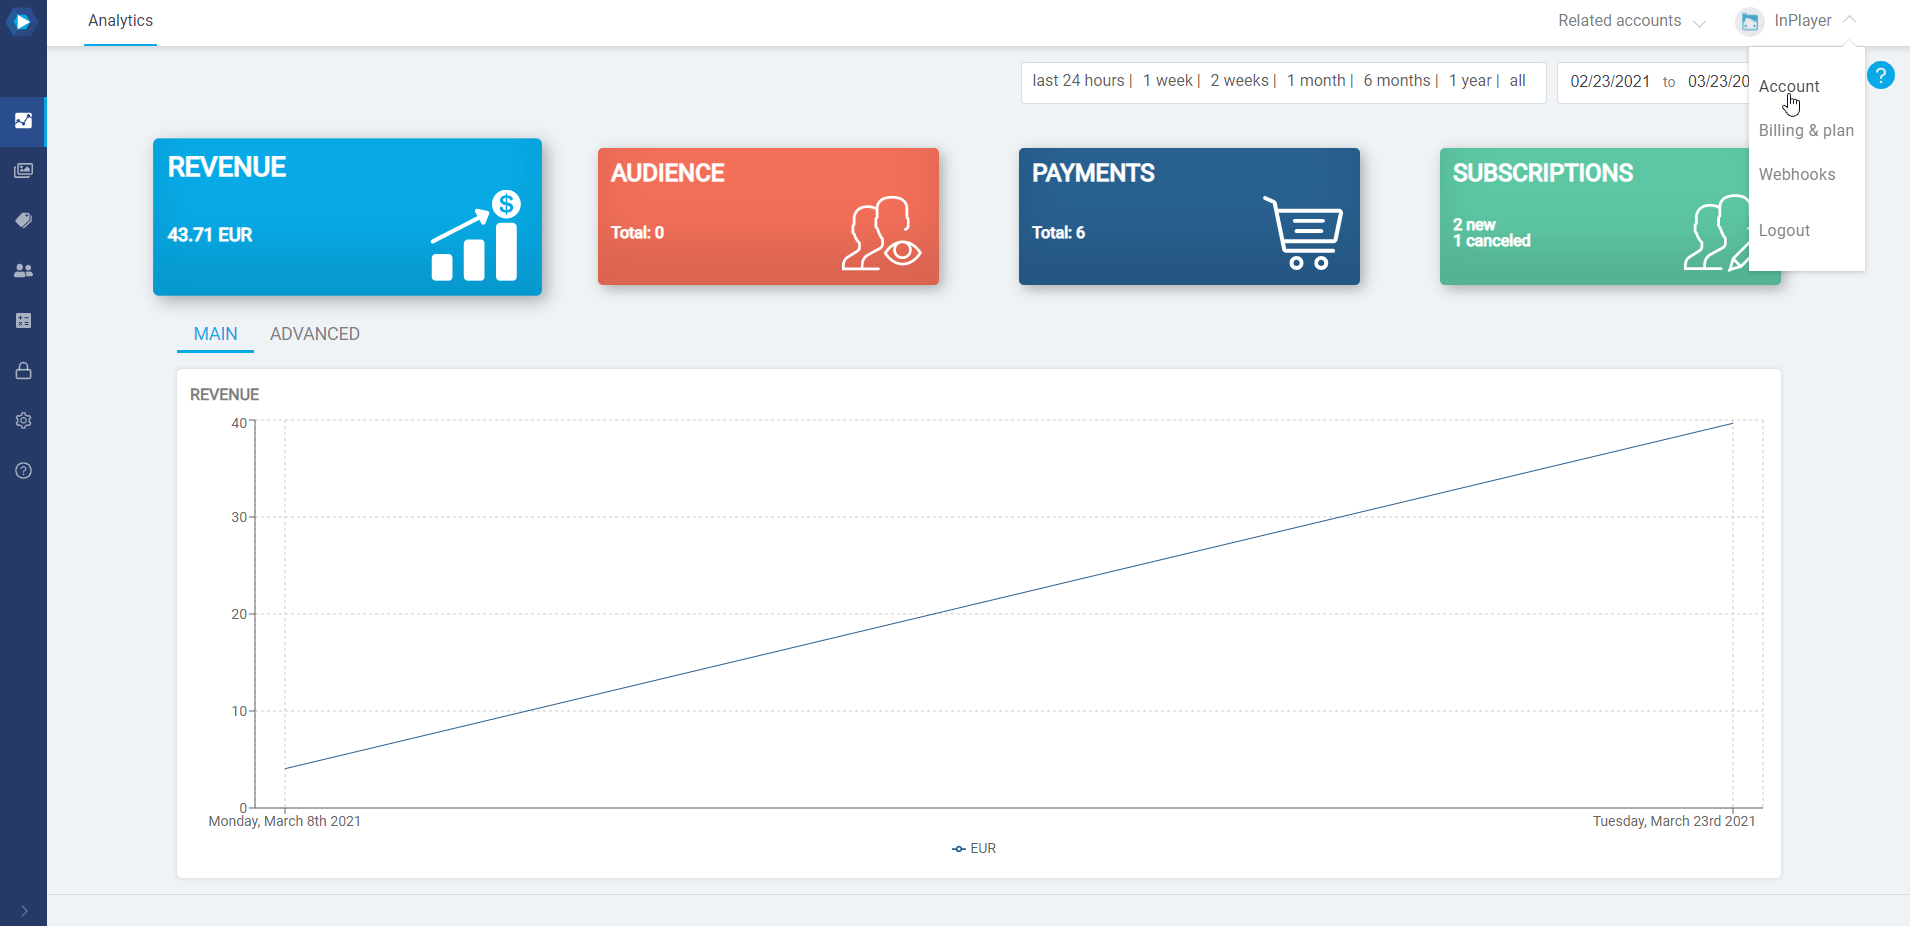
Log into your InPlayer Dashboard, go to your account menu in the top right corner, and click on Account.
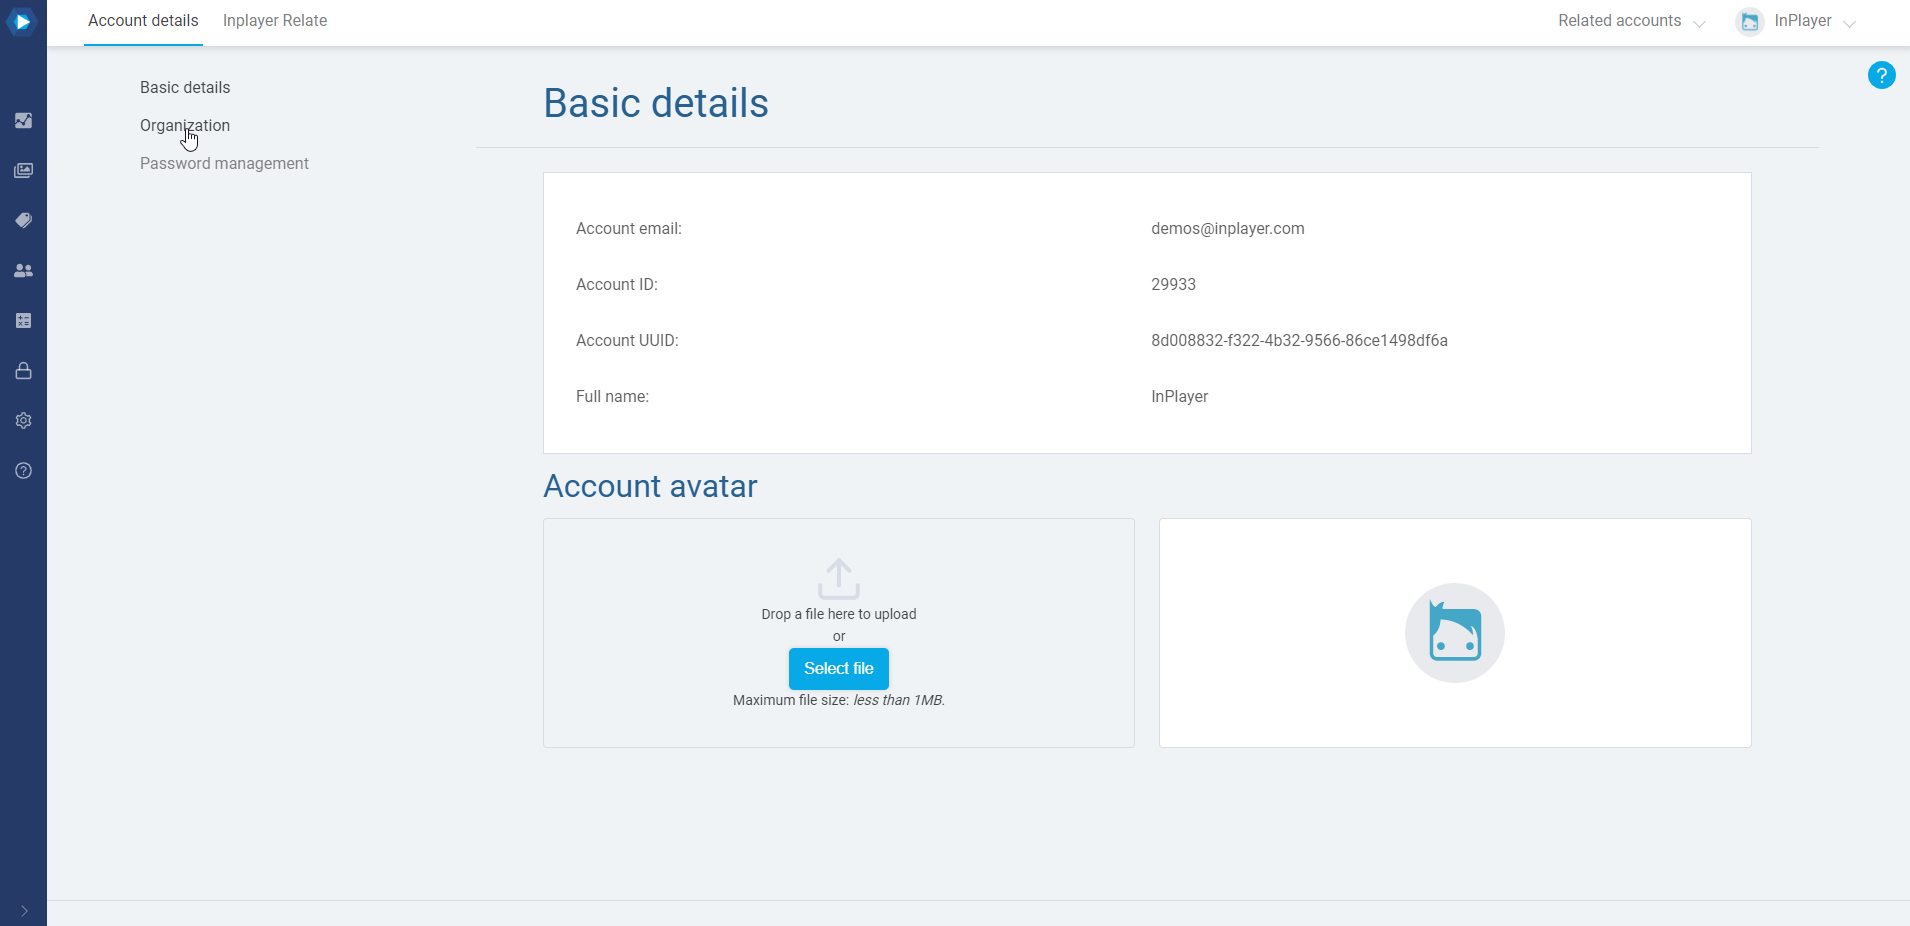
Go to Organization.
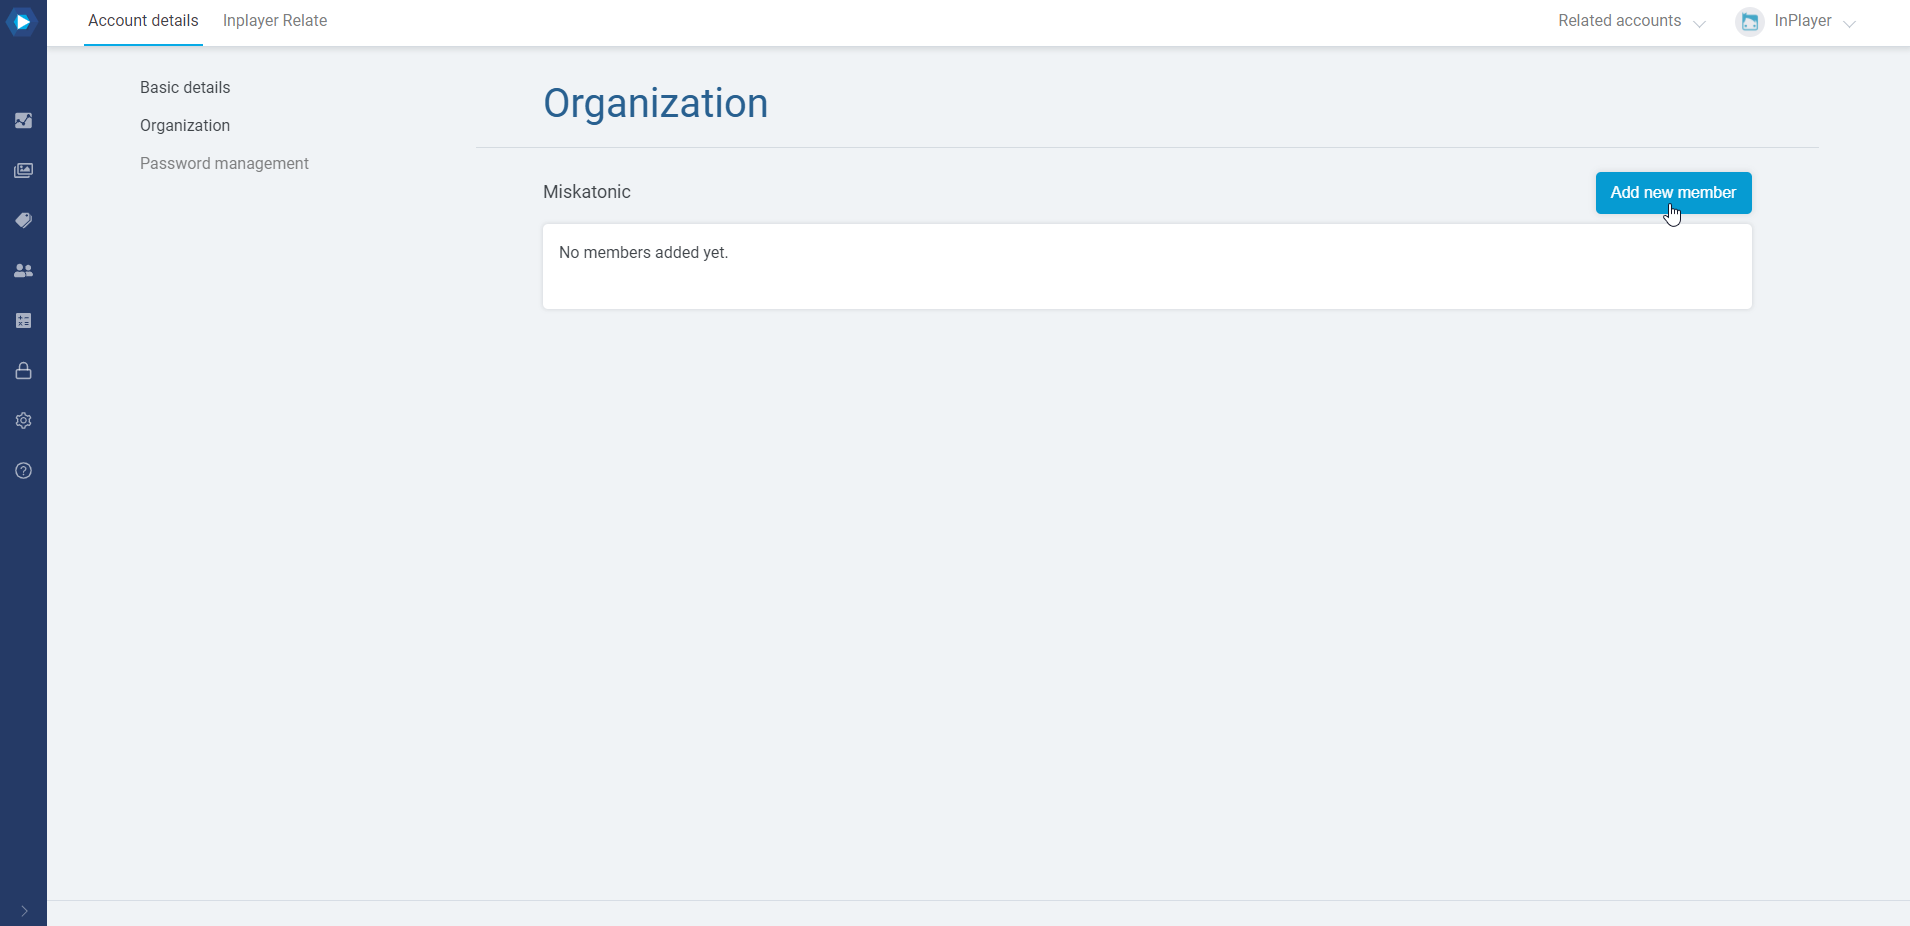
Give your organization a name and click Create.

Adding members to your organization
Next, you can start adding members. These will be the accounts that will have various access rights to your dashboard.
Note that an email can be a member of only one organization at a time.
If a member isn’t able to log into their account, it might point to them being a part of another organization. If so, they need to be removed from there so they can log in successfully.
To add a new member, click on Add new member.
Enter their email. Make sure it is a valid email address.
Note that the same email address cannot be a member of two different InPlayer merchant accounts.
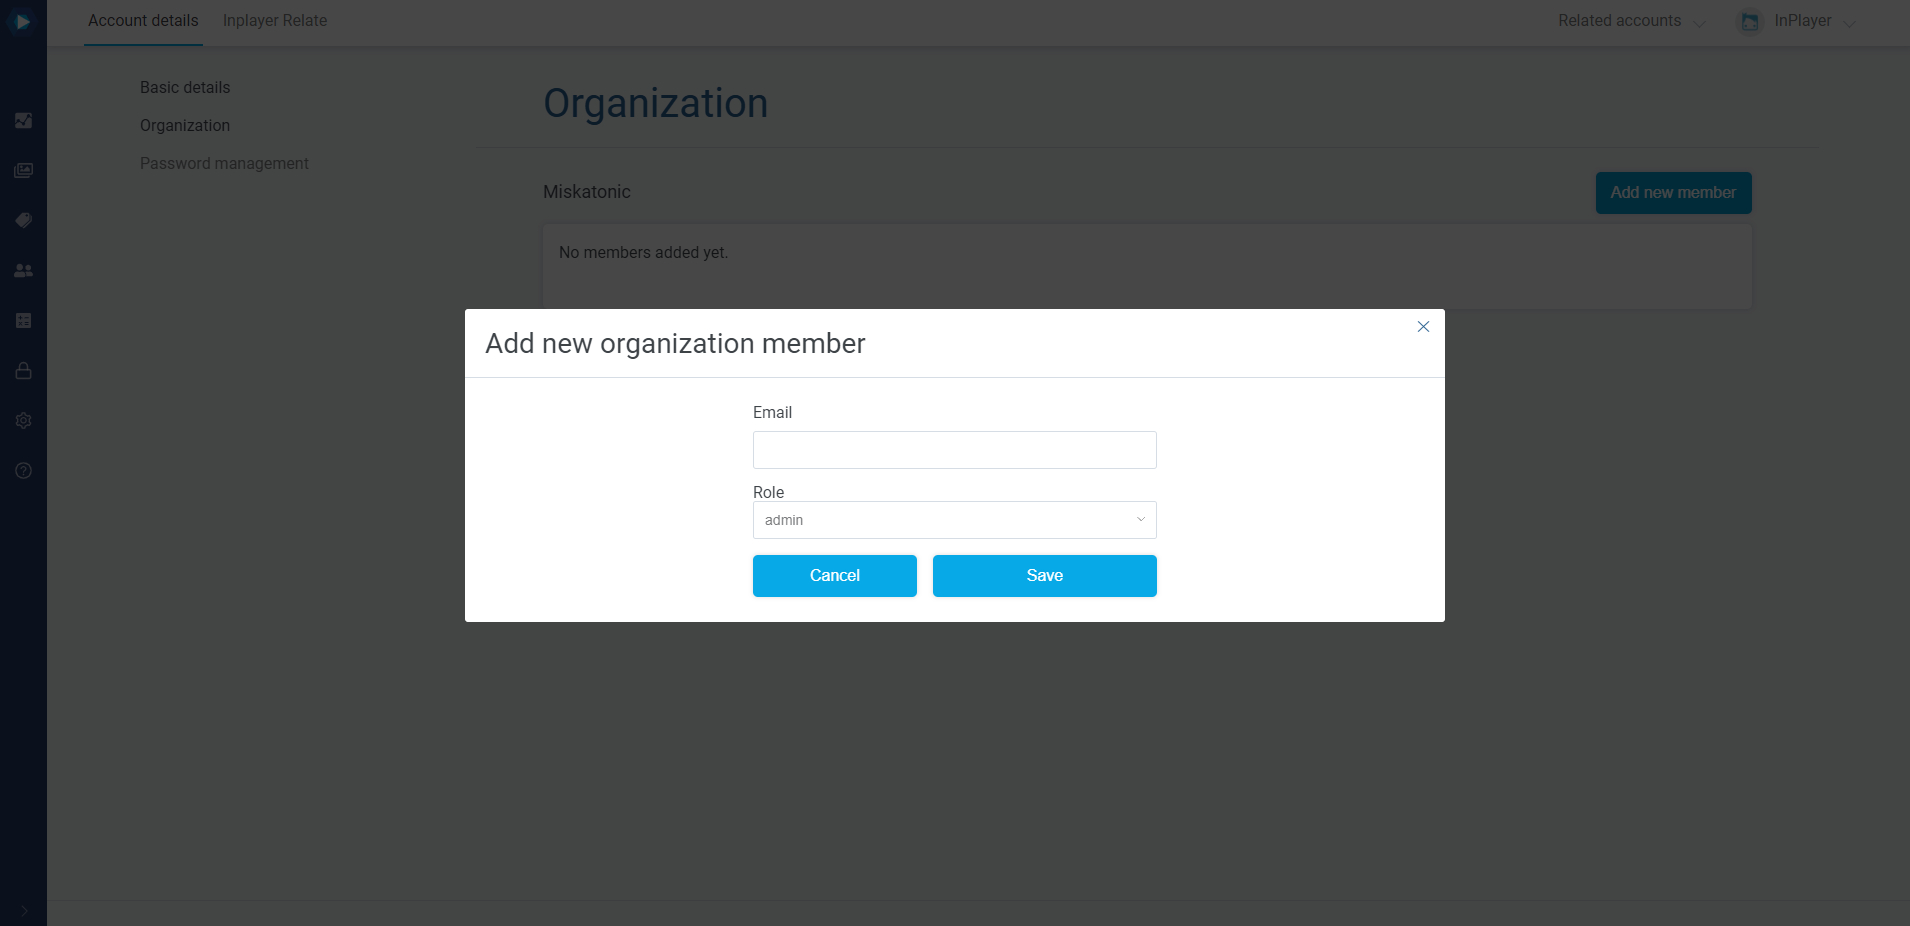
Select the role this member will have. This will determine which parts of the dashboard they will be able to see.
The following roles are available:
- Admin
- Analyst
- Content manager
- Customer support
The Admin role
The Admin role has no restrictions. They can access everything on the dashboard.
The Analyst role
The Analyst role is for members whose job is related to viewing and generating analytics and reports. The following permissions will be denied to analysts:
- Settings section
- Assets section
- Audience management
- reset password
- edit viewer details
- edit viewer metadata
- clear viewer metadata
- deactivate viewers
- delete viewers
- access management – grant, revoke, extend
- subscription cancellation
- Transaction section
- Subscriptions tab – subscription cancellation
- Assets access section
- access management – grant, revoke, extend
- InPlayer Relate
- Billing & Plan
- Webhooks
The Content manager role
The Content manager role is for members who will create and manage the assets, packages, vouchers, applications, branding, and everything else related to the content. The following permissions will be denied to content managers:
- Transactions section
- Audience section
- Assets access section
- Analytics section
- InPlayer Relate
- Billing & Plan
- Webhooks
The Customer support role
The Customer support role is for members who will handle customer support requests. Their daily tasks usually include granting access, revoking access, granting vouchers, and everything else related to handling viewer-related issues. The following permissions will be denied:
- Analytics section
- Assets section (below features only)
- Add new asset
- Assets sub-section top bar not visible
- Asset details actions:
- “Save asset name” button
- “Delete asset” button
- Assets sections in read-only mode
- Price details in read-only mode
- Package details actions:
- “Create new package” button
- “Delete package” button
- Assets sections in read-only mode
- Price details in read-only mode
- Vouchers sub-section top bar not visible
- Voucher details actions:
- “Add new voucher” button
- Voucher details view in read-only mode
- Audience section (below features only)
- Audience sub-section top bar not visible
- “Generate” & “View reports” buttons
- “Delete customer” button
- Segmentation sub-section
- Reports sub-section
- Transactions section (below features only)
- Payments sub-section “Generate” & “View reports” buttons
- Subscription sub-section “Generate” & “View reports” buttons
- Assets access section (below features only)
- “Generate” & “View reports” buttons
- Settings section (below features only)
- Auth sub-section (below features only)
- Social auth ready-only mode
- Oauth & SSO ready-only mode
- Concurrent sessions ready-only mode
- Geo Restrictions tab (below features only)
- “Create new set” button
- country set edit modal in ready-only mode
- country set “delete” action
- country set “remove default“
- country set “duplicate” action
- Domain Restrictions tab in ready-only mode
- Custom Fields in ready-only mode
- Age Restriction tab in ready-only mode
- Branding sub-section (below features only)
- “Create new branding theme” button
- Single branding theme in ready-only mode
- Integration sub-section – all separate integrations are read-only
- Auth sub-section (below features only)
- Billing & Plan
- InPlayer Relate
Finishing the member account setup
Once the member account has been created, an email with a reset password link will be sent to the member.
The member will need to click the link, and proceed to set up their password.
Once they do so, the setup is complete and they can log into the dashboard.
Logging in as a member
The member log in steps are exactly the same as with the regular log in.
You go to the InPlayer Dashboard page and log in using your email and password.
When inside, you will only be able to see and manage the parts of the dashboard determined by your organization role.
This concludes our guide.
If you have any questions, don’t hesitate to contact us at clients@inplayer.com.