With Geo-restrictions you can restrict access to your content based on the viewer’s country.
You can either set it up as a default restriction that will affect your entire content, or an asset-specific restriction, which affects a single asset.
Note that the asset-specific restrictions will always override the default restrictions.
In addition, you can also set up geo-restrictions for individual asset prices, making them available in certain countries.
You will find the Geo-restrictions feature in the Authentication tab of the Dashboard settings.
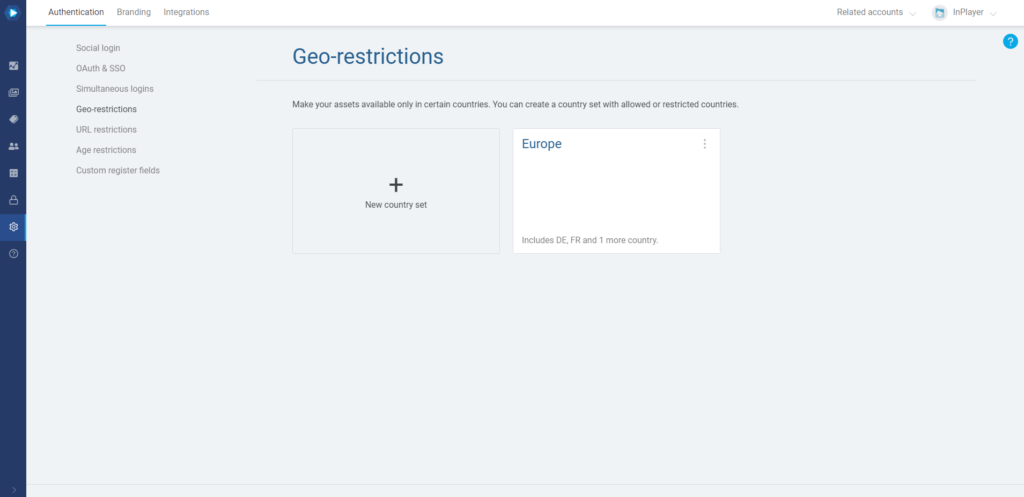
Creating a Country set
To restrict the content, you first need to create a country set, which you can then use as the default geo-restriction set, or use it on a single asset only.
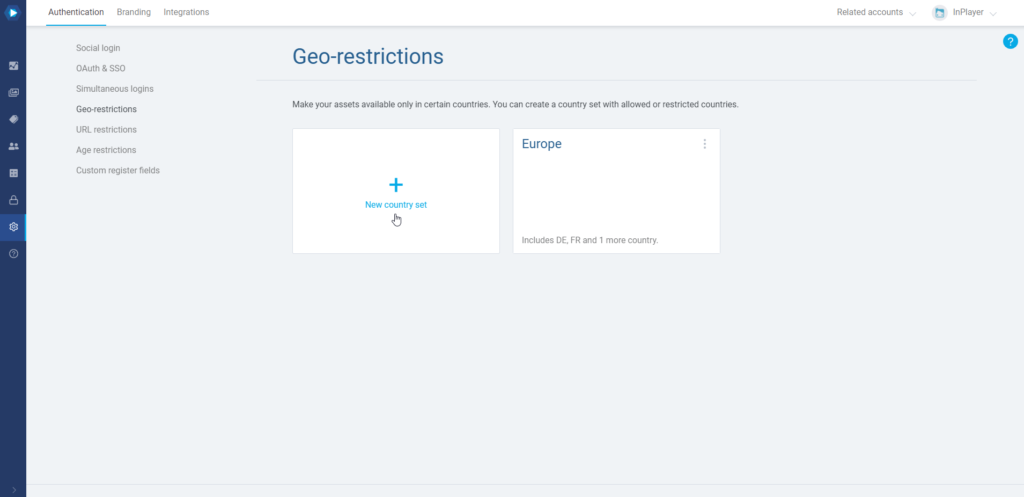
To create a new country set, click on New country set.
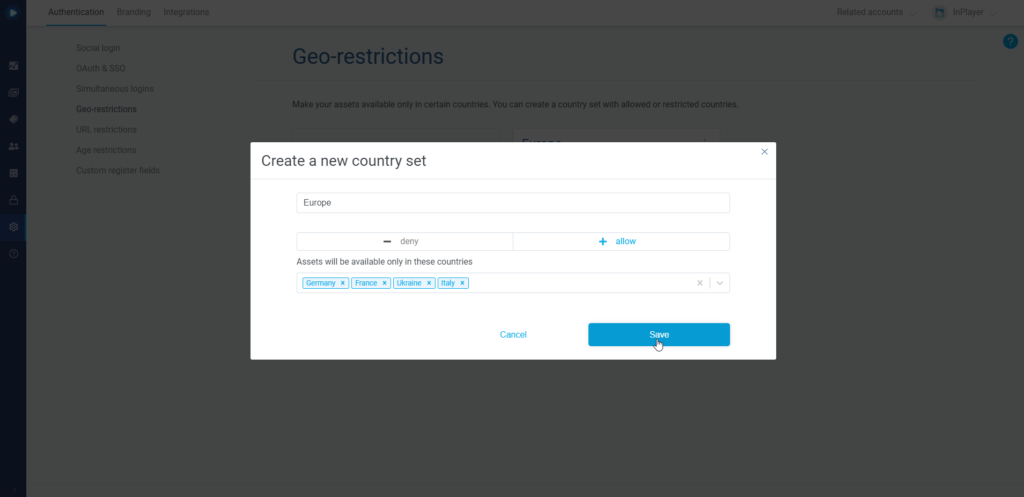
You can either allow a set of countries, thereby making the assets only available there, or deny a set of countries thereby making the asset available everywhere but there.
Set everything up and click Save.
Setting up a default geo-restriction
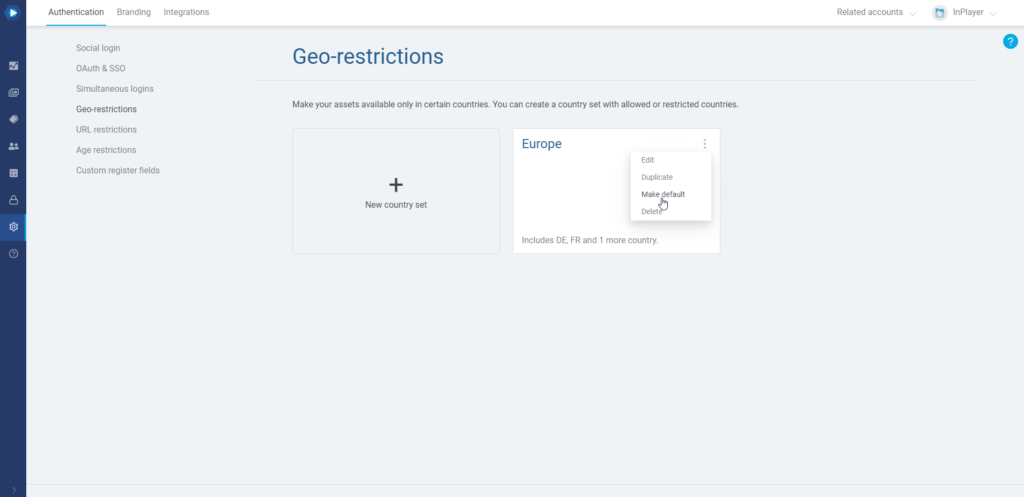
The set you set up as default in the Geo-restrictions tab of the Settings will affect your entire content, i.e. all of your assets.
To do this, click on the three dots in the upper right corner of the country set, and then click on make default.
Setting up an asset-specific geo-restriction
An asset-specific geo-restriction will affect only a single asset.
You can set it up in the asset’s settings.
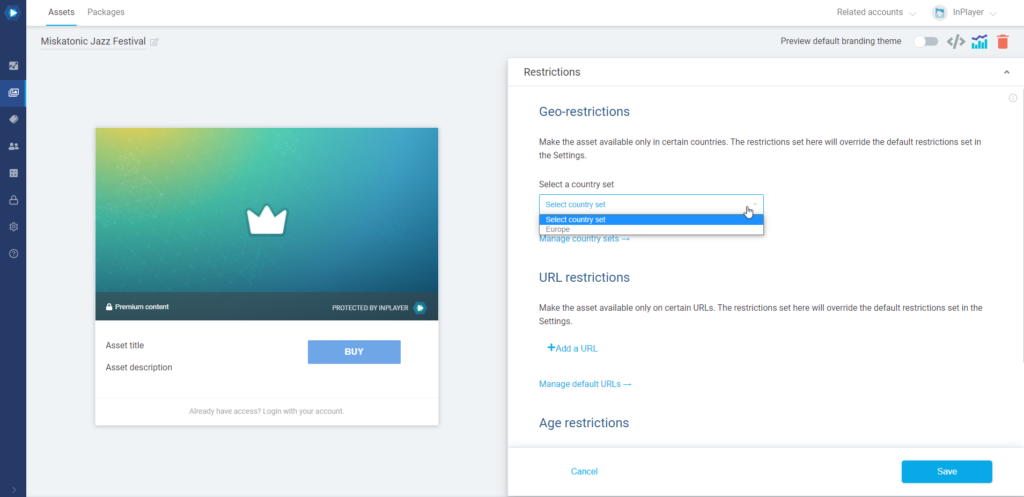
To do this, open the asset, go the Restrictions section, and under Geo-restrictions select the country set you wish to use for the asset.
Setting up a price-specific geo-restriction for an asset
In addition to being able to geo-restrict a single asset, we can go one step further and geo-restrict only a single price option of an asset.
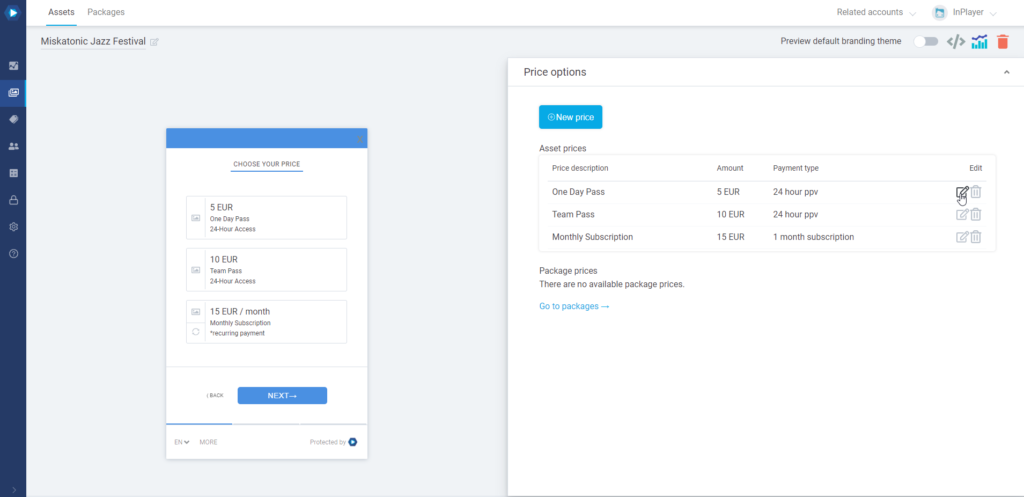
To do this, open the asset, go to the Price options section, and open the price you wish to restrict by clicking on the ![]() button.
button.
Then go to the Additional info tab and check the Geo-restriction setting.
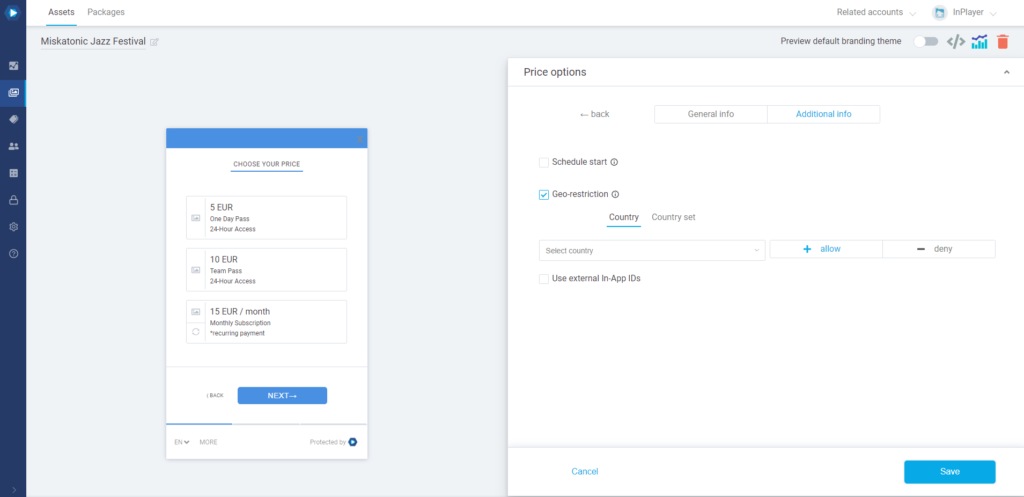
Here, you can either restrict the price in a single country, or use a country set you’ve created previously.
This concludes our guide.
If you have any questions, don’t hesitate to contact us at clients@inplayer.com.