Gifts & Donations
Enable viewers to purchase passes as gifts, or to send donations.
Donations
With our Donations feature, you can accept donations from your viewers in fixed amounts you have set yourself, or allow viewers to donate as much as they want. You can also use both donation types together.
A viewer can make a donation only after completing a payment for an asset. After this, the viewer will not be able to make another donation on the same asset, until they purchase it again after their access expires.
For Freemium assets, since there is no payment to be made, the viewer will be prompted whether they wish to donate each time they log into the asset.
Donations can only be made with a credit card.
Activating the Donations feature
To activate this feature, contact your account manager or send us an email at clients@inplayer.com.
Once you get a confirmation that the feature has been activated, you can start setting things up.
Enabling donations
Donations need to be enabled in the asset settings, which means they are always tied to an asset.
First, make sure you have created an asset in your InPlayer Dashboard.
You can learn about creating assets in the asset creation guides here.
You can enable donations on all assets of the Registration access type, i.e. Paid, Freemium, and Access voucher only assets.
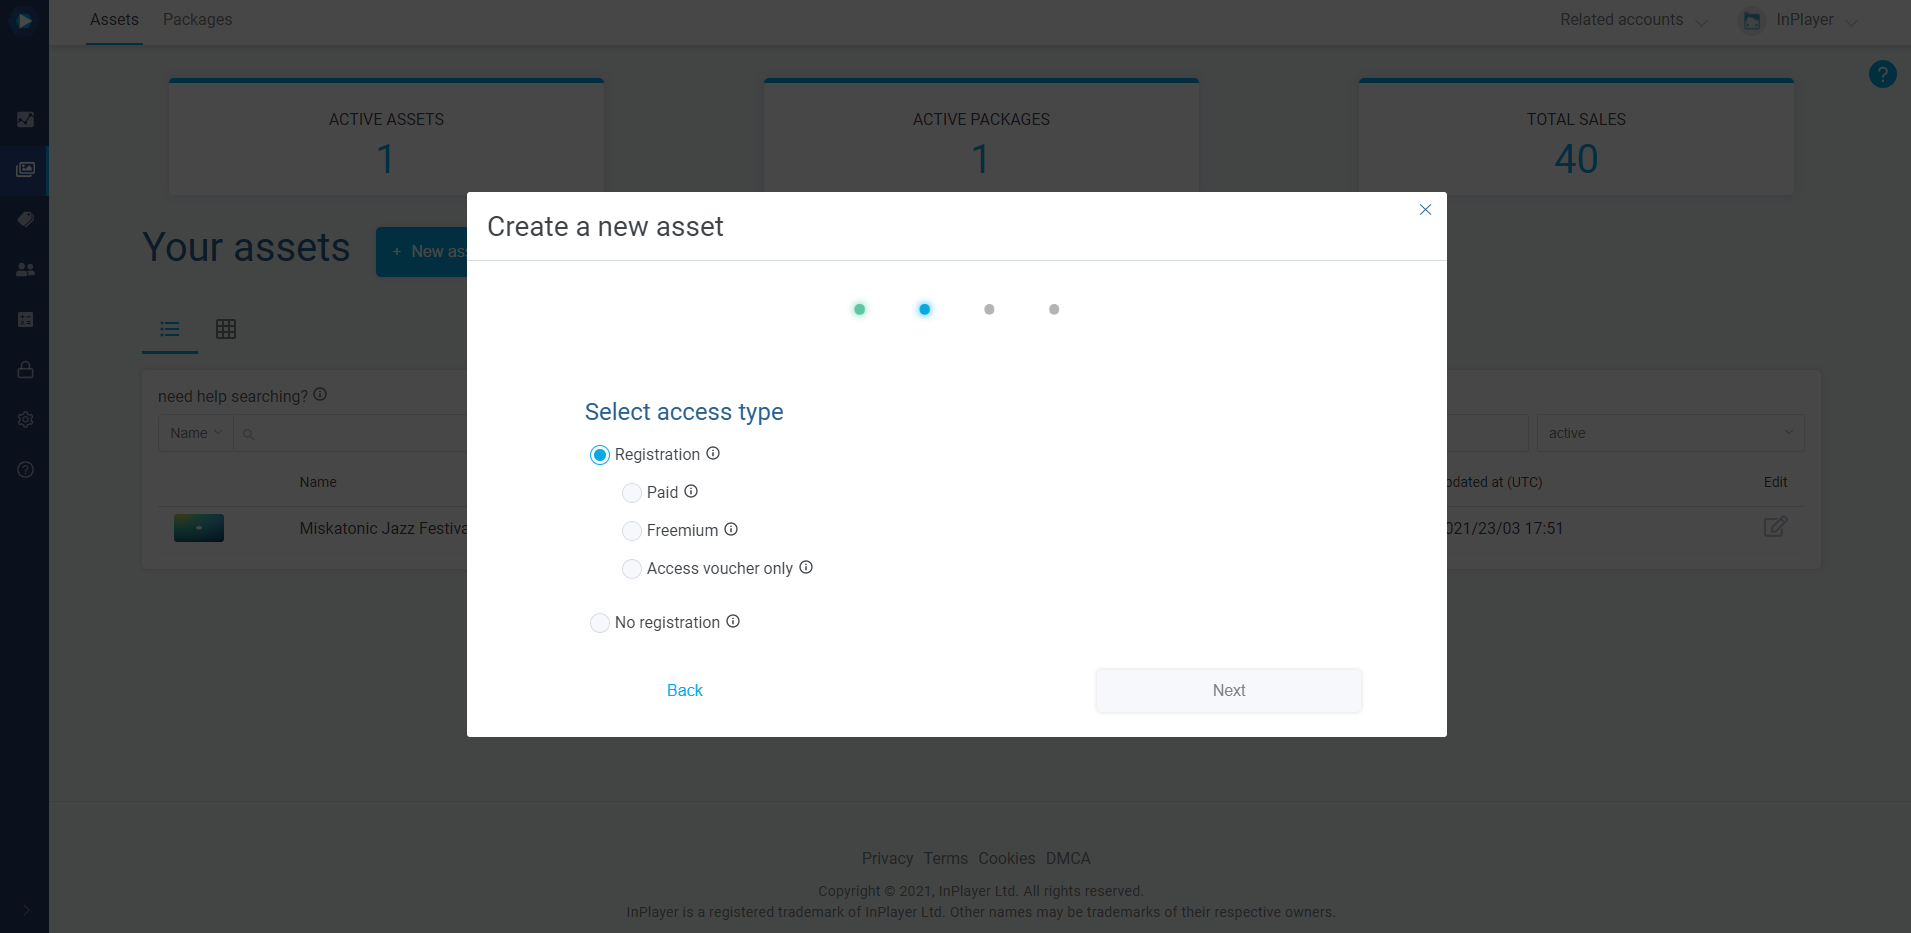
Donations cannot be enabled on Passcode assets.
Setting up a fixed amount donation option
With this option, the viewer will be able to donate a pre-determined amount.
Once you create your asset, open the asset management screen, and click on Donations.
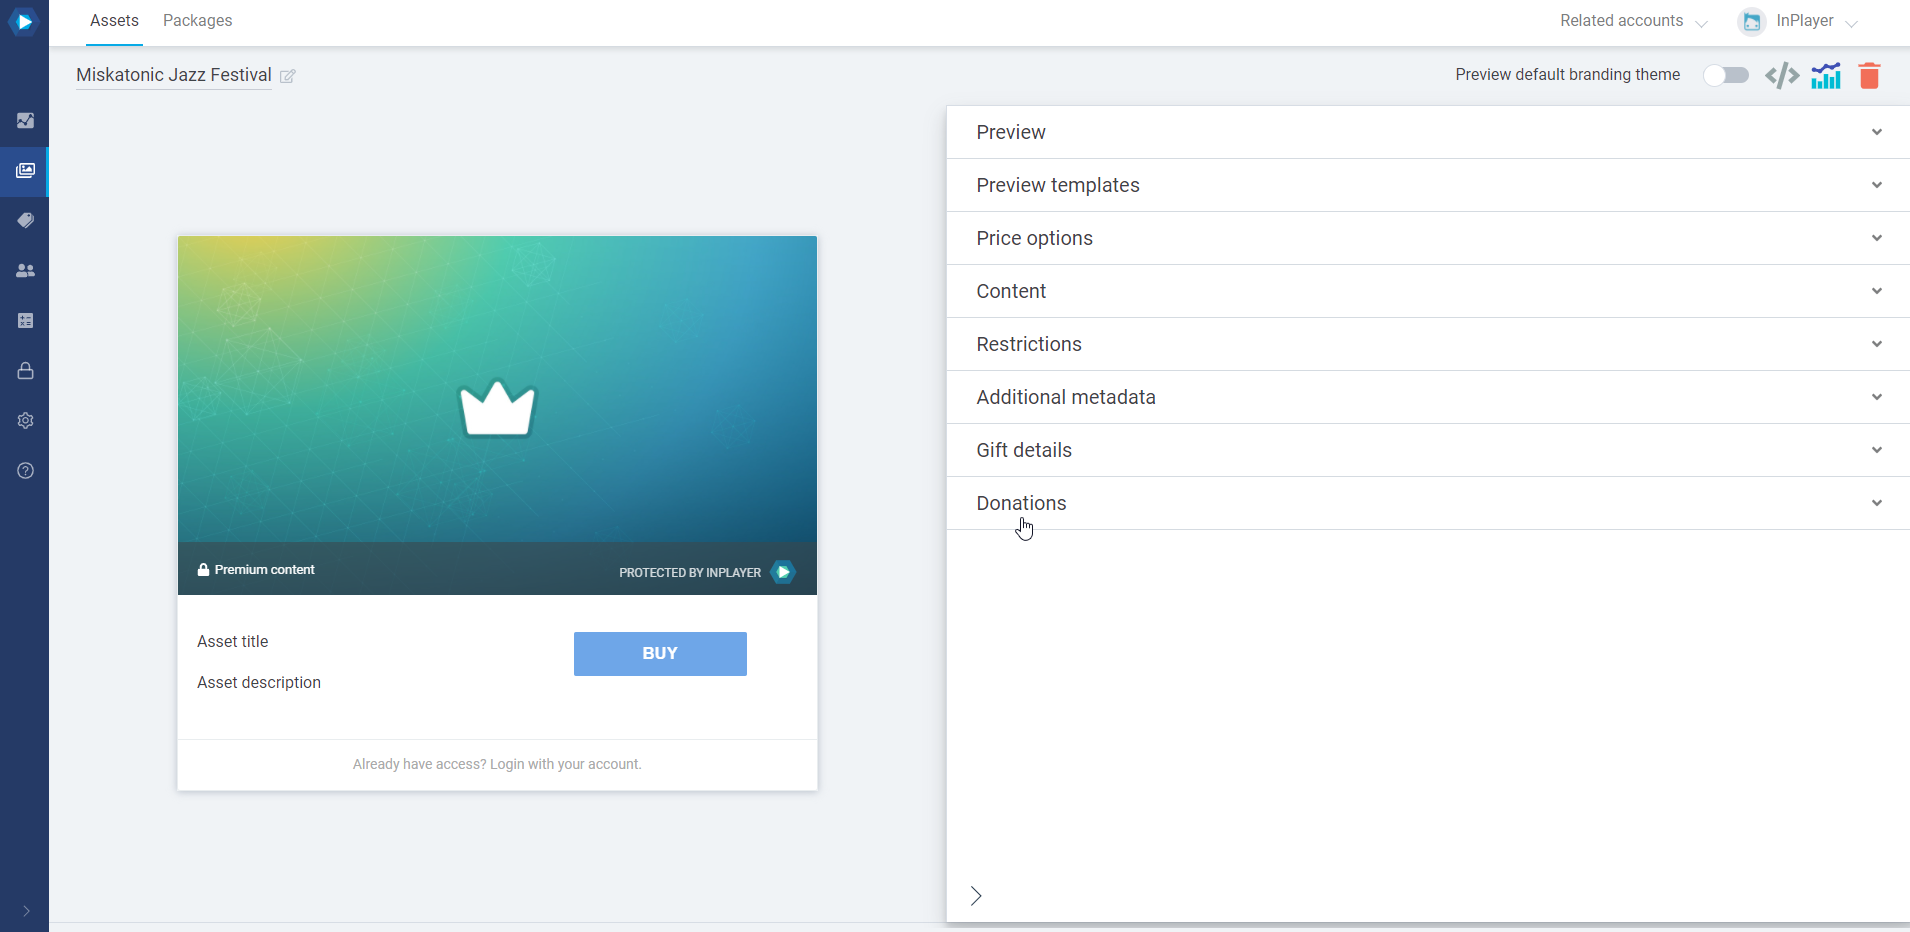
If you don’t see the Donation section, make sure to send us an email at clients@inplayer.com so we can activate this feature for you.
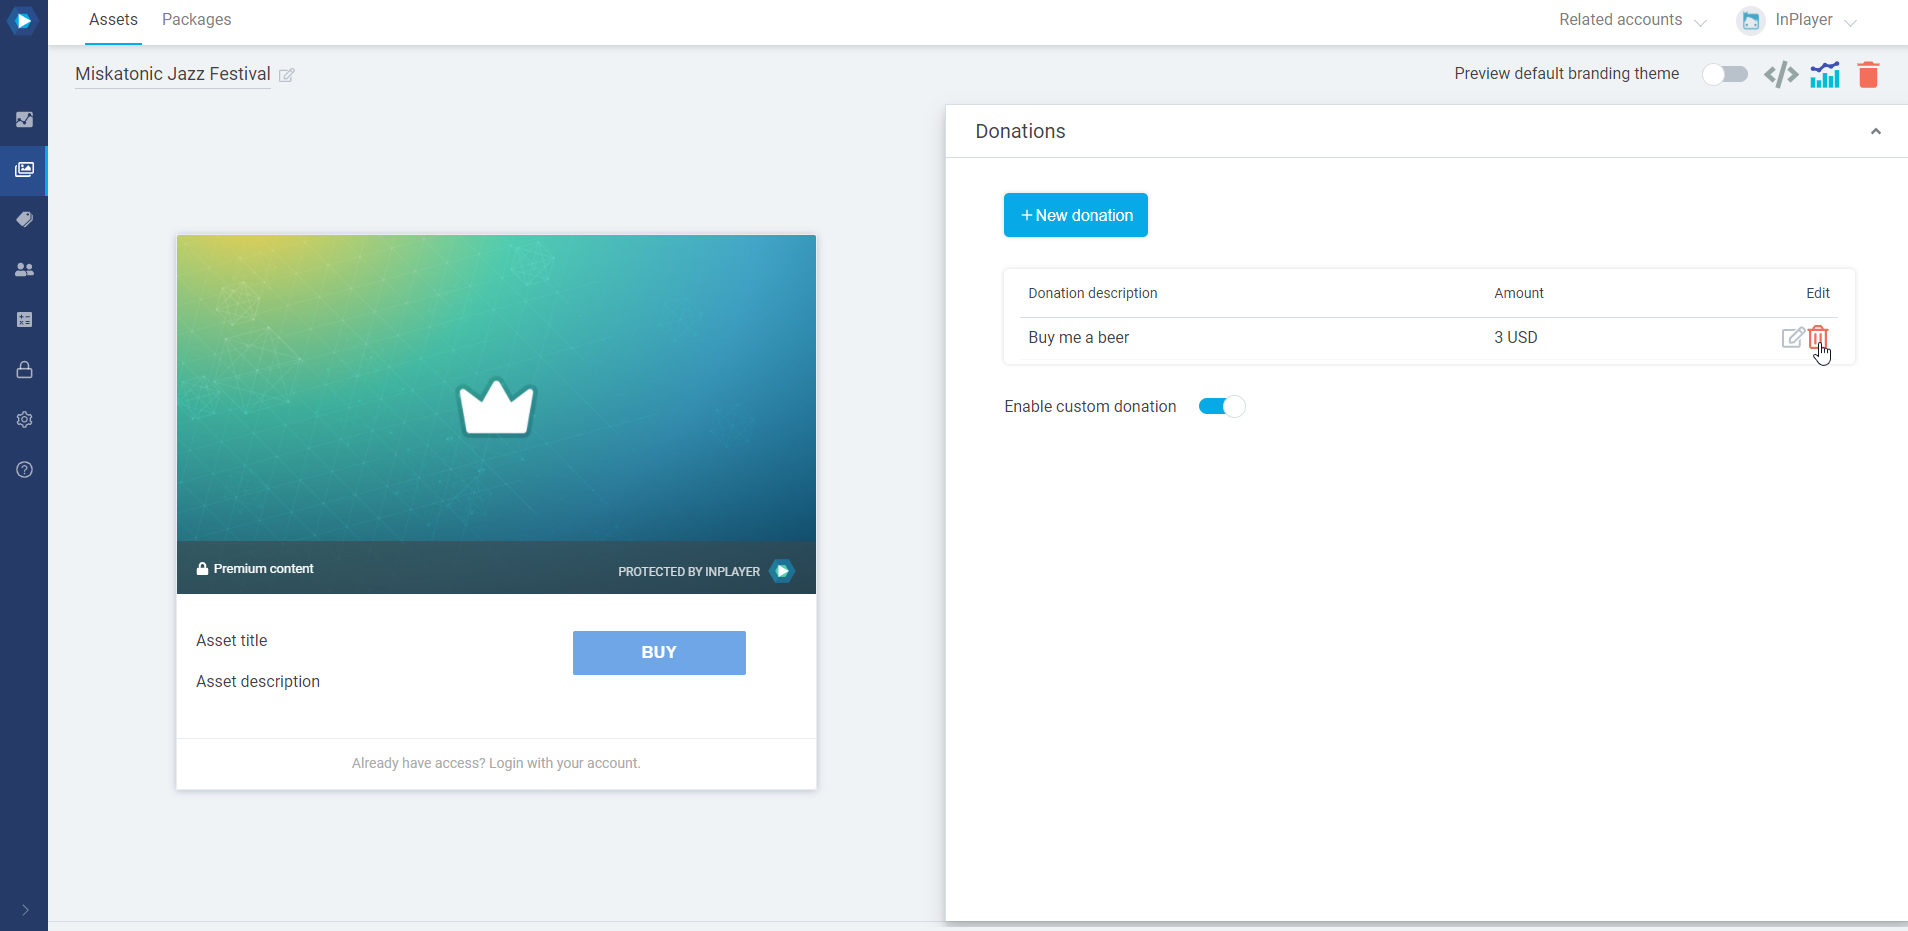
Click on New donation.

Fill in the details.
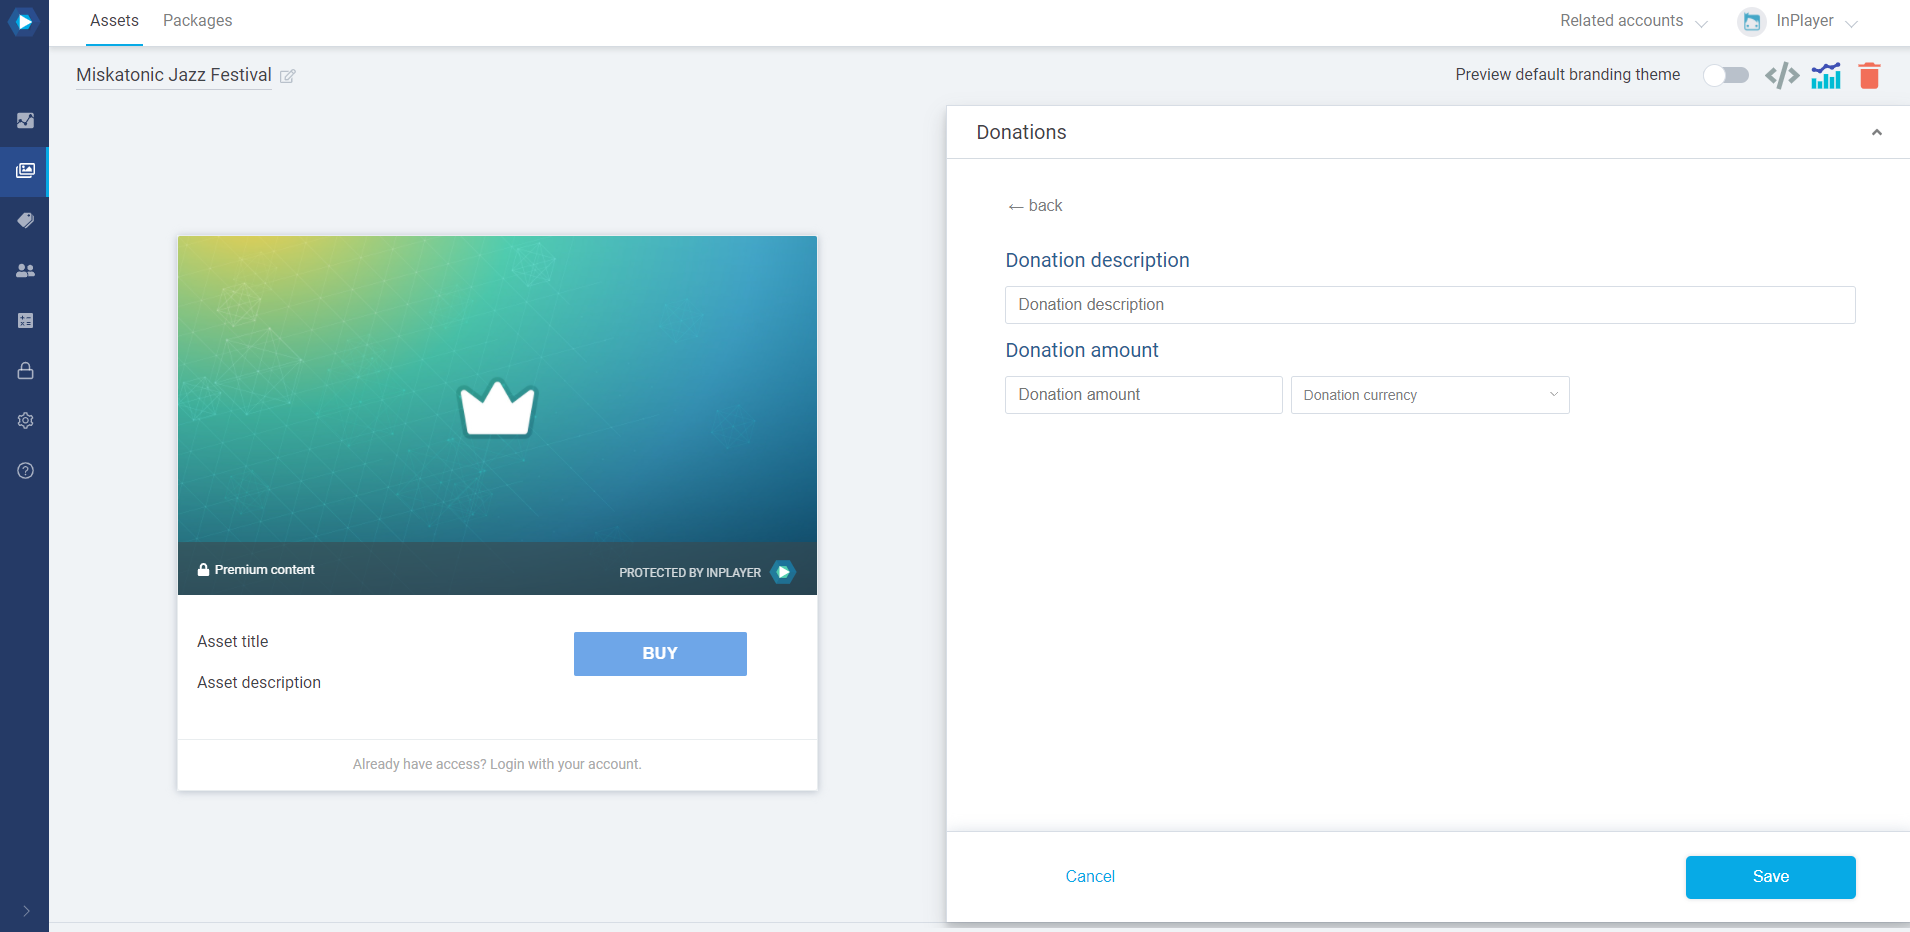
Under Donation description, enter a short description for the donation option. This will appear on the paywall.
Under Donation amount, enter the fixed donation amount, along with the currency.
You can add as many donation options as you want.
Finally, click Save.
Setting up a custom amount donation option
With this option, the viewer will be able to enter their own amount in the donation screen and donate as much as they want.
Once you create your asset, open the asset management screen, and click on Donations.
If you don’t see the Donation section, make sure to send us an email at clients@inplayer.com so we can activate this feature for you.
Click on the Enable custom donation toggle.

Note that for custom donations, the available currencies will be inhereted from the fixed donation options. If there are no fixed donation options, the available currencies will be USD, EUR, and GBP.
Removing a donation option
To remove a donations option, go to the Donations section of the asset, and click the bin icon in the Edit column for the option you want to remove.
To disable the custom donation option, just toggle the setting off.

Deactivating the donations feature
If you ask us to deactivate the Donation feature on your account, all the previously active donation options will still be visible and available to viewers, but they won’t be editable, until the feature is re-activated.
Viewer experience
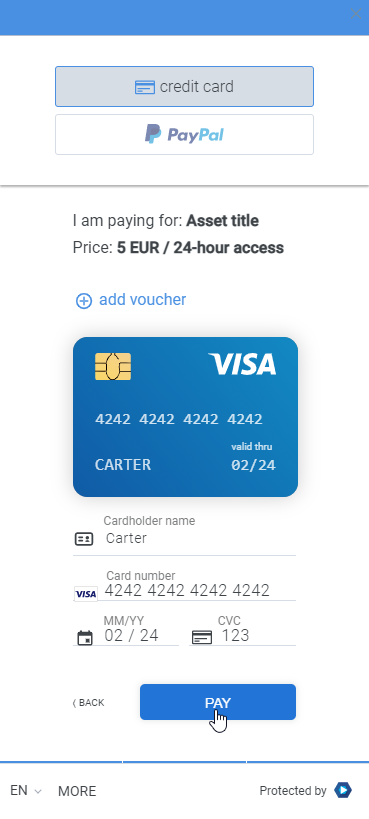
A viewer can make a donation right after completing their payment for an asset.
They go to your website, click on the content they want to purchase, make an account if they haven’t already, and log in. They choose their price option and complete their payment.
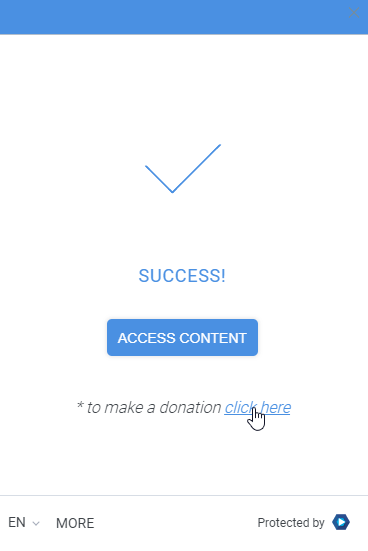
After a successful purchase, the viewer will see the following screen, where they can choose to make a donation.
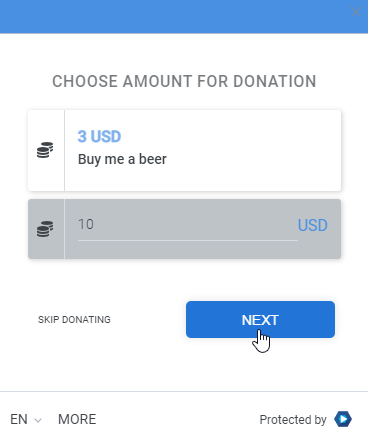
They select the donation they wish to make and click NEXT.
Finally, they enter their card information and click DONATE.
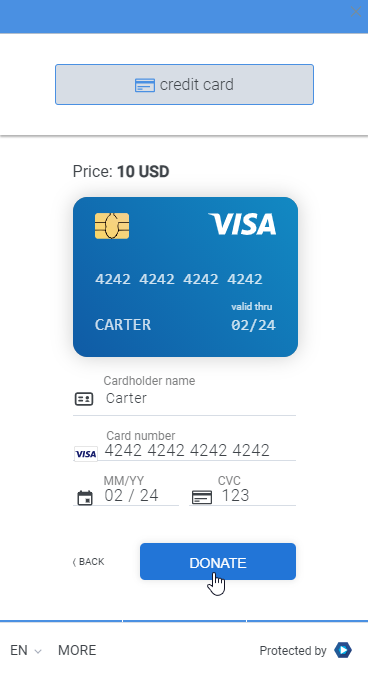
With that, their donation has been made.
Stand-alone donation button
As described above, the donation prompt appears after a viewer has made a payment, or in the case of Freemium assets, every time they click on the asset.
However, if you wish to have a dedicated donation button on your page that will lead a viewer straight to the donations screen, you can do so by using the code here.
This concludes our guide.
If you have any other questions, don’t hesitate to contact us at clients@inplayer.com.