Promotions
Create discount or free access codes, set up recommended prices, and more.
Access vouchers
Access vouchers can be used via a web browser, for getting access to content. In this sense, they are the same as a 100% Discount voucher. However, there is an important difference: By using an Access voucher a viewer will get access for a period that is going to be specified in the voucher itself, while with the Discount voucher they will get the access period that has been specified in the Payment type setting in the price option of the asset the viewer is purchasing.
Creating an Access voucher
Log into your InPlayer Dashboard, and go to the Promotions section.
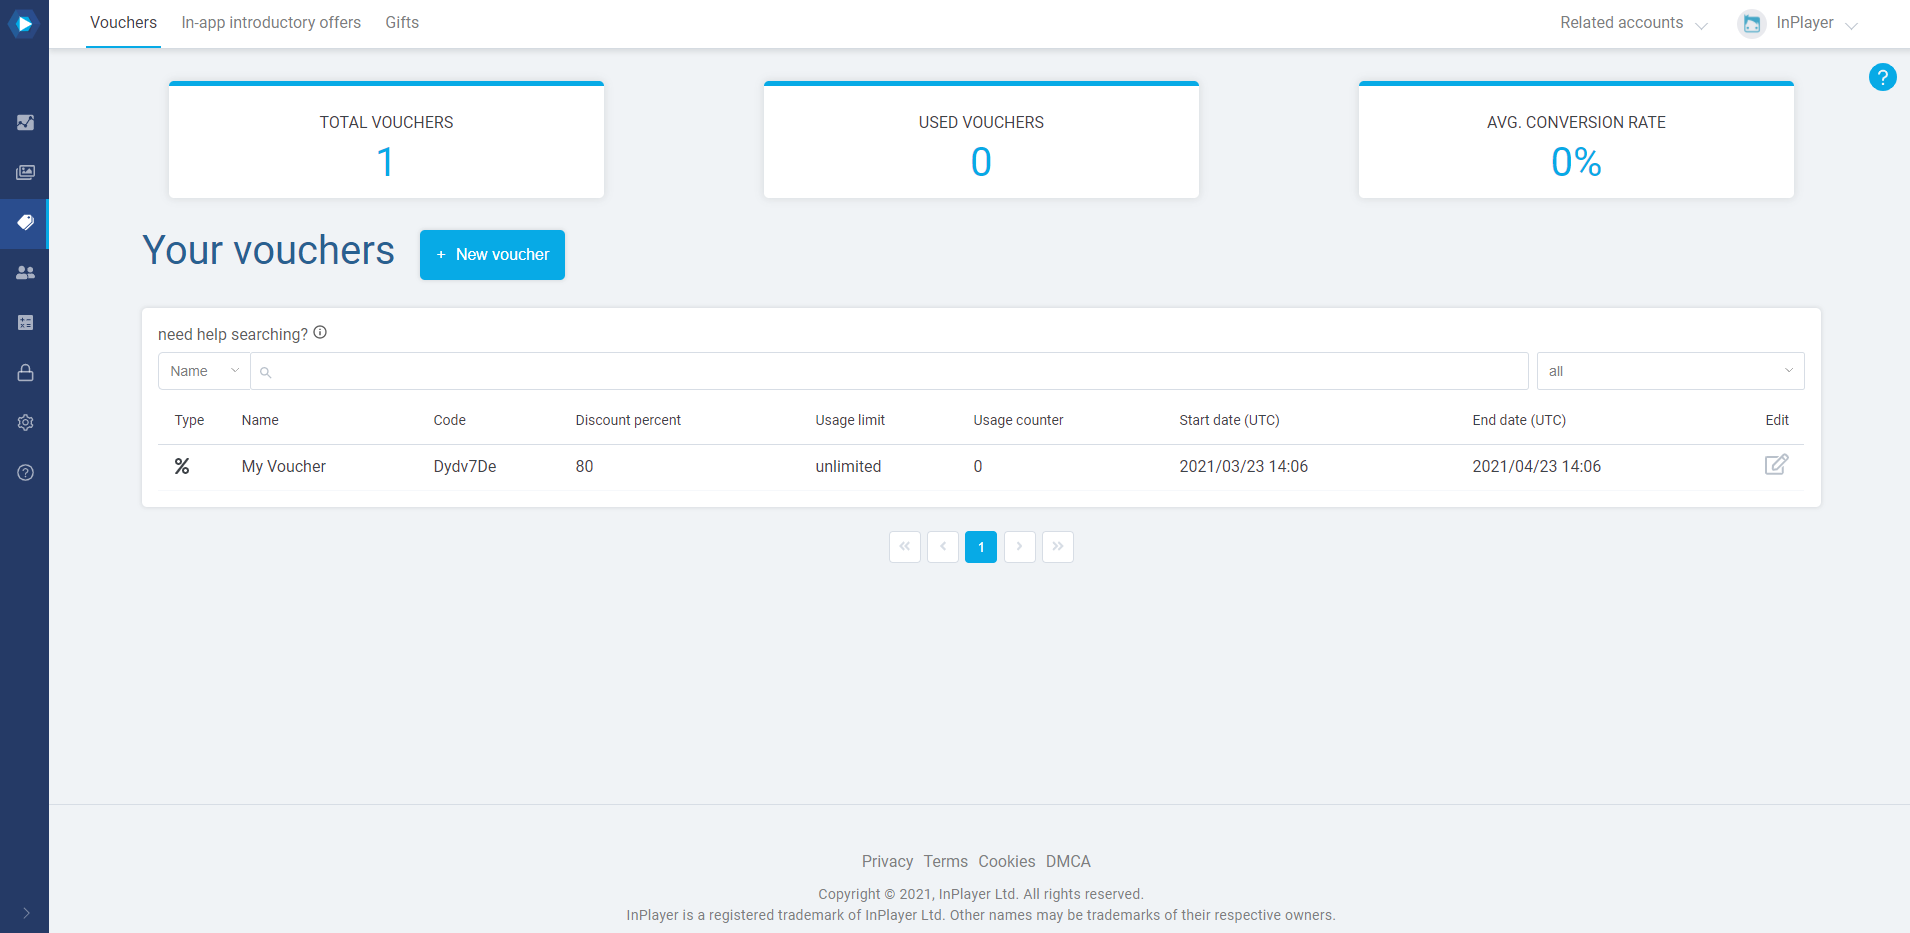
In the Vouchers tab, click New voucher.

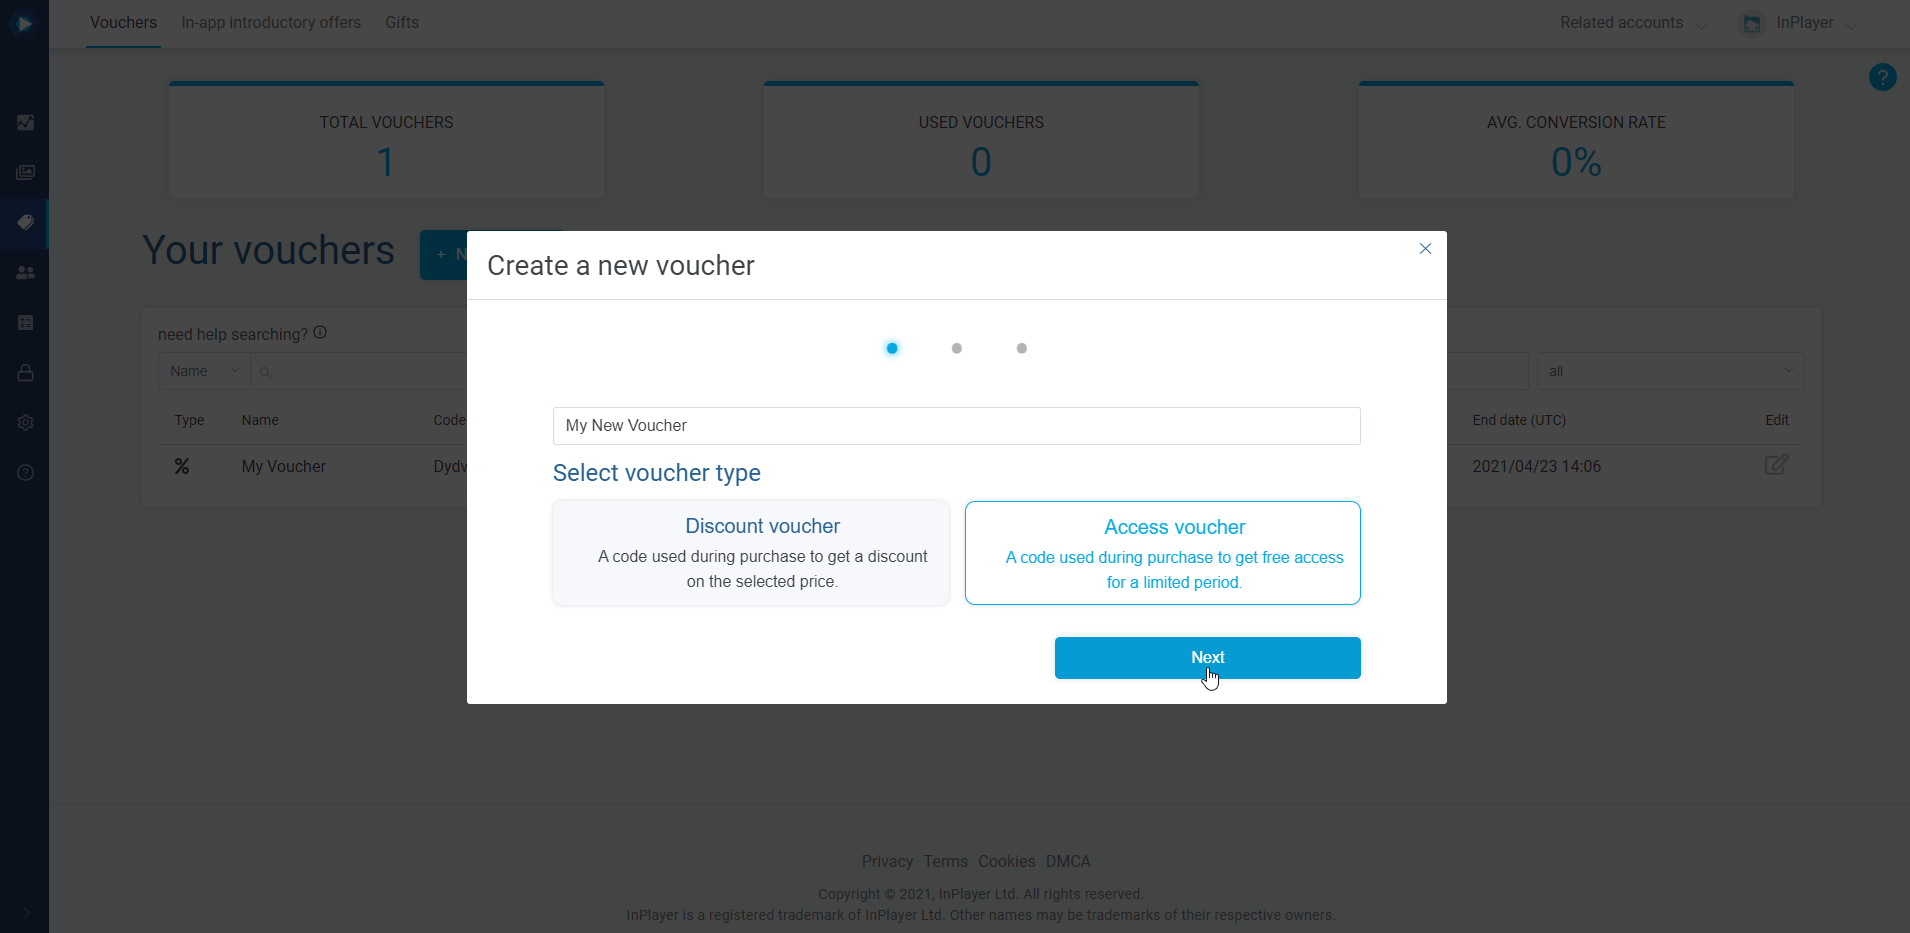
Enter the voucher name. This isn’t the code the viewer will need to use.
Choose Access voucher and click Next.
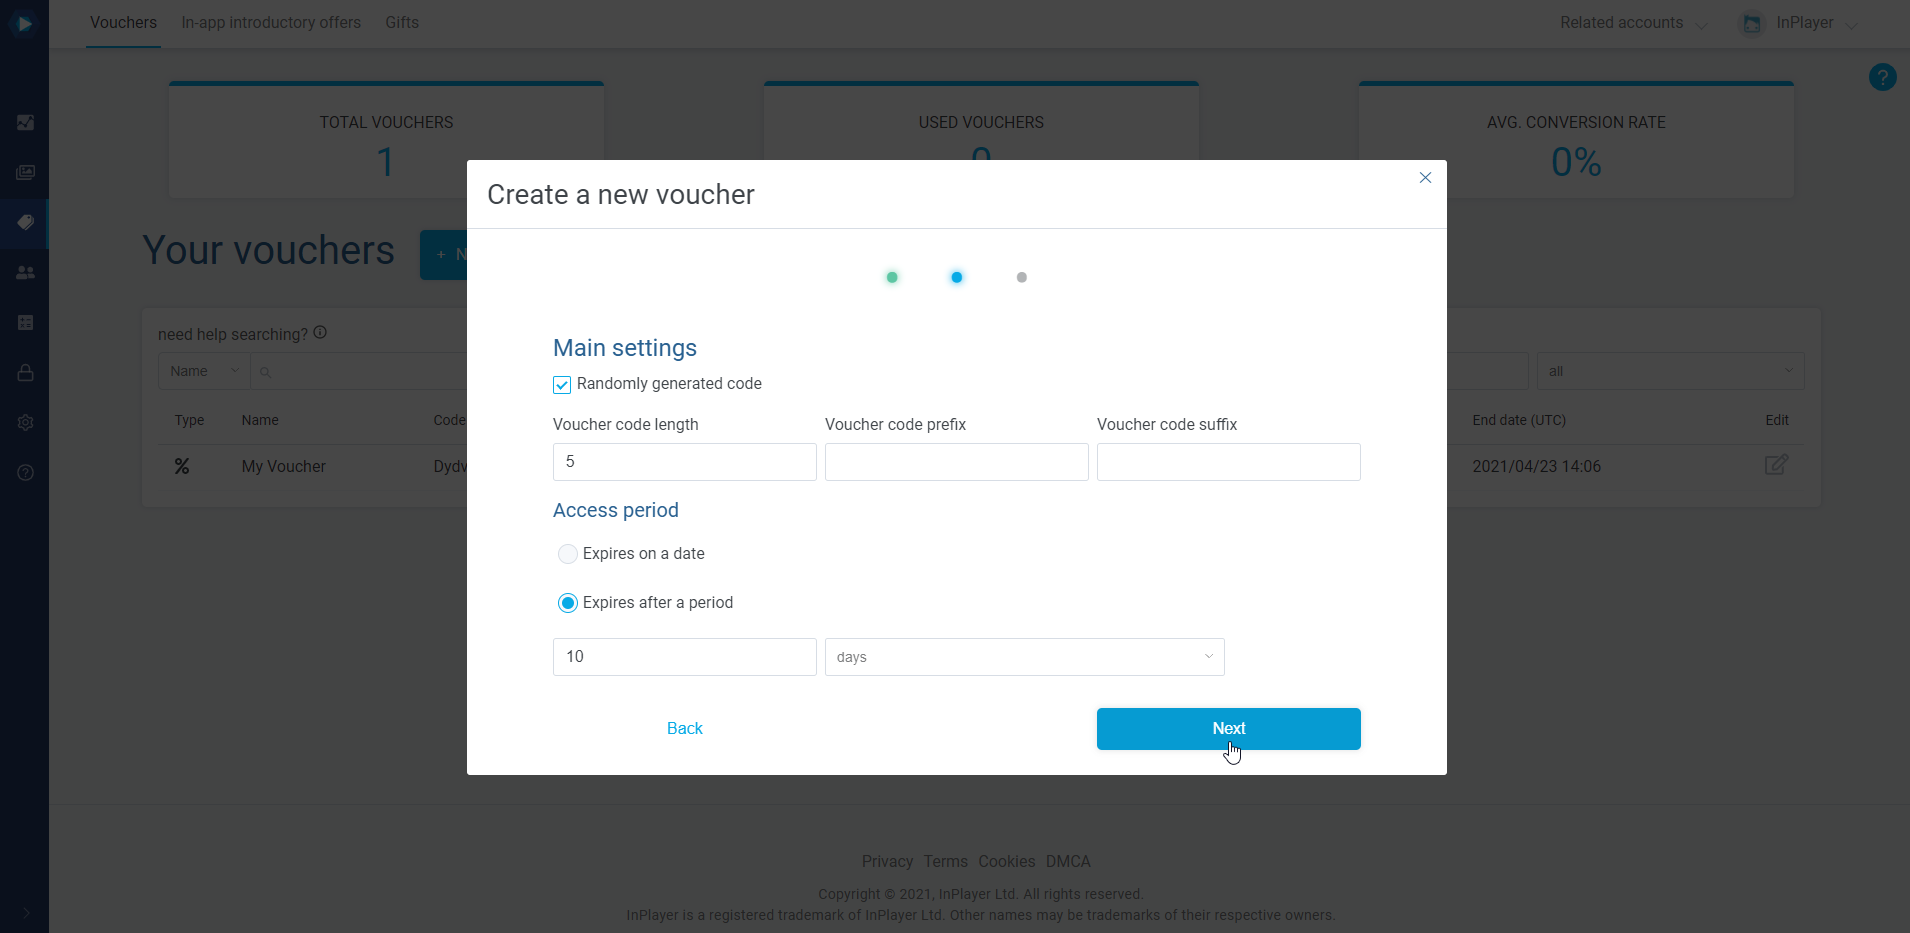
Configure the voucher.

Randomly generated code lets you generate the voucher code automatically, by setting up the voucher length, prefix, and suffix. Note that the Voucher code length does not include the prefix and suffix. It only refers to the automatically generated part in the middle.
Voucher code lets you enter a custom code, if you are not using the Randomly generated code setting.
Access period sets the access period the viewer will get when using the voucher. There are two options here:
- Expires on a date
With this option, you can set the date on which the viewer’s access will expire, regardless of when the viewer uses the voucher. - Expires after a period
With this, you can set a specific access period (days, months, years) that the viewer will get after using the voucher.
Note that when a viewer uses an access voucher to purchase a subscription, they will not need to enter their credit card. Also, a subscripton will not be created for them. They will only get the access stated in the “Access period” section of the voucher.
Click Next.
Set the Usage limit.
This is how many times the voucher can be used.
The default is set as blank, which means a voucher can be used an unlimited number of times.
Set the Validity period and start and end times.
This sets the voucher validity period. Note that this is different from the content access period, which is controlled by the Access period setting from the previous step.
Note also that the times are in UTC.
Click Next.

Your voucher has now been created and is ready for use. In its current state, the voucher can be used by any viewer, for every asset and package you have.
If you wish to make it valid for only a certain asset, or package, or price option, or to make it so only a certain viewer can use it, you can proceed to modify the voucher properties.
Details
In Details, you can edit the things you’ve already set up during the first step of the voucher creation. Note that you can’t edit the code.

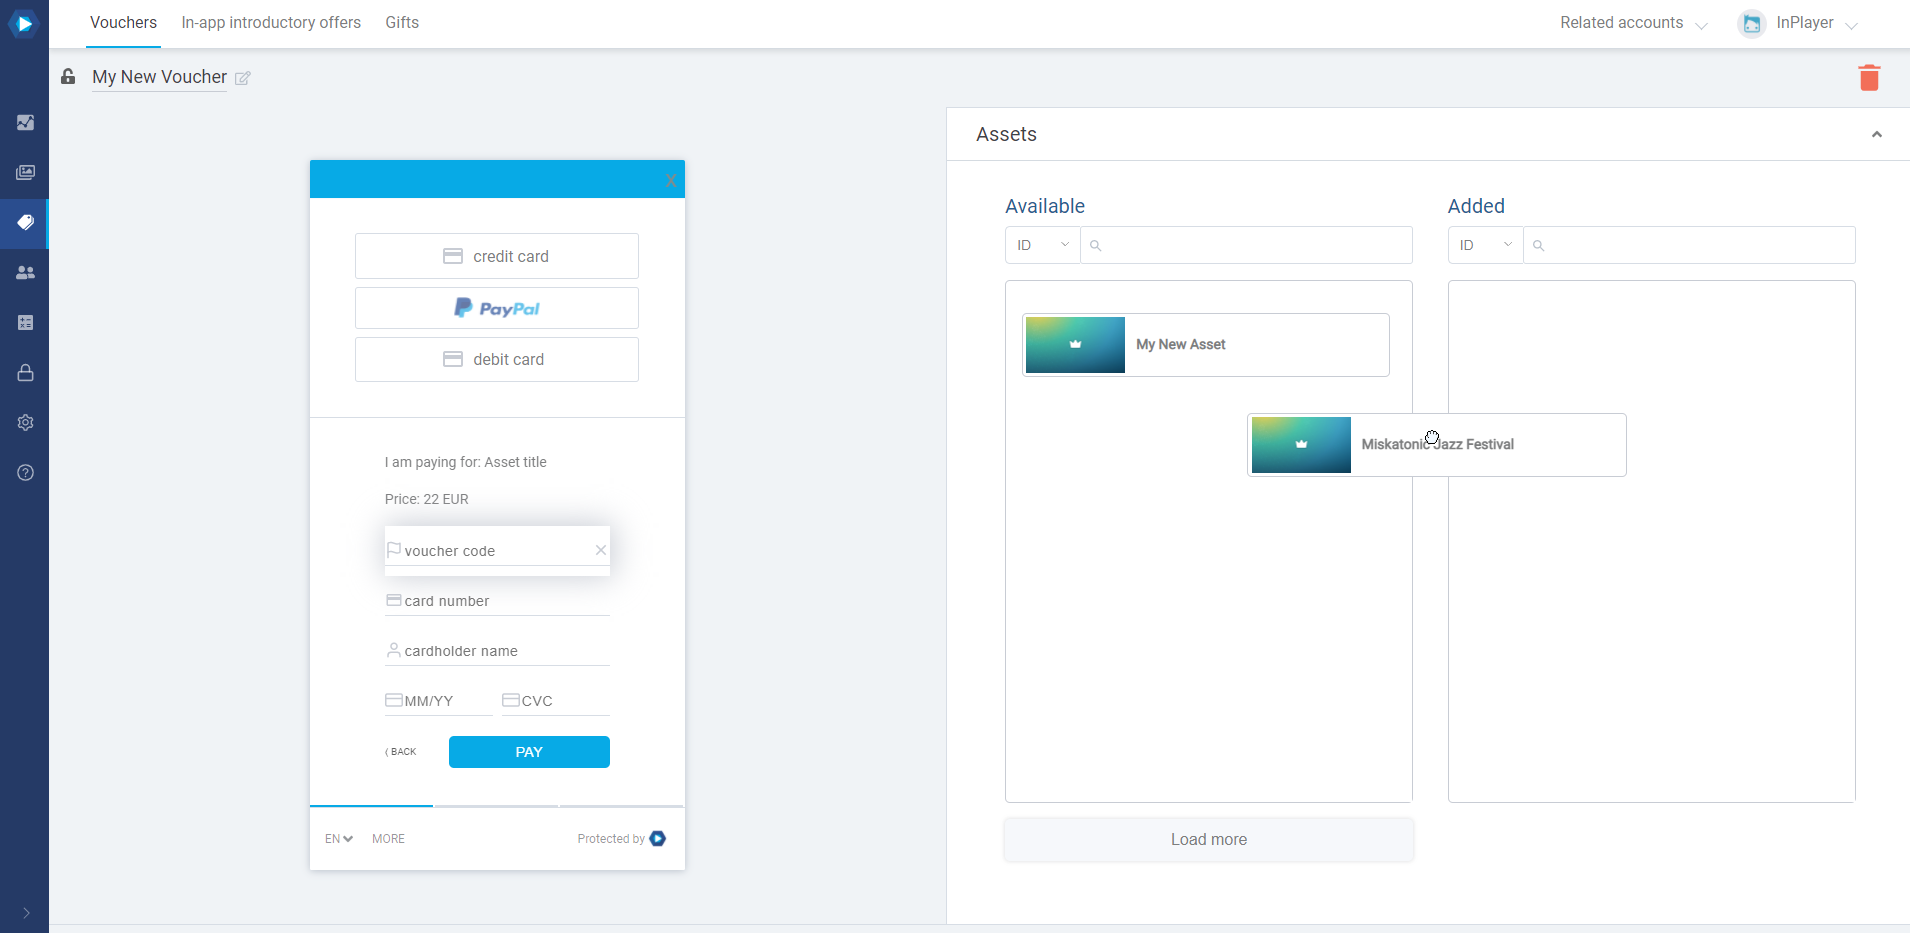
Assets and Packages
In the Assets and Packages sections, you can select for which assets and/or packages the voucher can be used.
Just drag and drop the asset or package you want to add to the voucher from left to right.
You can even go one step further, and specify for which price options will the voucher be valid, in case your assets or packages have multiple price options set up.
To do this, click on Access fees, select the price option you want to enable, and click Save.

Customer emails
In the Customer emails section, you can choose to assign the voucher to only a specific set of viewers, so that only they can use it.

You can either bulk add a list of viewers or add viewers one by one.
Adding viewer emails in bulk
For bulk adding, make sure to download the CSV template provided in the voucher settings.
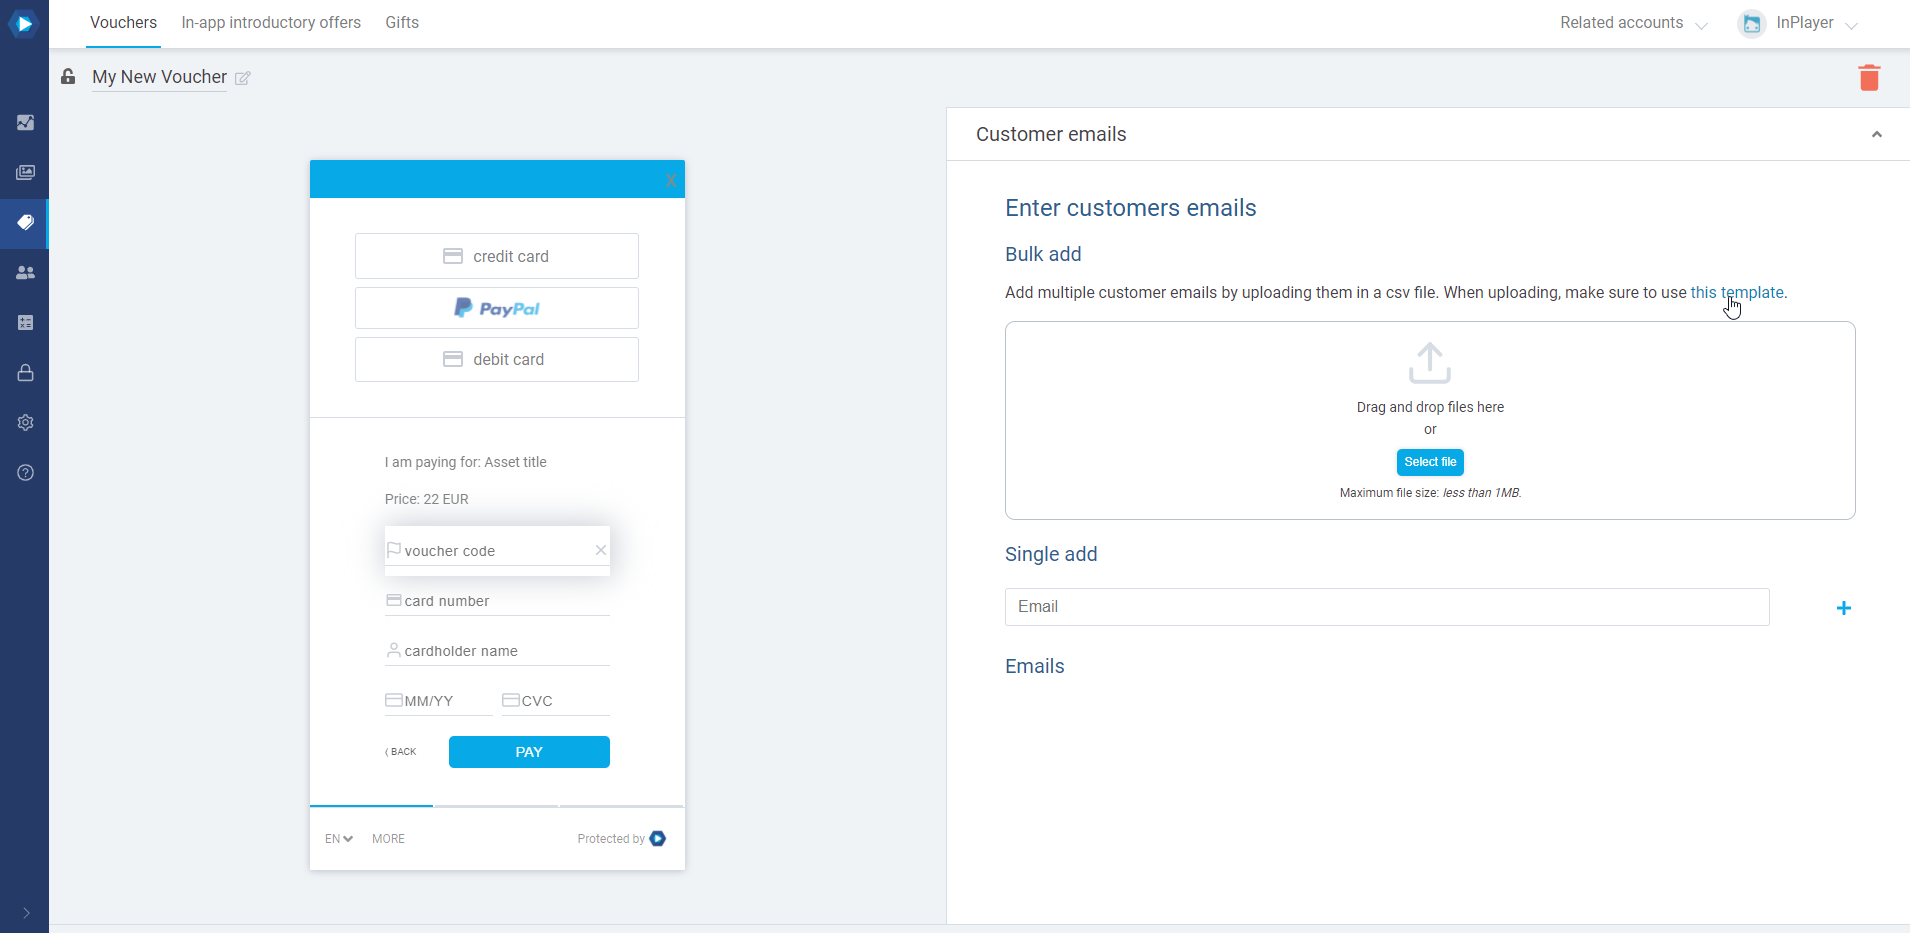
Once you enter the viewer emails in the CSV file, just upload the file to the voucher.
Adding viewer emails individually
To add a single viewer email, simply type in the email and click the + button.
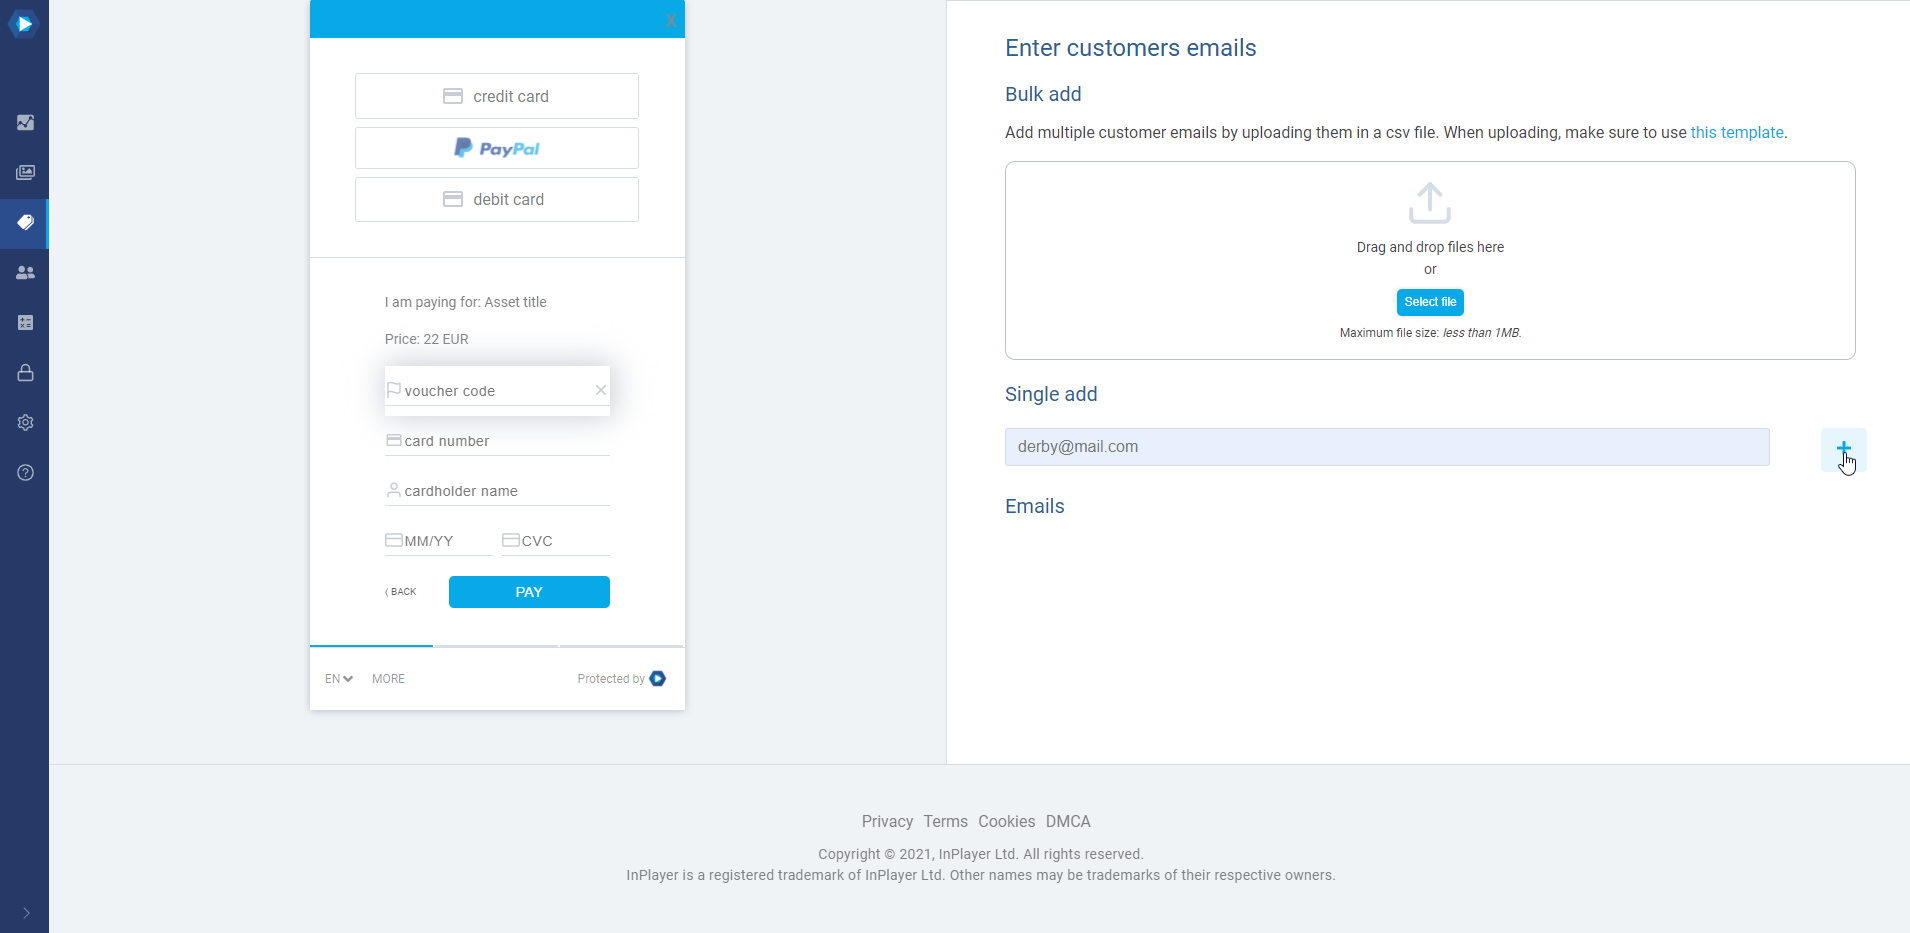
Note that viewers don’t have to exist in the database. You can set up the voucher now, and when the viewer registers with the email you’ve entered, they will still be able to use the code.
To find out which viewers used a particular voucher, you can get a payment report from the Transactions tab. These reports will contain the voucher info for each payment.
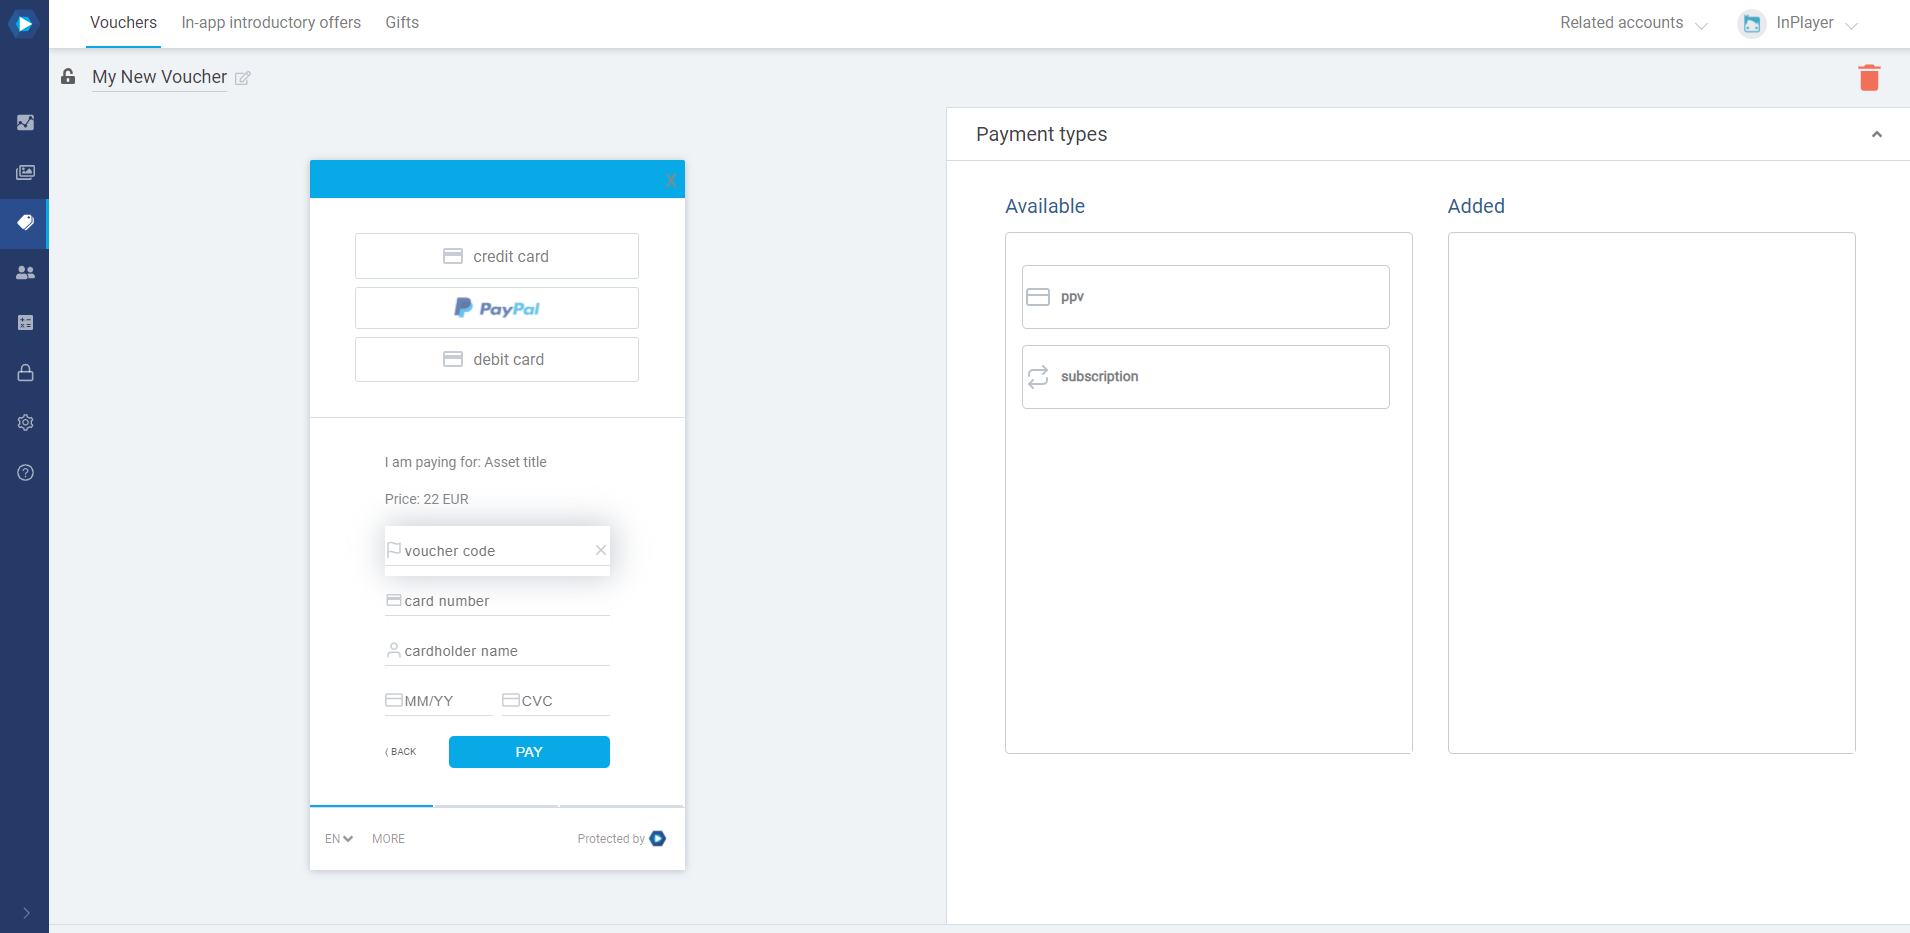
Payment types
In the Payment types section, you can make the voucher valid for only ppv or subscription price options. Just drag and drop from left to right.
If you want the voucher to be valid for both, just leave this option as is, i.e. select neither the ppv or the subscription types, which will make the voucher valid for both.
Deleting a voucher
To delete a voucher, just open it, and click on the ![]() button at the top right.
button at the top right.

This concludes our guide.
If you have any questions, don’t hesitate to contact us at clients@inplayer.com.